What Is Crispy Chicken Parmesan?
Crispy Chicken Parmesan is that glorious Italian American comfort dish that turns a simple weeknight dinner into something that feels a little bit special. For me, it always brings back memories of crowded family tables and the smell of bubbling cheese.
At its heart, the dish is built around boneless, skinless chicken breasts that you pound to an even half inch thickness so they cook uniformly.
Those cutlets get a three step coat of seasoned flour, beaten egg, and a breadcrumb Parmesan mixture that sets up the crunch everyone craves.
A quick shallow fry in vegetable oil locks in a deep golden crust, then the magic continues in the oven where the chicken bakes over a bed of tangy marinara sauce and gets blanketed with shredded mozzarella and more grated Parmesan.

The cheese melts into that irresistible pull apart texture, and because the chicken only spends about 15 to 20 minutes in the oven at 400°F, the crust stays remarkably crisp.
Right before serving, you scatter fresh basil leaves across the top, and that pop of color and herby aroma finishes the plate. Every forkful balances tender chicken, crunchy breading, bright tomato sauce, and creamy cheese.
The safe internal temperature you want is 165°F, and reaching it means the chicken is cooked through while still juicy.
When you stack all those elements together, you get the kind of homemade chicken parmesan that rivals your favorite Italian restaurant and reminds you why classic comfort food never goes out of style.
Jump to:
- What Is Crispy Chicken Parmesan?
- Quick Recipe Overview
- Ingredients
- Tools You’ll Need
- How to Make Crispy Chicken Parmesan
- Step 1: Prepare the Chicken
- Step 2: Bread the Cutlets
- Step 3: Fry Until Golden
- Step 4: Assemble and Bake
- Step 5: Check and Serve
- Helpful Tips and Adaptations
- Serving Ideas
- Storage and Reheating
- Frequently Asked Questions
- How do you keep Crispy Chicken Parmesan crunchy even after adding marinara and cheese?
- What is the best type of breadcrumb to use for Crispy Chicken Parmesan?
- Can you make gluten free or dairy free Crispy Chicken Parmesan and still get good results?
- How should you store and reheat leftover Crispy Chicken Parmesan so it stays safe and fairly crisp?
- Crispy Chicken Parmesan Recipe
- Ingredients
- Instructions
- Last Step:
- Nutrition
- Did you make this recipe?
Quick Recipe Overview
Before you tie on your apron, here is the at a glance rundown so you can plan your evening. The prep work takes about 15 minutes, which includes pounding the chicken, setting up your breading bowls, and getting the skillet ready.
The active cooking time clocks in at 35 minutes, split between frying the cutlets and the oven finish. In total, you will need roughly 50 minutes from the moment you pull the chicken out of the fridge to the moment you set that beautiful baking dish on the table.
This recipe yields 3 generous servings, and each serving is enough to fill a hungry adult, especially when you pair it with a simple side like spaghetti or a crisp salad.
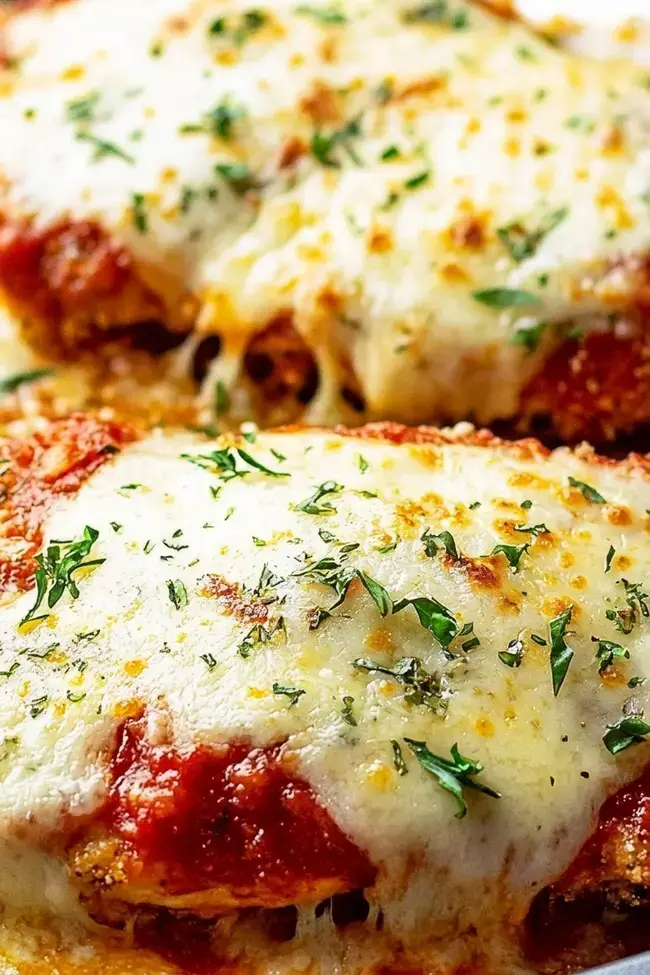
The process flows naturally: pound, bread, fry, assemble with sauce and cheese, bake, and garnish. It may look like a few steps, but everything moves fast once you get going, and the reward is that stunning plate of cheesy, crunchy chicken.
When I first started making this on busy Tuesday nights, I realized that waiting for the oven to finish while the kitchen smells like garlic and basil is the secret to getting everyone to the table on time. Even our picky eater asks for seconds when the mozzarella is still stretchy.
Ingredients
Great Crispy Chicken Parmesan starts with simple, everyday ingredients you can find at any grocery store. Grouping them by their role makes your prep almost effortless.
For the protein base:
- 4 boneless, skinless chicken breasts (about 1.5 lbs or 680 g total)
- Salt, to taste
- Black pepper, to taste
For the breading station:
- 1 cup (125 g) all purpose flour
- 2 large eggs, beaten
- 1 cup (100 g) breadcrumbs (Italian seasoned preferred)
- 1/2 cup (50 g) grated Parmesan cheese
- 1 teaspoon garlic powder
- 1 teaspoon Italian seasoning
For cooking and finishing:
- 1/4 cup (60 ml) vegetable oil, for frying
- 2 cups (500 ml) marinara sauce
- 1 cup (100 g) shredded mozzarella cheese
- 1/4 cup (25 g) grated Parmesan cheese
- Fresh basil leaves, for garnish
- Cooked spaghetti or your favorite pasta (optional)
I always reach for Italian seasoned breadcrumbs because they already have those little flecks of herb and salt built right in, which means one less thing to measure.
The Parmesan in the coating and on top pulls double duty by adding savory depth and helping the crust turn that rich amber color as it fries.
Do not skip the fresh basil at the end; the leaves wilt slightly from the heat and release an aroma that makes the whole dish smell like you spent the afternoon at an Italian grandmother’s house.
Tools You’ll Need
Having the right tools ready keeps the rhythm smooth and the mess contained. Gather these before you start.
- Large skillet: A wide, heavy bottomed pan gives the cutlets plenty of room and helps the oil stay at a steady temperature.
- 9×13 inch baking dish: This size comfortably holds three or four cutlets with sauce and cheese without crowding.
- Three shallow bowls: You will set up your flour, egg, and breadcrumb stations in separate bowls so you can move from one to the next without fumbling.
- Meat mallet or rolling pin: Pounding the chicken to an even thickness is what guarantees every bite cooks at the same rate.
- Tongs: They make flipping the chicken during frying safe and simple.
- Paper towel lined plate: This catches any excess oil after frying, which helps the crust stay crisp.
- Measuring cups and a cutting board: Good workflow tools you probably already own.
If I am short on counter space, I will use deep dinner plates instead of bowls for the breading station and line them up assembly line style right next to the skillet. It works just as well and saves me from washing three extra dishes later.
How to Make Crispy Chicken Parmesan
Making restaurant worthy Crispy Chicken Parmesan at home is easier than you might think when you break it into clear stages.
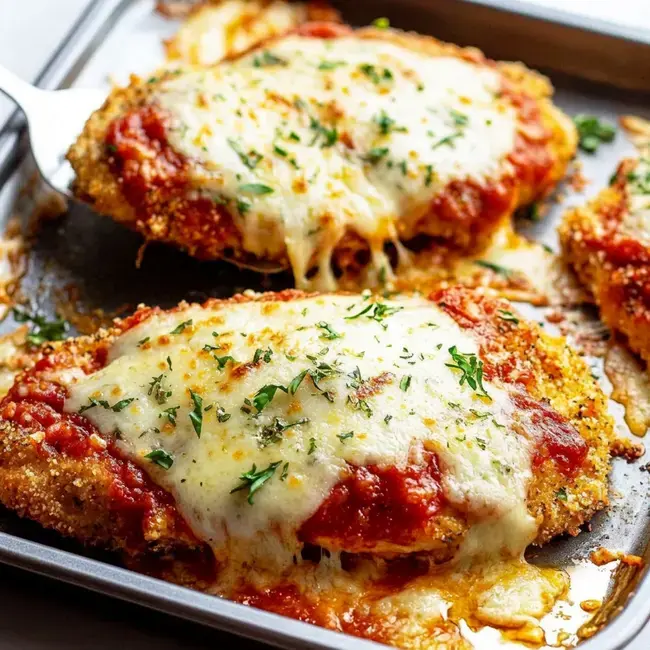
The method moves from prep to plate in a handful of straightforward steps, and the reward is a bubbling, golden dish that brings everyone running to the table.
Step 1: Prepare the Chicken
Lay the chicken breasts between two sheets of plastic wrap and gently pound them with a meat mallet or rolling pin until they reach an even half inch thickness.
This not only tenderizes the meat but also ensures the cutlets cook at the same speed so you never have dried out thin edges next to an undercooked center. Once they are pounded, season both sides generously with salt and black pepper.
Step 2: Bread the Cutlets
Set up your three shallow bowls: one with the flour, one with the beaten eggs, and the third with a mixture of the breadcrumbs, the first 1/2 cup of Parmesan cheese, garlic powder, and Italian seasoning.
Take a seasoned chicken breast, dredge it in the flour and shake off the excess, then dip it into the egg until it is fully coated, and finally press it firmly into the breadcrumb mixture, making sure every spot is covered.
The key is that firm press; it helps the crumbs adhere so they do not slip off in the skillet. Repeat with all the cutlets.
Step 3: Fry Until Golden
Pour the vegetable oil into your large skillet and heat it over medium heat. You want the oil shimmering but not smoking.
Carefully lay the breaded cutlets into the pan and fry them for about 2 to 3 minutes per side, just until the crust turns an irresistible amber golden color. As each piece finishes, transfer it to a paper towel lined plate to drain briefly.
The chicken will not be fully cooked through at this point, and that is exactly what you want because the oven will finish the job while keeping the breading crunchy.
Step 4: Assemble and Bake
While the cutlets drain, preheat your oven to 400°F (200°C). Spread about half of the marinara sauce across the bottom of your 9×13 inch baking dish.
Arrange the fried chicken on top of the sauce in a single layer, then spoon the remaining sauce over each piece to completely cover them. Sprinkle the shredded mozzarella evenly across the top, followed by the remaining 1/4 cup of grated Parmesan.
Slide the dish into the oven and bake for 15 to 20 minutes. You will know it is ready when the cheese is bubbling, the edges turn a little golden, and a quick read thermometer inserted into the thickest part of a breast registers 165°F (74°C).
Step 5: Check and Serve
Pull the dish from the oven and confirm the internal temperature one last time. Scatter fresh basil leaves over the melted cheese, and serve immediately.
I like to bring the whole baking dish to the table so everyone can dig in while the mozzarella is still stretchy and the steam carries that herby, savory smell right to their noses.
Pair it with a pile of spaghetti or a bright green salad, and you have a meal that feels like a celebration even on an ordinary Wednesday.
Helpful Tips and Adaptations
Over the years, I have picked up a few little tricks that make a big difference in how the coating behaves and how the dish fits different ways of eating.
Rest for a better crunch: Once you have breaded the cutlets, let them sit on a plate for about 10 minutes before they hit the hot oil. This brief rest gives the flour and egg time to hydrate and really glue the crumbs onto the chicken, so you get fewer bare spots and a sturdier crust.
Make ahead with ease: You can bread the chicken earlier in the day, cover it loosely, and tuck it in the refrigerator until you are ready to fry. That way, when dinner time rolls around, all the messy work is done and you can go straight from fridge to skillet.
Gluten free adaptation: To keep all the comfort without the gluten, swap the all purpose flour for a gluten free blend or cornstarch, and use gluten free breadcrumbs or almond flour. The breading will still crisp up beautifully. Just double check your marinara label to be sure it is gluten free as well.
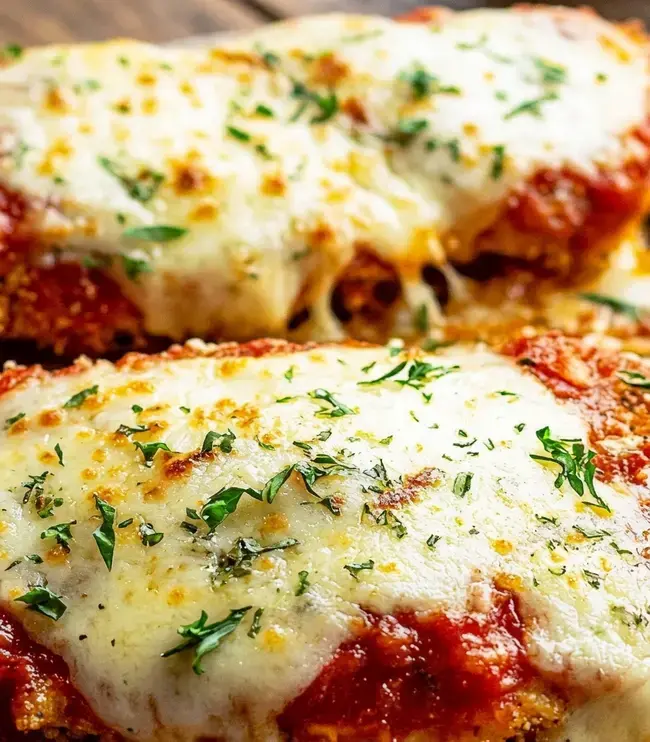
Lighter baked version: If you want to skip the frying step, you absolutely can. Place a wire rack over a baking sheet, arrange the breaded cutlets on the rack, and give them a light spray of cooking oil.
Bake them in a 400°F oven for about 20 minutes, flipping halfway, until they are golden and just cooked through. Then proceed with the marinara and cheese as you would after frying.
Dairy free option: Mozzarella and Parmesan can be replaced with your favorite dairy free shreds or slices, and nutritional yeast adds a cheesy, nutty note to the breadcrumb coating. Use unsweetened plant based milk in the egg wash instead of dairy milk, and the cutlets will still brown nicely.
No matter which adaptation you choose, the core rhythm of the dish stays the same, so you never lose that satisfying combination of crisp coating, tangy sauce, and warm, melted topping.
Serving Ideas
When I place that bubbling dish on the table, I always think about how the sides will complement the rich chicken without stealing the spotlight. A few simple pairings turn this into a complete, crowd pleasing meal.
Bread on the side: Garlic bread or a sliced crusty Italian loaf is perfect for mopping up every last bit of marinara on your plate. I toast the slices under the broiler with a little butter and a sprinkle of Parmesan so they double as a crunchy snack while I wait for the chicken to finish.
Fresh green salad: A bowl of mixed greens, halved cherry tomatoes, and a drizzle of balsamic vinaigrette cuts through the richness of the cheese and fried crust. The bright, tangy dressing wakes up your palate between bites and keeps the meal feeling balanced.
Classic pasta pairing: Spaghetti or linguine tossed in a little olive oil or extra marinara is the traditional go to. I usually cook the pasta just until al dente and then serve the chicken right on top of it so the sauce from the baking dish naturally flavors the noodles.
Wine for the table: For the adults at dinner, a medium bodied red like Chianti or a lighter Pinot Noir works wonderfully. The wine’s acidity plays nicely against the tomato sauce and the richness of the melted mozzarella, and it all feels very trattoria style without leaving home.
Storage and Reheating
Leftovers are almost a bonus because they mean you get to enjoy the meal all over again. With a little care, you can keep that crunchy texture and safe, juicy chicken ready for another day.
After dinner, cool the leftover chicken quickly. Transfer it to an airtight container and refrigerate within 2 hours of cooking. It will keep well in the fridge for up to 3 to 4 days.
When you are ready to eat, the oven is your best friend for restoring the crust. Place the chicken in a 350°F oven for about 10 to 15 minutes, just until it is heated all the way through and the cheese softens again.
The microwave is faster, but it tends to soften the breading, so I reserve that for true time crunches.
For longer storage, wrap each chicken breast individually in plastic wrap, then place the pieces in a freezer safe container or bag. Frozen chicken parmesan stays good for about 2 to 3 months. Thaw it overnight in the refrigerator before reheating, and always confirm the internal temperature comes back to 165°F before serving.
If you want to meal prep ahead of time, you can bread the cutlets and store them uncooked. Layer them between sheets of parchment paper in an airtight container and refrigerate for up to 24 hours, or freeze them flat and then stack.
When it is time to cook, thaw if frozen and proceed with frying just as you would with fresh. This little head start makes a busy weeknight feel almost like you have a sous chef in the kitchen.
Frequently Asked Questions
How do you keep Crispy Chicken Parmesan crunchy even after adding marinara and cheese?
What is the best type of breadcrumb to use for Crispy Chicken Parmesan?
Can you make gluten free or dairy free Crispy Chicken Parmesan and still get good results?
How should you store and reheat leftover Crispy Chicken Parmesan so it stays safe and fairly crisp?
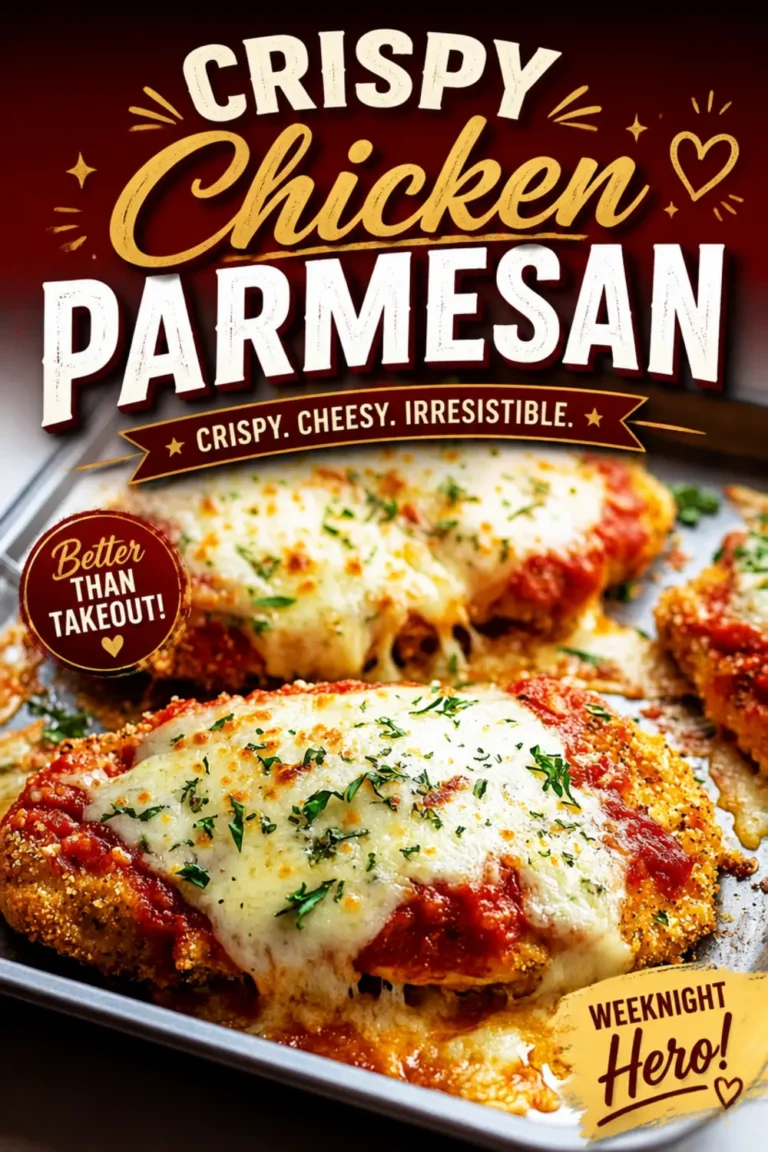
Crispy Chicken Parmesan Recipe
What Is Crispy Chicken Parmesan? Crispy Chicken Parmesan is that glorious Italian American comfort dish that turns a simple weeknight dinner into something that feels a little bit special.
- Total Time: 50 min
- Yield: 3 servings 1x
Ingredients
4 chicken breasts, boneless, skinless (about 1.5 lbs or 680 g)
2 eggs, large, beaten
1 cup all-purpose flour, (125 g)
1 cup breadcrumbs, (100 g) (Italian seasoned preferred)
1/2 cup Parmesan cheese, (50 g), grated
1/4 cup vegetable oil, (60 ml or 2 fl oz), for frying
2 cups marinara sauce, (500 ml or 16 fl oz)
1 cup mozzarella cheese, (100 g), shredded
1/4 cup Parmesan cheese, (25 g), grated
1 tsp garlic powder
1 tsp Italian seasoning
salt, to taste
black pepper, to taste
fresh basil leaves, for garnish
cooked spaghetti or favorite pasta
Instructions
1-Establish three distinct breading zones with seasoned: Establish three distinct breading zones with seasoned flour, whisked eggs, and a blend of breadcrumbs, Parmesan, garlic powder, and Italian herbs. Pound chicken breasts between plastic wrap to an even 1/2-inch thickness.
2-Coat chicken pieces methodically by first dusting: Coat chicken pieces methodically by first dusting with flour, dipping in egg, and then firmly pressing into the seasoned breadcrumb mixture to create a robust exterior.
3-Heat vegetable oil in a large skillet: Heat vegetable oil in a large skillet over medium heat. Fry chicken pieces until they transform into crispy, amber-hued delicacies, about 2-3 minutes per side, then drain on paper towels.
4-Preheat oven to 400F (200C): Preheat oven to 400F (200C). Spread marinara sauce across the bottom of a baking dish, arrange crisp chicken pieces, and completely cover with additional sauce.
5-Lavish chicken with mozzarella and Parmesan cheese: Lavish chicken with mozzarella and Parmesan cheese. Bake for 15-20 minutes until cheese melts into a bubbling, golden masterpiece and chicken reaches 165F (74C) internal temperature.
6-Garnish with fresh basil leaves and serve: Garnish with fresh basil leaves and serve immediately alongside spaghetti or a crisp green salad, creating a visually stunning and delectable meal.
Last Step:
Please leave a rating and comment letting us know how you liked this recipe! This helps our business to thrive and continue providing free, high-quality recipes for you.- Prep Time: 15 min
- Cook Time: 35 min
- Method: bake
Nutrition
- Calories: 560
- Sugar: 6 g
- Sodium: 800 mg
- Fat: 30 g
- Saturated Fat: 10 g
- Carbohydrates: 45 g
- Fiber: 2 g
- Protein: 36 g
- Cholesterol: 120 mg