What Are Gluten Free and Vegan Oreo Truffles?
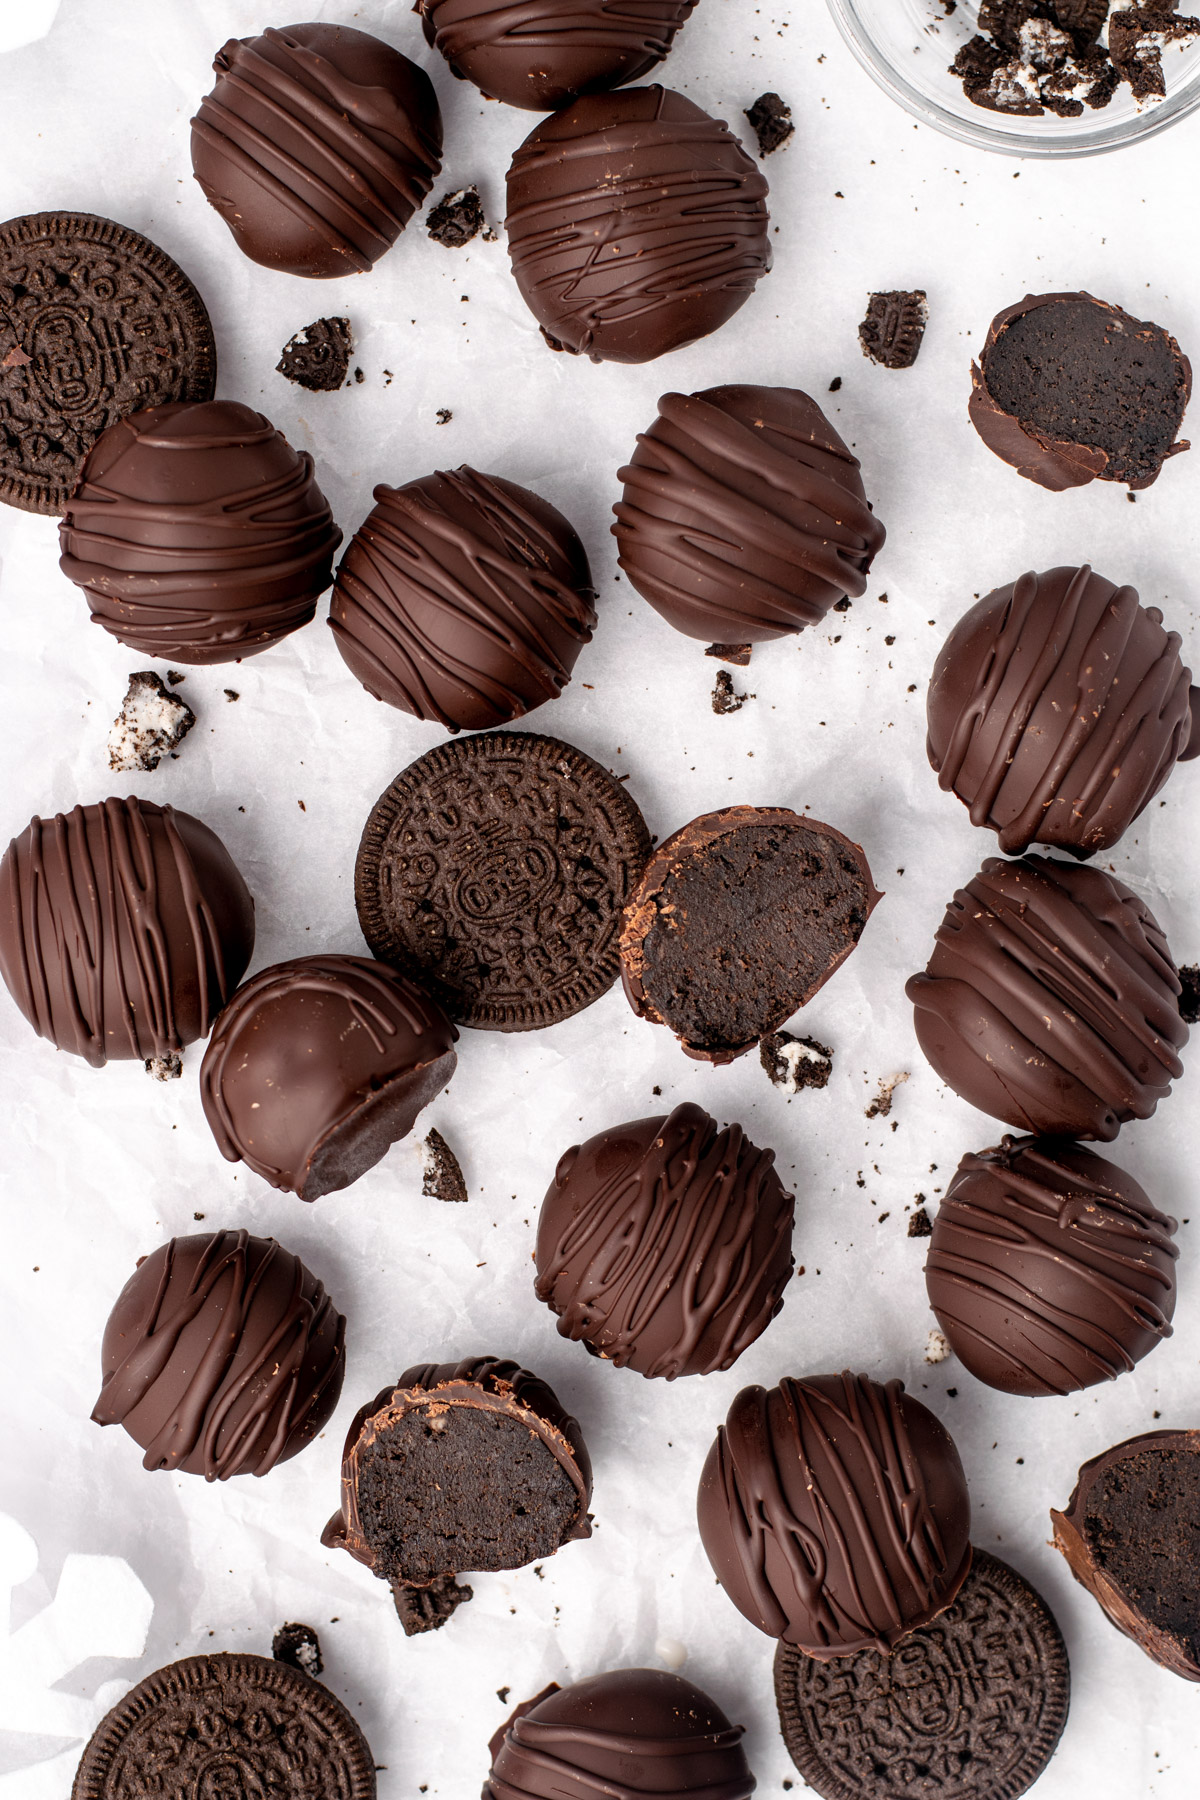
These four ingredient truffles are a no bake wonder that combines crushed gluten free Oreo cookies with dairy free cream cheese, a splash of vanilla, and a dark chocolate coating.
The result is a rich, creamy bite that looks like it came straight from a fancy chocolatier, yet requires almost no effort. They are completely free of gluten, dairy, nuts, and animal products, making them safe for a crowd with multiple dietary needs.

I first spotted this clever idea on Olivia’s Kitchen and knew I had to try it. The first time I made these, my husband ate three before I could even photograph them. Now they are a staple at every holiday gathering and birthday party.
There is something irresistible about cracking through a snappy chocolate shell into a center that tastes exactly like a cookies and cream milkshake, just in handheld form.
Jump to:
- What Are Gluten Free and Vegan Oreo Truffles?
- Why You’ll Love This Recipe
- Ingredient Notes
- Substitutions
- Step by Step Instructions
- How to Serve
- Storage and Freezing Instructions
- Expert Tips
- FAQs
- What ingredients do I need to make gluten-free Oreo truffles?
- Can I use regular cream cheese instead of dairy-free?
- How long do gluten-free Oreo truffles last in the fridge, and can I freeze them?
- Do I have to temper the chocolate, or can I just melt it?
- Gluten-Free & Vegan Oreo Truffles
- Ingredients
- Instructions
- Last Step:
- Nutrition
- Did you make this recipe?
Why You’ll Love This Recipe
There are so many reasons to keep this recipe in your back pocket, and I am not just saying that because I am a hopeless chocoholic. First, these truffles feel festive and special without any of the stress. You can make them in the middle of a busy holiday week and still look like a dessert hero.
They are also wonderfully allergy friendly. Because they rely on gluten free Oreos and dairy free cream cheese, they avoid the most common allergens. My niece has a nut allergy, and she can enjoy these without a worry. That peace of mind is priceless when you are hosting.
No baking required! The only heat you will use is the microwave for the chocolate, which takes just a minute or two. The rest is passive chilling time, which you can use to wrap presents or fold laundry.
And honestly, the final result looks so polished that people will assume you spent hours tempering chocolate in a professional kitchen. It is a win on every level.
Ingredient Notes
You only need four ingredients, but each one plays an important role in the texture and flavor. Here is what you will grab from the pantry and fridge:
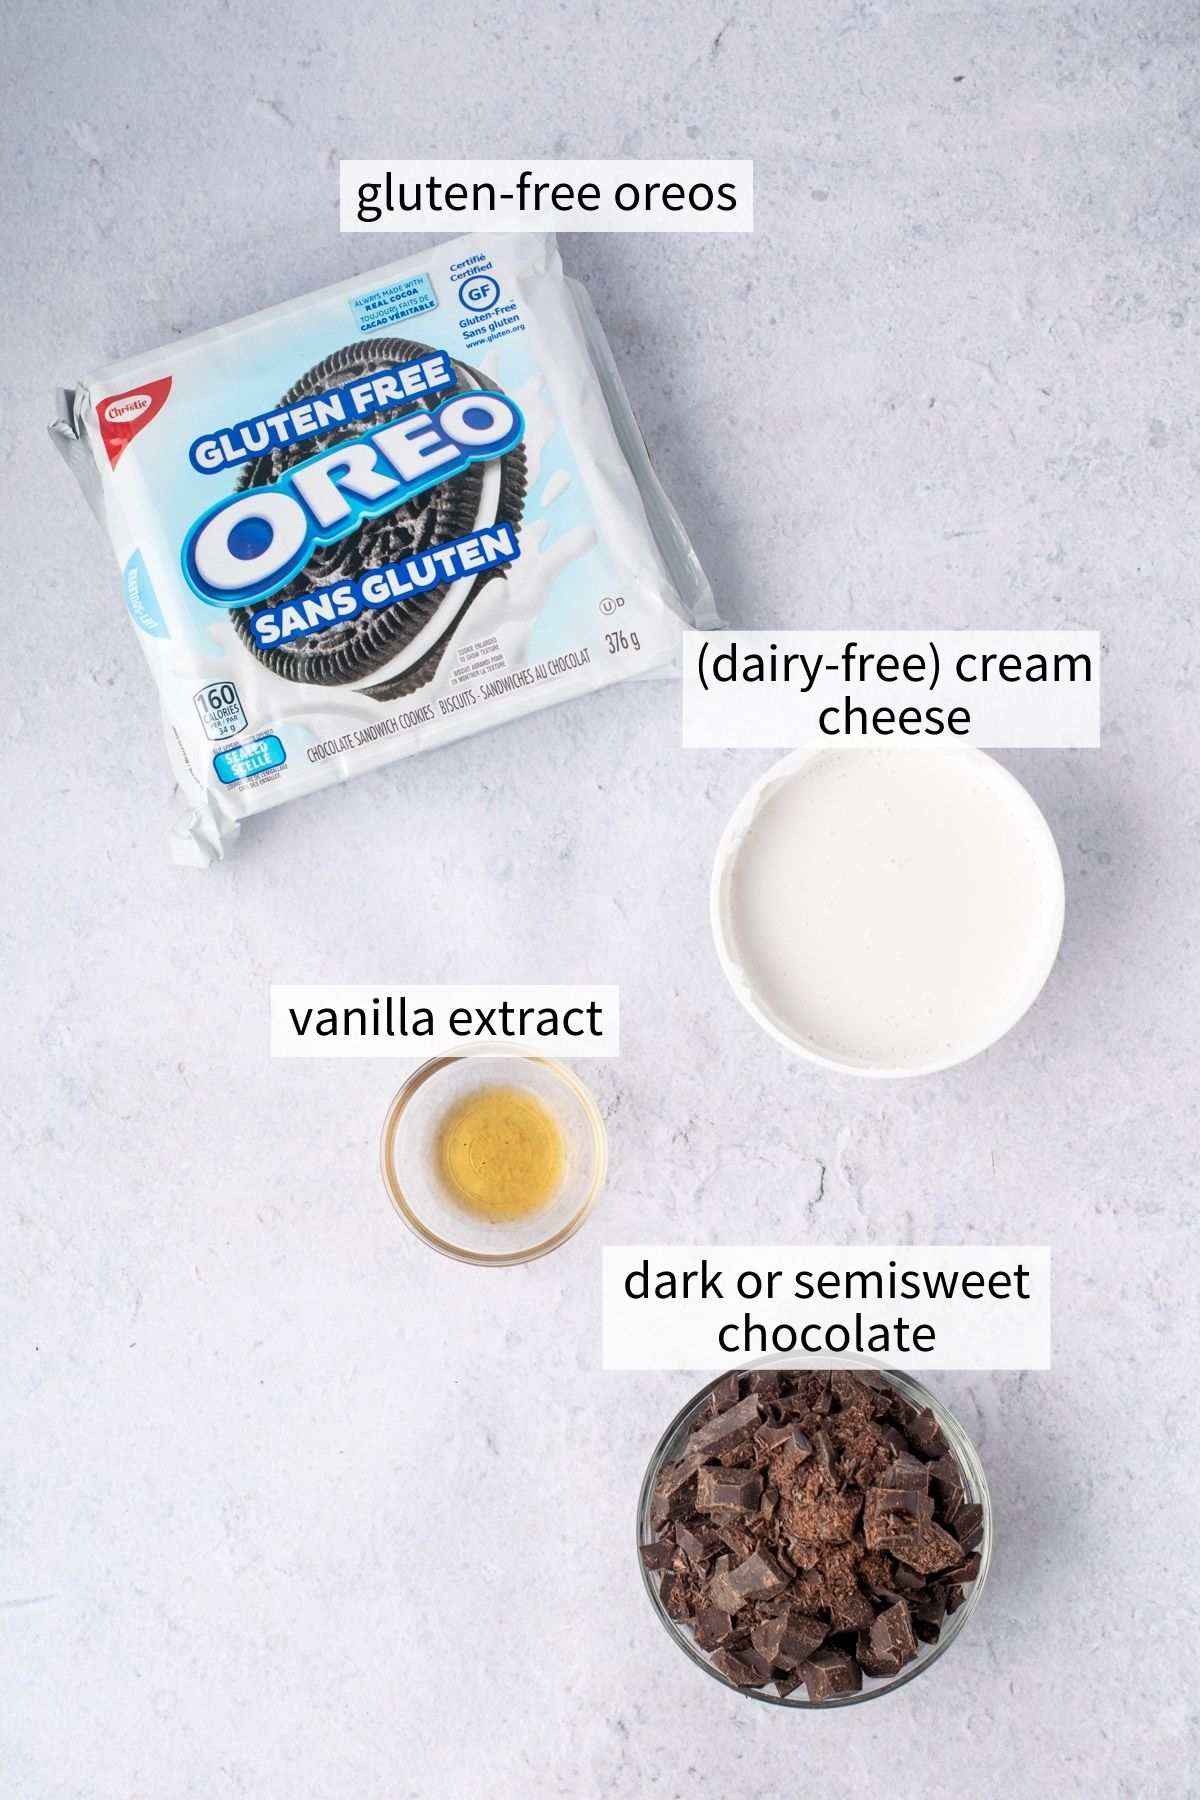
- Gluten free Oreos: One full 13.3 ounce package, which is roughly 33 cookies. These crushed cookies become the truffle base, giving you that iconic cookies and cream taste. If you cannot find Oreos, any gluten free chocolate sandwich cookie works beautifully.
- Dairy free cream cheese: One 8 ounce tub. This binds the cookie crumbs together and adds a silky tang. Use it straight from the fridge so the batter stays thick. (If you are not avoiding dairy, you can swap in regular cream cheese, but we will cover that in the substitutions section.)
- Vanilla extract: Two teaspoons. It deepens the chocolate notes and rounds out the sweetness, making the truffles taste a little more complex.
- Dark or semisweet chocolate: Two cups of chopped chocolate. I always reach for a good quality chocolate bar because it melts more smoothly than chips and gives the shell a gorgeous snap. Semisweet keeps the coating perfectly balanced against the sweet center.
I keep these ingredients on hand during the holiday season, so I can whip up a batch whenever a last minute invitation pops up. It is one of those recipes that feels like a secret weapon.
Substitutions
One of the things I love most about this recipe is how flexible it is. Over the years, I have tested a few swaps depending on what I had in the fridge, and the truffles always turn out delicious.
- Cookies: While gluten free Oreos are the star, you can use any gluten free chocolate or vanilla sandwich cookie. I once used a pack of gluten free vanilla golden cookies, and the lighter center was a lovely contrast to the dark chocolate shell.
- Cream cheese: If you do not need a dairy free or vegan version, you can use 4 ounces (half a block) of regular cream cheese. The texture is richer, so a smaller amount is all you need to achieve the right consistency. Make sure it is softened to room temperature before mixing.
- Chocolate coating: Do not feel locked into dark chocolate. White chocolate makes an elegant, snow like finish for winter parties, milk chocolate gives a sweeter bite, and you can even use flavored chocolate bars. I like to melt a little extra white chocolate and drizzle it over the top with a fork for a pretty pattern. It is an instant upgrade with zero extra effort.
Step by Step Instructions
I promise you, these truffles are easier to make than they look. Once you get the hang of the rhythm, you will be rolling and dipping like a pro. Here is exactly how I do it at home:


- Crush the cookies. Place the entire package of Oreos in a food processor or high power blender. Pulse until you get fine, uniform crumbs. If you do not have a machine, pop the cookies into a large zip top bag and crush them with a rolling pin. I have done it both ways, and the rolling pin method is oddly satisfying, just be sure the bag is sealed tight.
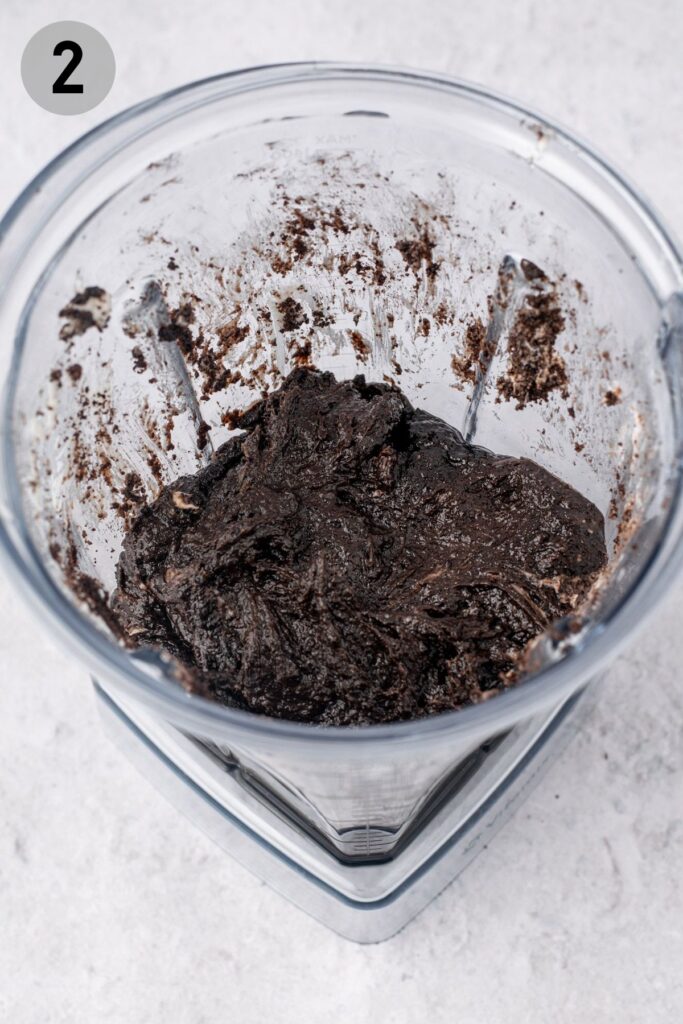
- Make the dough. Add the whole tub of dairy free cream cheese and the vanilla extract to the crumbs. Pulse again until the mixture is smooth and thick, scraping down the sides as needed. Transfer the batter to a bowl, cover it, and refrigerate for 30 minutes. This chill time makes the dough much less sticky when you shape the balls.
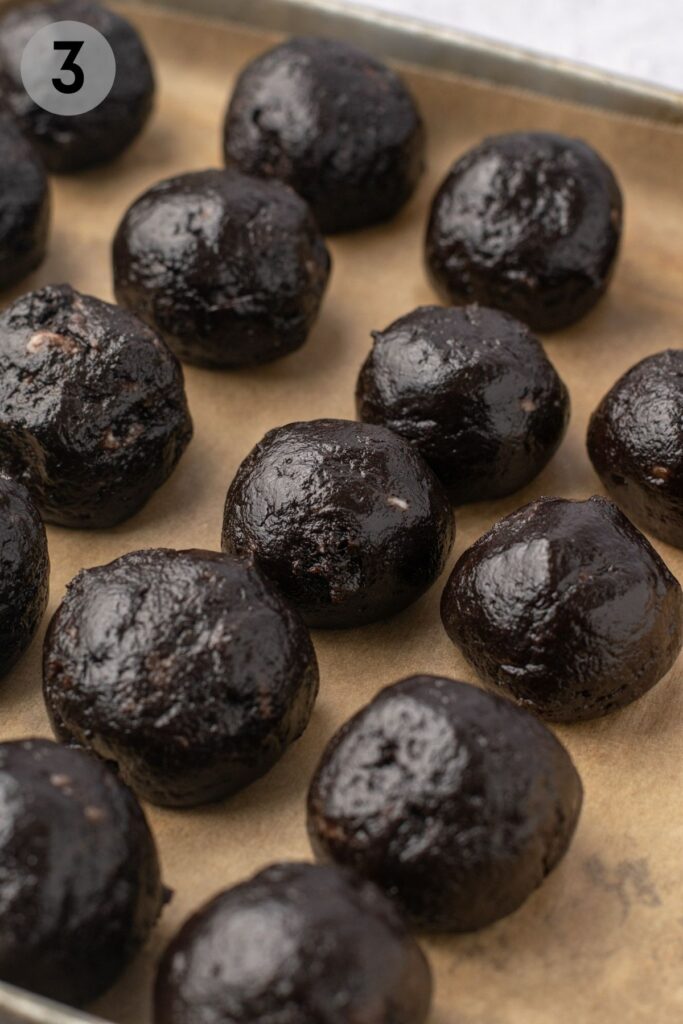
- Shape and freeze. Scoop out tablespoon sized portions, about 21 balls total. I use a small cookie scoop for even sizes; it saves time and keeps everything uniform. Roll each portion between your palms, place it on a parchment lined baking sheet, and freeze for another 30 minutes. The frozen truffles will hold their shape perfectly when you dip them into warm chocolate.
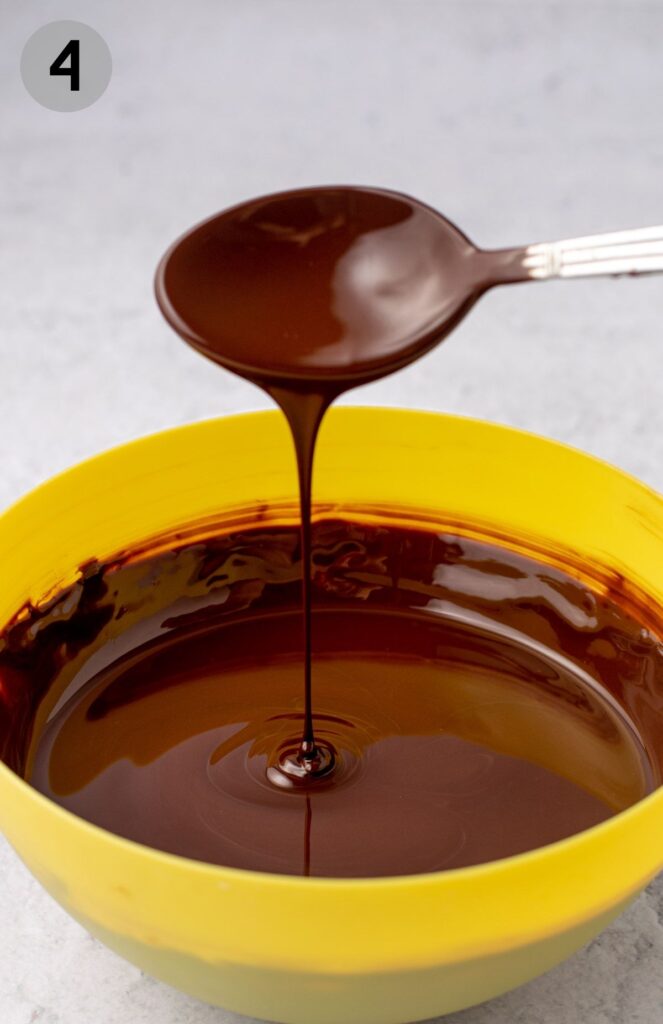
- Prepare the chocolate. This is the most important step for a beautiful finish. Chop 2 cups of dark or semisweet chocolate and place it in a plastic or silicone bowl. Microwave in bursts: 30 seconds, stir, 30 seconds, stir, 15 seconds, stir, then two rounds of 10 seconds, stirring well between each. The key is to never let the chocolate exceed 90°F. I use a probe thermometer and check the center of the bowl. If the chocolate gets too warm, stir in a few unmelted pieces to cool it down. If it seems too thick, add up to a teaspoon of coconut oil. Spread a tiny bit on parchment; if it starts to set within a couple of minutes, your chocolate is ready.
- Coat the truffles. Remove the frozen balls from the freezer. Using two forks, drop one truffle into the melted chocolate, roll it around to coat, then lift it and scrape the excess chocolate against the side of the bowl. Place the coated truffle back on the parchment lined sheet. Repeat with all of them, working fairly quickly because the cold truffles will begin to set the chocolate.
- Chill to set. Drizzle any remaining chocolate over the top with a fork for decoration. Transfer the tray to the refrigerator for at least 1 hour, until the shells are completely firm. Once set, you can pile them into an airtight container. I always sneak one straight from the fridge, the cool creamy center is absolutely perfect.
How to Serve
These truffles shine brightest on a holiday cookie platter, nestled among peppermint bark and gingerbread. They add that touch of elegance without anyone guessing how quick they were to make.
I also love setting out a small plate alongside a pot of hot tea or espresso. The cold truffles soften just slightly against the warmth of the drink, creating a dreamy dessert moment that feels like a coffee shop indulgence.
For gifts, arrange a few truffles in a parchment lined box tied with twine. I brought a box to my neighbor last December, and she texted me asking for the recipe before I even got home.
Storage and Freezing Instructions
Keep the truffles refrigerated in an airtight container, and they will stay fresh for one to two weeks. They taste best when served cold straight from the fridge, but you can leave them out at room temperature for a few hours during a party without any trouble.
If you want to make a double batch ahead of time, freeze the finished truffles in a sealed container for up to three months. To enjoy them later, move the container to the refrigerator the day before you plan to serve.

They will thaw into the same velvety texture you remember. I actually prefer to keep a stash in the freezer for those evenings when I need a quick chocolate fix nobody has to know.
Expert Tips
After making these truffles more times than I can count, I have picked up a few tricks that make the process foolproof.
- Use a food processor or powerful blender. It crushes the cookies evenly and mixes the dough in seconds, saving you arm work and ensuring no big cookie chunks remain.
- Chill the dough before rolling. I learned this the hard way during a warm summer day. Warm dough sticks to your palms and makes a mess. Thirty minutes in the fridge transforms it into a dream to handle.
- Freeze the shaped truffles. This is non negotiable. Ice cold balls do not fall apart when dipped and they help the chocolate set quickly, giving you that glossy finish.
- Choose a quality chocolate bar. Chips often contain stabilizers that prevent smooth melting. A chopped bar melts silkily and creates a crisp, snappy shell that feels luxurious.
- Work fast with two forks. The chocolate will begin to firm up on the frozen truffles within seconds, so dip and scrape efficiently. It is a fun little dance once you get the rhythm.
- Serve them cold. This dessert is designed to be enjoyed right out of the refrigerator. The contrast between the solid shell and the creamy, fudge like center is the whole magic.
FAQs
What ingredients do I need to make gluten-free Oreo truffles?
Can I use regular cream cheese instead of dairy-free?
How long do gluten-free Oreo truffles last in the fridge, and can I freeze them?
Do I have to temper the chocolate, or can I just melt it?

Gluten-Free & Vegan Oreo Truffles
What Are Gluten Free and Vegan Oreo Truffles? These four ingredient truffles are a no bake wonder that combines crushed gluten free Oreo cookies with dairy free cream cheese, a splash of vanilla, and a dark chocolate coating.
- Total Time: 140 min
- Yield: 21 truffles 1x
Ingredients
1 package gluten-free Oreos
1 tub dairy-free cream cheese
2 teaspoon vanilla extract
2 cups dark or semisweet chocolate, chopped
Instructions
1-Place all of the Oreos in a: Place all of the Oreos in a food processor or high-power blender. Pulse to crush into fine chunks. If you don’t have a machine, place the Oreos in a large ziplock bag and crush with a rolling pin or heavy object.
2-Once the Oreos are crushed, add the: Once the Oreos are crushed, add the whole tub of cream cheese and vanilla extract. Pulse again until the mixture is smooth and thick. Use a rubber spatula to transfer the Oreo mixture to a bowl. Cover and place in the fridge for 30 minutes. This will make it easier to roll into truffles.
3-Once the mixture is chilled, roll into: Once the mixture is chilled, roll into approximately 21 tablespoon-size balls. Use a small cookie scoop or melon baller for even sizes. Place the truffles on a parchment-lined plate or small baking sheet, and freeze for an additional 30 minutes.
4-Ideally, you want the chocolate shell to: Ideally, you want the chocolate shell to be tempered so that it has a nice snap when you bite into it. If you are familiar with tempering chocolate, use the method you are most comfortable with. This easy microwave tempering method was learned from Sugar Geek Show. If you will keep the truffles in the fridge and don’t care about your fingers getting a little messy, just simply melt the chocolate as you normally would. Place the chopped chocolate in a plastic or silicone bowl and microwave for 30 seconds. Stir well with a spoon or rubber spatula. Microwave for another 30 seconds, then 15, then 10, then 10 seconds, stirring well in between each heating. The most important thing is that the chocolate does not go above 90ºF. Use a candy or probe thermometer to check the temperature of the middle of the melted chocolate. If it is ever too hot, keep stirring to incorporate air, and add a few pieces of un-melted chocolate to cool it down. If necessary, continue with 10 second intervals, stirring and checking the temperature, until smooth. If the chocolate is too thick, add a teaspoon of coconut oil. Use the back of your spoon or spatula to spread some melted chocolate on a piece of parchment paper. If it starts to solidify in a few minutes, then your chocolate is good to use.
5-Remove the truffles from the freezer and: Remove the truffles from the freezer and use 2 forks to gently coat them in chocolate, one at a time. Place a truffle in the bowl of chocolate, use the forks to roll it around, and lift the truffle, scraping the extra chocolate on the side of the bowl. Place on a parchment-lined baking sheet or plate. Repeat with all of the truffles. Use the extra chocolate to drizzle on top of the truffles.
6-Store in the fridge for at least: Store in the fridge for at least 1 hour, transferring to an airtight container once the chocolate is fully set. Most people prefer to enjoy these truffles cold from the fridge! See below for storage instructions.
Last Step:
Please leave a rating and comment letting us know how you liked this recipe! This helps our business to thrive and continue providing free, high-quality recipes for you.- Prep Time: 20 min
- Cook Time: 0 min
- Method: no_cook
Nutrition
- Serving Size: 1 truffle
- Calories: 152
- Sugar: 9.6g
- Sodium: 43mg
- Fat: 9.8g
- Saturated Fat: 5.3g
- Carbohydrates: 14.2g
- Fiber: 1.6g
- Protein: 1.6g
- Cholesterol: 6.5mg