What Is Biscoff Ice Cream Sandwiches?
These homemade Biscoff ice cream sandwiches are the frozen dessert I now bring out whenever I want something impressive that does not ask for an ice cream machine.

They are built with a creamy no churn Biscoff ice cream filling sandwiched between crisp Lotus Biscoff cookies. The cookies stay snappy against the smooth center, and the whole thing tastes like spiced caramel in every bite.
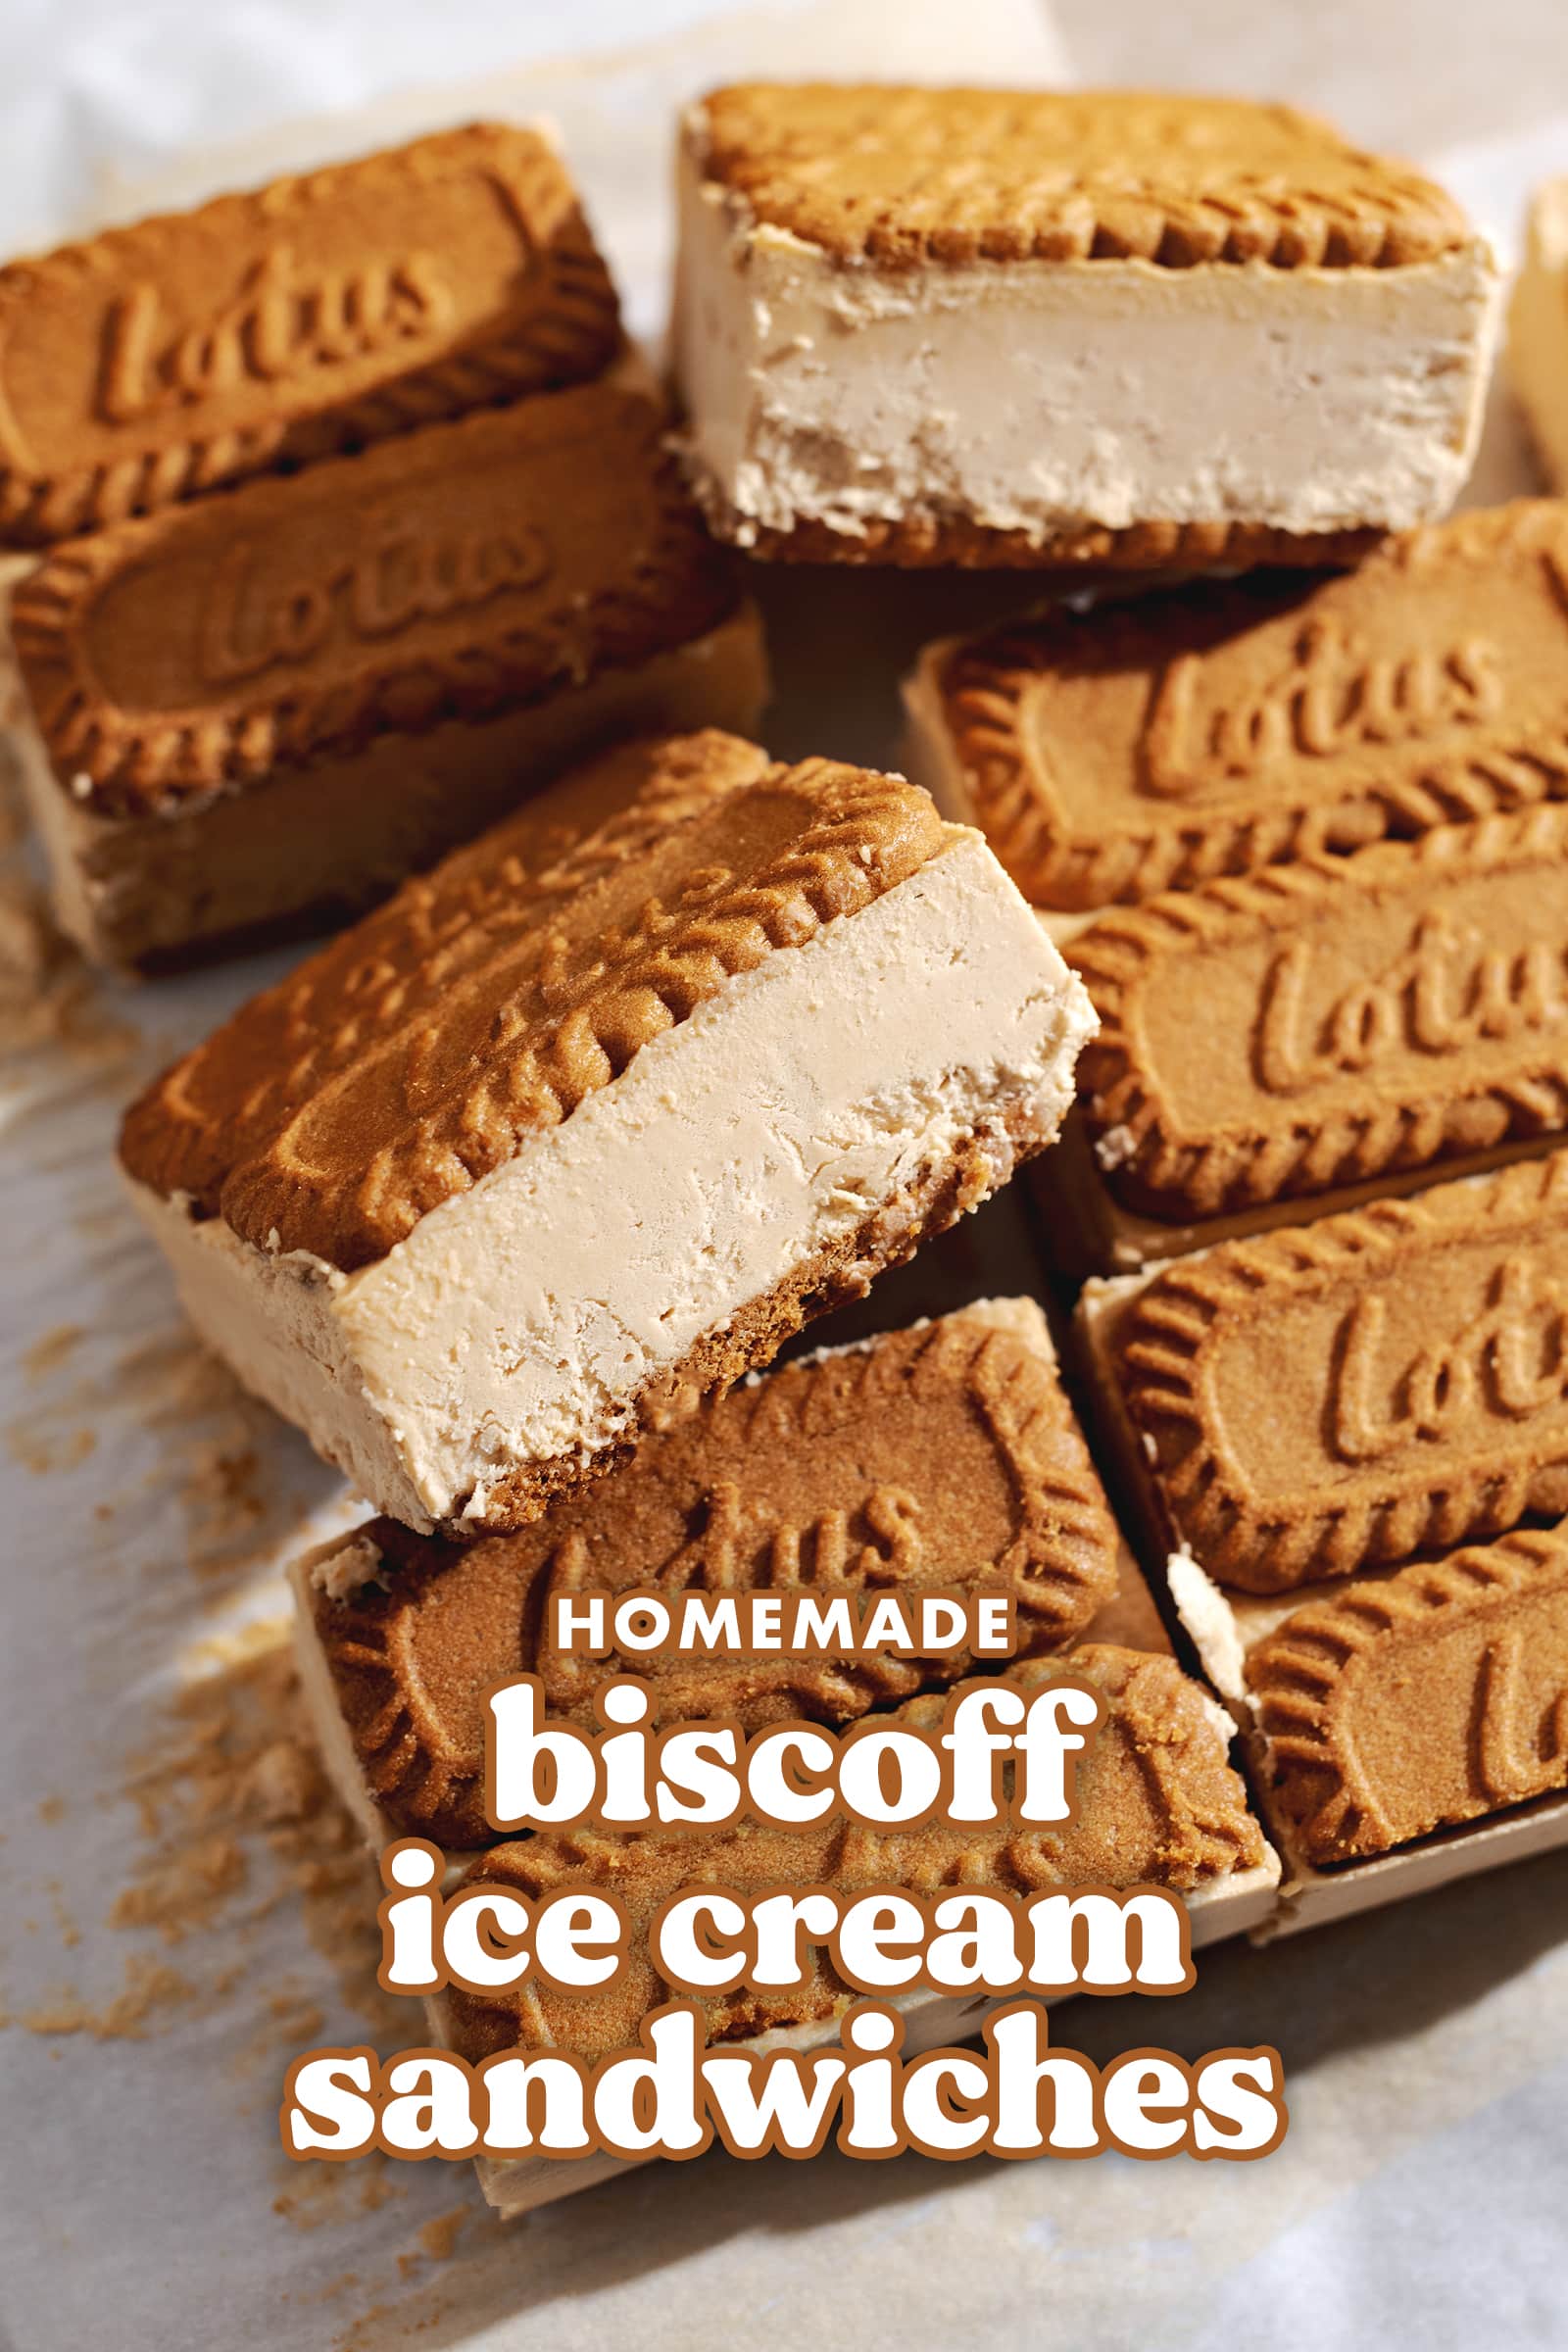
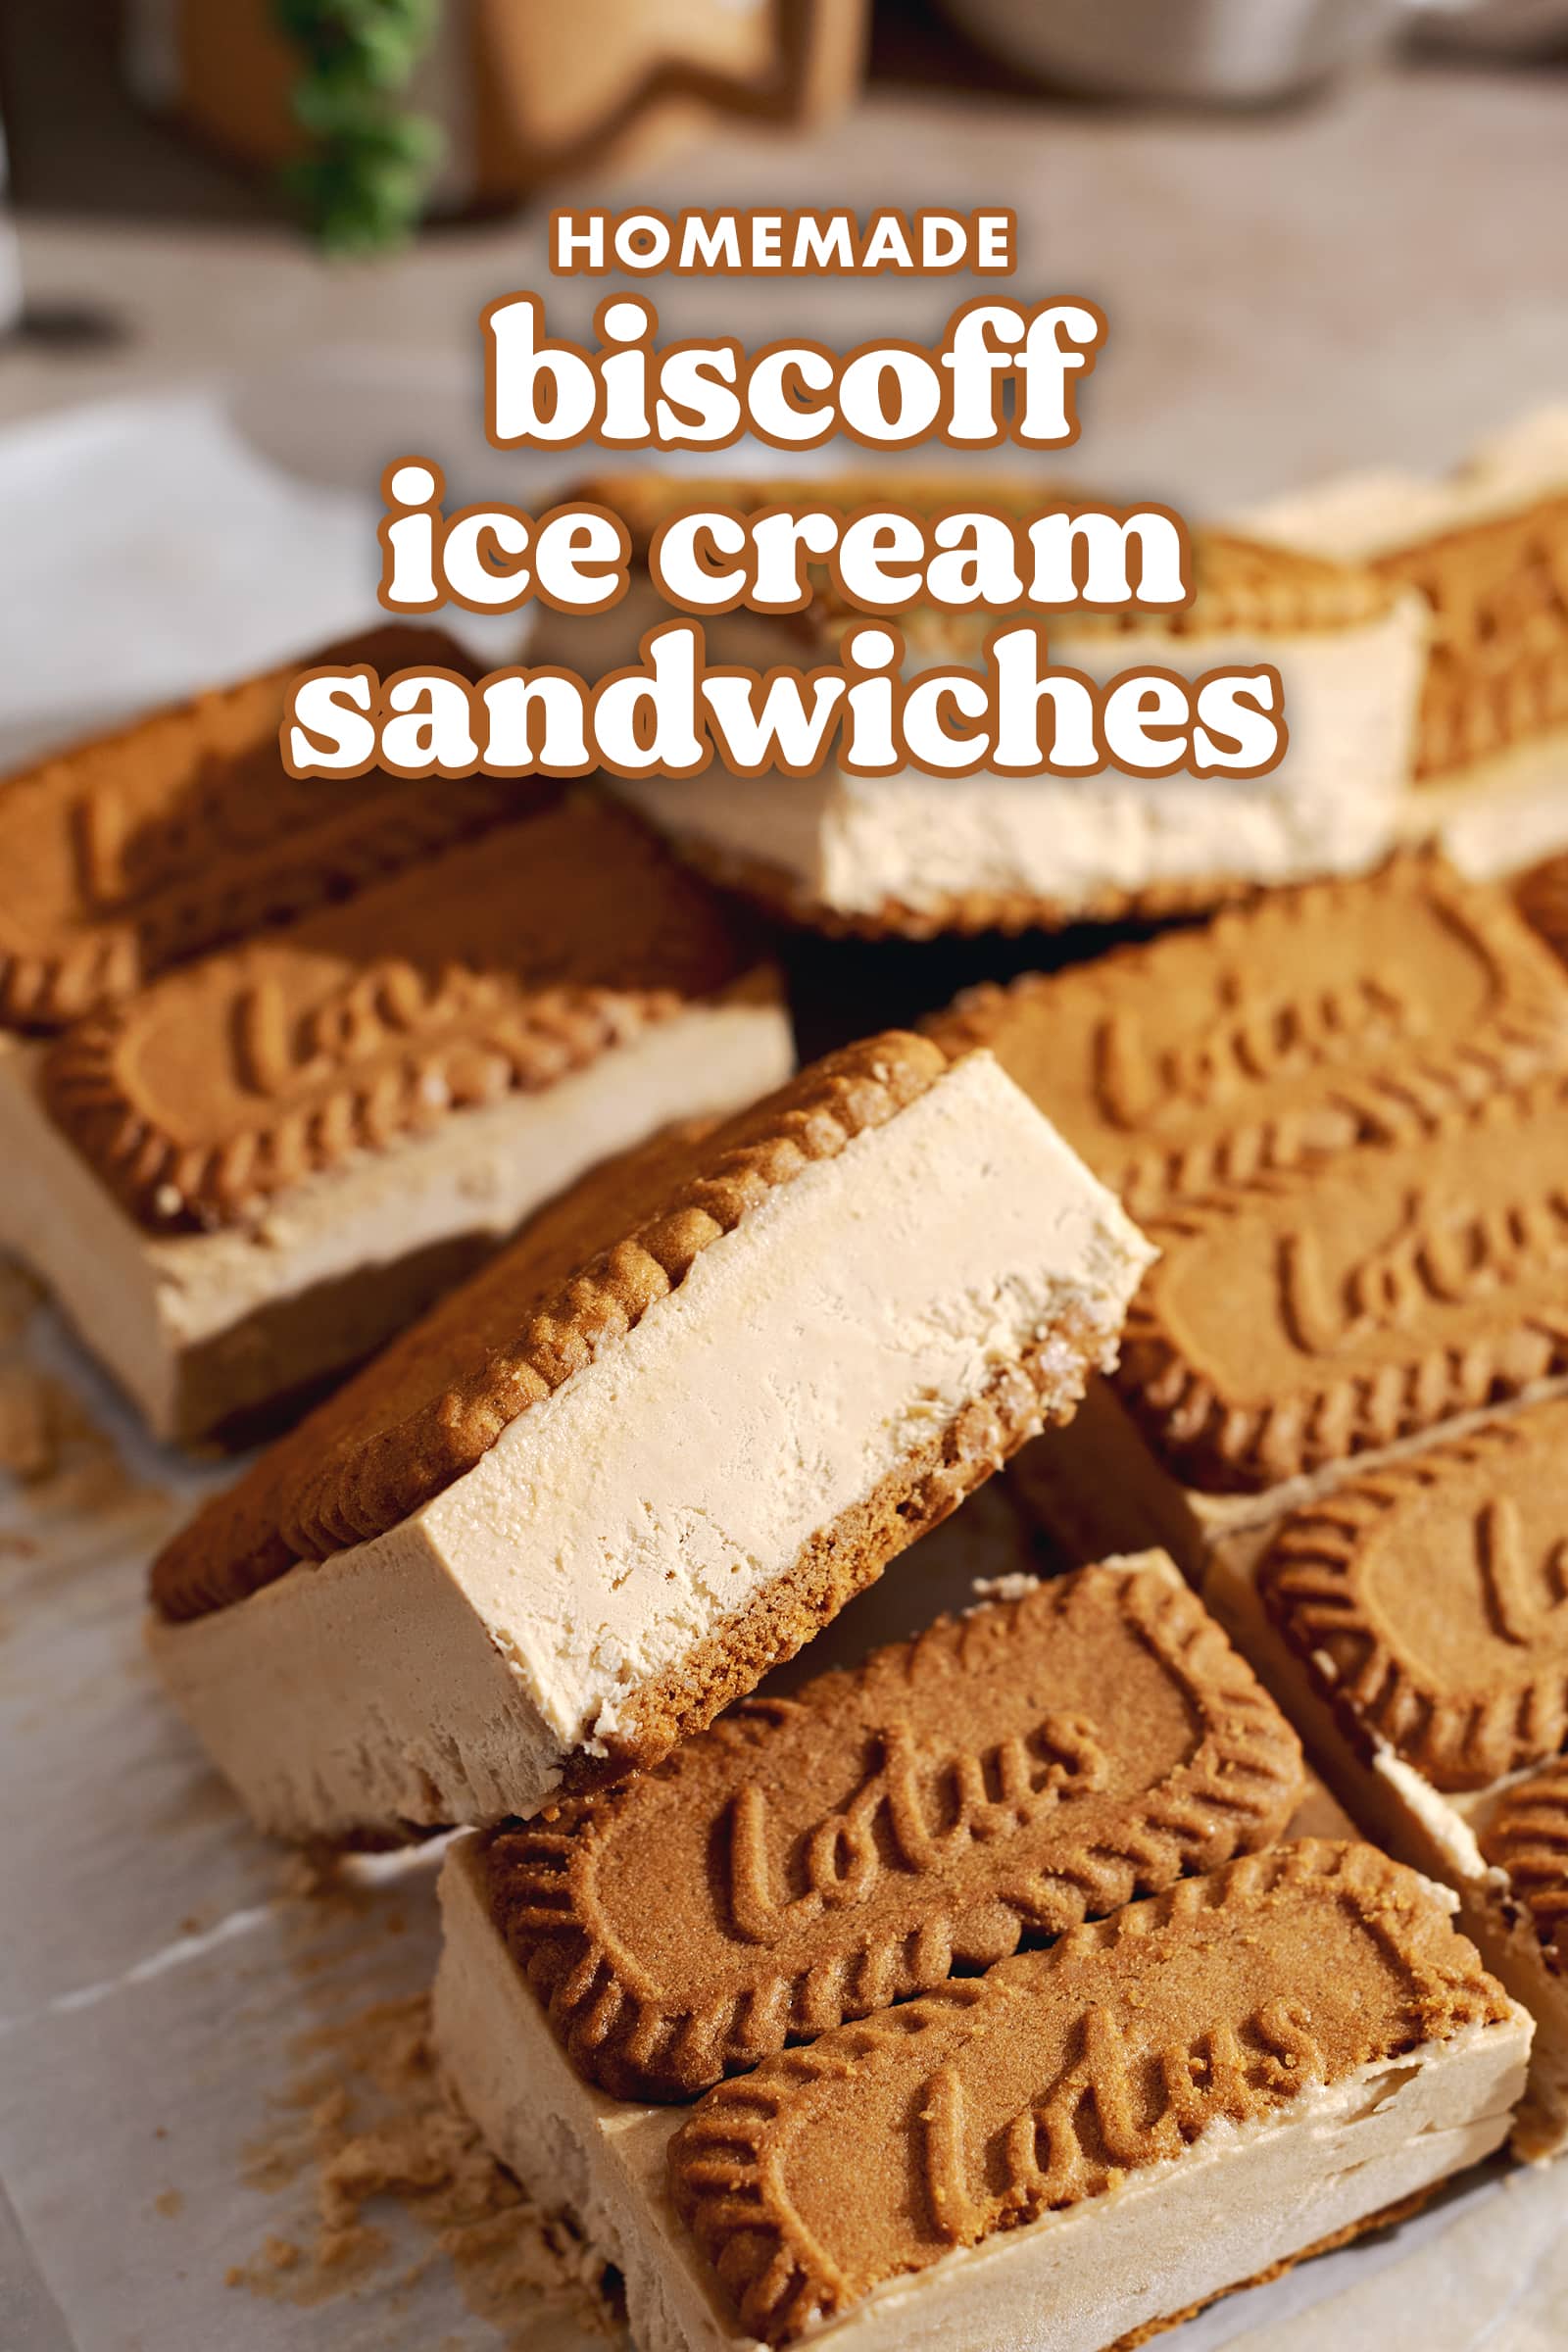
The base recipe comes from the Biscoff ice cream sandwiches recipe at Teak and Thyme. The method is straightforward: whip cream, fold in warmed cookie butter, layer it with cookies, freeze, and slice.

You only need four ingredients, and the finished block can chill in the freezer for up to two weeks. That makes it a great option for busy parents, students, and anyone who wants a make ahead dessert.

Biscoff, also called speculoos, is the signature flavor here. It has a warm, caramelized profile with subtle cinnamon, nutmeg, and ginger notes.

When the spread is folded into whipped cream, it turns into a light no churn ice cream that is rich without being overly sweet. The cookie layers add crunch, so each sandwich has that contrast between creamy filling and crisp biscuit.


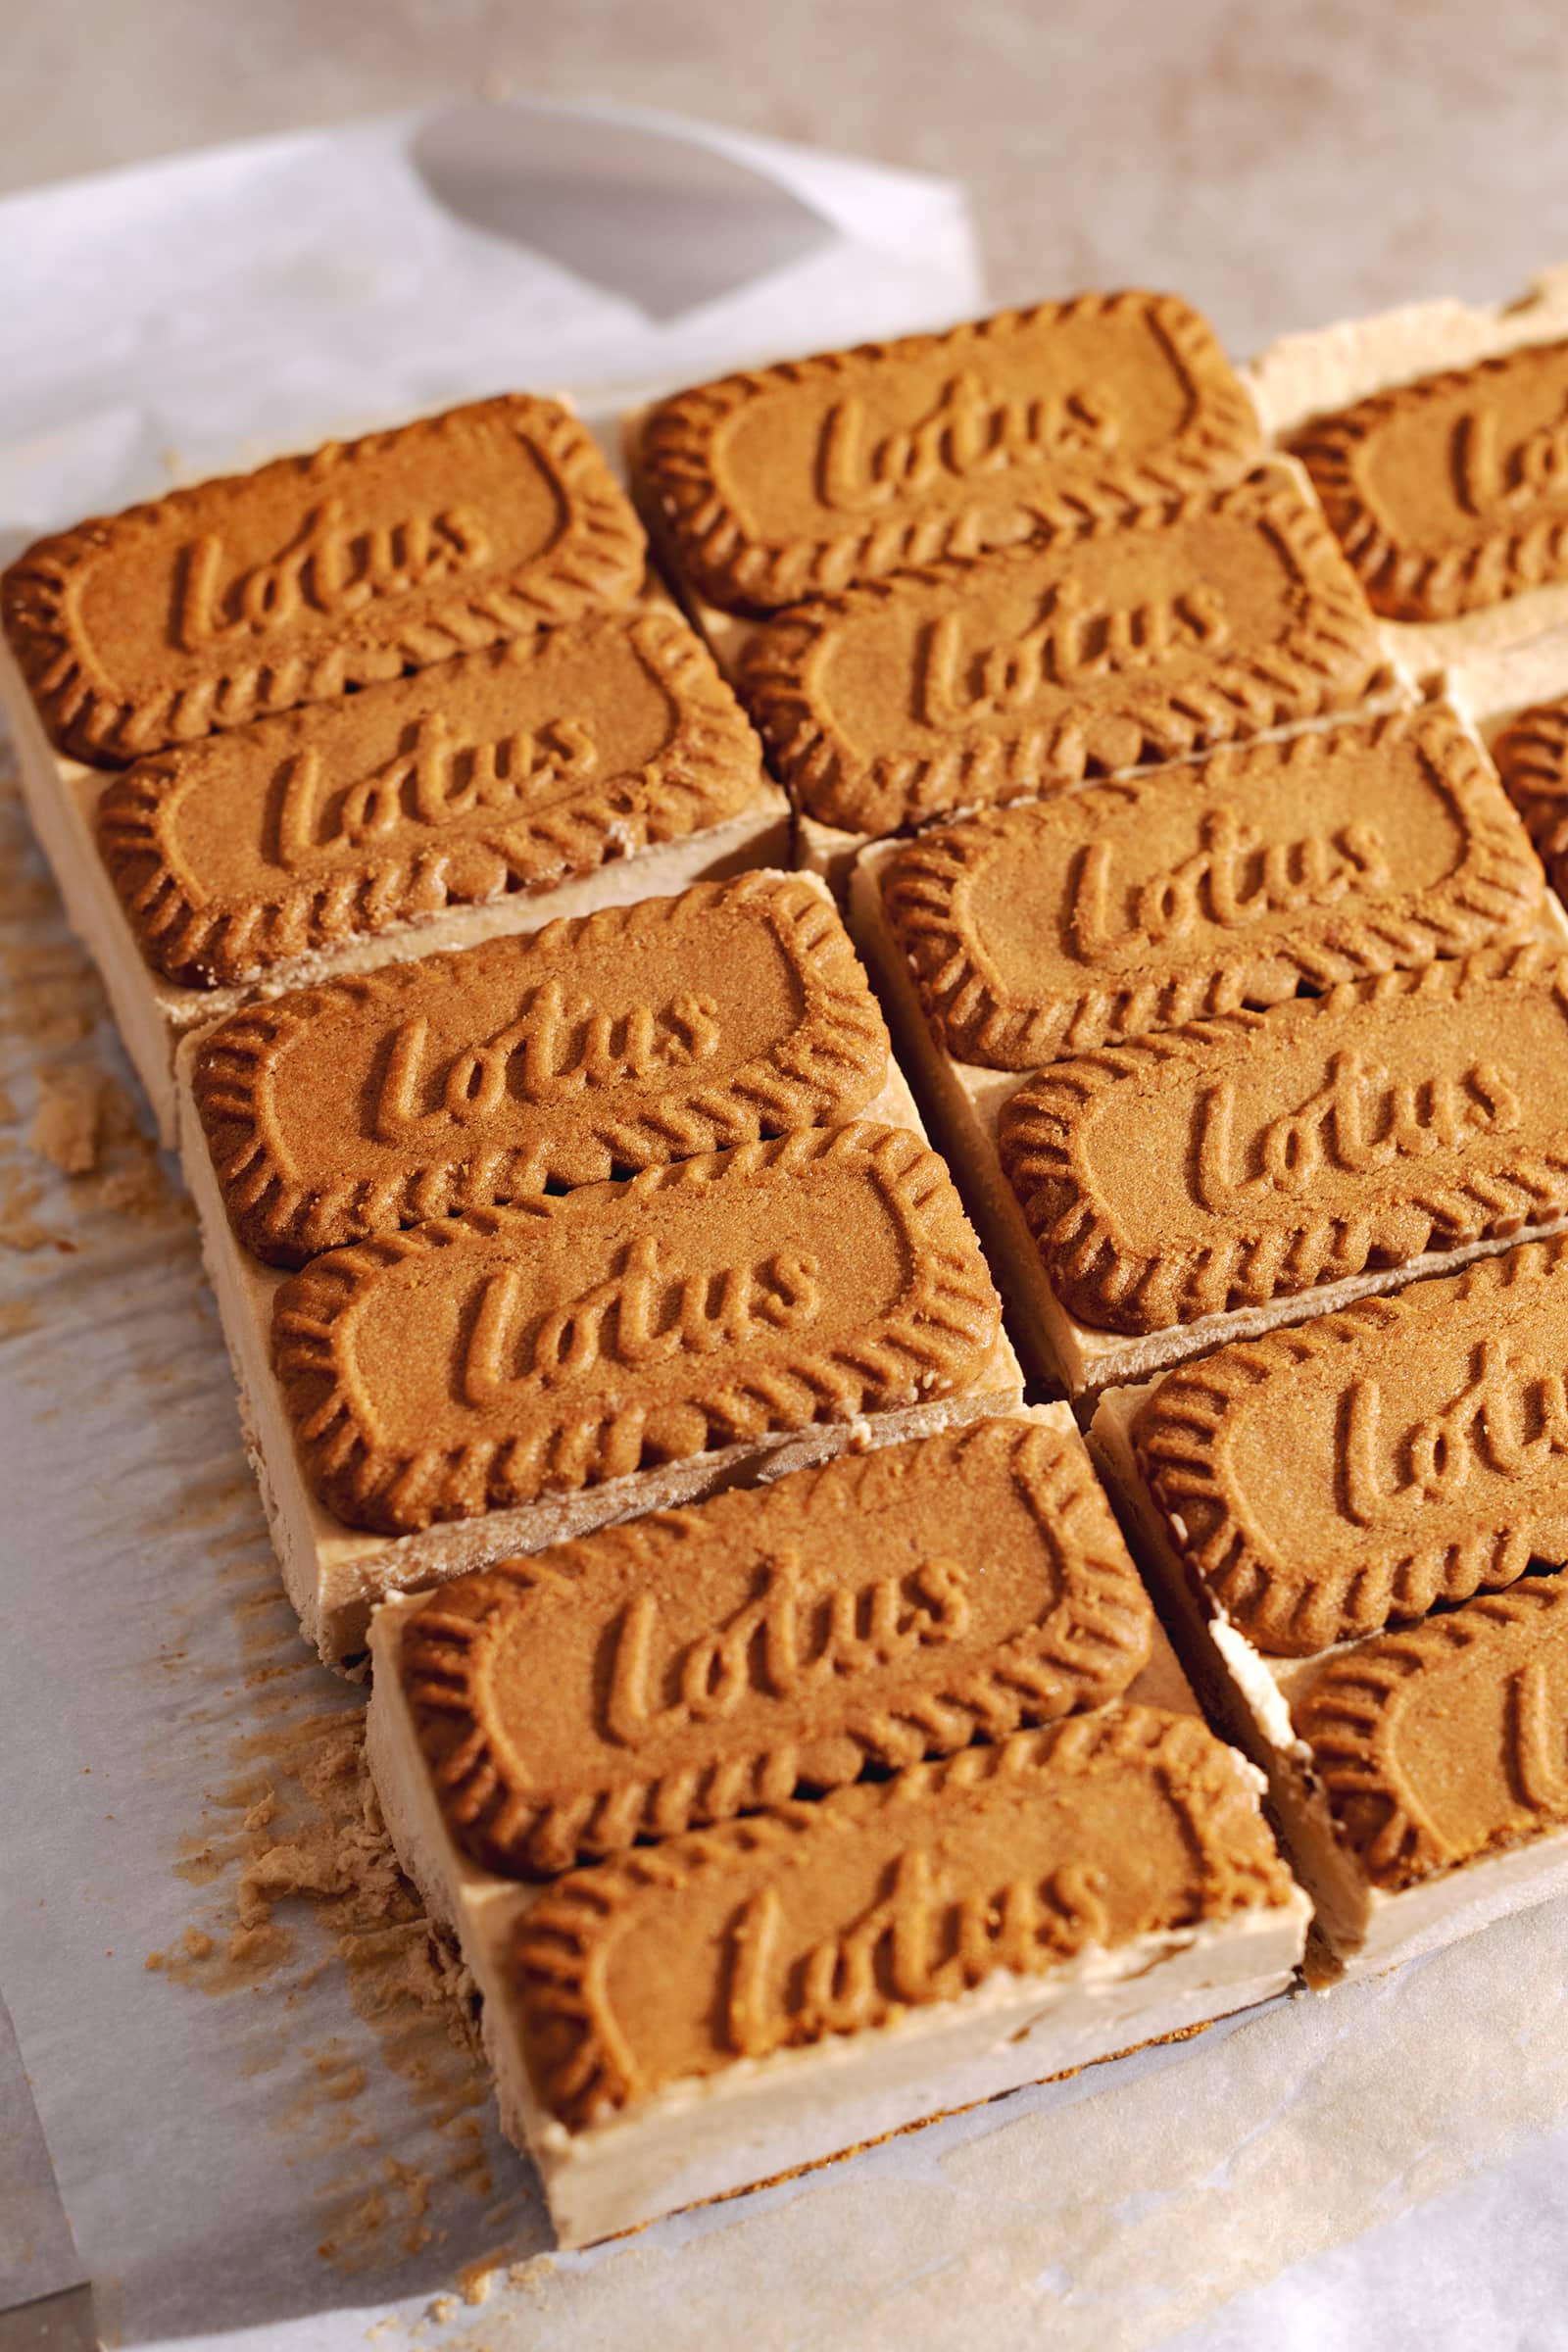
Because this is a no churn recipe, there is no custard base and no special equipment beyond a mixer. The pan does all the shaping. Once frozen, you lift the whole block out with parchment paper and cut it into neat squares or rectangles.
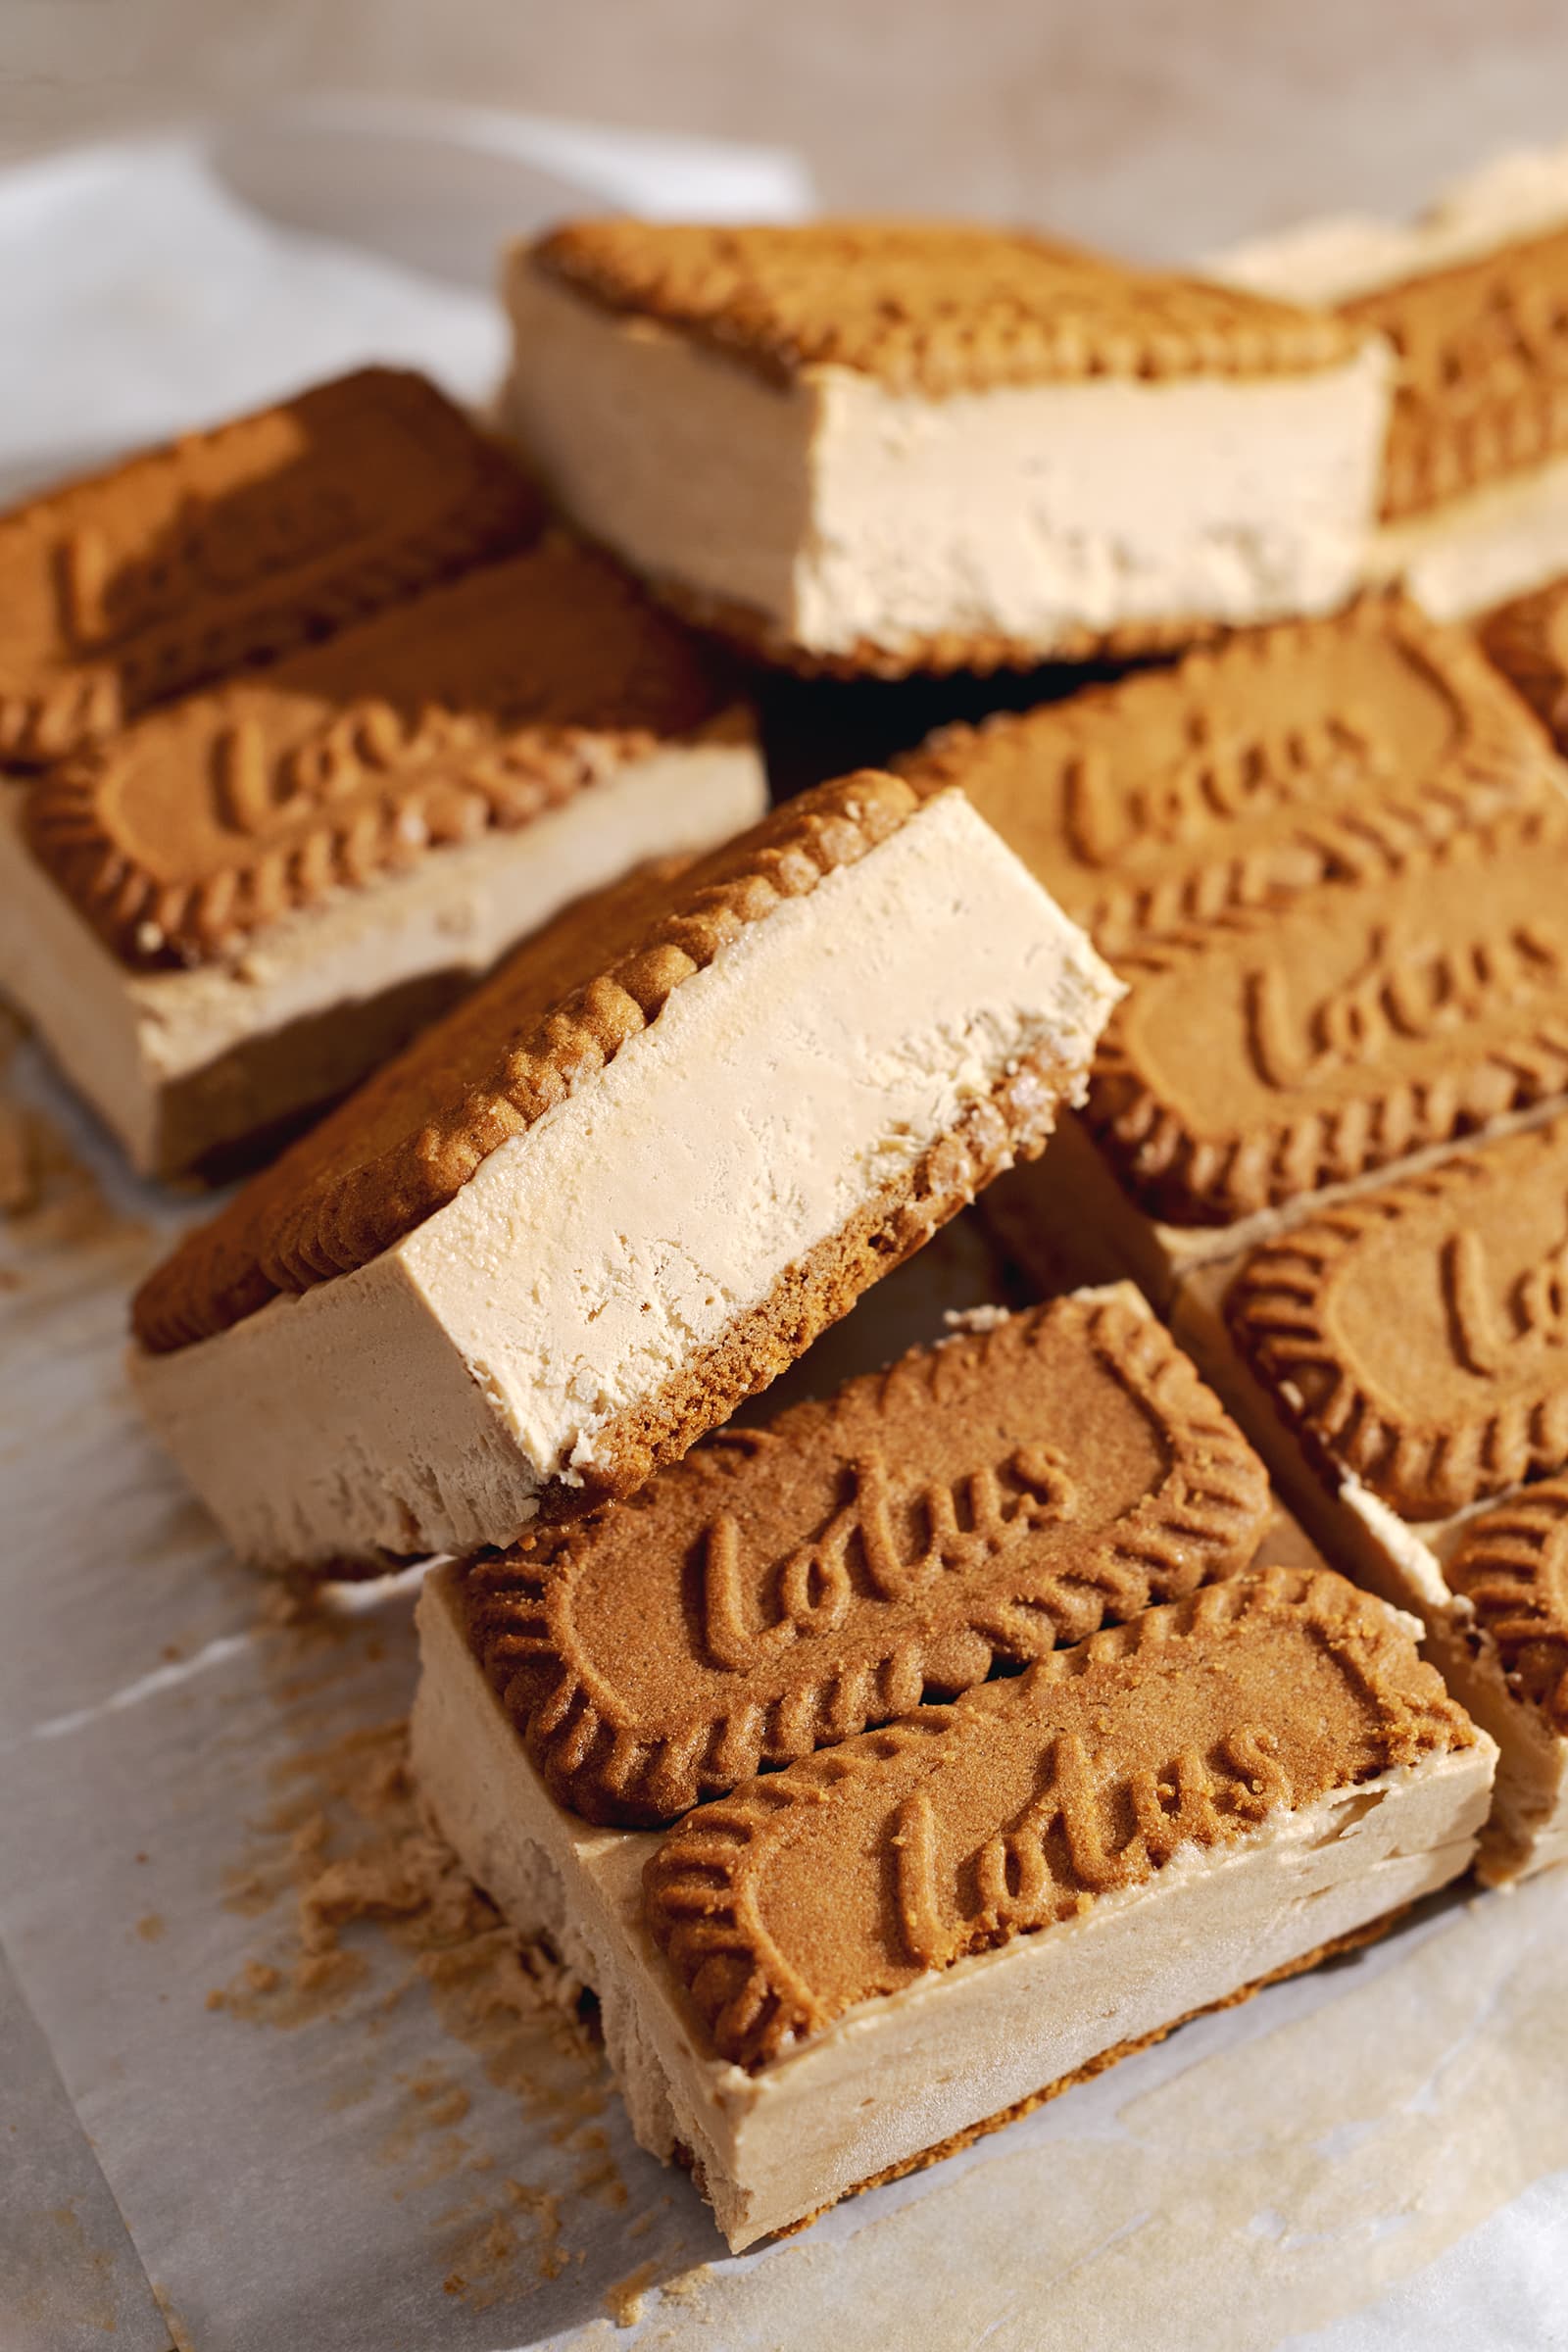
I like slicing mine a little smaller for a kids snack tray, but eight servings is a good standard.
Jump to:
- What Is Biscoff Ice Cream Sandwiches?
- Why you’ll love this recipe
- Tools
- Ingredients
- How to make biscoff ice cream sandwiches
- Storage
- Tips for success
- FAQs
- How long do Biscoff ice cream sandwiches last in the freezer?
- Can I make Biscoff ice cream sandwiches without an ice cream maker?
- What does Biscoff taste like in these ice cream sandwiches?
- Can I double this Biscoff ice cream sandwiches recipe for a party?
- Biscoff Ice Cream Sandwiches
- Ingredients
- Instructions
- Last Step:
- Nutrition
- Did you make this recipe?
Why you’ll love this recipe
These Biscoff ice cream sandwiches are delicious in a way that feels both nostalgic and a little fancy. The filling is creamy, the cookies are crunchy, and the whole dessert carries that spiced caramel flavor that makes Biscoff so addictive.
It is the kind of treat that disappears fast at a cookout, yet it looks neat enough for a dinner party.
- Super easy to make: You only need 4 ingredients and a few simple steps.
- Great texture: The smooth no churn filling contrasts with the crisp biscuit layers.
- Warm spiced flavor: Biscoff brings caramel, cinnamon, nutmeg, and ginger notes.
- Freezer friendly: The sandwiches keep well for up to two weeks, so you can enjoy them over time.
I first made a batch after a long week when I wanted dessert without turning on the oven. The filling came together quickly, and the hardest part was waiting for it to freeze. When I sliced the block, it looked clean and the cookies stayed in place. It was everything I hoped it would be: creamy, crunchy, and completely satisfying.
The recipe is also flexible. Use whipping cream for a lighter texture or heavy cream for a richer bite. If you want a stronger cookie butter taste, you can serve the sandwiches a few minutes out of the freezer so the center softens slightly. There is no extra sugar needed because the Biscoff spread brings plenty of sweetness.
Tools
The equipment list is short, which is part of the appeal. You do not need an ice cream maker or any special molds.
- Electric hand mixer: This makes whipping cream to firm peaks quick and easy. If you do not have one, a regular whisk works, but it will take longer and your arm might get sore.
- 9×9 inch pan: Use a pan with walls at least 2 inches tall so the layered dessert has room to freeze properly. Lining it with parchment paper helps you lift the block out cleanly.
- Mixing bowl and spatula: You need a large bowl for whipping and folding, plus a spatula for the cookie butter.
- Offset spatula: Helpful for smoothing the filling into an even layer, though the back of a spoon can work.
If you want a bigger batch, the recipe can be scaled. Use a larger pan and double the ingredients. Just make sure the pan still has tall enough sides and that you leave parchment overhang on all sides.
Ingredients
This recipe keeps things simple with four ingredients. Check the notes below so the textures come out right.
- Biscoff cookies: Use Lotus Biscoff cookies, also known as speculoos cookies or Lotus biscuits. They are thin, crunchy, and packed with a spiced caramelized flavor. One whole 250g package is used, but you may need more if your pan is bigger.
- Whipping cream or heavy cream: Whipping cream creates a lighter ice cream, while heavy cream yields a richer texture. Both work well.
- Vanilla extract: One tablespoon rounds out the flavor without overpowering the cookie butter.
- Biscoff spread: Lotus brand cookie butter has a consistency like peanut butter. Warm it until runny and pourable before folding it into the whipped cream.
The exact quantities are 30 Biscoff cookies, 400g whipping cream or heavy cream, 1 tablespoon vanilla extract, and 200g warmed Biscoff spread. That yields 8 servings when sliced from a 9×9 inch pan.
How to make biscoff ice cream sandwiches
The method is simple, but a few details make a big difference. Work in stages so the whipped cream stays light and the cookie layers line up neatly.
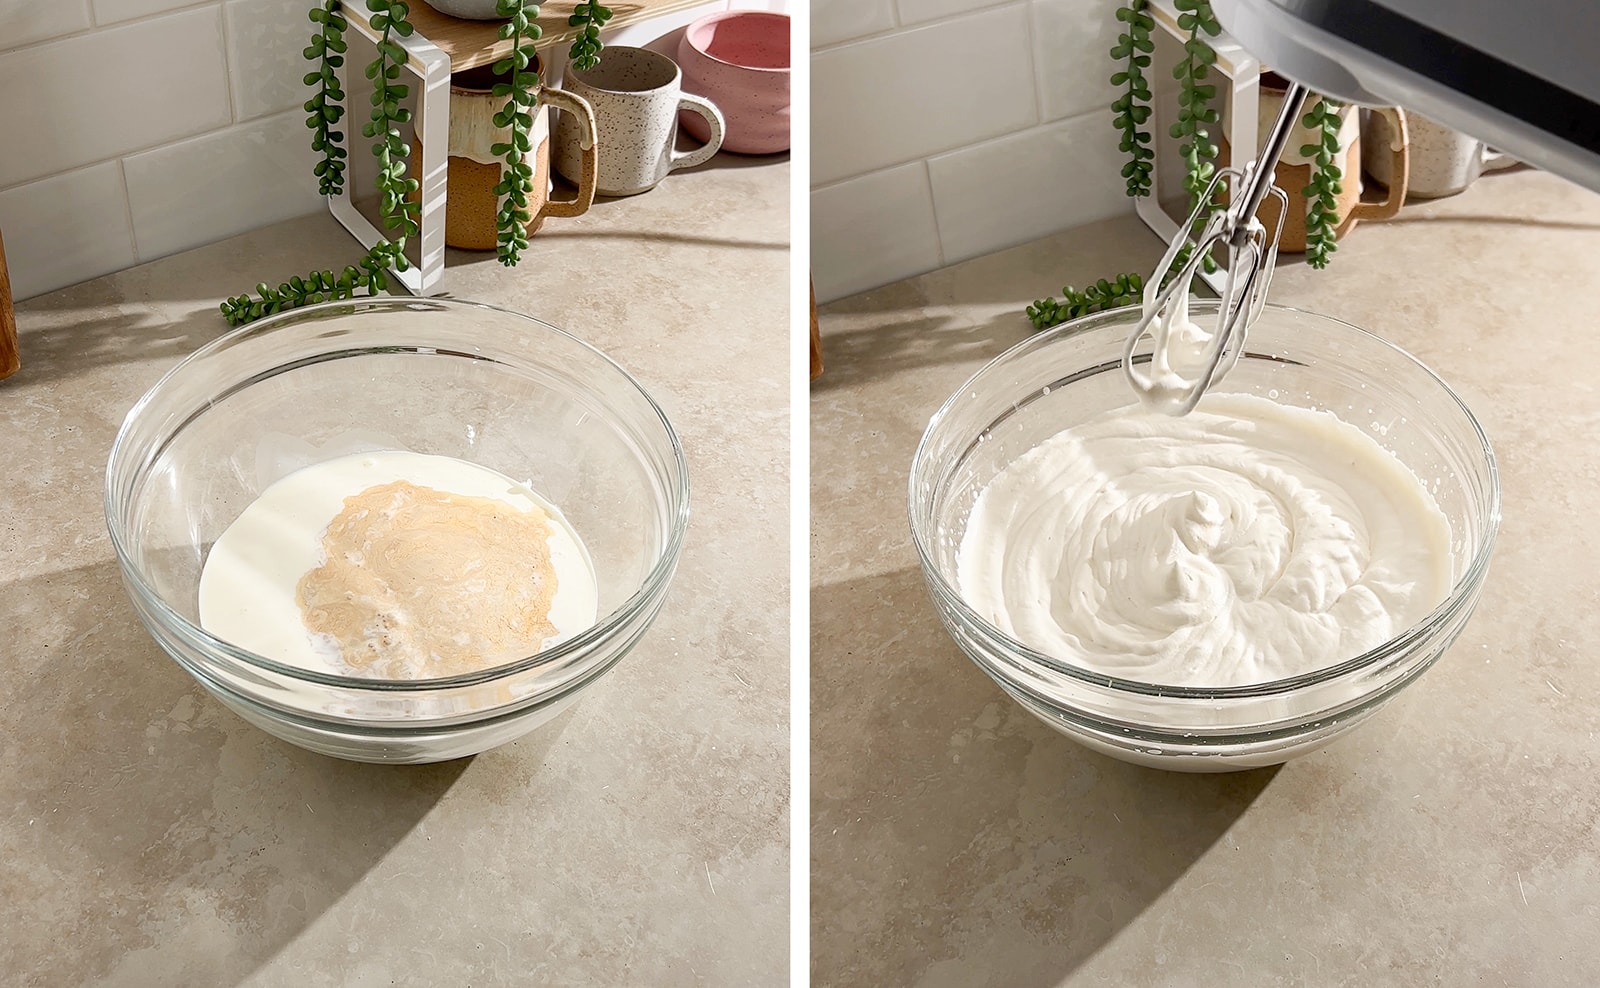
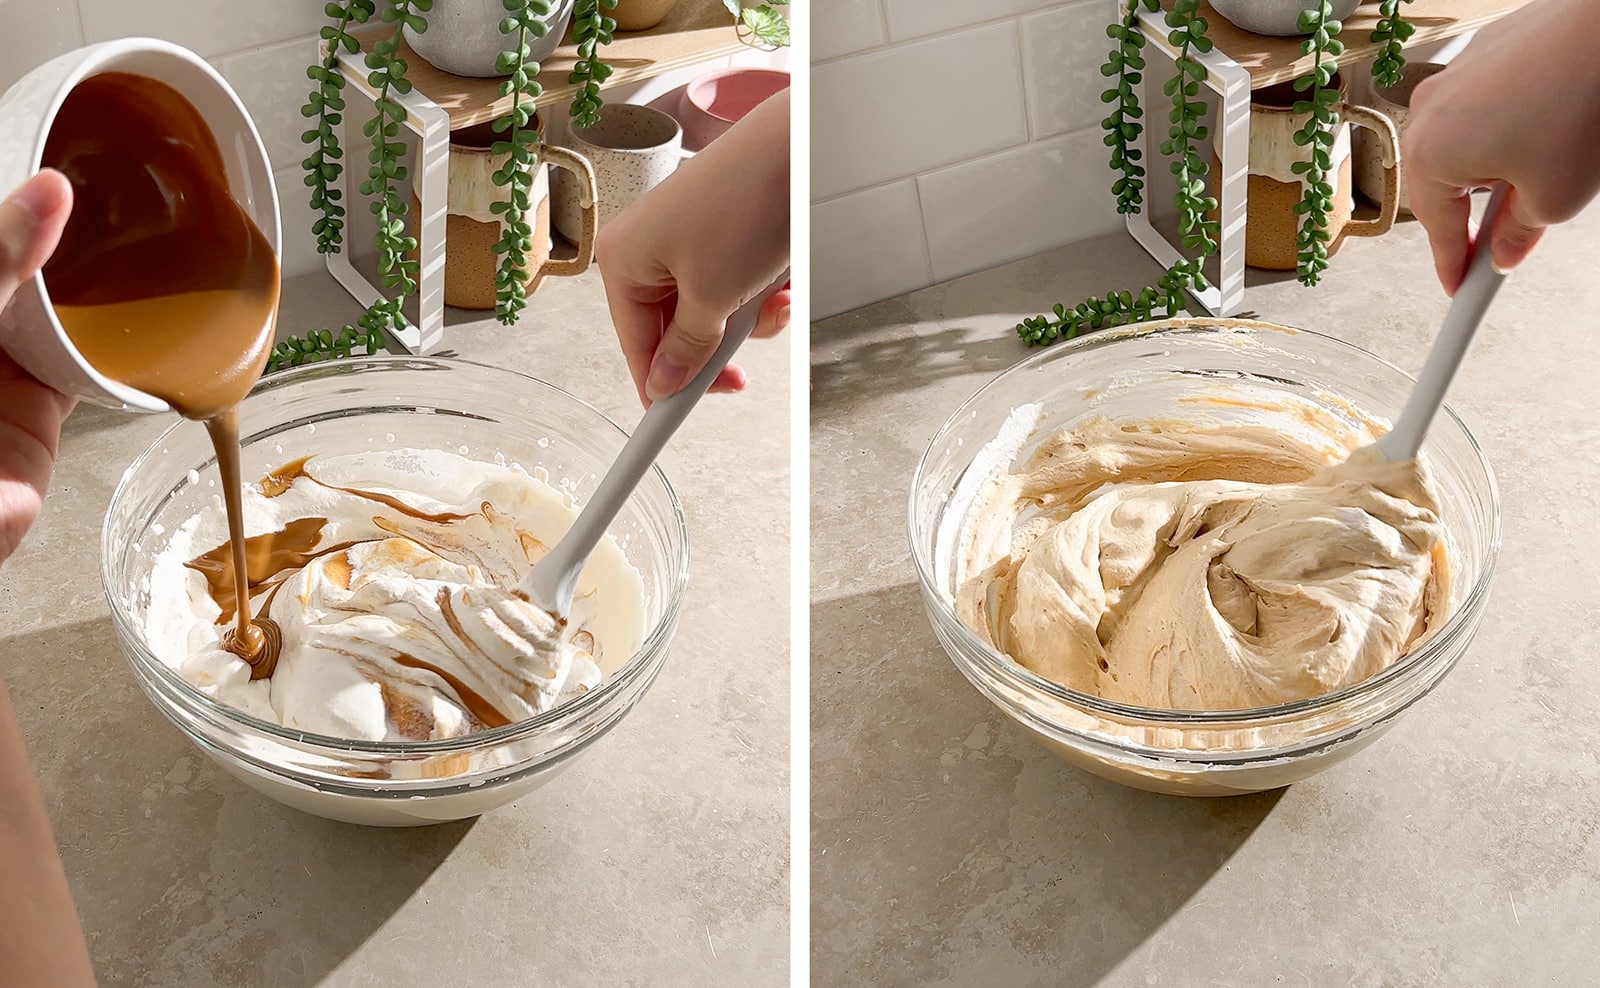
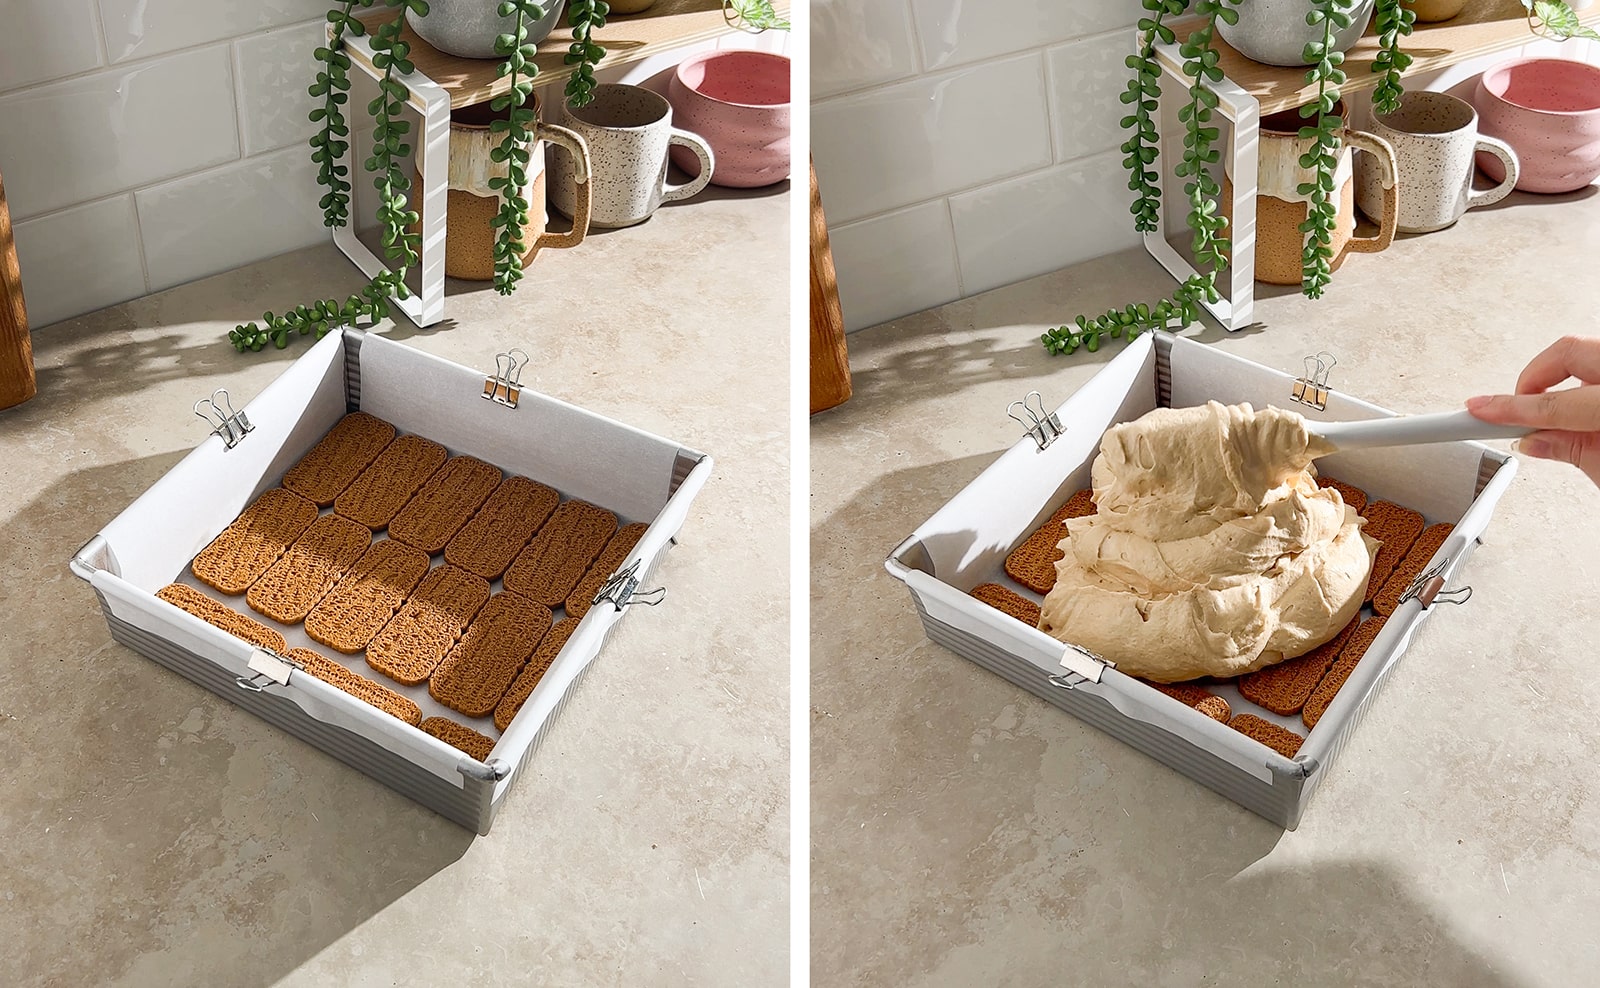
- Prep the pan: Line a 9×9 inch pan with parchment paper on all sides. Set it aside.
- Whip the cream: In a large mixing bowl, add the whipping cream and vanilla extract. Use an electric hand mixer to beat the mixture until it reaches firm peaks.
- Add Biscoff spread: Warm the Biscoff spread in the microwave in 15 second intervals just until it becomes runny and pourable. Slowly stream it into the whipped cream while folding with a spatula until no streaks remain.
- Layer the dessert: Arrange a layer of Biscoff cookies on the bottom of the lined pan. Cut any biscuits to fit as needed. Pour the whipped cream mixture over the cookie layer and smooth it into a flat, even layer with an offset spatula.
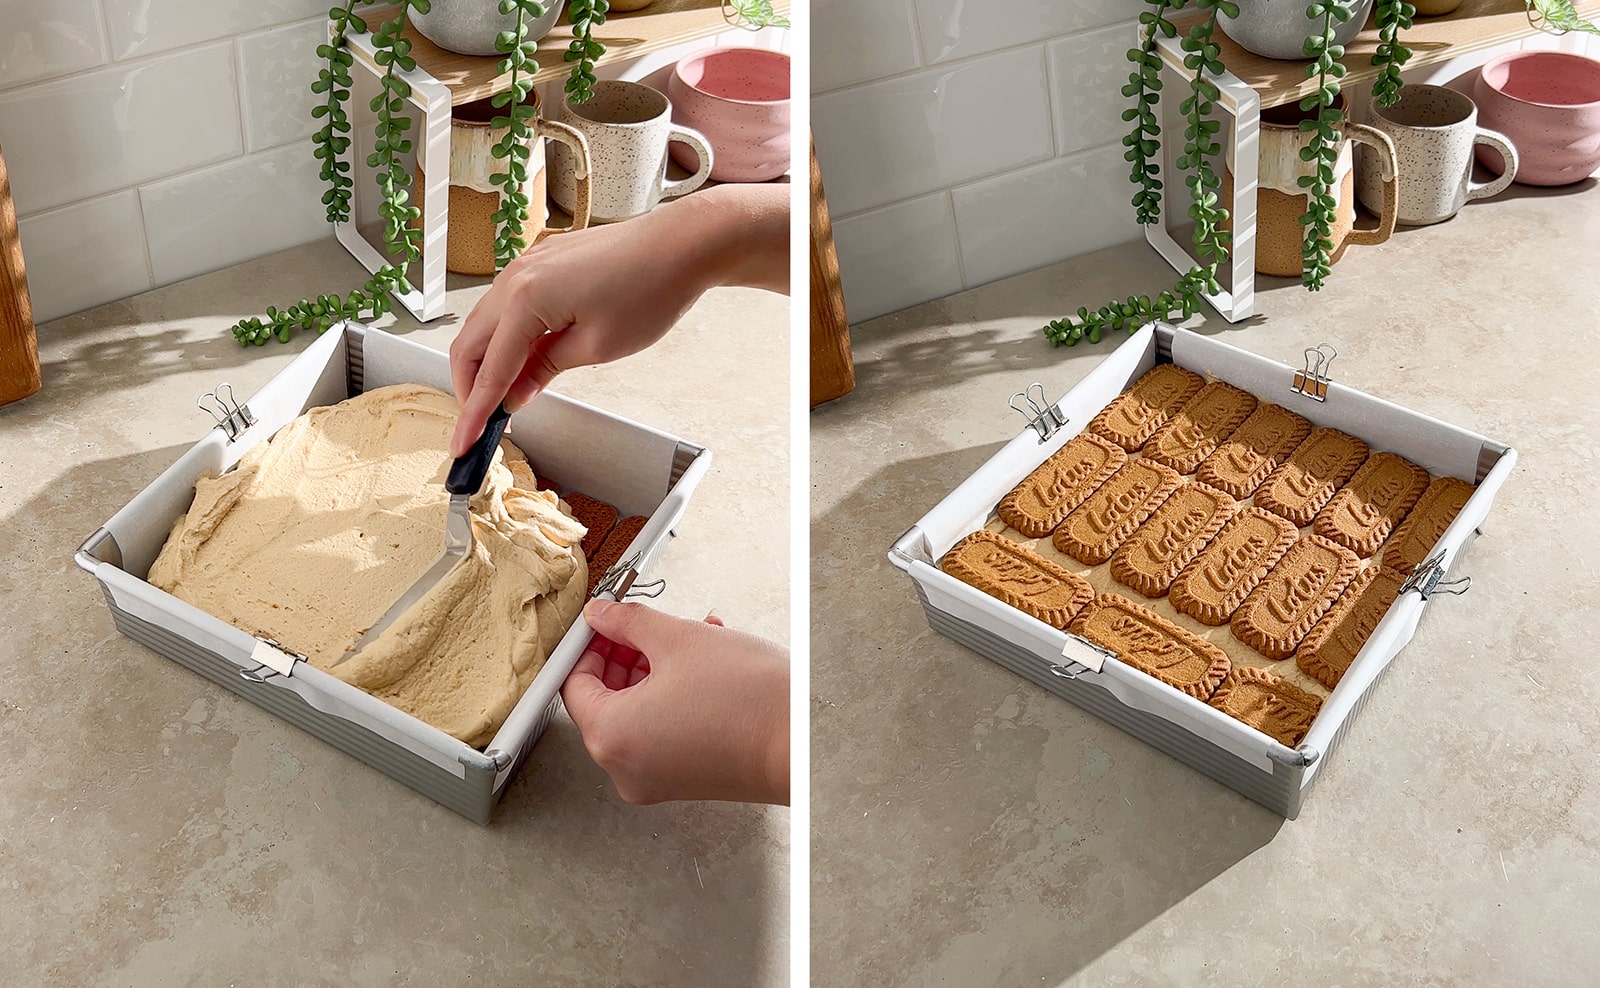
- Add the top cookie layer: Arrange another layer of Biscoff cookies on top, matching the orientation of the bottom layer so each sandwich gets cookies on both sides.
- Freeze: Place the pan in the freezer for at least 4 hours, or preferably overnight. The longer chill helps the block set firmly.
- Slice and serve: Lift the block out of the pan using the parchment overhangs, then slice into as many ice cream sandwiches as you like.
The prep time is about 25 minutes, and the chill time is 4 hours, giving a total of about 4 hours 25 minutes before slicing.
Storage
These Biscoff ice cream sandwiches should be stored in an airtight container or wrapped in plastic wrap, parchment paper, or a combination of both. Keep them in the freezer for up to 2 weeks for the best texture and flavor.
If you are storing individual sandwiches, separate layers with parchment paper so the cookies do not freeze together. For a whole uncut block, keep it wrapped tightly. Let the sandwiches sit at room temperature for just a couple of minutes before serving if you want the no churn filling to soften slightly.

The cookies will soften as they sit, but the contrast is still lovely. I tend to wrap the sliced sandwiches right after cutting so the edges stay neat in the freezer.
Tips for success
Here are the details that help the no churn filling stay creamy and the sandwiches come out clean.
- Whip cream to firm peaks: Whipping plenty of air bubbles into the cream prevents the no churn ice cream from becoming icy and hard when frozen. Stop once the peaks hold their shape; overwhipping can turn the cream grainy.
- Let Biscoff spread cool slightly if needed: Warm the cookie butter only until it is runny and pourable. If it is too hot, it can deflate the whipped cream. Fold gently to keep the mixture light.
- Match the cookie layers: Arrange the top cookies in the same orientation as the bottom layer. That way, each slice has full cookie coverage on both sides.
- Add condensed milk for more sweetness: Because Biscoff spread already contains sugar, this recipe does not add extra sugar to the ice cream. If you want a sweeter filling, you can add a little condensed milk as an optional adjustment.
- Try the lazy variation only as an alternative: You can mix partially melted vanilla ice cream with Biscoff spread instead of whipping cream. This shortcuts the process, but the main no churn method above gives the lightest texture.
Keep the bowl and cream cold before whipping. A chilled bowl helps the cream reach firm peaks faster and keeps the no churn mixture stable while you fold in the cookie butter.
FAQs
How long do Biscoff ice cream sandwiches last in the freezer?
Can I make Biscoff ice cream sandwiches without an ice cream maker?
What does Biscoff taste like in these ice cream sandwiches?
Can I double this Biscoff ice cream sandwiches recipe for a party?
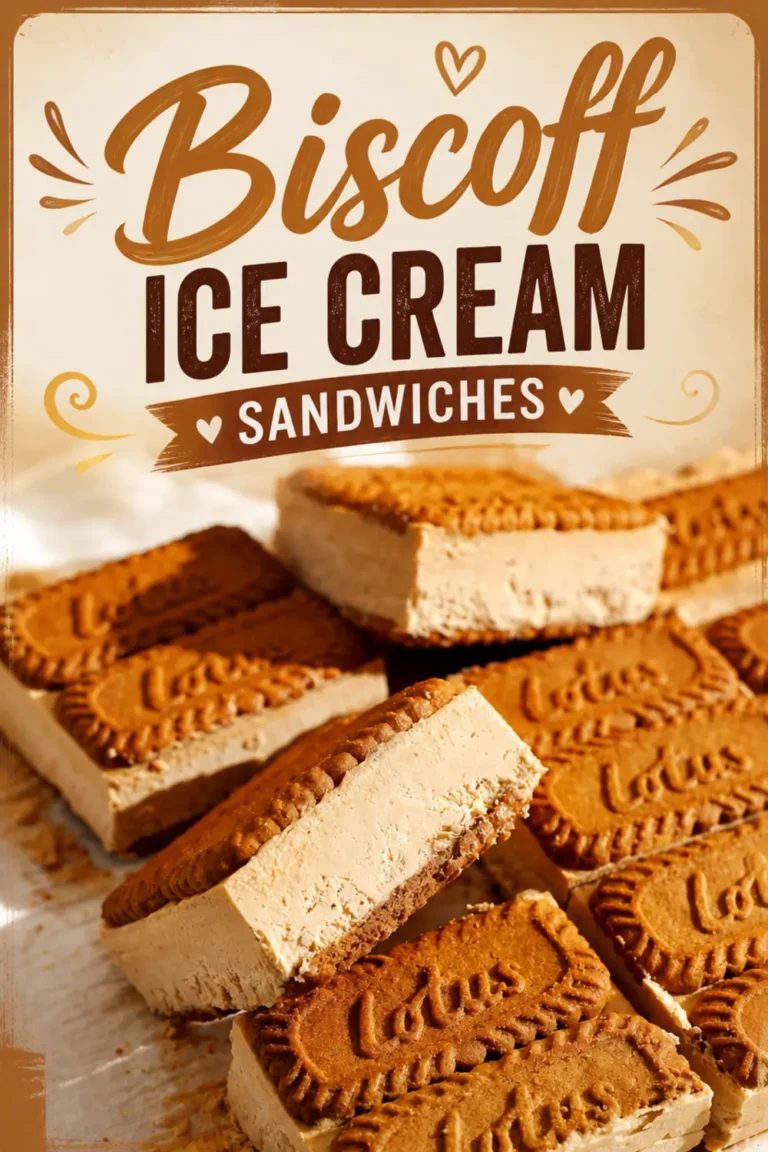
Biscoff Ice Cream Sandwiches
What Is Biscoff Ice Cream Sandwiches? These homemade Biscoff ice cream sandwiches are the frozen dessert I now bring out whenever I want something impressive that does not ask for an ice cream machine.
- Total Time: 265 min
- Yield: 8 servings 1x
Ingredients
Ingredients
30 biscoff cookies
400 g whipping cream or heavy cream
1 tablespoon vanilla extract
200 g biscoff spread, warmed until runny
Instructions
Instructions
1-Line a 9×9″ pan with parchment paper: Line a 9×9″ pan with parchment paper on all sides. Set aside.
2-In a large mixing bowl, add whipping: In a large mixing bowl, add whipping cream and vanilla extract. Use an electric hand mixer to beat it until it becomes firm peaks.
3-Warm up the biscoff spread in the: Warm up the biscoff spread in the microwave in 15-second intervals just until it becomes runny and pourable. Slowly stream the biscoff spread into the whipped cream while folding it all together with a spatula until no streaks remain.
4-Arrange a layer of biscoff cookies on: Arrange a layer of biscoff cookies on the bottom of your lined pan. Cut any biscuits to fit. Pour the whipped cream mixture on top of the cookie layer and smooth it into a flat, even layer with an offset spatula. Arrange another layer of biscoff cookies on top, matching the orientation with your bottom layer.
5-Freeze for at least 4 hours or: Freeze for at least 4 hours or preferably overnight.
6-Lift the block out of the pan: Lift the block out of the pan by lifting it by the parchment paper overhangs. Slice them into as many ice cream sandwiches as you’d like.
Last Step:
Please leave a rating and comment letting us know how you liked this recipe! This helps our business to thrive and continue providing free, high-quality recipes for you.- Prep Time: 25 min
- Cook Time: 0 min
- Method: no_cook
Nutrition
- Calories: 550kcal
- Sugar: 23g
- Sodium: 285mg
- Fat: 34g
- Saturated Fat: 15g
- Carbohydrates: 56g
- Fiber: 2g
- Protein: 7g
- Cholesterol: 57mg