Why You’ll Love This Recipe
If you are like me, you love a crisp pickle that snaps when you bite it. The good news is that making dill pickles at home is much easier than it looks. All you do is pack fresh cucumbers and spices into jars, pour in a hot vinegar brine, and wait a couple days for the magic to happen.
This easy dill pickles recipe is my favorite because it needs no canner, no special equipment, and no boiling water bath. You get bright, tangy, crunchy refrigerator pickles that taste fresher than anything from the deli aisle. That said, you do need a little patience. The waiting is the hardest part!
I love that I can control the seasonings. If you want more garlic, add more garlic. If you want a gentle kick, add red pepper flakes. The recipe is flexible enough for beginners but tasty enough for pickle lovers. And that is it!

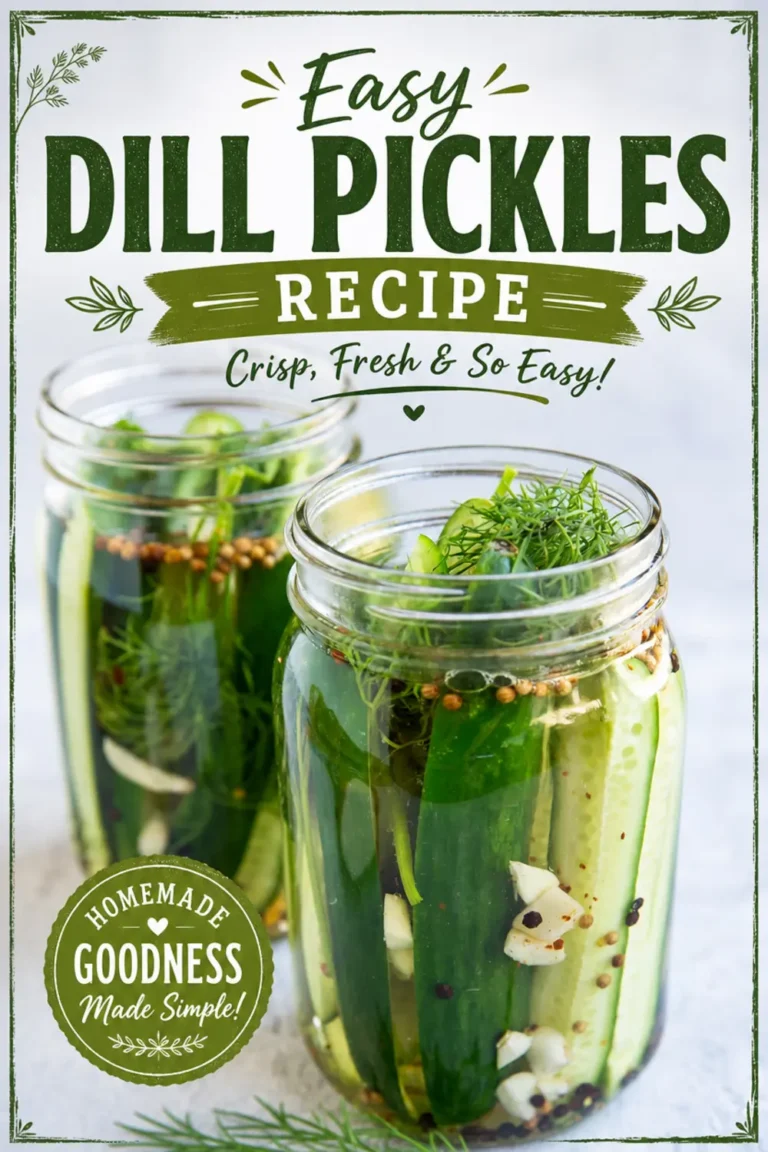
Fresh dill, garlic, and a hot vinegar brine turn ordinary cucumbers into the crunchiest refrigerator pickles you will ever make at home.
This is my go to easy dill pickles recipe when I want a jar of refrigerator pickles that tastes like a summer cookout.
Jump to:
- Why You’ll Love This Recipe
- Key Ingredients and Components
- Preparation Overview
- Expert Tips and Variations
- FAQs
- What is the best cucumber for making dill pickles?
- How long do refrigerator dill pickles last?
- How can I keep my homemade dill pickles crunchy?
- Can I make these dill pickles spicy?
- Dill Pickles Recipe
- Ingredients
- Instructions
- Last Step:
- Did you make this recipe?
Key Ingredients and Components
The ingredient list is short and simple. Persian cucumbers or Kirby cucumbers are the best choice because they have fewer seeds, thinner skin, and a shape that fits easily into mason jars. English cucumbers are not ideal because they can taste slightly bitter in this recipe.
- 2 lbs Persian cucumbers, cut in half or cut into spears
- 6 cloves garlic, roughly chopped
- 2 tsp black peppercorns
- 2 tsp mustard seed or coriander seed
- 1 tsp red pepper flakes, optional
- 4 to 6 sprigs fresh dill
- 2 cups rice vinegar or distilled white vinegar
- 2 1/2 cups water
- 2 Tbsp kosher salt
| Ingredient | Why It Matters | Easy Switch |
|---|---|---|
| Persian or Kirby cucumbers | They stay crisp, have fewer seeds, and fit well in jars. | Do not use English cucumbers. |
| Rice vinegar | Mellow flavor, less harsh than some vinegars. | Distilled white vinegar works well. |
| Fresh dill | Gives the classic pickle taste. | Add dill seed too if you like. |
| Mustard seed or coriander seed | Creates the pickling blend. | Use whichever you have on hand. |
| Red pepper flakes | Optional gentle heat. | Leave out or add chopped hot peppers. |
Rice vinegar has a mellow, inviting flavor, so it is my first choice. Distilled white vinegar works just fine and gives a sharper tang. Fresh dill brings that classic pickle taste, while the peppercorns and mustard seed or coriander seed create the pickling blend.
Red pepper flakes add a subtle heat if you want a little kick. The base recipe is refined sugar free, so you are not adding unnecessary sweetness unless you choose to.
You will also need two 1 quart mason jars, or four to six pint sized jars. If you do not have canning jars, any clean recycled jar can work, even the jar from a previous batch of store bought pickles.
Preparation Overview
The active work takes about 8 minutes to prep and 2 minutes to heat the brine, so the total hands on time is around 10 minutes. After that, the refrigerator does the work.
- Wash the Persian cucumbers and place them on a cutting board. Use a sharp knife to slice the cucumbers into halves or spears, which are quarters. You do not need to trim the ends unless there is a long stem poking out. For burgers or sandwiches, cut the cucumbers into thin rounds, also called pickle chips, using a mandolin slicer if you have one.
- Divide the sliced cucumbers between two 1 quart mason jars. Divide the chopped garlic, mustard seed or coriander seed, red pepper flakes, and fresh dill sprigs between the two jars as well.
- Combine the vinegar, water, and kosher salt in a small saucepan. Heat over high heat until the liquid comes to a full boil, then remove the pan from the heat and let it cool for a few minutes.
- Pour the hot brine into the two jars, filling them all the way up. Seal the jars with airtight lids and let them cool to room temperature before refrigerating.
- Pickle spears taste best 4 to 5 days into the pickling process, but you can start eating them on day 2 if you really cannot wait. Thin cucumber slices are ready after 24 hours.
That is it! You now have two jars of crunchy homemade dill pickles. Letting the jars cool before refrigerating is important because it protects the temperature inside your fridge and helps the lids seal. The hardest part is waiting for the flavors to develop, but the payoff is worth it.
Expert Tips and Variations
Once you make the basic batch, you can customize it to match your mood. Here are a few easy switches and tips I use.
- Make them spicy: add one to two chopped hot peppers such as jalapeno, serrano, or habanero to the jars. The flavor gets bolder with time.
- Add dill seed: if you have it, one teaspoon of dill seed per jar can boost the dill flavor even more.
- Try bread and butter style: for a sweeter pickle, stir one to three tablespoons of white sugar into the pickling liquid while it heats. The base recipe is refined sugar free, but this is a nice option if you love sweet pickles.
- Use what you have: clean recycled jars are perfectly fine. You do not need fancy equipment for refrigerator pickles.
Serving ideas are endless. I pile these pickles onto burgers, hot dogs, and sandwiches. Chopped pickles also add brightness to potato salad, pasta salad, tuna salad, and chicken salad. If you are like me, you will find yourself eating them straight from the jar.
For storage, keep refrigerator pickles chilled. They stay fresh for up to three weeks unopened, and the general recommendation is to use them within one week after opening. In my experience, they can still taste great for up to two weeks after opening, but always trust your nose and eyes.
For long term storage at room temperature, you would need proper hot water bath canning. This refrigerator pickle recipe is designed for simple, fresh, crunchy results that you store in the fridge.
Peak flavor is around day five, so patience really does pay off. And that is it!
FAQs
What is the best cucumber for making dill pickles?
How long do refrigerator dill pickles last?
How can I keep my homemade dill pickles crunchy?
Can I make these dill pickles spicy?
Dill Pickles Recipe
Why You’ll Love This Recipe If you are like me, you love a crisp pickle that snaps when you bite it. The good news is that making dill pickles at home is much easier than it looks.
- Total Time: 10 min
- Yield: 2 jars of pickles 1x
Ingredients
2 lbs Persian Cucumbers, cut in half or cut into spears
6 cloves garlic, roughly chopped
2 tsp black peppercorns
2 tsp mustard seed or coriander seed
1 tsp red pepper flakes
4 to 6 sprigs fresh dill
2 cups rice vinegar or distilled white vinegar
2 1/2 cups water
2 Tbsp kosher salt
Instructions
1-Wash the Persian cucumbers and place them: Wash the Persian cucumbers and place them on a cutting board. Use a sharp knife to slice the cucumbers into halves or spears (quarters). There’s no need to cut the ends of the cucumbers off unless there is a long stem poking out. You can also cut the cucumbers into thin rounds (also known as pickle chips) using a mandolin slicer if you’re planning on using the pickles primarily for burgers, sandwiches, or applications where you want them to lay flat.
2-Divide the sliced cucumbers between two 1-quart: Divide the sliced cucumbers between two 1-quart mason jars. Similarly, divide the chopped garlic, mustard seed (or coriander seeds), red pepper flakes, and fresh dill sprigs between the two jars.
3-Combine vinegar, water, and sea salt in: Combine vinegar, water, and sea salt in a small saucepan and heat over high heat until it comes to a full boil. Remove the pickling liquid from the heat and allow it to cool for a few minutes.
4-Pour the hot brine into the two: Pour the hot brine into the two large jars, filling them all the way up. Seal the jars using the airtight lids and allow the jars of pickles to cool to room temperature before refrigerating them.
5-Pickle spears will taste best 4 to: Pickle spears will taste best 4 to 5 days into the pickling process, but you can start eating them on day 2 if you’d like. For thin cucumber slices, the pickles will be ready after 24 hours.
Last Step:
Please leave a rating and comment letting us know how you liked this recipe! This helps our business to thrive and continue providing free, high-quality recipes for you.- Prep Time: 8 min
- Cook Time: 2 min
- Method: no_cook