Why I Love This Recipe
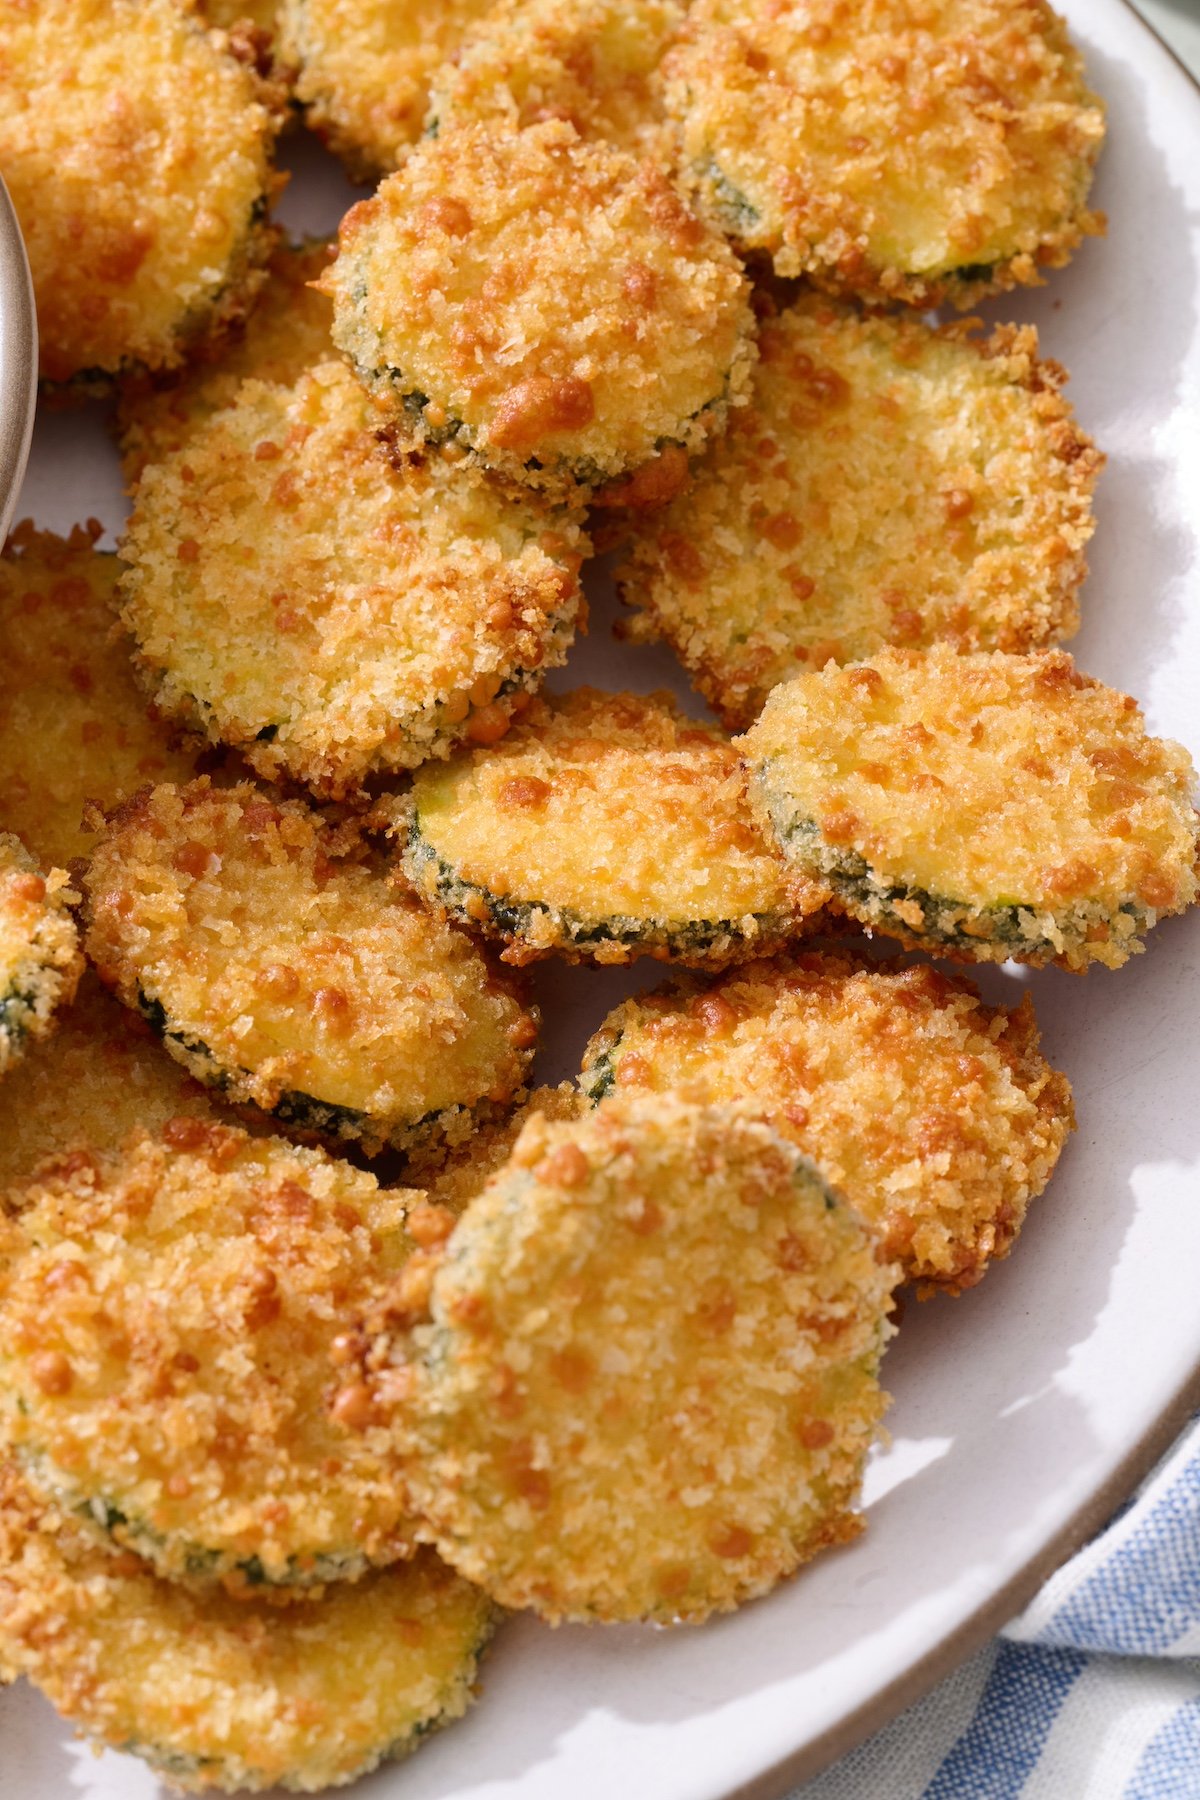
When I need a snack that feels indulgent but won’t weigh me down, these baked zucchini coins are my instant go to. The first time I pulled a tray out of the oven, I couldn’t believe how golden and crispy they looked without a single splash of frying oil. That audible crunch when you bite into one? It’s legit.
What really drew me in is how simple the assembly line is. You set up three bowls: one with flour, one with beaten egg, and one with a seasoned breadcrumb and Parmesan mix. Dunk each zucchini slice through the stations, and that’s it. No messy batter, no deep fryer cleanup, just a quick dip and onto the baking sheet.
Baking gives these coins their signature texture. The high heat crisps the breadcrumb coating into a shell that locks in the tender zucchini inside. Unlike fried versions, you get that satisfying crunch without any greasiness. It’s a win for busy weeknights when you need a vegetable side that everyone at the table actually wants to eat.

I’ve also come to appreciate how forgiving this recipe is. Even if my slices aren’t perfectly uniform, they still come out delicious. And because you control the seasoning, you can dial up the garlic or add a pinch of smoked paprika for a different vibe. This is the kind of snack that makes you feel good about reaching for seconds.
As a bonus, these zucchini coins are incredibly versatile. Serve them as a side with grilled chicken or fish, pile them onto a party platter with marinara or ranch dip, or just snack on them straight off the pan while they’re still warm.
My kids love helping with the dipping station, and I love that they’re eating a vegetable with a smile.
Jump to:
The Ingredients
These baked zucchini coins use a short list of pantry staples, but each one plays a specific role in building that crispy, savory crust. Here’s what you’ll need for about four servings:
- Medium zucchini: You want firm, unblemished zucchini with shiny skin. Two medium zucchini typically yield a generous batch. Slice them into quarter inch coins. Even thickness is key so they all cook at the same rate.
- Breadcrumbs or panko: Regular breadcrumbs work well, but panko creates an extra crunchy texture. I often use whole wheat panko for a bit more fiber.
- Grated Parmesan cheese: This adds that salty, umami note that makes the coating irresistible. A plant based Parmesan alternative also works beautifully if you’re avoiding dairy.
- Garlic powder: A teaspoon or two wakes up the flavor without overpowering the delicate zucchini.
- Kosher salt: Seasoning both the flour and egg steps ensures every bite is well seasoned.
- Egg: Acts as the glue. One large egg, beaten, is enough for two medium zucchini. For an egg free version, a flax egg or unsweetened plant milk works, though the coating may not cling as tightly.
- All purpose flour: A light dusting helps the egg adhere. You can substitute a gluten free flour blend if needed.
- Oil spray: A quick mist of olive oil or avocado oil spray over the breaded coins before baking encourages browning and crispiness without deep frying.
The process is a classic three step breading station that moves wet, dry, and crumb in sequence. Using one hand for wet ingredients and the other for dry keeps your fingers from turning into breaded clubs, a trick I learned the hard way.
If your zucchini release a little moisture after slicing, simply pat them dry with a paper towel before you start dipping.
If you prefer a nuttier flavor, swap half the breadcrumbs with finely ground almonds. You can also toss a pinch of dried oregano or basil into the crumb mixture for an Italian twist. Whatever variation you choose, the key is that thin, uniform coin shape.
Quarter inch thick is the sweet spot: thick enough to hold its form but thin enough to cook through by the time the coating is golden.
How to Make Baked Zucchini Slices
Once your ingredients are measured and your oven is preheated to 425 degrees Fahrenheit, the fun part begins. Here’s how I assemble and bake the coins step by step.
Prepare your stations. Line up three shallow bowls. In the first bowl, add the flour and a pinch of salt. In the second bowl, beat the egg until frothy. In the third bowl, combine the breadcrumbs, Parmesan, garlic powder, and a few pinches of kosher salt. Stir so the seasonings are evenly distributed.
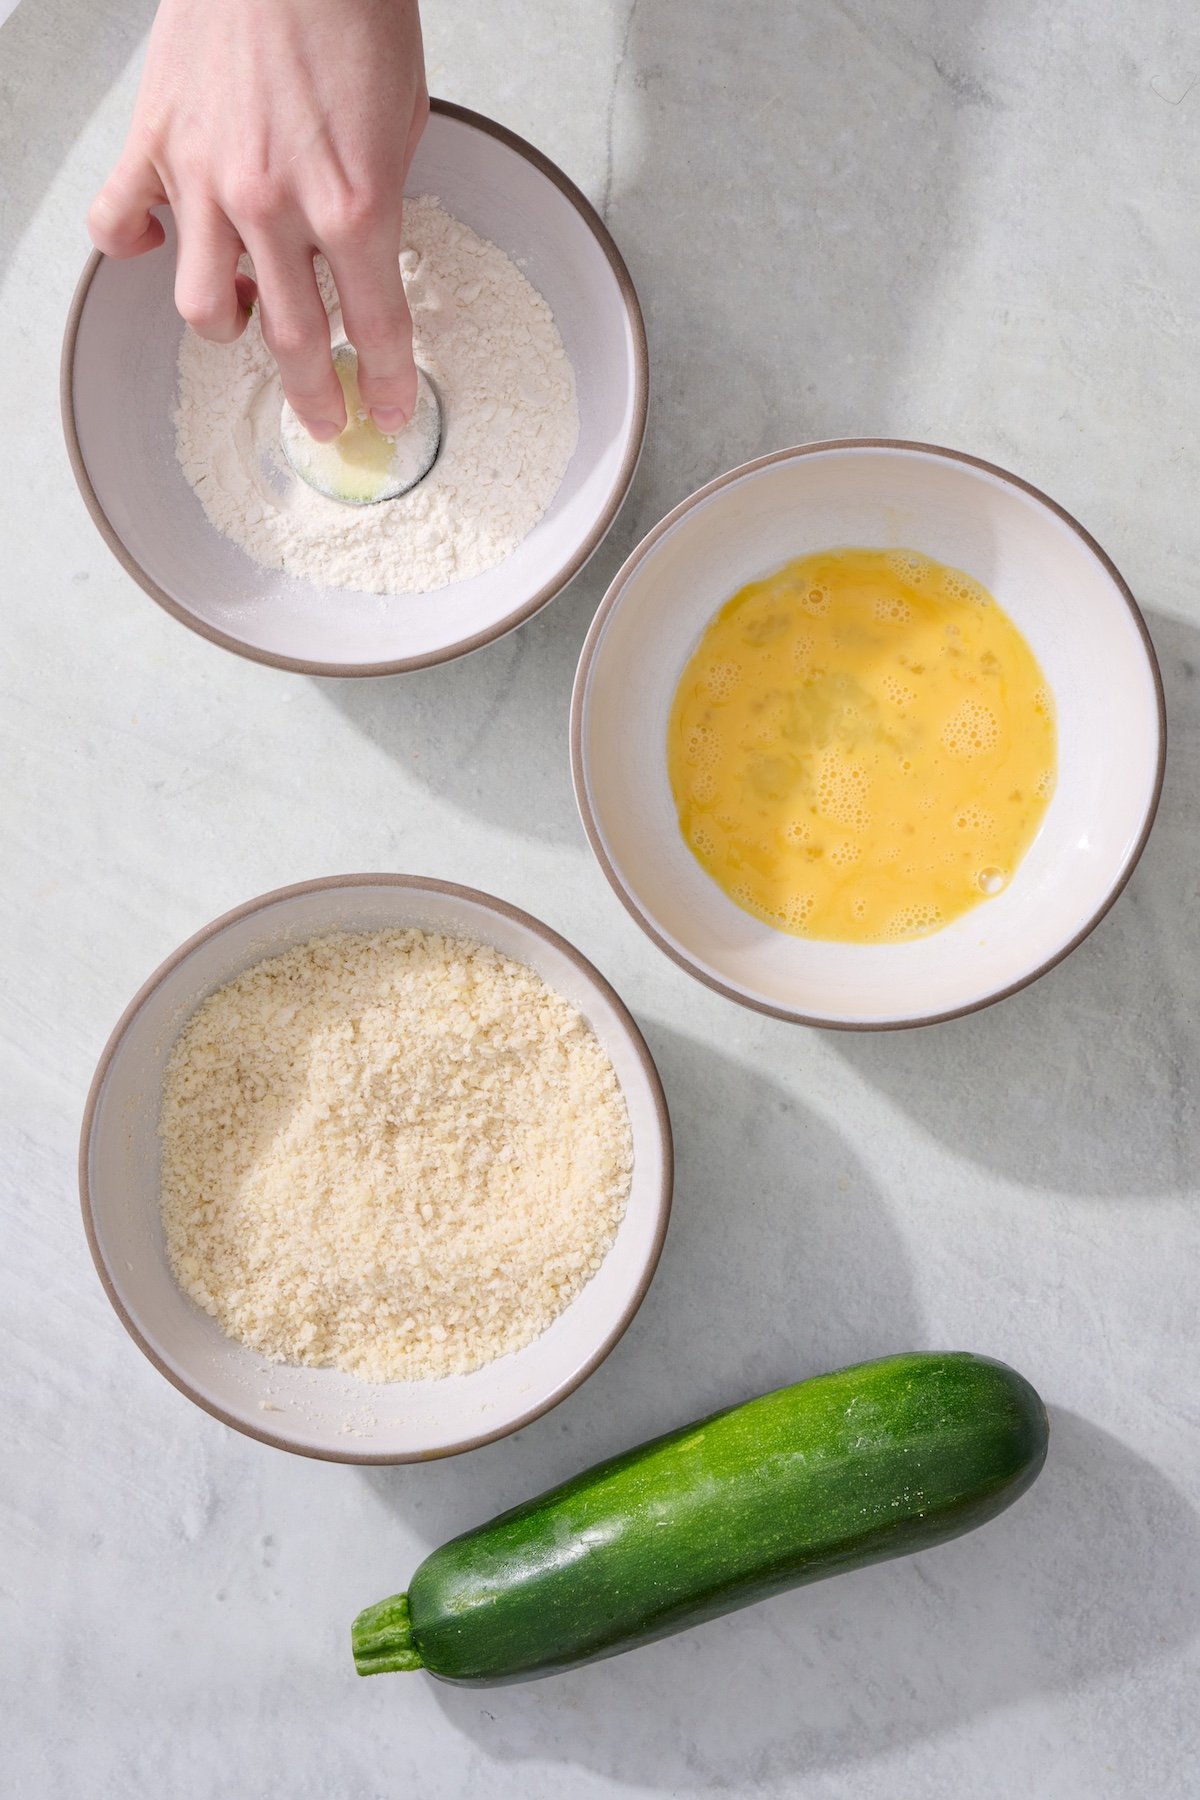
Dip the coins. Working with a few slices at a time, toss each zucchini round in the flour, shaking off any excess. Next, dunk it into the egg, letting the excess drip back into the bowl.
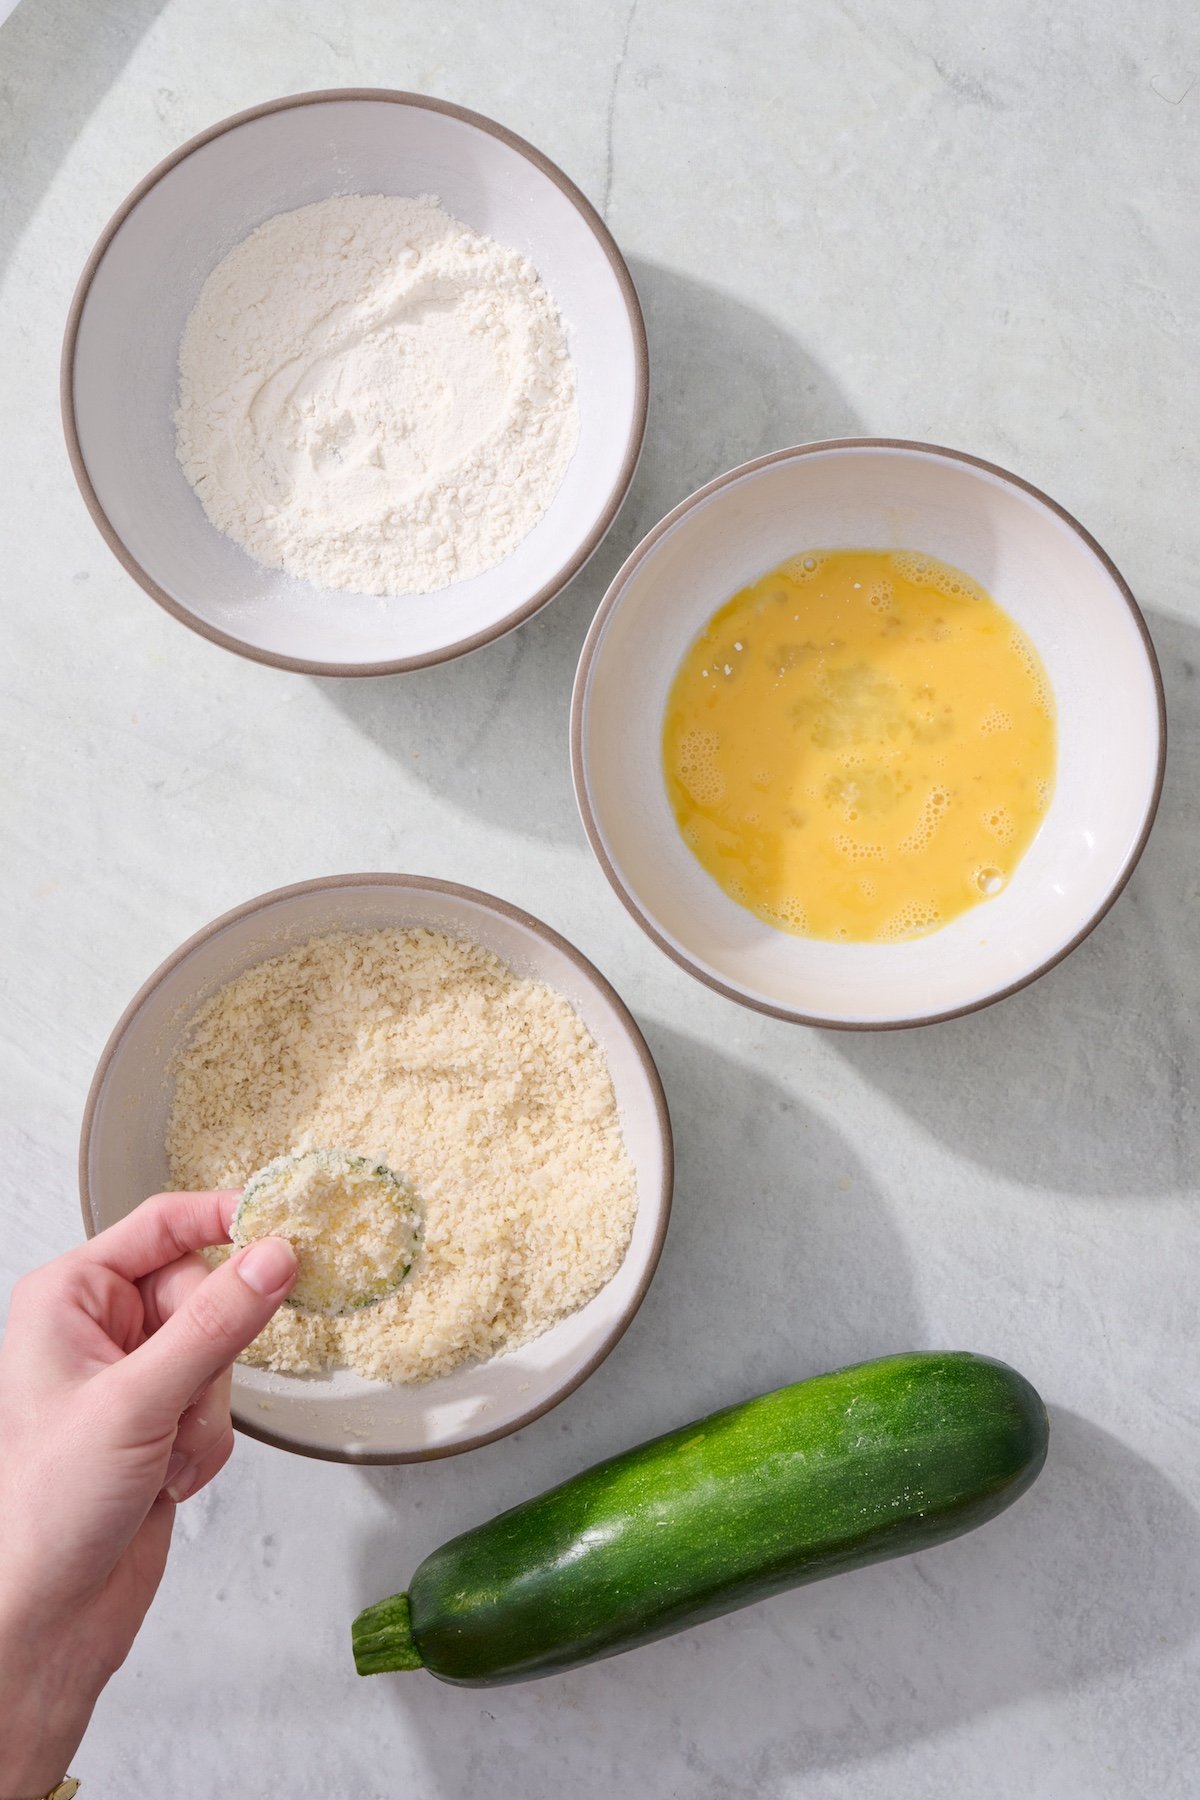
Finally, press it into the breadcrumb mixture, flipping to coat both sides. I like to gently pat the crumbs onto the surface to make sure they stick.
Arrange on the baking sheet. Place each coated coin on a parchment lined or lightly oiled baking sheet. Leave a little space between them so the edges can crisp, not steam. Overcrowding is the enemy of a golden crust.
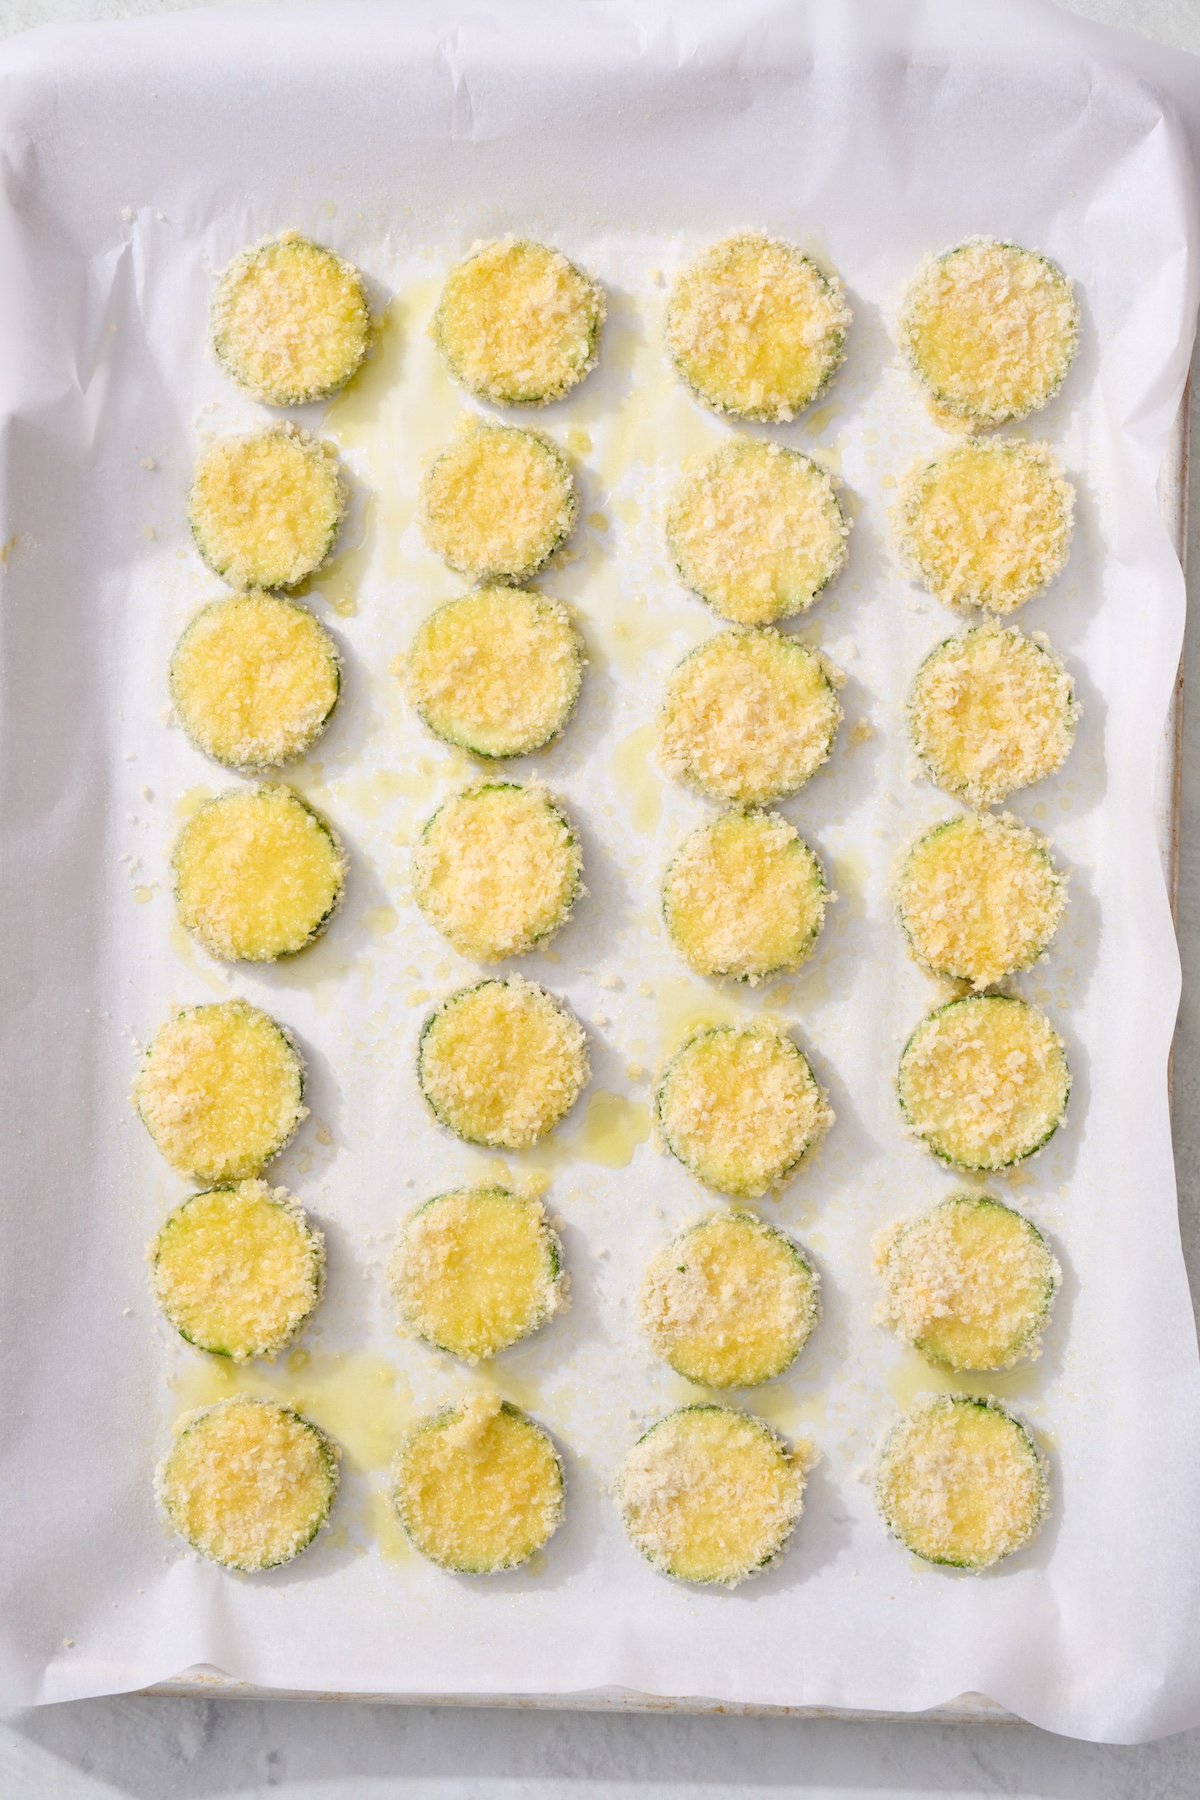
Spray and bake. Grab your oil spray and give all the coins a light, even coat. Slide the sheet into the oven and bake for 12 to 15 minutes. Halfway through, peek and rotate the pan for even browning. You’re looking for a deep golden color on top and a tender interior.
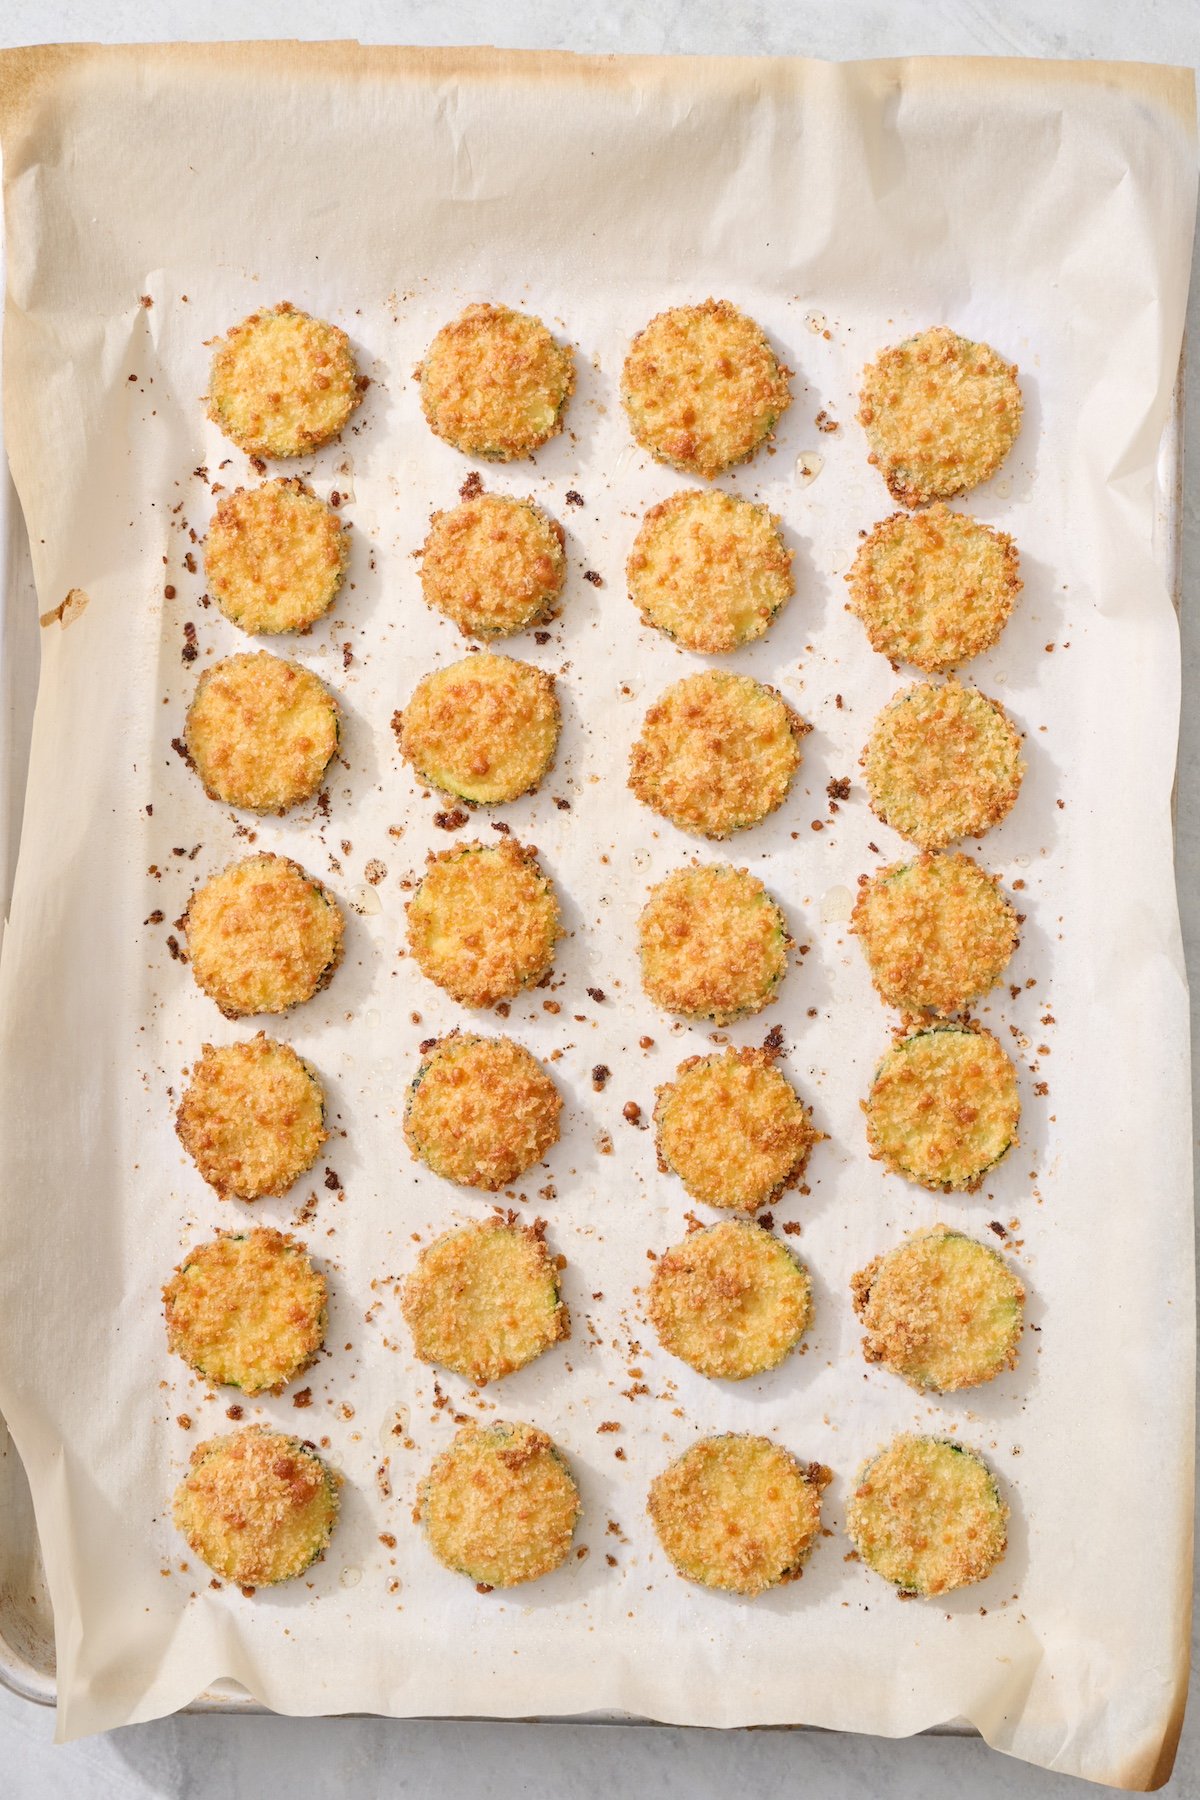
Pull the pan out and let the coins rest for a minute or two before transferring to a plate. That brief pause lets the crust set, so they don’t crumble on the way to the table.
Pro tip: Use your left hand for the flour and egg steps, and your right hand for the breadcrumbs. That way, your wet hand never touches the dry crumb bowl, and you avoid the dreaded clumpy fingers that make a mess of the breading.
Baked Zucchini Recipe Tips
A few small habits make the difference between good zucchini coins and great ones. I’ve made this recipe countless times, and these pointers come straight from my own trial and error.
- Uniform thickness matters. Using a sharp chef’s knife or a mandoline to get consistent quarter inch slices is the single most important step. Thicker coins stay raw in the middle; thinner ones can burn before cooking through. If you’re using a mandoline, use the finger guard. Trust me.
- Wet hand, dry hand. As mentioned, assign one hand to handle the moist steps (flour and egg) and the other to transfer into and out of the dry crumb mixture. This keeps your breading station tidy and your fingers functional.
- Don’t skip the oil spray. Even a one second mist helps the breadcrumbs toast to a beautiful golden brown. I use an olive oil spray because it adds a subtle, pleasant flavor without making the coins greasy.
- Line your baking sheet. Parchment paper or a silicone mat prevents sticking and makes cleanup a breeze. If you’re out of parchment, a light swipe of oil on the pan works in a pinch.
- Let them rest. After baking, give the coins a couple of minutes on the sheet. They’ll firm up, and the coating will hold together better when you serve them.
- Storage and reheating. Leftovers can be refrigerated in an airtight container for up to three days. To bring back their crispness, reheat them in a 375 degree Fahrenheit oven or an air fryer for a few minutes. The microwave will make them soggy, so avoid it if you can.
These baked zucchini coins pair wonderfully with a tangy yogurt dip, marinara sauce, or a squeeze of fresh lemon juice. They also work as a crunchy topper for salads or grain bowls. Once you see how easy they are, you might never go back to fried zucchini again.
For the full printable recipe and a downloadable ingredient chart, grab the recipe on Weelicious.