How to Grill Garlic Scapes
Garlic scapes are the curly, green flowering stalks that emerge from hardneck garlic plants. They appear in late spring and early summer, and grilling them brings out a mild garlic flavor with a subtle smokiness that you cannot get from sautéing or steaming.
If you have never tried them, you are in for a pleasant surprise. Grilling preserves their natural sweetness while adding just enough char to make them feel like a treat.
I first discovered garlic scapes at a farmers market a few summers ago. The vendor handed me a bundle and said to just toss them on the grill. That simple advice changed how I think about seasonal cooking. Now, every June, I grab as many bunches as I can and fire up the grill.
The entire process takes about 20 minutes from start to finish. You only need a handful of ingredients, and the steps are straightforward enough for anyone to follow. Here is how to grill garlic scapes so they come out tender on the inside with a lightly crisp, charred exterior.
Grilled garlic scapes work well as a side dish for almost any protein. Try them alongside grilled chicken, fish, or even a simple grain bowl for a seasonal touch.
Step 1: Prepare the Garlic Scapes
Start by rinsing the scapes under cold running water to remove any dirt or field debris. Pat them dry with a clean kitchen towel. You want them as dry as possible before oiling, because excess water will cause steam on the grill instead of the char you are looking for.
Next, inspect each scape for dry or brown ends. Trim those off and discard them. The lower portion of each stalk can become fibrous and woody, especially toward the base.
To find the tender part, bend each scape gently until it snaps naturally. The point where it breaks is where the tender flesh meets the tougher, fibrous section.

Keep the portion above the snap and save the lower trimmings for vegetable stock if you like to reduce waste.
After trimming, lay the scapes flat on a clean towel and let them air dry for a few minutes. This small step helps the oil adhere better and promotes even browning on the grill.
- Rinse scapes under cold water and pat dry
- Trim dry or brown ends
- Bend each stalk until it snaps above the woody section
- Save fibrous trimmings for stock
- Air dry on a clean towel before oiling
Once all your scapes are trimmed and dried, you are ready to move on to the grill. Having everything prepped before you start cooking makes the whole process smoother and more enjoyable.
Step 2: Heat Up the Grill
Preheat your grill to medium heat, which is approximately 425 degrees Fahrenheit. If you are using a gas grill, set the burners to medium and close the lid for about 10 minutes to let the grates heat evenly.
For a charcoal grill, spread the coals in an even layer and wait until they are covered with light gray ash before cooking.
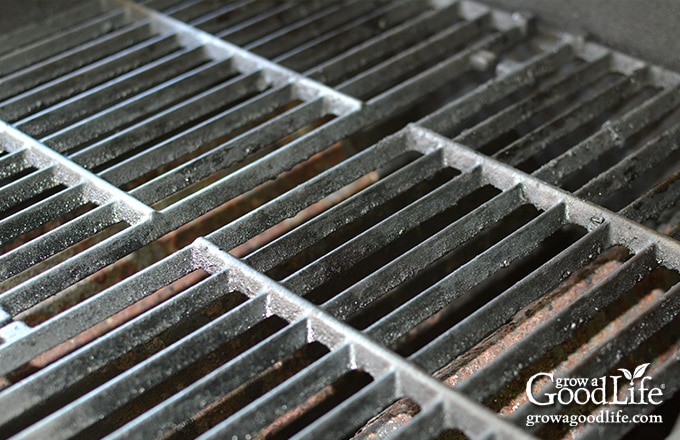
Clean the cooking grates thoroughly before adding the scapes. Use a grill brush to scrape off any residue from previous cooking sessions. If the grates are particularly dirty, you can rub them with a folded paper towel dipped in a little oil while they are hot. Clean grates prevent sticking and help achieve those attractive grill marks.
| Grill Type | Heat Setting | Approximate Temperature | Preheat Time |
|---|---|---|---|
| Gas | Medium burners | 425 degrees F | 10 minutes |
| Charcoal | Even coal layer | 425 degrees F | 15 to 20 minutes |
Testing the grill temperature is simple. Hold your hand about five inches above the grates. If you can comfortably keep it there for four to five seconds, the heat is medium. If you must pull away sooner, the grill is too hot. Adjust accordingly before proceeding.
Step 3: Lightly Coat the Garlic Scapes in Oil
Place the dry, trimmed scapes in a large bowl. Drizzle them with extra virgin olive oil, using just enough to give each stalk a thin, even coating. You do not need much oil. A tablespoon or two is usually sufficient for a standard bunch of scapes.
Toss the scapes by hand, rubbing the oil along each stalk to make sure every surface is covered. This step is important because the oil prevents the scapes from sticking to the grill and helps them char evenly. It also carries flavor and keeps the scapes from drying out during cooking.
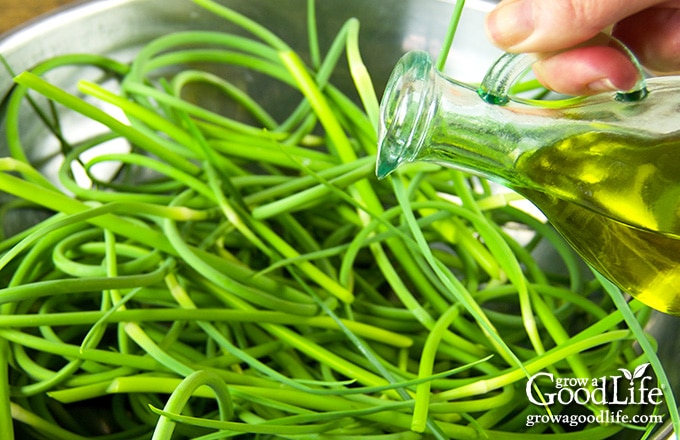
If you want to add extra flavor at this stage, you can sprinkle the scapes with a pinch of salt before grilling. Avoid adding too many seasonings now, because delicate herbs and spices can burn on the grill. You will season them more fully after cooking.
- Use extra virgin olive oil for best flavor
- Aim for a light, even coating on every stalk
- Toss by hand to distribute the oil thoroughly
- Add a small pinch of salt if desired
- Save most seasoning for after grilling
Step 4: Grill the Garlic Scapes
Once the grill is hot and the scapes are oiled, arrange them in a single layer across the grate. If your scapes are very curly, you can straighten them gently or lay them perpendicular to the bars so they do not fall through. Give them enough space so they are not crowded, which helps them char rather than steam.
Cook the scapes until the underside is well charred, which usually takes about three to five minutes depending on your grill temperature. You will notice the color shifting from bright green to a deeper, slightly blackened tone. Use tongs to flip each scape and grill the opposite side for another three to four minutes.
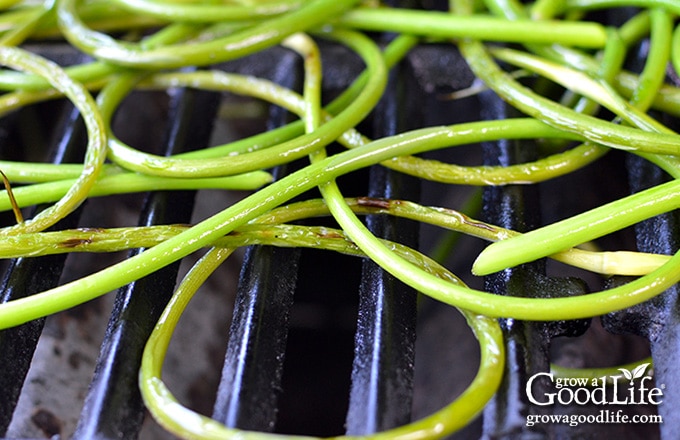
The scapes are ready when they are lightly crisp and charred on the outside but still tender inside. You can test one by biting into it or pressing it gently with tongs. It should give slightly without feeling mushy. If the scapes are browning too quickly, move them to a cooler part of the grill to finish cooking more gently.
Do not rush the grilling. Letting the scapes char undisturbed for a few minutes on each side is what creates that smoky, caramelized flavor.
Step 5: Serve the Garlic Scapes Warm
Transfer the grilled scapes to a plate as soon as they come off the grill. Season them with sea salt and freshly ground black pepper while they are still warm, so the seasoning adheres to the surface. A light drizzle of additional olive oil or a squeeze of fresh lemon juice can brighten the flavor if you like.
Serve the scapes warm as a simple side dish. They pair well with grilled meats, roasted vegetables, or a bowl of pasta. You can also chop them and fold them into salads, grain bowls, or scrambled eggs for a garlicky seasonal twist.
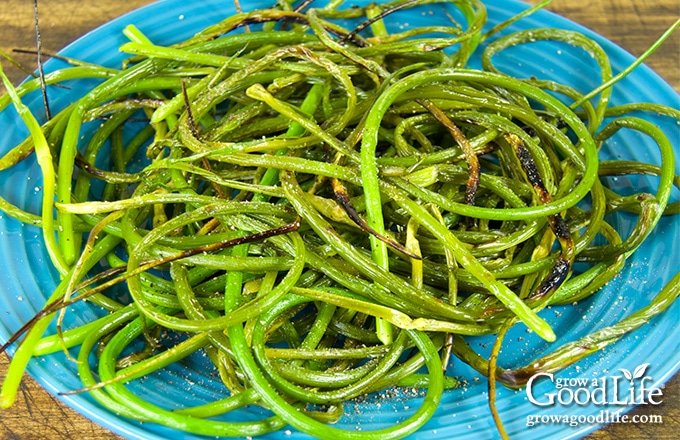
Grilled garlic scapes are best enjoyed the same day you make them, but leftovers will keep in an airtight container in the refrigerator for up to three days. Reheat them briefly in a skillet over medium heat to restore some of their texture.
- Season with sea salt and freshly ground black pepper
- Add a squeeze of lemon juice for brightness
- Serve as a side dish or chop into salads and bowls
- Store leftovers in the refrigerator for up to three days
- Reheat in a skillet to restore texture
For more details and visual guidance on grilling garlic scapes, you can see the full tutorial from Grow a Good Life that inspired this method.