Easy Dill Pickles Recipe
If you are like me, you love the snap of a good pickle but feel intimidated by the canning process. The great news is that you do not need any canning experience or specialized equipment to make these easy dill pickles at home. All you need is a pot, a couple of jars, and about ten minutes of active work.
These are refrigerator pickles, which means they live in your fridge and develop their flavor over a few days. No hot water bath, no vacuum seals, no stress. You simply pack cucumbers and aromatics into jars, pour over a hot vinegar brine, and let the refrigerator do the rest.
The result is crisp, tangy homemade pickles that taste fresher and have a better texture than anything you will find at the grocery store. I started making these a few years back when I had an abundance of cucumbers from my garden, and now I always keep a jar in the fridge. They are that good.

This recipe yields two quart jars of pickles, which is perfect for sharing or keeping all to yourself. The active prep time is only eight minutes, and the cook time is just two minutes on the stovetop. After that, the pickles need a couple of days to develop their flavor before they are ready to eat.
What I love most about this recipe is how approachable it is. If you have never pickled anything before, this is the perfect place to start. You will feel like a pro after your first batch, and you will probably never go back to store bought pickles again.
The best part is that you probably already have most of the ingredients in your kitchen. And if not, a quick trip to the grocery store is all it takes. Let us walk through everything you need to make these crispy, tangy refrigerator dill pickles.
Jump to:
- Easy Dill Pickles Recipe
- Easy Dill Pickles Ingredients:
- Optional Additions:
- How to Make Dill Pickles:
- Recipe Tips:
- What To Serve With Dill Pickles:
- FAQs
- How long do homemade dill pickles last in the refrigerator?
- What type of cucumbers are best for making dill pickles?
- How long do you need to wait before eating refrigerator pickles?
- What is the best vinegar for making dill pickles?
- Easy Dill Pickles Recipe
- Ingredients
- Instructions
- Last Step:
- Did you make this recipe?
Easy Dill Pickles Ingredients:
Let us talk about what goes into these pickles. The beauty of this recipe is that the ingredients are simple and easy to find at any grocery store.
Persian cucumbers are my top choice for this recipe. You will need about two pounds, which works out to roughly seven to fourteen cucumbers depending on their size. Persian cucumbers have fewer seeds, thinner skins, and a crispier texture than standard slicing cucumbers.
Kirby cucumbers, also known as pickling cucumbers, work just as well if that is what you can find. Both varieties absorb the brine beautifully and hold their crunch.
I do not recommend English cucumbers for pickling. They tend to have a slightly bitter flavor and more seeds, which can throw off the texture of your finished pickles. Stick with Persian or Kirby for the best results.
For the brine, you will need rice vinegar or distilled white vinegar. Either one works great. Rice vinegar has a slightly milder, rounder flavor, while white vinegar delivers a sharper tang. Use whichever you have on hand.
The aromatics are where the magic happens. Here is what you will need:
- 2 lbs Persian cucumbers, cut in half or into spears
- 6 cloves garlic, roughly chopped
- 2 teaspoons black peppercorns
- 2 teaspoons mustard seed or coriander seed
- 1 teaspoon red pepper flakes (optional)
- 4 to 6 sprigs fresh dill
- 2 cups rice vinegar or distilled white vinegar
- 2 1/2 cups water
- 2 tablespoons kosher salt
The garlic adds a savory depth, the peppercorns bring a gentle warmth, and the mustard or coriander seeds contribute an earthy aroma that rounds out the vinegar. Fresh dill is essential for dill pickles. It provides that classic flavor that makes these taste like the pickles you grew up with.
The salt draws out moisture from the cucumbers and helps the flavors penetrate, while the water balances the vinegar so the brine is not overpowering. Kosher salt is preferred because it dissolves cleanly and has no additives, but sea salt works too.
Optional Additions:
One of the best things about making your own pickles is that you can customize them to suit your taste. The base recipe is delicious on its own, but there are a few optional additions you can try to switch things up.
If you like spicy pickles, you can add 1 to 2 chopped jalapenos, serranos, or habaneros to the jars. I tried this last summer for a backyard barbecue, and the spicy version disappeared even faster than the original.
Just add the chopped peppers along with the garlic and other aromatics before pouring in the brine. The heat from the peppers infuses the brine and gives the whole jar a warm, lingering kick.
For a deeper dill flavor, try adding 1 teaspoon of dill seed to each jar. Dill seed has a more concentrated, slightly bitter herbal quality than fresh dill sprigs. Using both gives you a layered dill experience that makes each bite more interesting and complex.
The base recipe is written without any added sugar, which makes it refined sugar free. I personally prefer my dill pickles without sweetness because it lets the vinegar and herbs shine.
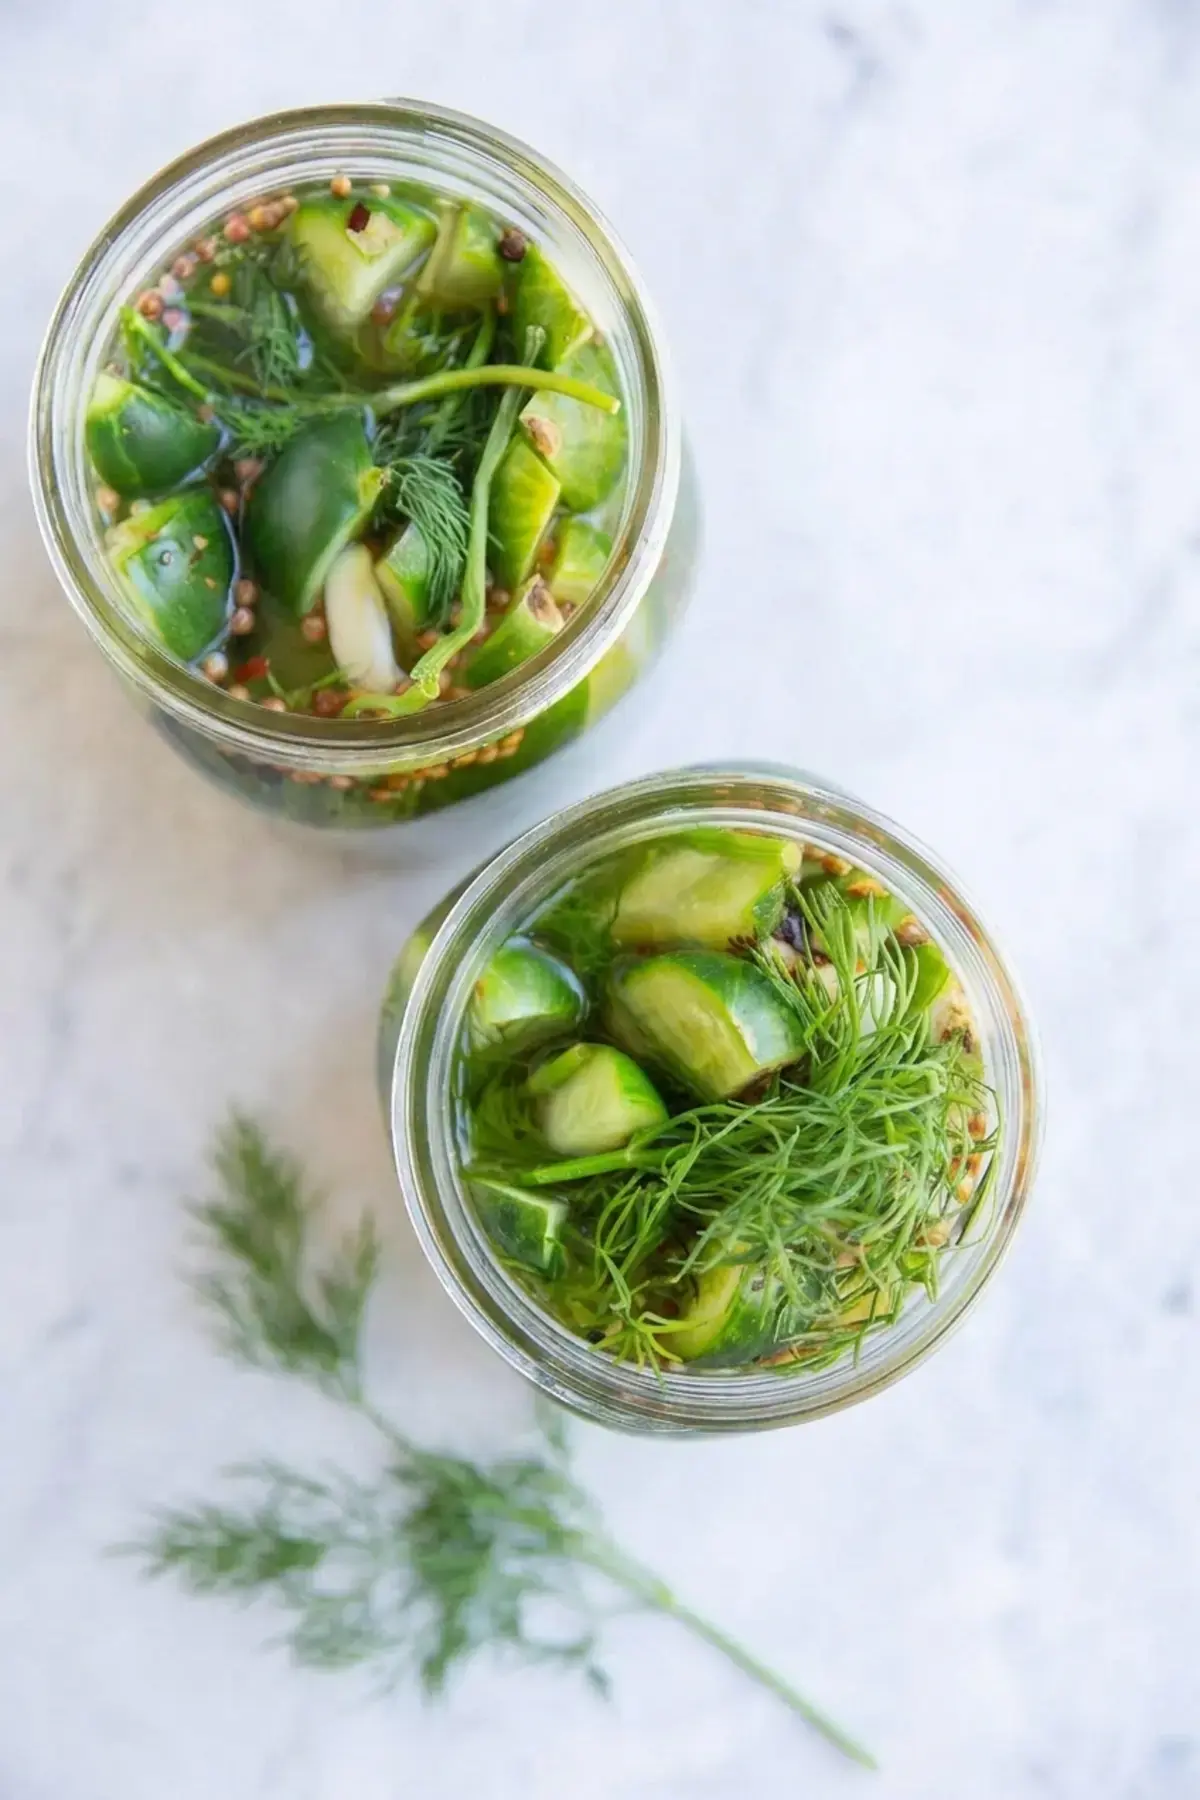
However, if you prefer a sweeter, bread and butter style pickle, you can add 1 to 3 tablespoons of white sugar to the pickling liquid while it is heating.
Start with one tablespoon and taste the brine before adding more, since it is easier to add sweetness than to take it away.
The beauty of refrigerator pickles is that you can experiment freely. Try a jar with jalapenos and a jar with extra dill seed, then compare them after a few days to find your favorite combination.
Remember that these optional additions are just that, optional. The core recipe produces a classic dill pickle that stands on its own, so do not feel pressured to add anything unless you want to. The best part of homemade is making it exactly how you like it.
How to Make Dill Pickles:
Making these pickles is genuinely simple. Once you have gathered your ingredients, the whole process takes about ten minutes of active work. Here is how to do it step by step.
Step 1: Prepare the cucumbers. Wash the Persian cucumbers thoroughly and place them on a cutting board. Use a sharp knife to slice the cucumbers into halves or spears, which means cutting them into quarters lengthwise.
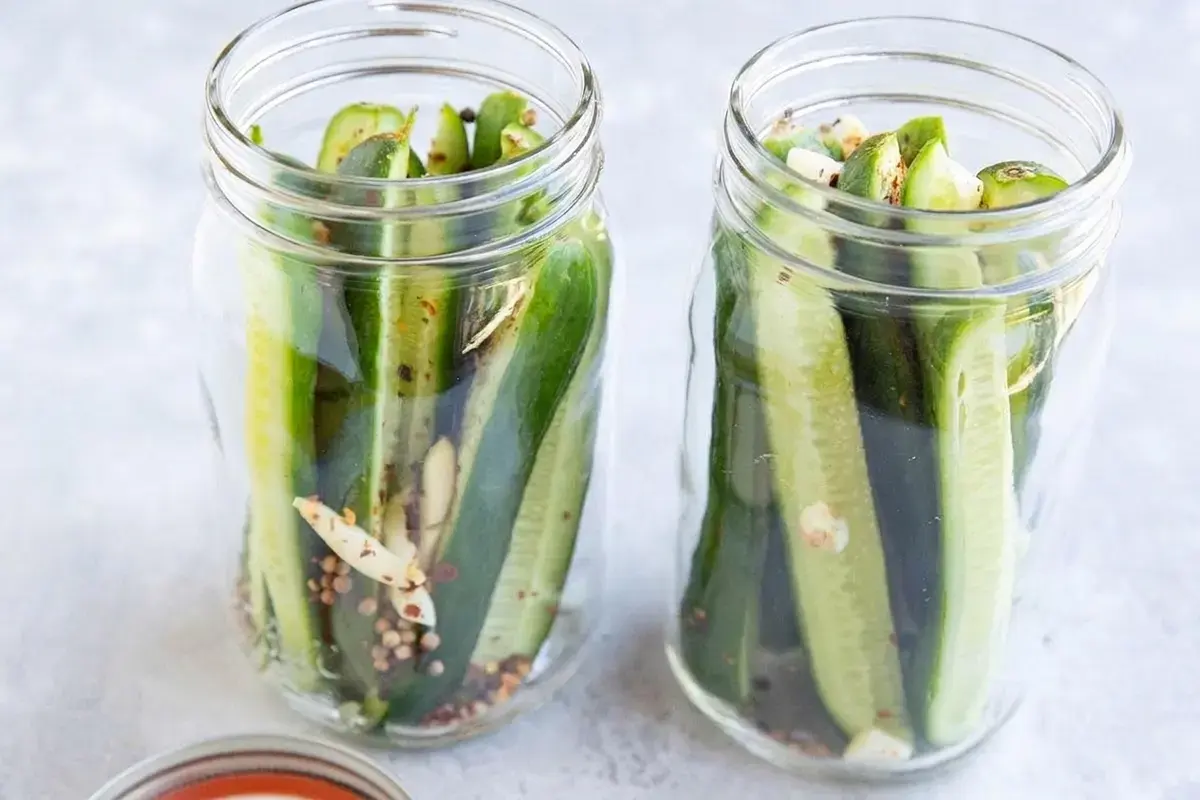
There is no need to trim the ends off unless there is a long stem poking out. If you are planning to use the pickles on burgers, sandwiches, or anywhere you want them to lay flat, you can also cut the cucumbers into thin rounds, also known as pickle chips, using a mandolin slicer.
Step 2: Pack the jars. Divide the sliced cucumbers between two one quart mason jars. Then divide the chopped garlic, mustard seed or coriander seeds, red pepper flakes if using, and fresh dill sprigs between the two jars. Try to tuck the dill sprigs in among the cucumbers so they are evenly distributed and not all clumped at the top.
Step 3: Make the brine. Combine the vinegar, water, and kosher salt in a small saucepan. Heat the mixture over high heat until it comes to a full boil. This should take about two minutes.
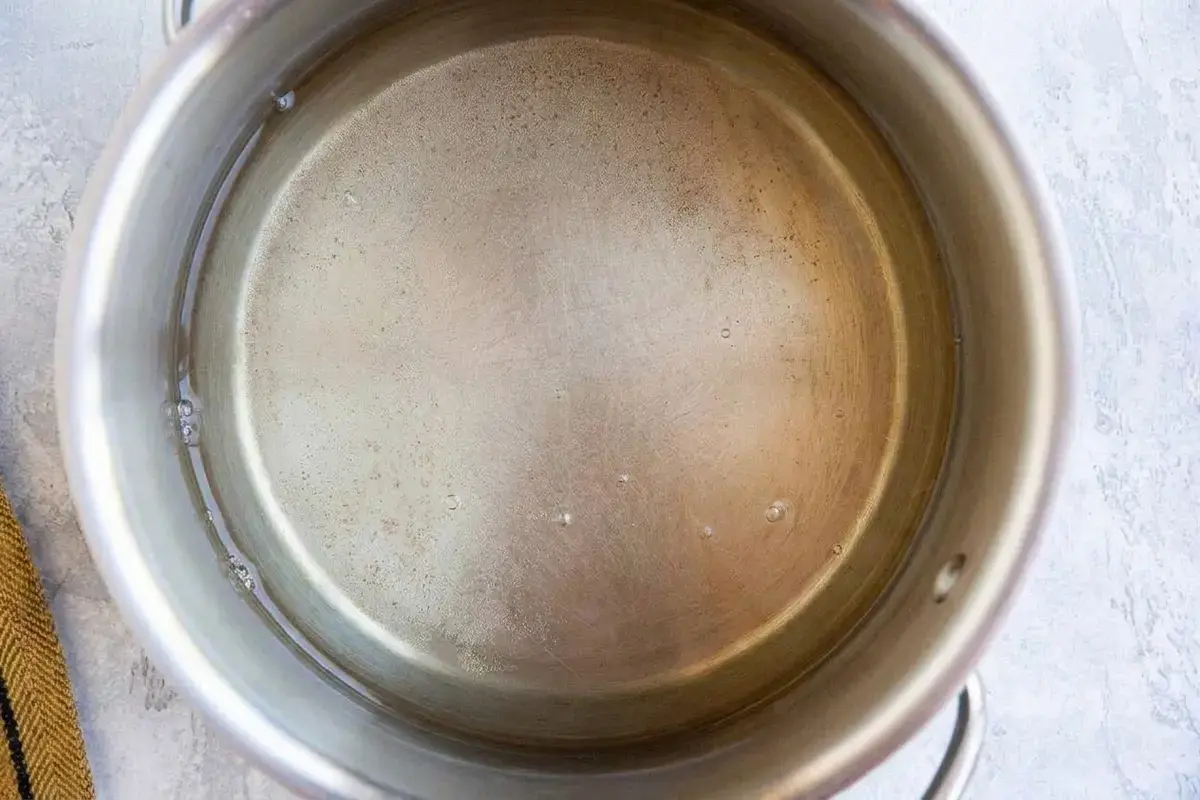
Once it reaches a rolling boil, remove the saucepan from the heat and let the liquid cool for a few minutes. You want it still hot but not so hot that it cracks your jars.
Step 4: Pour and seal. Carefully pour the hot brine into the two jars, filling them all the way to the top so the cucumbers are completely submerged.
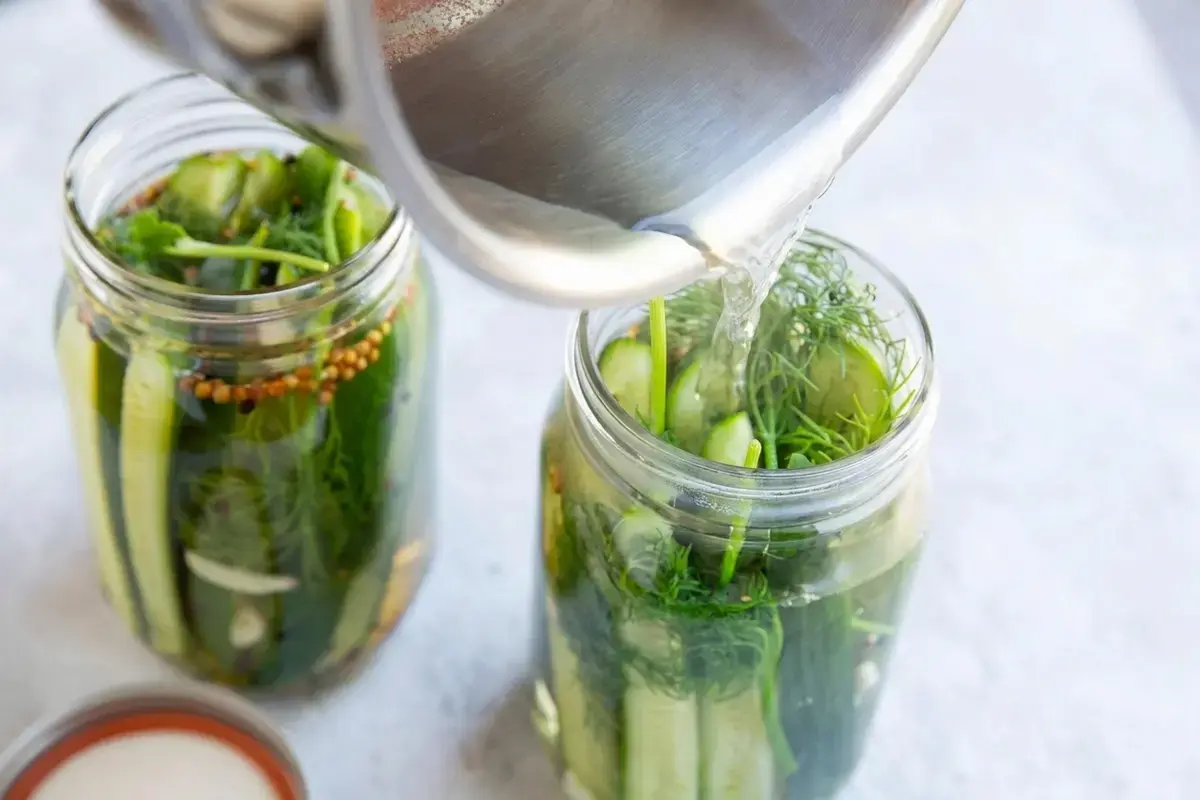
Seal the jars with their airtight lids and let them sit on the counter until they cool to room temperature. This usually takes about thirty minutes to an hour depending on your kitchen.
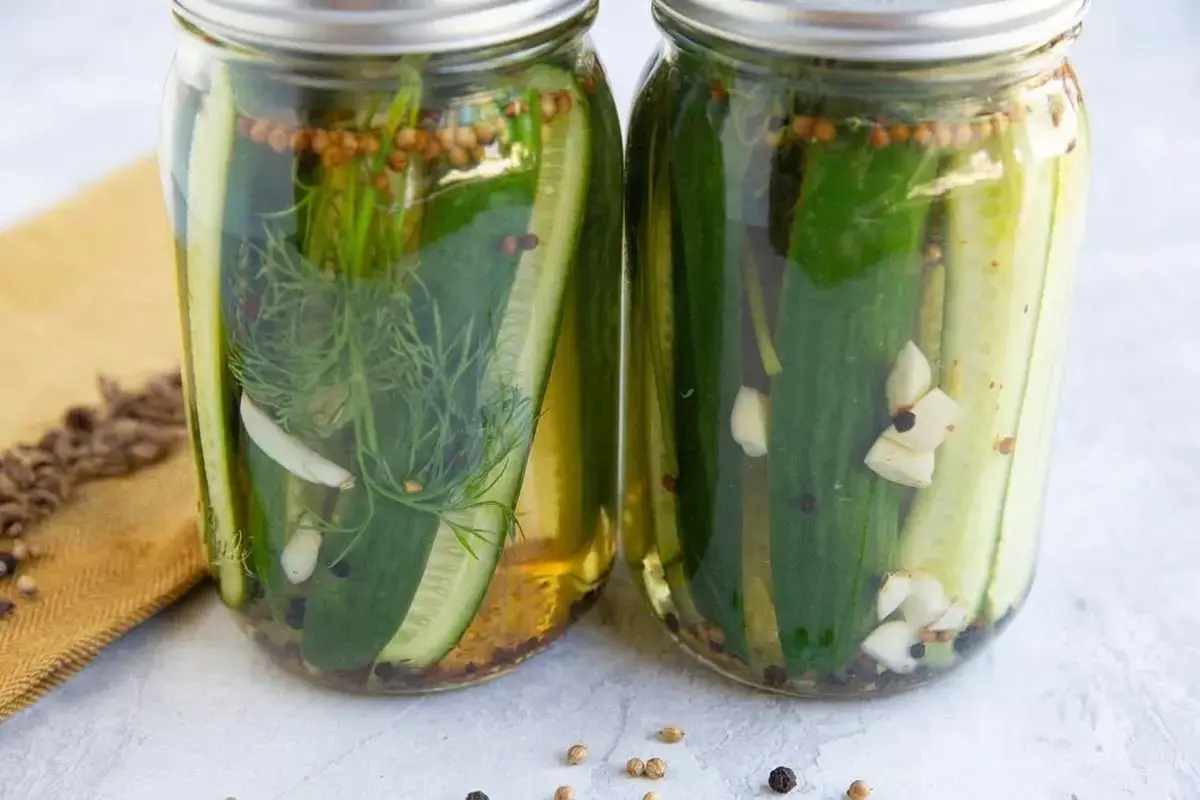
Step 5: Refrigerate and wait. Once the jars are cool, transfer them to the refrigerator. Now comes the hardest part, which is waiting.
Pickle spears will taste best four to five days into the pickling process, but you can start eating them on day two if you are impatient like me. For thin cucumber slices, the pickles will be ready after just twenty four hours.
Here is a quick reference for the timing so you know what to expect:
| Cut Style | Minimum Time | Best Flavor |
|---|---|---|
| Spears or halves | Day 2 | Days 4 to 5 |
| Thin rounds (chips) | 24 hours | 1 to 2 days |
The longer the pickles sit, the more the flavors develop and meld together. By day five, the dill, garlic, and peppercorns will have fully infused the cucumbers, giving you that classic deli style taste that makes every bite worth the wait.
Recipe Tips:
After making these pickles more times than I can count, I have picked up a few tips that will help you get the best results every time.
First, you do not need fancy canning jars for this recipe. Since these are refrigerator pickles and not shelf stable canned goods, any clean glass jar with a tight fitting lid will work.
I have used recycled pasta sauce jars, pickle jars from the store, and even large mason jars. The key is that the lid seals well enough to keep the brine contained and prevent the pickles from absorbing other odors from the fridge.
Second, the flavor really does improve with time. I know it is tempting to open the jar on day one, but if you can wait until day five, you will be rewarded with the full dill pickle experience.
The cucumbers will have absorbed the garlic, dill, and peppercorn flavors, and the texture will be perfectly crisp on the outside with a satisfying snap when you bite into them.
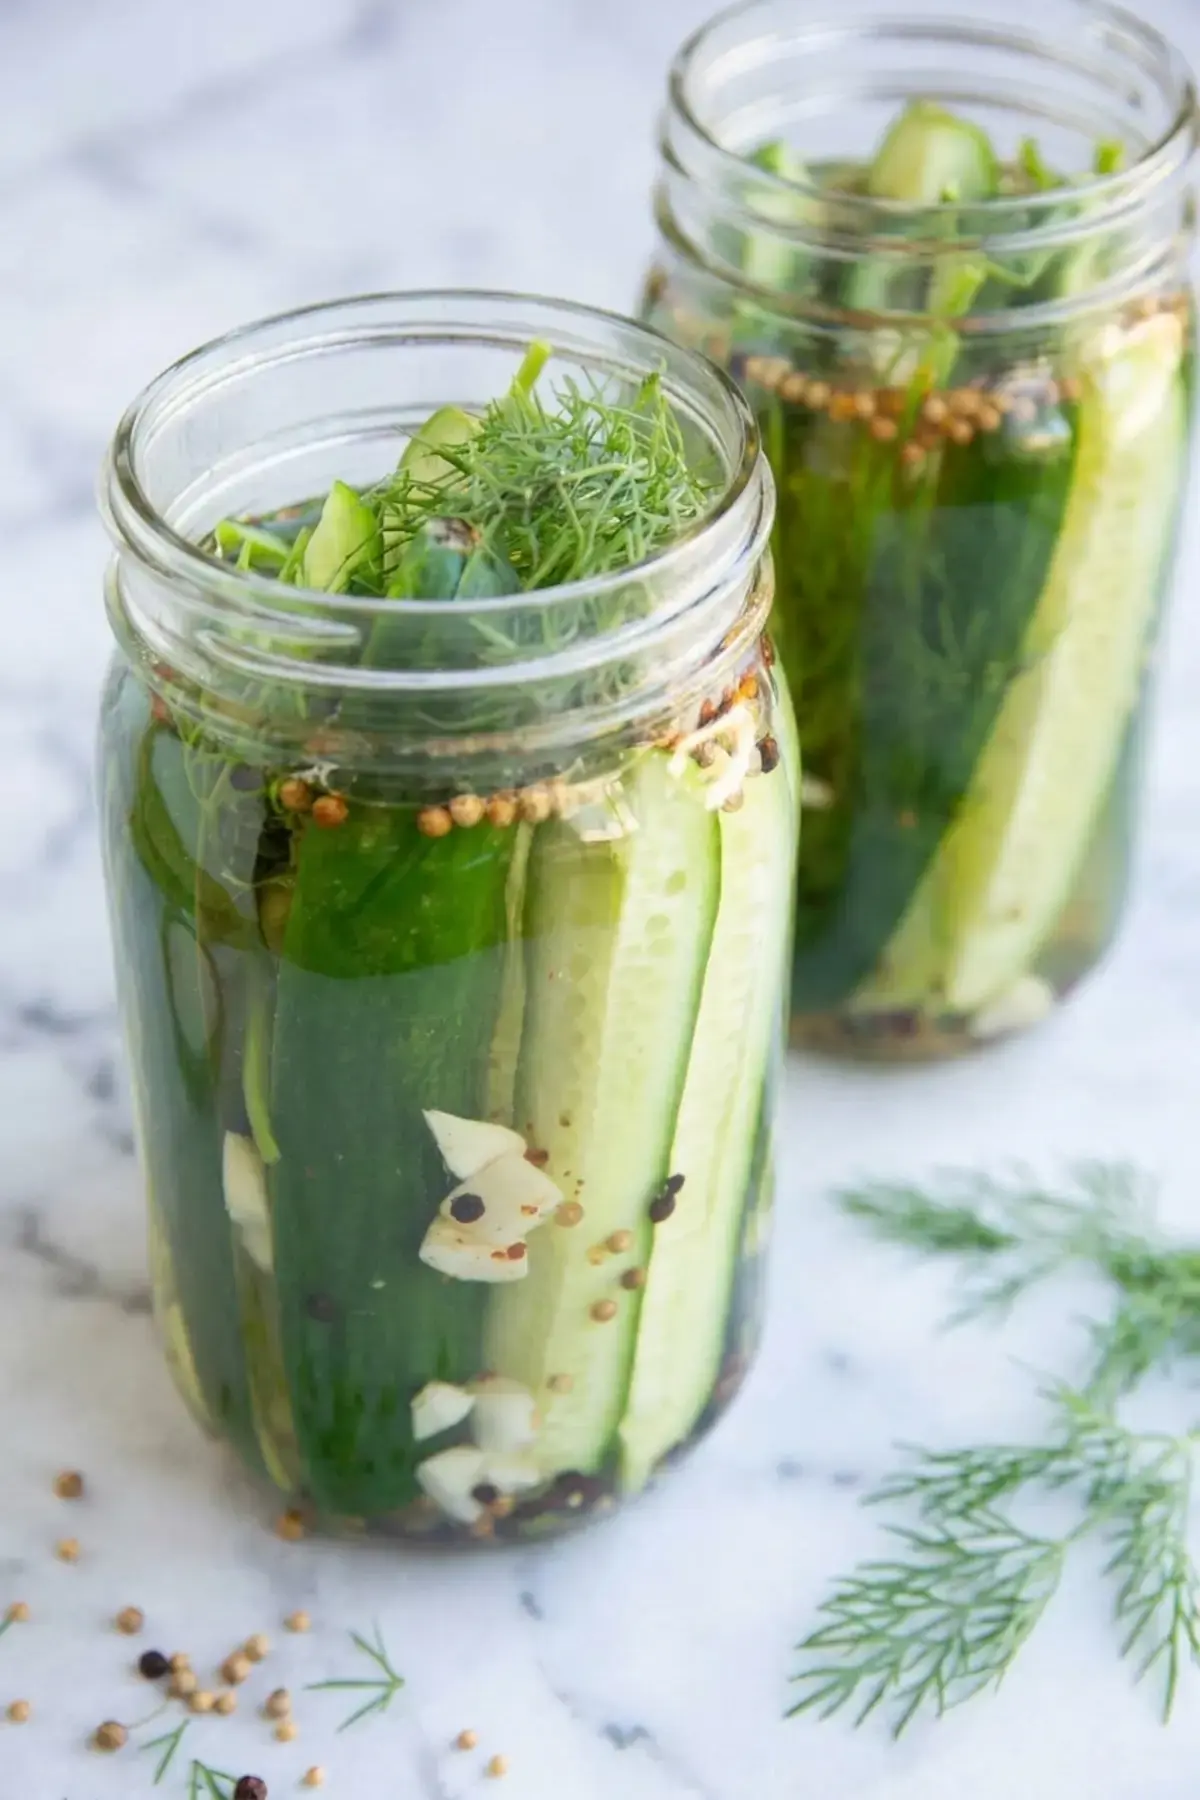
Third, for the crispiest pickles, choose cucumbers that are firm and fresh. Soft or wrinkled cucumbers will not hold up well in the brine. If your cucumbers have been sitting in the crisper drawer for a week, they might not give you the crunch you want.
Fourth, storage is straightforward but important. These refrigerator pickles will stay fresh for up to three weeks in an airtight container in the refrigerator. Once you open a jar, try to use the pickles within one to two weeks.
Always use your best judgment and discard any pickles that smell or look off. For long term storage that lasts beyond a few weeks, you would need to sanitize the jars in a hot water bath under a rolling boil, but that is a whole different process for another day.
Finally, make sure your jars are clean and dry before packing. Any residue or moisture can affect the flavor and safety of your pickles. A quick wash with hot soapy water and a thorough rinse is all you need.
What To Serve With Dill Pickles:
Now that you have a jar of homemade dill pickles in the fridge, let us talk about all the delicious ways to use them. The fresh acidity and satisfying crunch of these pickles make them a versatile addition to so many dishes.
One of my favorite ways to use them is chopped up in salads. Potato salad gets a wonderful tangy lift from a handful of diced pickles.
The same goes for pasta salad, where the briny flavor cuts through creamy dressings and adds texture to every bite. I also love adding chopped pickles to tuna salad and chicken salad. They bring a brightness that store bought pickles simply cannot match.
Here are some of my favorite pairings to get you started:
- Chopped in potato salad for extra tang and crunch
- Diced in pasta salad to balance creamy dressings
- Mixed into tuna or salmon salad for a briny kick
- Added to chicken salad for texture and brightness
- On top of burgers for that classic deli experience
- Alongside hot dogs at your next cookout
- Layered into sandwiches for a satisfying crunch
For burgers and hot dogs, the pickle chip version is ideal because the thin slices lay flat and stay put. For salads, you can chop the pickles into whatever size pieces work best for your recipe. I like to keep a jar of spears for snacking and a jar of chips for cooking and topping.
I also like to serve these pickles straight from the jar as a snack. They are refreshing, low in calories, and have that satisfying snap that makes you reach for just one more. My family goes through a jar in about a week, which is exactly the right pace for refrigerator pickles.
The best part about having homemade pickles on hand is that you can add them to almost anything that needs a little brightness. Once you start using them, you will find yourself reaching for the jar again and again.
Whether it is a summer barbecue, a weeknight dinner, or just a afternoon snack, these dill pickles will become a staple in your kitchen just like they have in mine.
FAQs
How long do homemade dill pickles last in the refrigerator?
What type of cucumbers are best for making dill pickles?
How long do you need to wait before eating refrigerator pickles?
What is the best vinegar for making dill pickles?
Easy Dill Pickles Recipe
Easy Dill Pickles Recipe If you are like me, you love the snap of a good pickle but feel intimidated by the canning process. The great news is that you do not need any canning experience or specialized equipment to make these easy dill pickles at home.
- Total Time: 10 min
- Yield: 2 jars of pickles 1x
Ingredients
Ingredients
2 lbs Persian Cucumbers, cut in half or cut into spears
6 cloves garlic, roughly chopped
2 tsp black peppercorns
2 tsp mustard seed or coriander seed
1 tsp red pepper flakes
4 to 6 sprigs fresh dill
2 cups rice vinegar or distilled white vinegar
2 1/2 cups water
2 Tbsp kosher salt
Instructions
Instructions
1-Wash the Persian cucumbers and place them: Wash the Persian cucumbers and place them on a cutting board. Use a sharp knife to slice the cucumbers into halves or spears (quarters). There’s no need to cut the ends of the cucumbers off unless there is a long stem poking out. You can also cut the cucumbers into thin rounds (also known as pickle chips) using a mandolin slicer if you’re planning on using the pickles primarily for burgers, sandwiches, or applications where you want them to lay flat.
2-Divide the sliced cucumbers between two 1-quart: Divide the sliced cucumbers between two 1-quart mason jars. Similarly, divide the chopped garlic, mustard seed (or coriander seeds), red pepper flakes, and fresh dill sprigs between the two jars.
3-Combine vinegar, water, and sea salt in: Combine vinegar, water, and sea salt in a small saucepan and heat over high heat until it comes to a full boil. Remove the pickling liquid from the heat and allow it to cool for a few minutes.
4-Pour the hot brine into the two: Pour the hot brine into the two large jars, filling them all the way up. Seal the jars using the airtight lids and allow the jars of pickles to cool to room temperature before refrigerating them.
5-Pickle spears will taste best 4 to: Pickle spears will taste best 4 to 5 days into the pickling process, but you can start eating them on day 2 if you’d like. For thin cucumber slices, the pickles will be ready after 24 hours.
Last Step:
Please leave a rating and comment letting us know how you liked this recipe! This helps our business to thrive and continue providing free, high-quality recipes for you.- Prep Time: 8 min
- Cook Time: 2 min
- Method: stovetop