
Easy Overnight Sourdough Bread
If you have a sourdough starter bubbling away on your counter and you are not sure what to do with it, this easy overnight sourdough bread is a friendly place to begin. The recipe calls for just four ingredients: flour, salt, water, and sourdough starter.
There is no commercial yeast, no complicated shaping, and no long list of equipment. You mix the dough at night, let it rise while you sleep, and bake it the next day.
The writer behind the original recipe began baking sourdough about two years ago. They waited impatiently for a new starter to become usable, then baked a first Dutch oven loaf using a Feasting at Home recipe.

That first loaf came out a bit flat, which is a normal part of learning. Later loaves rose better and tasted better as the starter grew stronger. Since then, this recipe has proved reliable, and sourdough baking has become a near weekly routine.
A loaf is often baked on Sunday morning for that evening’s dinner. The bread is good plain, dipped in soup, spread with butter, or used for avocado toast.
This recipe is adapted from the easy overnight sourdough bread recipe at Old Fashioned Inspiration. It yields 12 servings, with a prep time of 40 minutes, a cook time of 40 minutes, and an additional 17 hours for rising and chilling.
The total time from start to finish is about 18 hours and 20 minutes, most of which is hands off.
The overnight rise is what makes this recipe so practical. You do the mixing in the evening, then go to bed. The dough does the work while you sleep. By morning, it is puffy and ready to shape. This slow fermentation also develops flavor and makes the dough easier to digest.
If you are new to sourdough, take a breath. The dough will feel wet and a little awkward at first. That is exactly how it should be.
The high hydration gives the finished loaf an open crumb, a crisp crust, and a springy texture. You do not need perfect technique. You just need a little patience and a starter that is ready to work.
Jump to:
- Easy Overnight Sourdough Bread
- What is the Secret to Sourdough Bread?
- Is Sourdough Bread Healthier than other Breads?
- How do I know if my Sourdough Starter is ready to use?
- Tips for making Overnight Sourdough Bread
- Tools you will need:
- Ingredients you will need:
- Overnight Sourdough Bread Schedule:
- How to make Overnight Sourdough Bread
- Did you enjoy this recipe?
- FAQs
- Can I leave sourdough bread dough out overnight?
- Do I need a Dutch oven for overnight sourdough bread?
- Can I use all purpose flour for overnight sourdough bread?
- Should I feed my starter before making overnight sourdough bread?
- Easy Overnight Sourdough Bread
- Ingredients
- Instructions
- Last Step:
- Notes
- Nutrition
- Did you make this recipe?
What is the Secret to Sourdough Bread?
A sourdough starter is a simple mixture of flour and water that hosts colonies of bacteria and yeast. These microorganisms come from the air, the flour, and the water. Lactic acid bacteria give sourdough its distinctive tang and help protect the starter from harmful bacteria.
Wild yeast break down sugars in the flour and produce carbon dioxide and ethanol, which make the dough rise.
As a starter matures, its flavor becomes stronger and more complex. Because every kitchen has slightly different strains of bacteria and yeast, no two starters are exactly alike. Your starter is unique to your home, your flour, and your routine. That is part of the charm of sourdough baking. Feeding your starter regularly keeps these colonies healthy and active.
Is Sourdough Bread Healthier than other Breads?
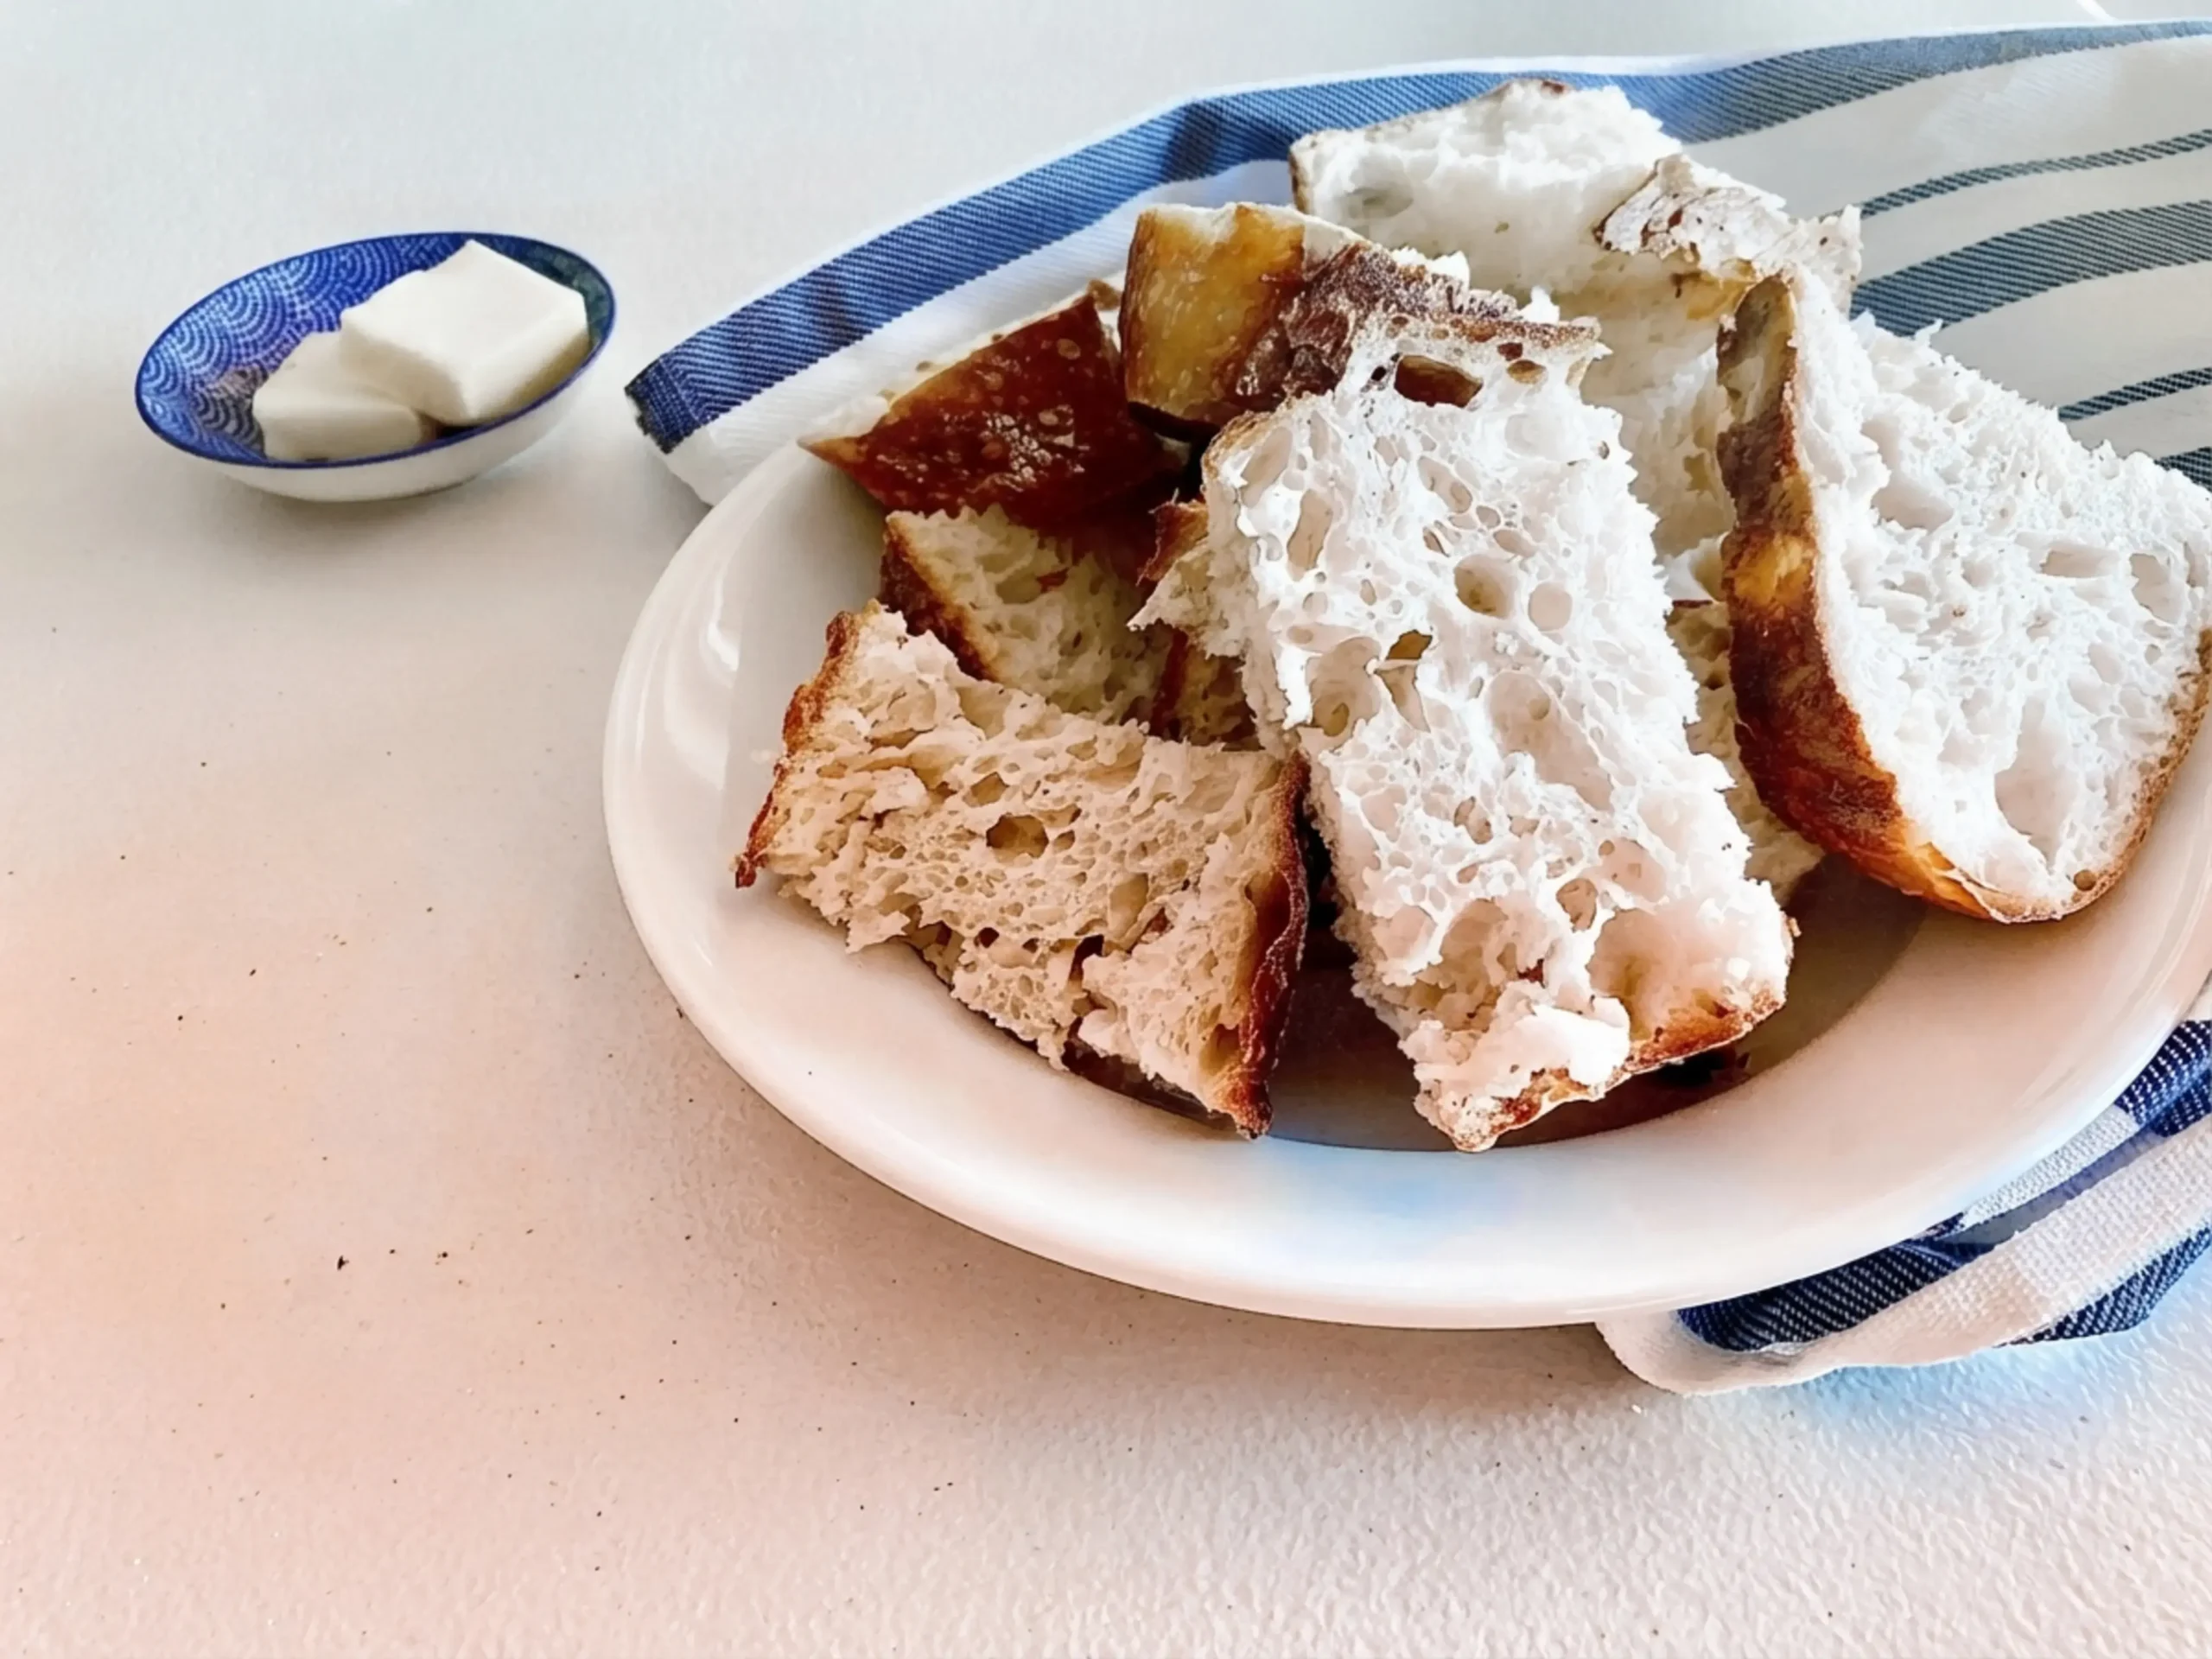
The original article explains that the sourdough process may make bread easier to digest. The starter breaks down gluten in the flour, and some people with gluten sensitivities find sourdough gentler on the stomach than traditional bread.
The article also notes that because the bacteria break down sugars in the flour, sourdough bread has a lower glycemic index and does not cause the same blood sugar spike as regular bread.
These are observations from the source article, not medical advice. If you have a health condition or a gluten sensitivity, talk with your healthcare provider before making changes to your diet.
How do I know if my Sourdough Starter is ready to use?
There is a simple test. Drop a small pinch of starter into a glass of water. If it floats, your starter is ready to use.
If it sinks, keep feeding it and try again in a few days. A floating starter means it is active enough to lift your bread. This test is quick and reliable, and it saves you from baking a dense loaf with a weak starter.
Tips for making Overnight Sourdough Bread
These tips come from the original recipe and from basic sourdough practice. They can make the difference between a flat loaf and a beautiful one.
- For a stronger sourdough flavor, use your starter several days after feeding it. The author of the original recipe feeds the starter on Sunday and bakes with it on Saturday.
- Proofing times change with the seasons. Dough rises faster in summer heat and slower in winter cold. Watch the dough, not just the clock.
- To check if the dough is ready, poke it with an index finger. If it springs back, it is ready.
- The dough will seem wet and hard to handle. This is normal. High hydration gives the bread more holes and a springier texture.
- Wet your hands before folding or shaping. This keeps the dough from sticking to your fingers.
- Let the baked loaf cool for one hour before cutting. This makes slicing easier and helps the crumb set.
- If your kitchen is cold, place the bowl in a slightly warmer spot, like an oven with the light on. If your kitchen is hot, the dough may rise faster, so check it earlier.
Tools you will need:
You do not need a lot of special equipment, but these four tools make the process much easier.
- Dutch oven
- Mixing bowl
- Parchment paper
- Food scale
A food scale is especially helpful because the recipe uses grams for the flour, starter, and salt. A Dutch oven traps steam and creates a crisp crust. Parchment paper makes it easy to transfer the dough without deflating it.
Ingredients you will need:
This recipe uses only four ingredients. The amounts below are from the original recipe card.
- 90 grams sourdough starter
- 520 grams all purpose flour
- 12 grams salt
- 1 7/8 cups water
That is it. No commercial yeast, no oil, no sugar. Just flour, water, salt, and starter.
If you want to make a smaller loaf, you can halve the recipe, but keep the same ratios. For those who count, the original recipe lists 171 calories per serving, with 36 grams of carbohydrates, 5 grams of protein, 0 grams of fat, 1 gram of fiber, and 390 milligrams of sodium.
Overnight Sourdough Bread Schedule:
This schedule is a guide. You can shift the times to fit your day, as long as you keep the rest periods roughly the same.
| Time | Action |
|---|---|
| 8:00 pm | Mix the dough. |
| 8:15 pm | Fold the dough. |
| 8:30 pm | Fold again, then cover and let it rise overnight. |
| 7:00 am | Fold the dough and place it in a bowl in the fridge. |
| 11:00 am | Preheat the oven to 500 degrees Fahrenheit with the Dutch oven inside. |
| 12:00 pm | Bake with the lid on for 25 minutes. Then reduce the temperature to 450 degrees Fahrenheit, remove the lid, and bake for 12 to 14 minutes more. |
| After baking | Cool for 1 hour before slicing. |
Cooling for an hour may feel like a long wait, but it makes the bread easier to cut and improves the texture. If you can wait that long, you will be rewarded. The schedule works well for a weekend bake, but you can also start on a weekday evening and bake the next afternoon.
How to make Overnight Sourdough Bread
Follow these steps for a reliable loaf. The method is adapted from the original recipe.
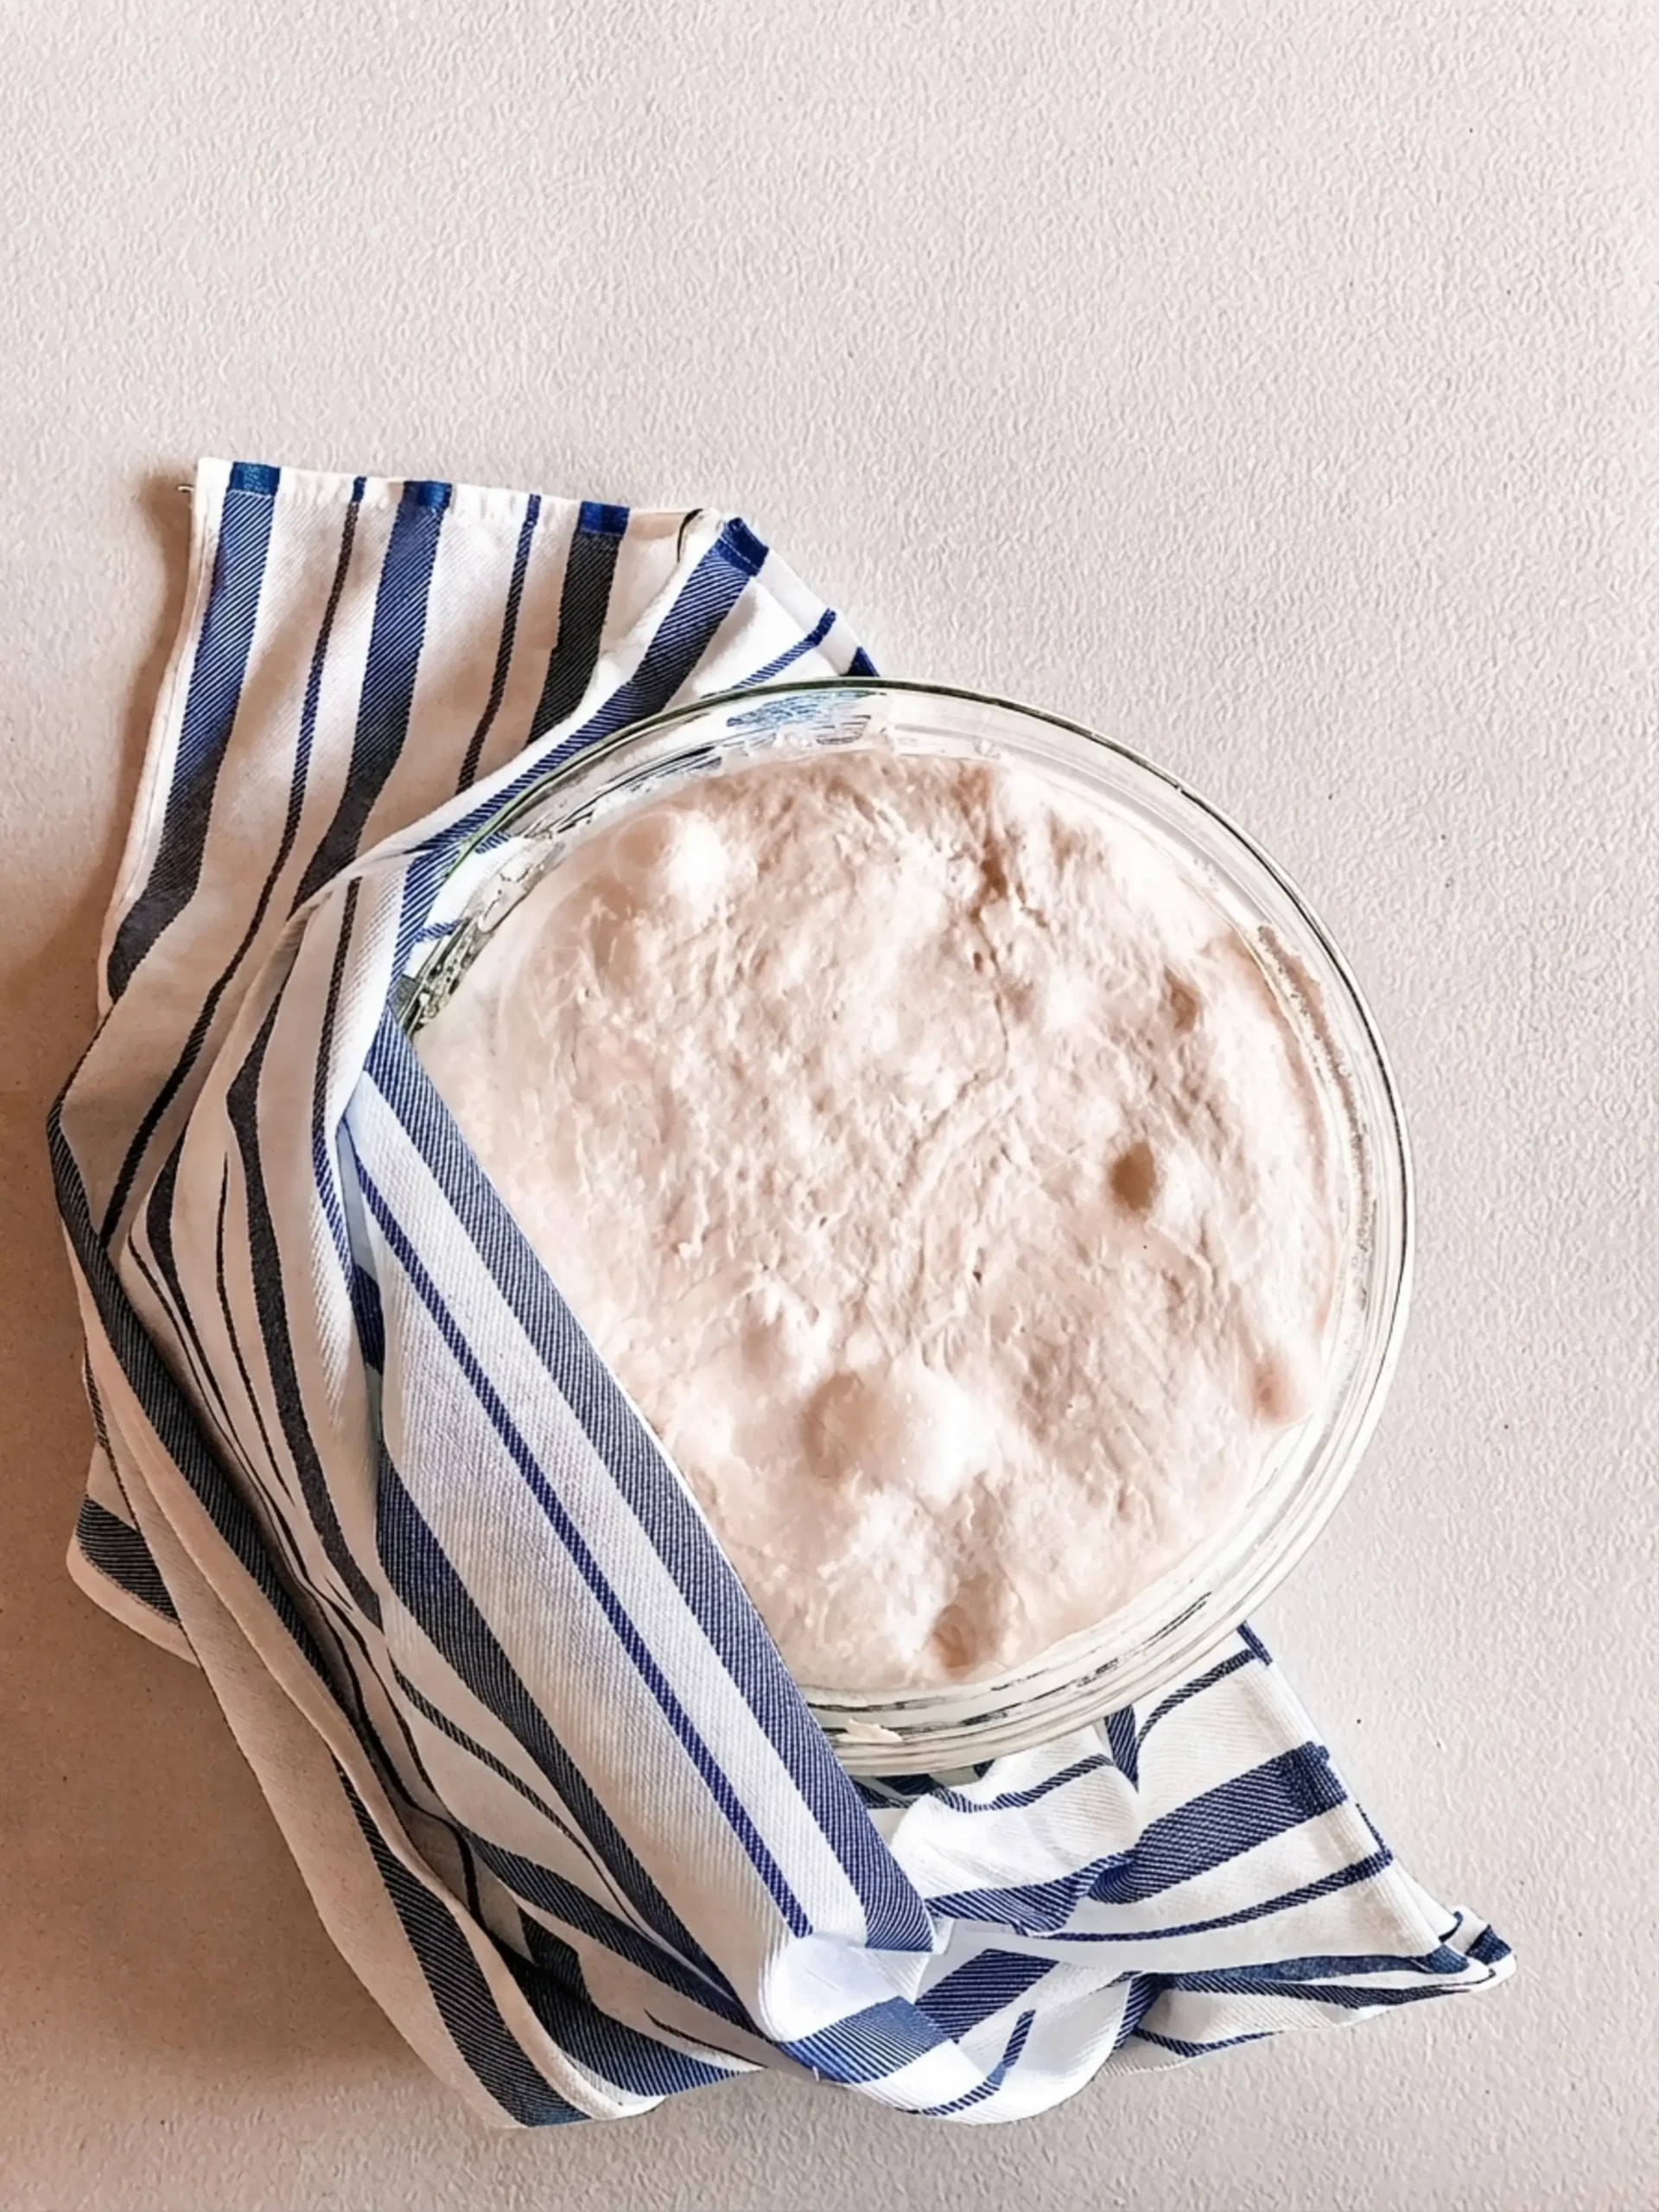
- The night before: Measure 520 grams of all purpose flour, 12 grams of salt, and 90 grams of sourdough starter into a large bowl. Pour in 1 7/8 cups of water. Use your hands to mix everything together. The dough will not be smooth and will seem very wet. This is OK.
- First rest and folds: Cover the bowl with a towel and let it sit for 15 minutes. Then perform a series of folds. Take a corner of the dough and fold it over the rest. Rotate the bowl and repeat. Do this about 15 times, until the dough does not stretch as easily. Wet your hands slightly so the dough does not stick.
- Second rest and folds: Cover the bowl with a towel and let it sit for another 15 minutes. Repeat the folds. Then cover the bowl again and let it sit out overnight to rise.
- The next morning: Your dough should have risen and be ready to fold. It may have air bubbles on top. This is great. Those bubbles will become holes in your baked bread. Prepare another mixing bowl by lining it with parchment paper and sprinkling flour over the bottom.
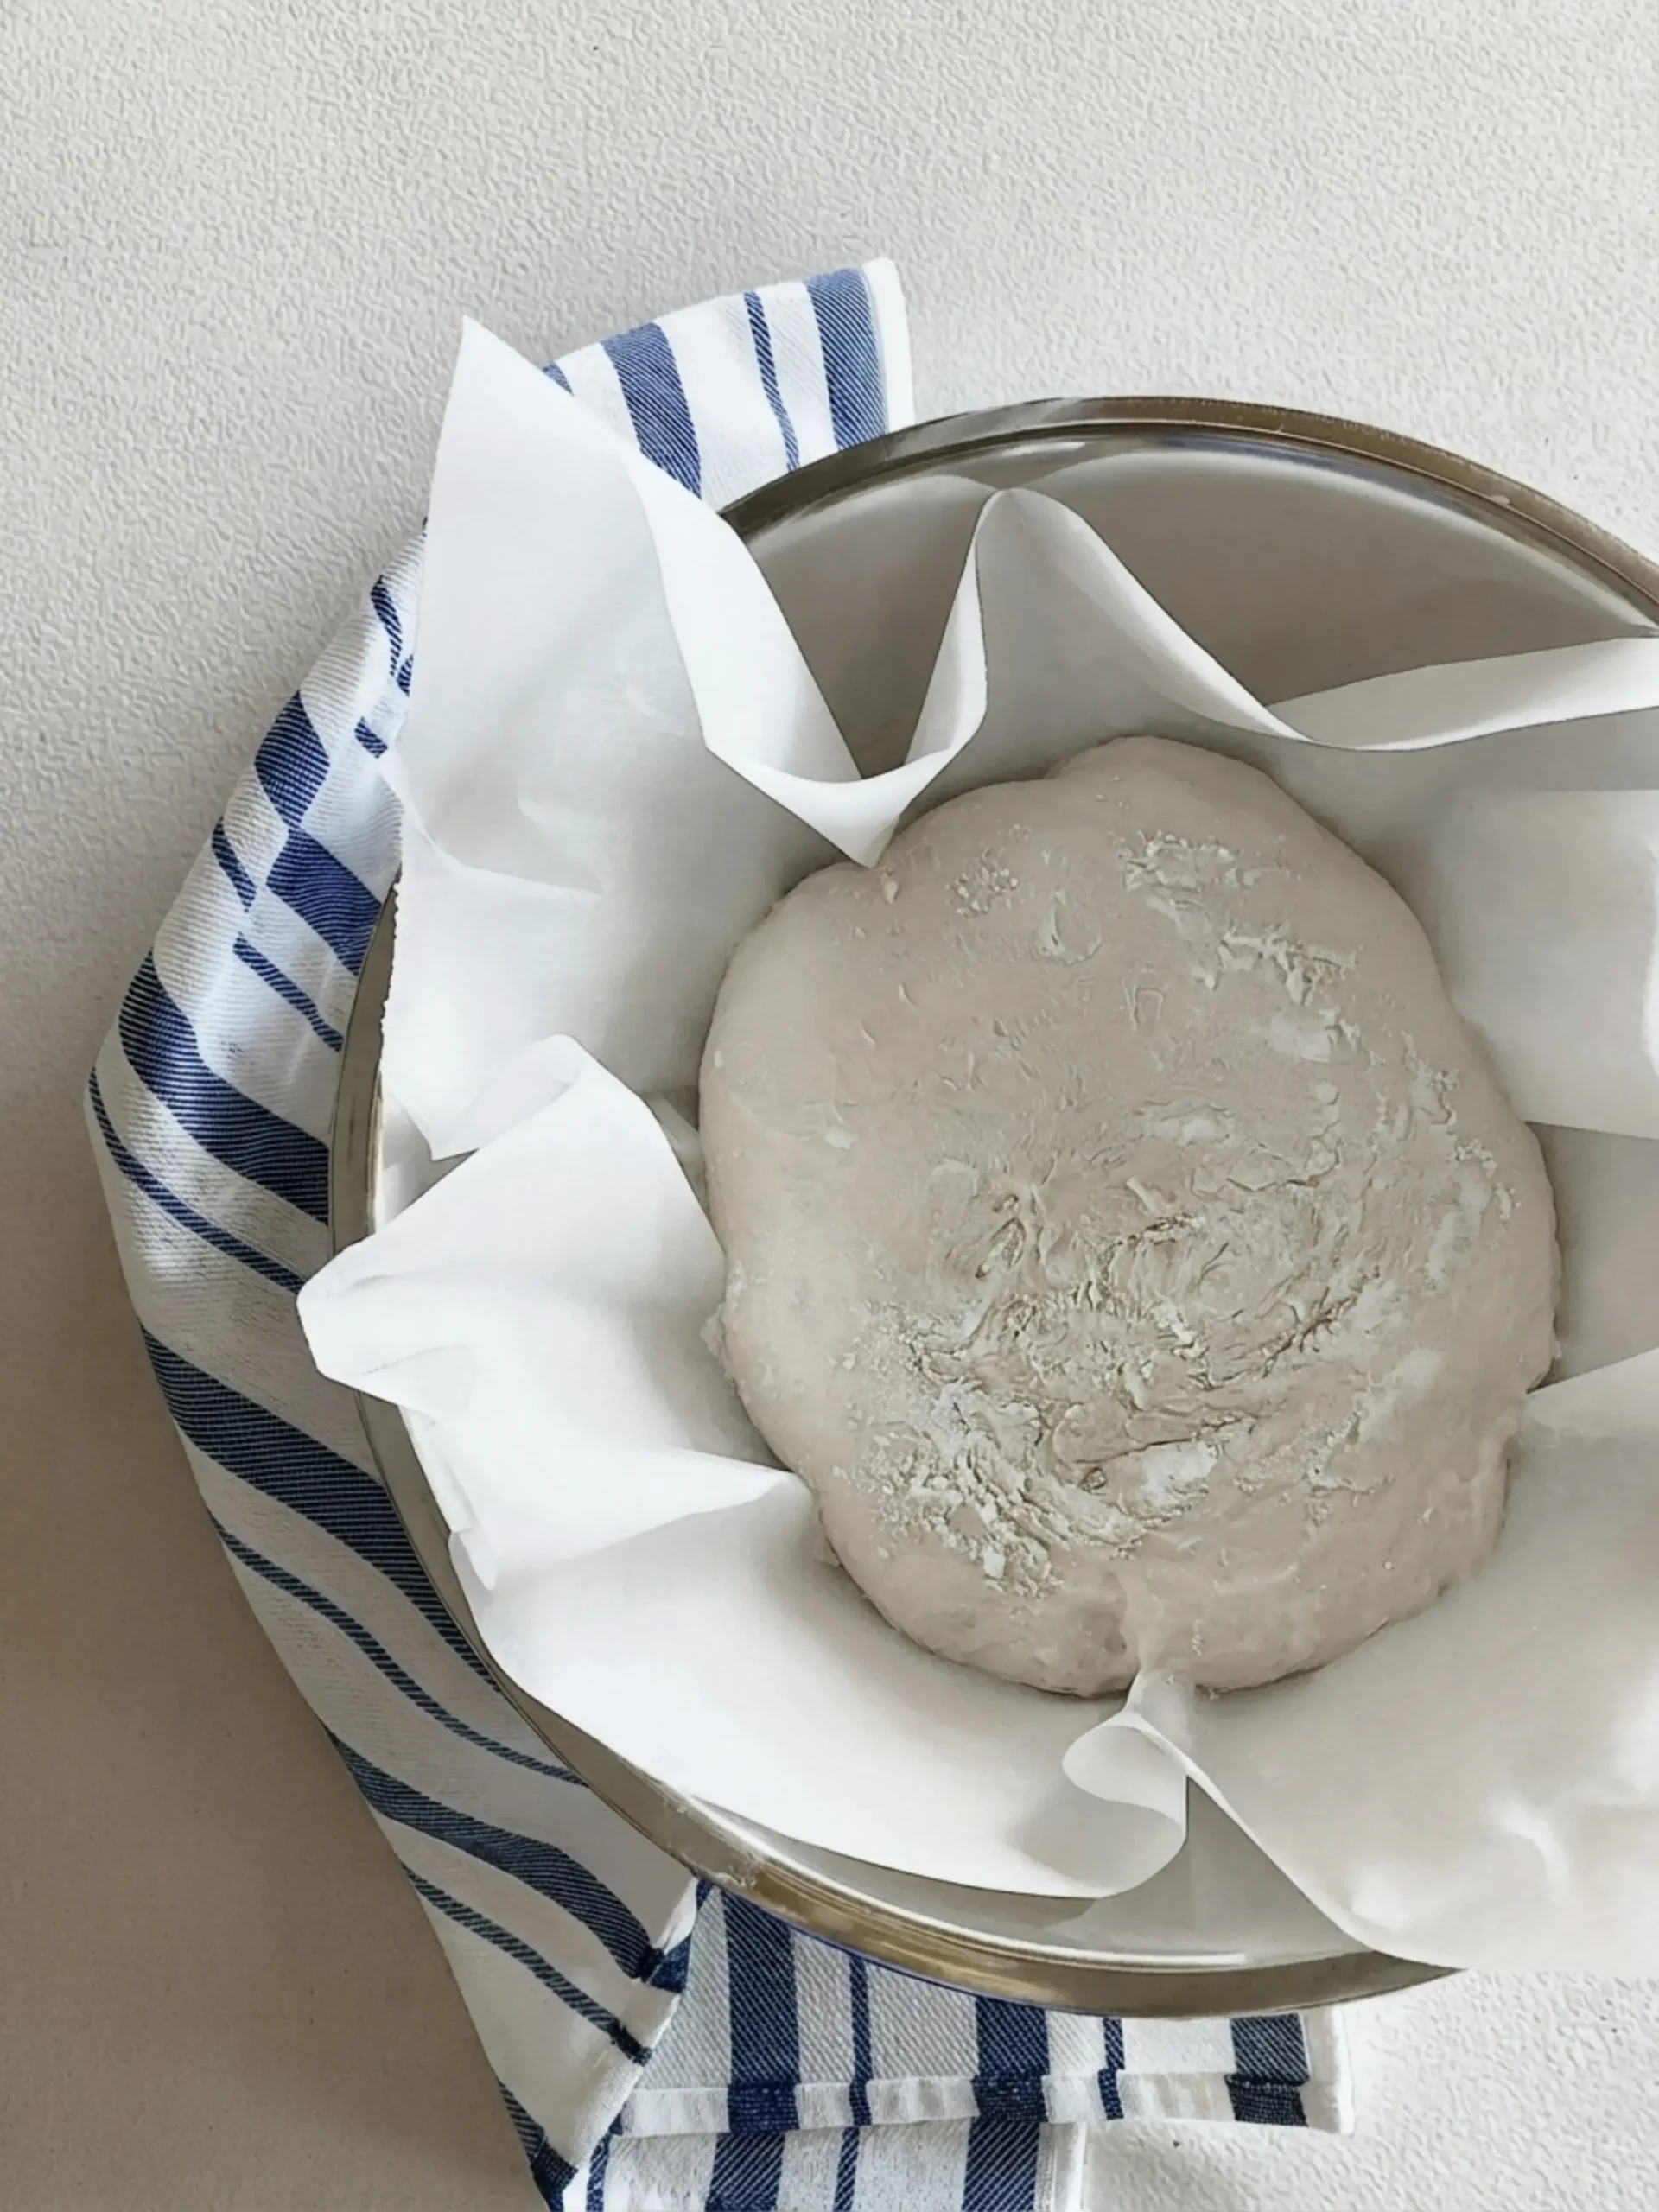
- Shape and chill: Wet your hands and loosen the dough from the edges of the bowl. Gently lift the middle of the dough with both hands. Tuck the ends underneath the rest of the dough. Give the bowl a quarter turn and repeat. Do this one more time. Then carefully lift the dough and move it to the parchment lined bowl. Tuck the ends underneath again. Sprinkle the top with flour and put the dough in the fridge for 5 hours.
- Preheat: Preheat your oven to 500 degrees Fahrenheit. The original author likes to use the convection setting. Place your Dutch oven in the oven while it preheats.
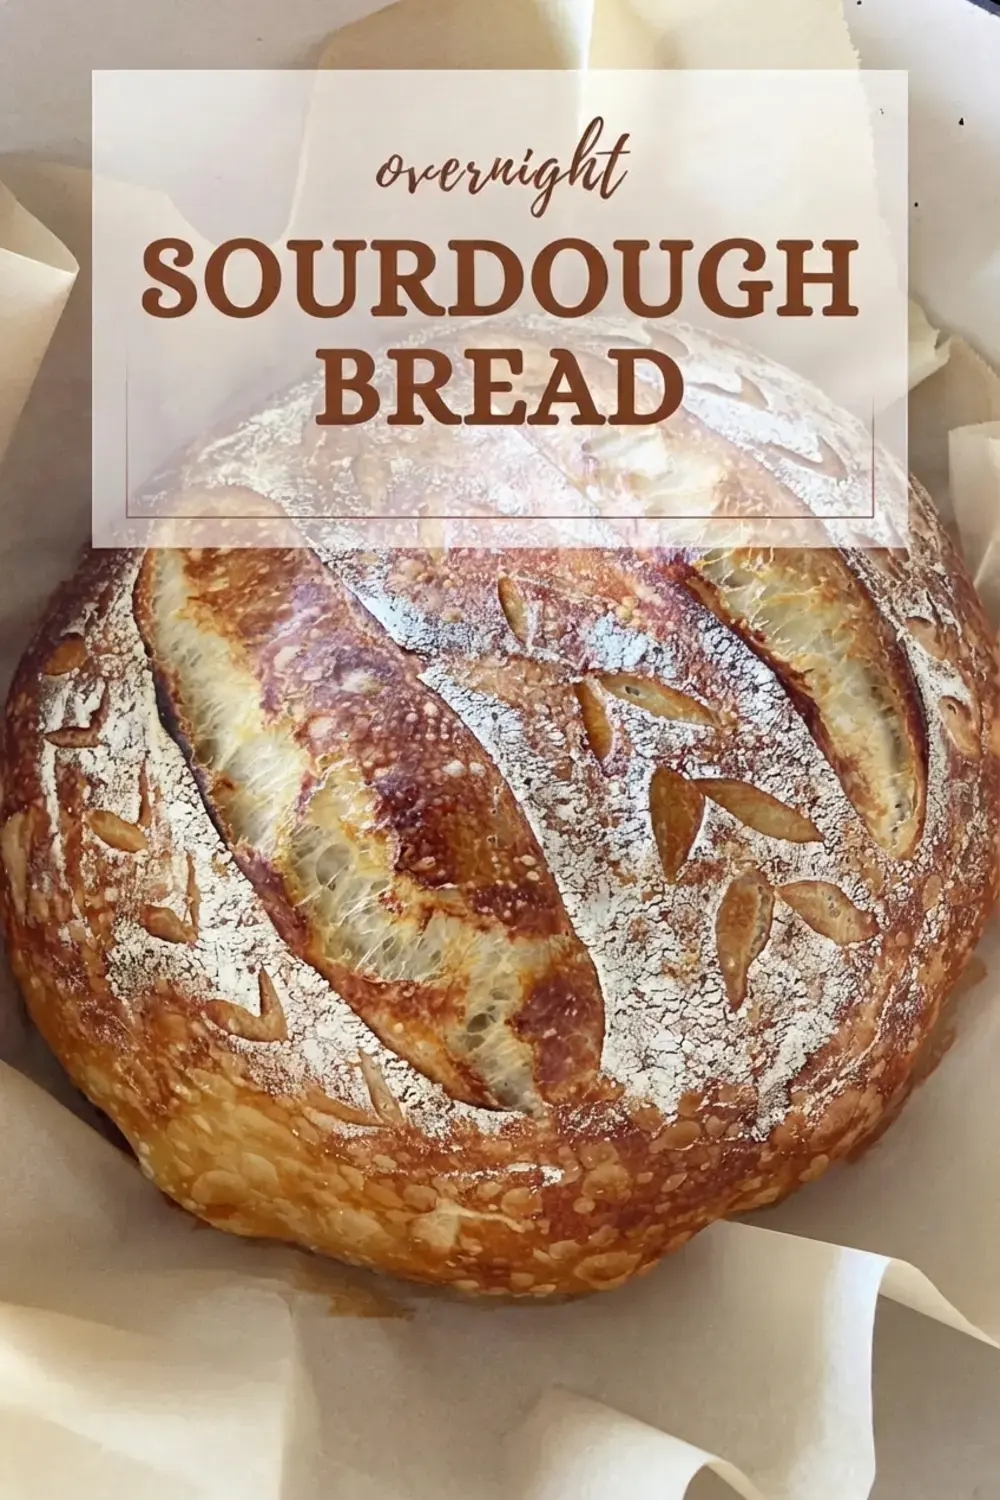
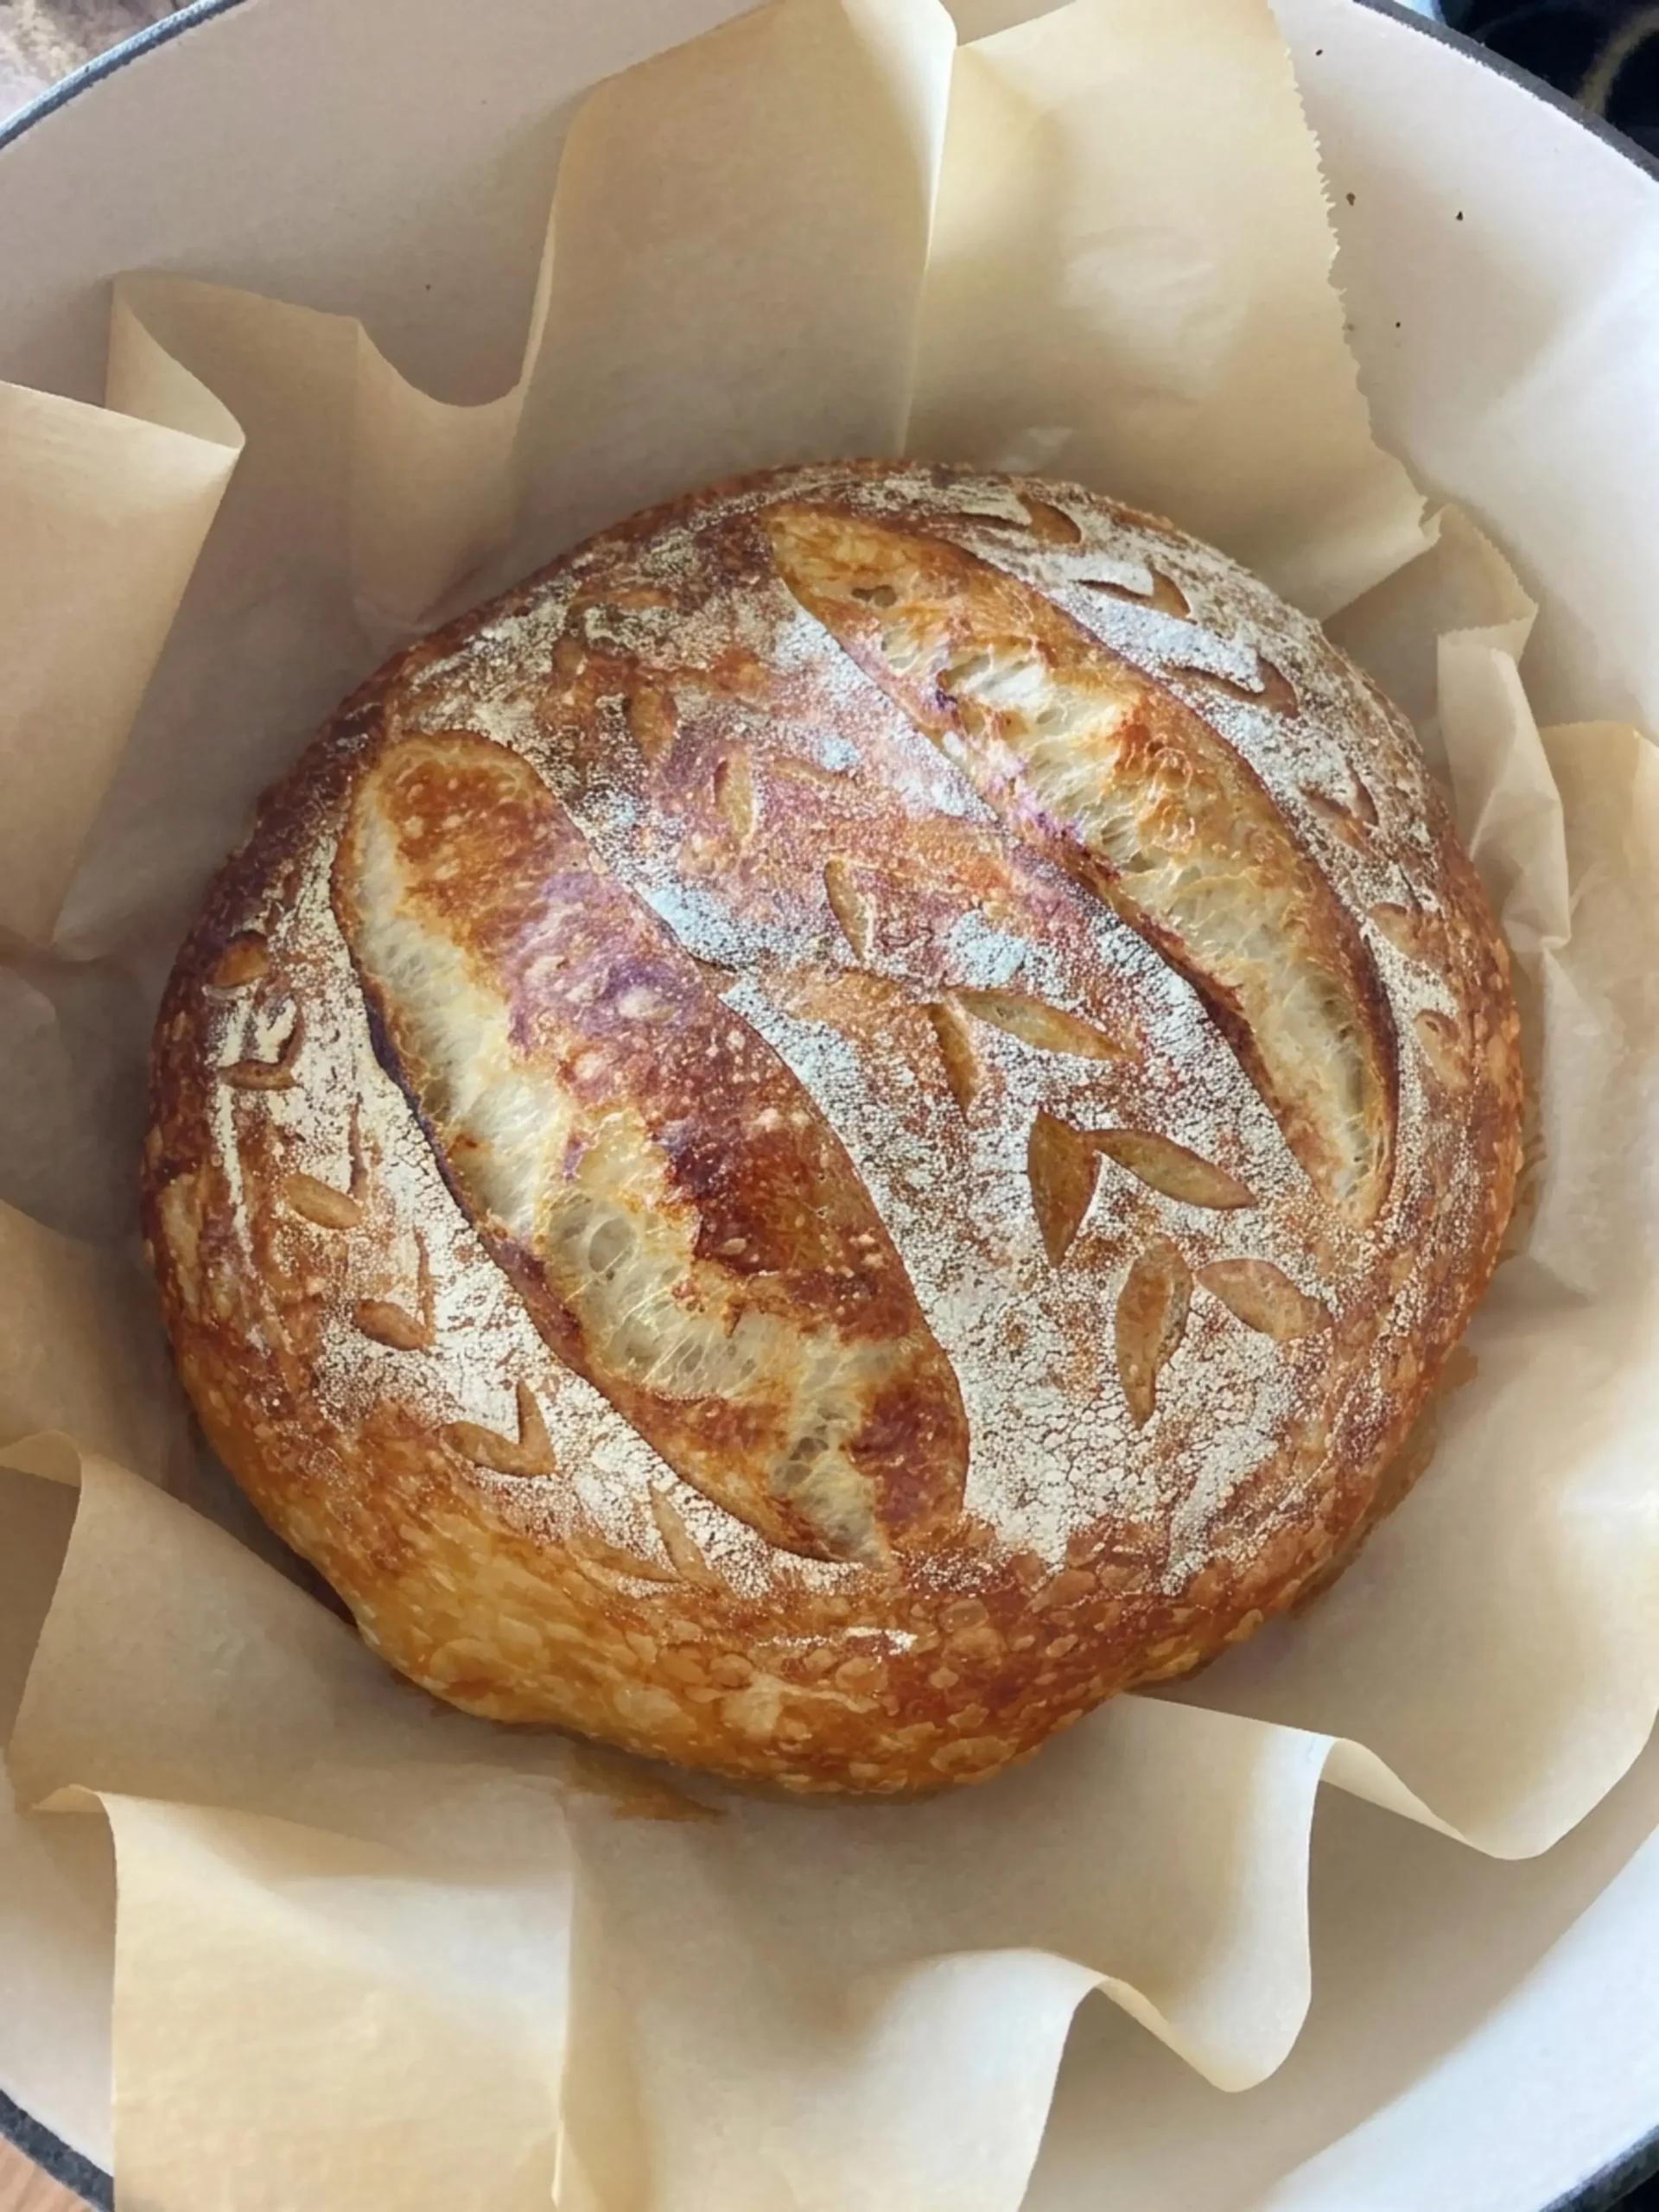
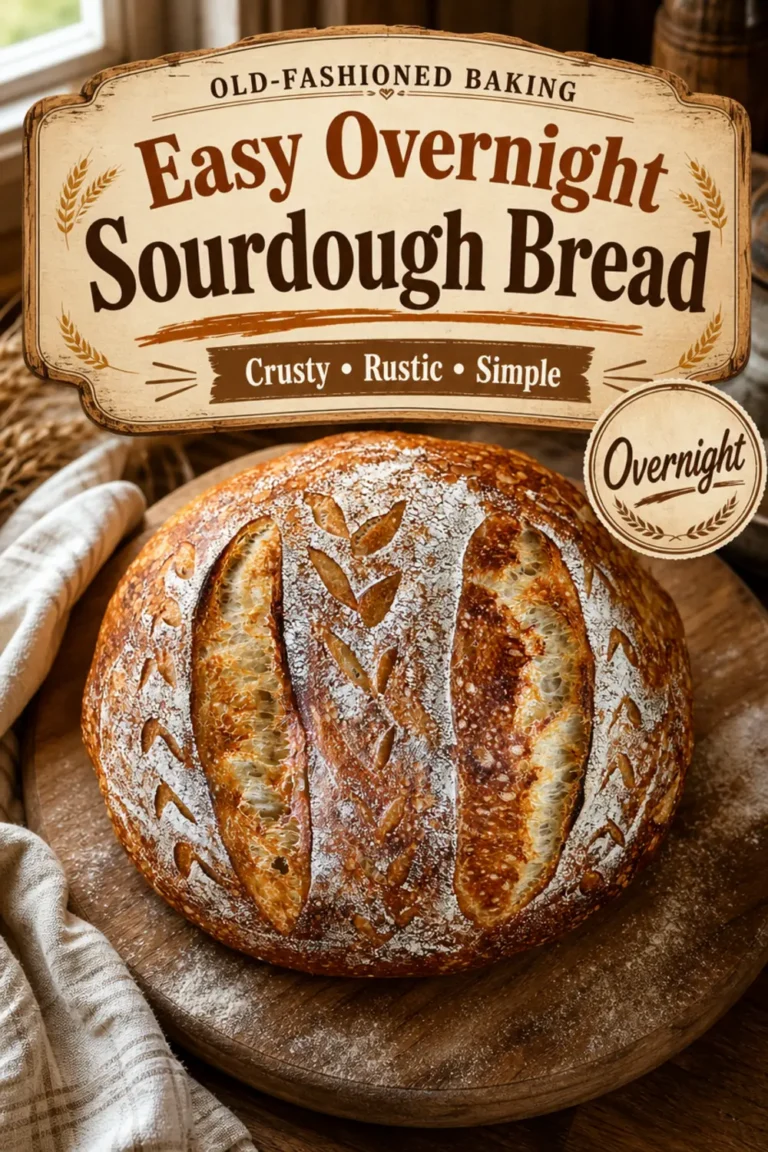
- Score and transfer: Take the dough out of the fridge. Use a knife to score it however you like. The original author usually does a long slash down the center with a few smaller slashes on each side. Use the parchment paper to transfer the dough to the hot Dutch oven.
- Bake: Bake for 25 minutes with the lid on. Then remove the lid and change the temperature to 450 degrees Fahrenheit. Bake for another 12 to 14 minutes.
- Cool: Take the bread out of the oven. Once it is cool enough to touch, set it on a rack to cool. Try to wait 1 hour before eating. The wait is worth it.
When the loaf is fully cool, slice it with a serrated knife. Serve it plain, with butter, or alongside soup. It also makes excellent avocado toast. Store any leftover bread in a paper bag at room temperature for a day or two, or slice and freeze it for longer storage.
Did you enjoy this recipe?
If you enjoyed this easy overnight sourdough bread, there are more sourdough recipes from the Kitchen Counter to explore. You might also like our Milk Bread Dinner Rolls for a soft, enriched loaf, or our Homemade Cinnamon Rolls for a sweet baking project. Happy baking.
FAQs
Can I leave sourdough bread dough out overnight?
Do I need a Dutch oven for overnight sourdough bread?
Can I use all purpose flour for overnight sourdough bread?
Should I feed my starter before making overnight sourdough bread?
Easy Overnight Sourdough Bread
Easy Overnight Sourdough Bread If you have a sourdough starter bubbling away on your counter and you are not sure what to do with it, this easy overnight sourdough bread is a friendly place to begin. The recipe calls for just four ingredients: flour, salt, water, and sourdough starter.
- Total Time: 1100 min
- Yield: 12 1x
Ingredients
Ingredients
90 grams sourdough starter
520 grams all-purpose flour
12 grams salt
1 7/8 cup water
Instructions
1-The night before you want your bread,: The night before you want your bread, measure out 520 grams of flour, 12 grams of salt, and 90 grams of sourdough starter into a bowl. Pour in 1 7/8 cups of water, and use your hands to mix the dough together. It will not be smooth, and likely will seem very wet. This is OK!
2-Cover the bowl with a towel and: Cover the bowl with a towel and let it sit for 15 minutes. After this, perform a series of folds. Basically, you want to take a corner of the dough and fold it over the rest of the dough. Rotate the bowl and do it again. I usually do this about 15 times, until the dough doesn’t stretch as easily. Wet your hands slightly so the dough doesn’t stick to them.
3-Cover the bowl with a towel and: Cover the bowl with a towel and let it sit for another 15 minutes. Repeat the folds, and then cover the bowl again and let it sit out overnight to rise.
4-The next morning, your bread will have: The next morning, your bread will have risen and should be ready to fold. It may have air bubbles on the top of the dough. This is great! They will ensure that your bread has holes in it when it comes out of the oven. Prepare another bowl to hold your bread in by lining a mixing bowl with parchment paper and sprinkling flour over the bottom.
5-To fold your bread, wet your hands: To fold your bread, wet your hands and loosen the dough from the edges of the bowl. Gently use both hands to lift the middle of the dough. Tuck the ends underneath the rest of the dough. Give your bowl a quarter turn and repeat. Do this one more time. Next, carefully lift the middle of the dough and move the dough to the bowl lined with parchment paper. Make sure to tuck the ends underneath. Sprinkle the top with flour and put your dough in the fridge for 5 hours.
6-Preheat your oven to 500 degrees Fahrenheit: Preheat your oven to 500 degrees Fahrenheit. I like to use the convection setting on my oven. Place your Dutch Oven in the oven while it is preheating.
7-Take your dough out of the fridge: Take your dough out of the fridge. Use a knife to score it however you like. I usually do a long slash down the center with a few smaller slashes on each side. Use the parchment paper to transfer your dough to the Dutch Oven.
8-Bake for 25 minutes with the lid: Bake for 25 minutes with the lid on. Next, remove the lid, and change the temperature to 450 degrees Fahrenheit. Bake for another 12-14 minutes.
9-Take the bread out of the oven: Take the bread out of the oven and once it’s cool enough to touch, set it on a rack to cool. Try to wait 1 hour before eating it!
Last Step:
Please leave a rating and comment letting us know how you liked this recipe! This helps our business to thrive and continue providing free, high-quality recipes for you.Notes
Additional time: follow the resting and cooling steps (1020 min).
- Prep Time: 40 min
- Cook Time: 40 min
- Method: bake
Nutrition
- Serving Size: 1
- Calories: 171
- Sugar: 0g
- Sodium: 390mg
- Fat: 0g
- Saturated Fat: 0g
- Carbohydrates: 36g
- Fiber: 1g
- Protein: 5g
- Cholesterol: 0mg