

Recipe details
This homemade rock candy recipe takes about 10 minutes of prep and 15 minutes of cooking, plus a 5 day resting time for the crystals to grow. The recipe card lists the yield as 3 candies, though the actual number depends on the size of your jars.
Jump to:
- Recipe details
- Step 1: Gather the ingredients and tools
- Step 2: How to make homemade rock candy
- Step 3: Create the sugar solution
- Step 4: Containers for the DIY Rock Candy to grow in
- Step 5: Homemade Rock Candy has formed!
- Rock Candy Troubleshooting Tips
- Why are my rock candy crystals so small?
- How long can I store the rock candy?
- Can I reuse the leftover liquid?
- How do I clean the mason jar or glass after growing the rock candy?
- Can I make rock candy with powdered sugar or brown sugar?
- FAQs
- How long does homemade rock candy take to form?
- Do I need a candy thermometer to make homemade rock candy?
- Can I make homemade rock candy with brown sugar or powdered sugar?
- Why are my homemade rock candy crystals so small?
- Homemade Rock Candy
- Ingredients
- Instructions
- Last Step:
- Nutrition
- Did you make this recipe?
Step 1: Gather the ingredients and tools
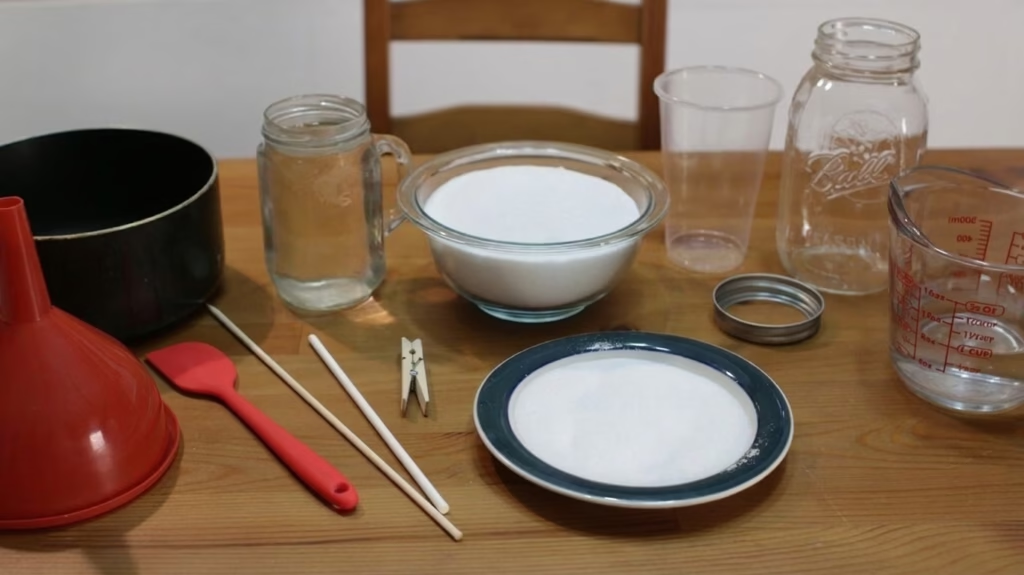
You only need a few simple ingredients to make rock candy at home. The star of the show is plain white granulated sugar, which forms those beautiful crystals. If your tap water has a strong taste, filtered water is a good choice.
Food coloring is optional, but it is a fun way to make colored rock candy. Flavoring, like hard candy flavoring oil, lets you customize the taste.
- 1 cup water (240 ml)
- 3 cups white granulated sugar (600 g)
- 1 to 2 teaspoons flavoring
- Food coloring (optional)
For tools, you will need a pot, a wooden spoon or spatula, lollipop sticks, bamboo skewers, strings or popsicle sticks, wide glasses or mason jars, and clothespins. A candy thermometer is not needed for this recipe, so do not worry if you do not own one.
Step 2: How to make homemade rock candy
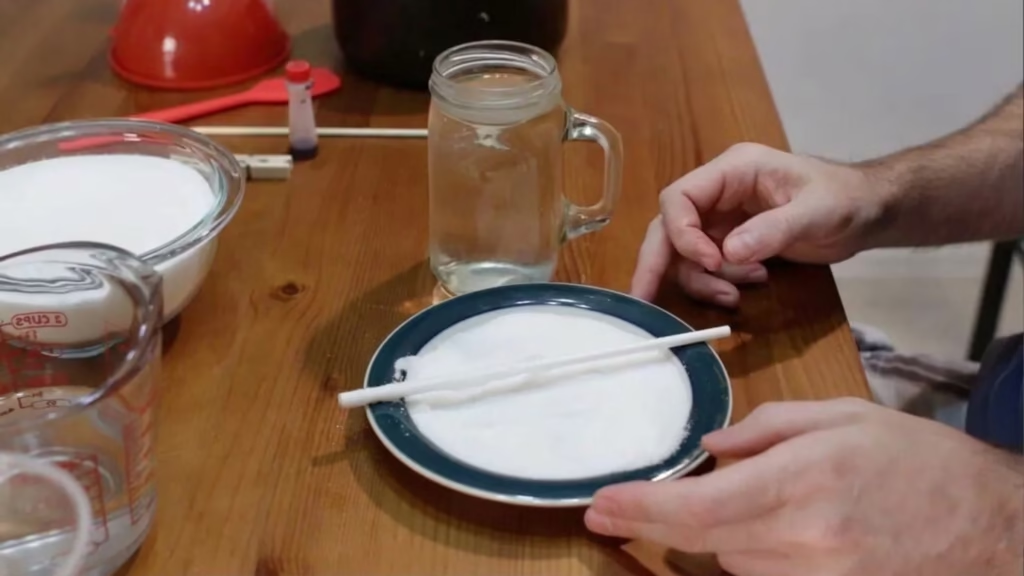
Start by preparing the sticks that your crystals will grow on. Dip a lollipop stick, bamboo skewer, or popsicle stick in water, then roll it in white granulated sugar spread on a plate. Coat only the area where you want crystals to form.
These tiny sugar grains are called seed crystals, and they give the new crystals something to grab onto. Let the coated sticks dry completely for about 25 to 30 minutes.
While the sticks dry, make the sugar solution. Heat water in a pot over medium heat until it simmers. Add the sugar one cup at a time, stirring until each cup dissolves before adding the next.
Bring the mixture to a rolling boil. If you are making one color and flavor for the whole batch, add the food coloring and flavoring right when it boils, then turn off the heat.
Let the solution cool for 20 minutes so it does not melt the seed sugar off the sticks.
Warm your glass or mason jar with hot tap water before pouring in the solution. An 800 ml jar makes one large candy, while smaller jars make two to three smaller ones. A metal thermos does not need warming.
If you want different colors and flavors, add them to each jar now. Center the stick with a clothespin, keeping it at least 1.5 inches from the bottom.
Let the crystals form for 3 to 5 days, then break the surface film, remove the candy, and dry it for 4 hours.
Step 3: Create the sugar solution
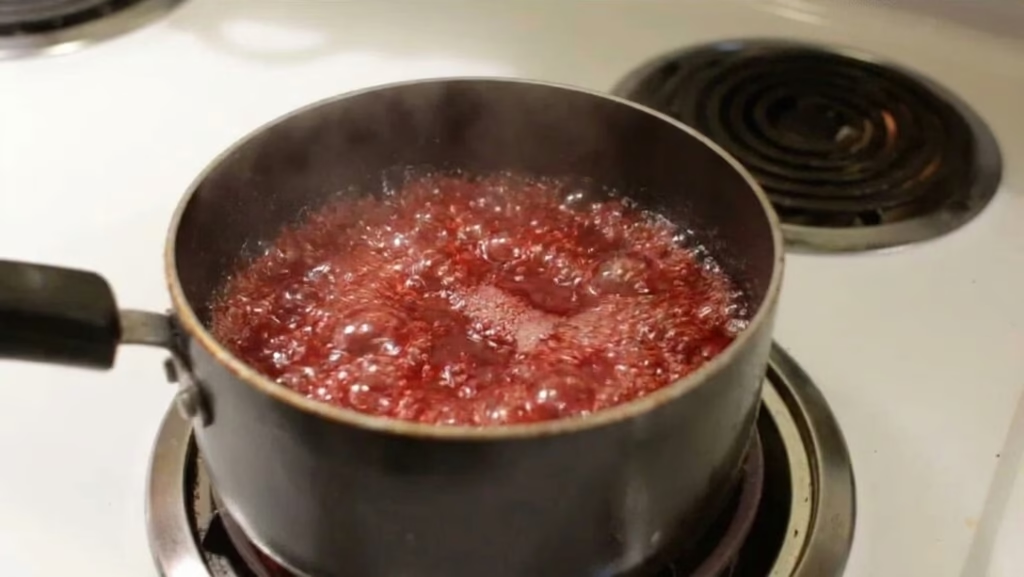
Place a medium saucepot on the stove over medium to medium high heat. Pour in the water and bring it to a simmer. Add the sugar one cup at a time, dissolving each cup before adding the next, until all 3 cups are in.
Stir and bring the mixture to a rolling boil. No candy thermometer is required, just a good rolling boil.
At the boil, add food coloring to reach your desired color and any hard candy flavoring oil. Mix it in, then turn off the heat. Let the solution cool for 20 minutes toward room temperature. This step matters because a solution that is too hot will melt the seed sugar right off your sticks.
Hot sugar syrup can cause serious burns. Let an adult handle the pot and the hot liquid, and keep young children at a safe distance.
The science is simple: hot water dissolves more sugar than cold water. As the solution cools, it becomes supersaturated, meaning it holds more sugar than it normally could at room temperature. The extra sugar crystallizes out onto your seed surface, and evaporation over the next few days helps the crystals keep growing.
Step 4: Containers for the DIY Rock Candy to grow in
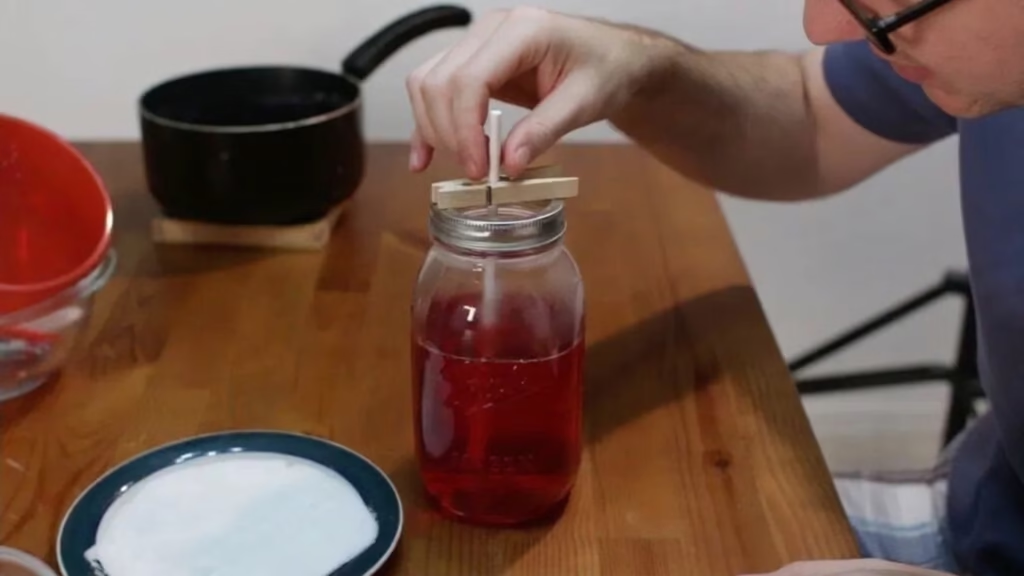
Choose a container wide enough for crystal growth so the candy does not stick to the sides. An 800 ml mason jar or other large glass jar makes one large rock candy. Smaller containers, and even clear plastic cups, work well for smaller candies.
Use a funnel to fill the jars, leaving about 1 to 2 inches of space at the top.
If you are using a mason jar, you can add a circular ring to the top so the clothespin has a place to rest. Suspend the sugar stick with the clothespin, keeping it in the middle and at least 1.5 inches from the bottom.
For different colors and flavors, add the coloring and flavoring oil to each individual jar instead of the pot.
Now comes the waiting game. It usually takes 5 to 7 days for a good amount of crystals to form. Leave the jars somewhere they will not be bumped or disturbed. Check on them without moving them, because a stick touching the sides or bottom can make crystals fuse to the jar.
Step 5: Homemade Rock Candy has formed!
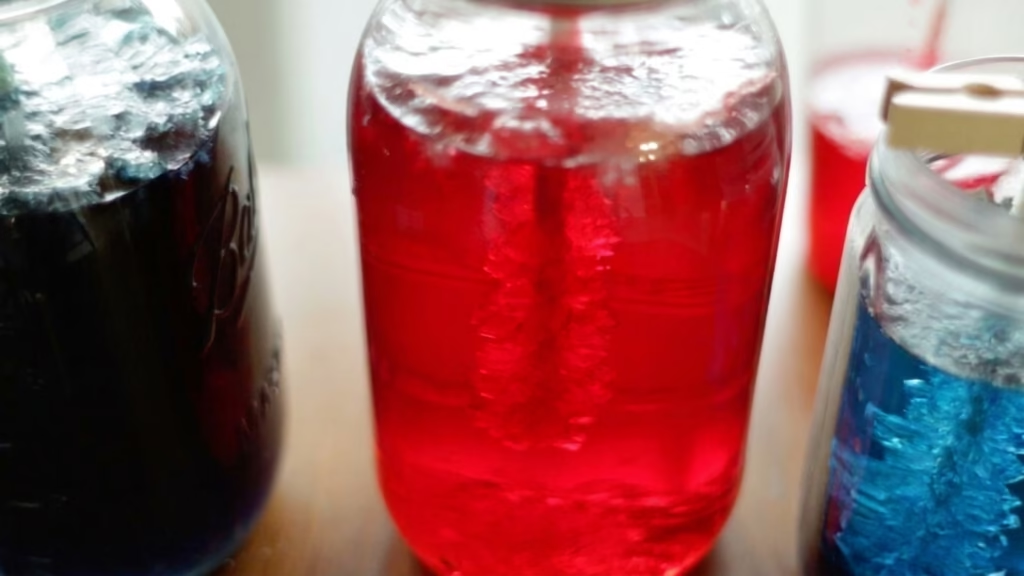
After a few days, you will see progress. A thin film of sugar on the top surface of the solution is completely normal. To remove the candy, gently break apart that thin top layer with a fork.
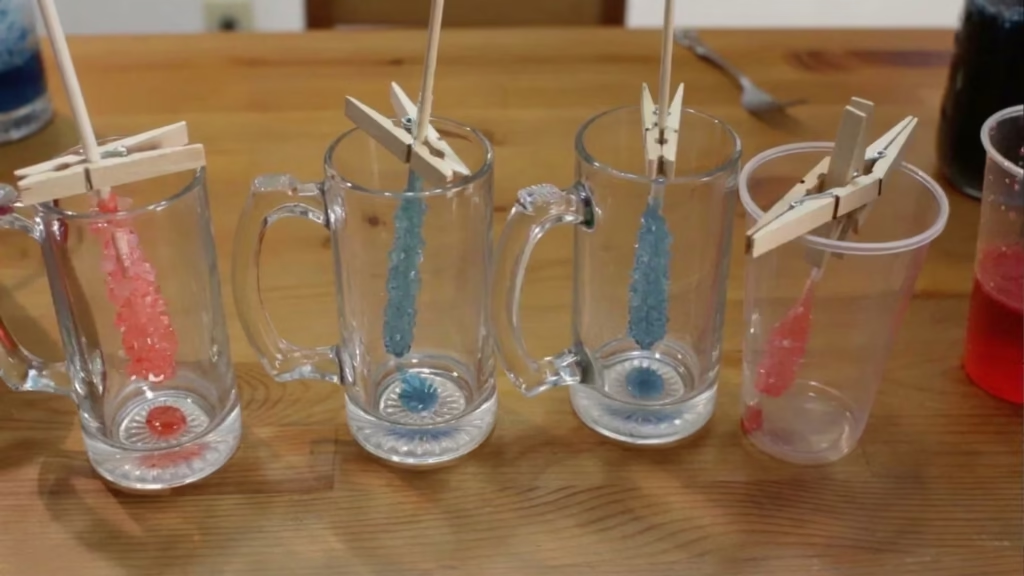
Pull the stick out and place it on another glass to dry, so the dripping sugar water is contained. Let it dry for about 4 hours.
The longer the candy sits in the solution, the larger the crystals grow. This recipe is easy, but it is not foolproof. It is a science experiment, and crystals do not always behave on the first try. That is part of the fun.
Rock Candy Troubleshooting Tips
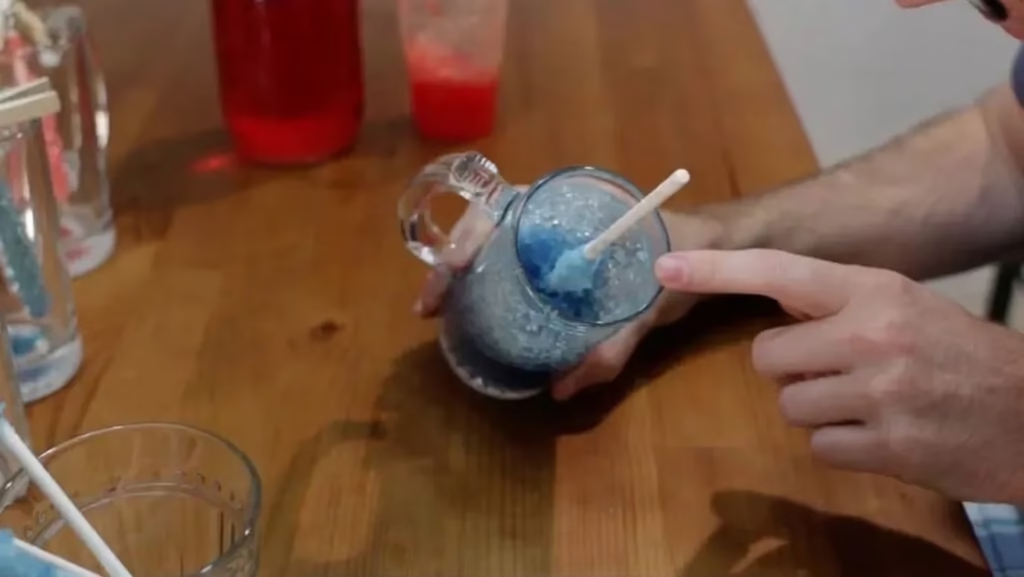
Crystals can grow up the sides of a glass or cup, especially in a container that is too narrow. The stick can become stuck even though the science worked.
An 800 ml mason jar about 3.5 inches wide and 6.5 inches tall works well, but it makes only one large candy with this recipe. Running hot water on the bottom of the glass can sometimes release a stuck stick.
If no crystals appear after 3 to 4 days, the syrup may not have had enough sugar dissolved. Pour it back into a pan, stir in another half cup of sugar, bring it to a boil, and start again with fresh sugar coated skewers.
Each jar contains much more solution than the resulting piece of rock candy. Leftover solution can be reused after reheating and adding another cup or so of sugar to replace what was lost to crystal growth.
Yield varies with container size: smaller containers make smaller candies and more of them, while bigger jars hold more liquid and make fewer candies.
Why are my rock candy crystals so small?
Small crystals can happen if your glass or container was cold, which causes the hot liquid to cool too quickly when poured in. To avoid this, warm the outside of the jar with hot water before adding the sugar solution. You can also use a metal container such as a wide thermos, which does not need warming.
How long can I store the rock candy?
Rock candy stored in a dry place can last for up to a whole year. Keep it away from moisture, and it will stay crunchy and sweet for a long time.
Can I reuse the leftover liquid?
Yes, leftover sugar syrup can be reused to make more rock candy. Heat it up with an additional cup of sugar to replace the sugar that grew on the previous stick. This is a great way to get another batch without starting from scratch.
How do I clean the mason jar or glass after growing the rock candy?
Crystals can cover the bottom of the glass and grow in places other than the stick, making cleaning a bit tricky. Running very hot water in the glass for a few minutes will melt the sugar enough to remove it. If you used a plastic cup, you can simply throw it out instead of scrubbing.
Can I make rock candy with powdered sugar or brown sugar?
Powdered sugar will not work very well for making this candy. Brown sugar will work, but plain white granulated sugar is the very best choice. It dissolves cleanly and produces the clearest, most impressive crystals.
FAQs
How long does homemade rock candy take to form?
Do I need a candy thermometer to make homemade rock candy?
Can I make homemade rock candy with brown sugar or powdered sugar?
Why are my homemade rock candy crystals so small?
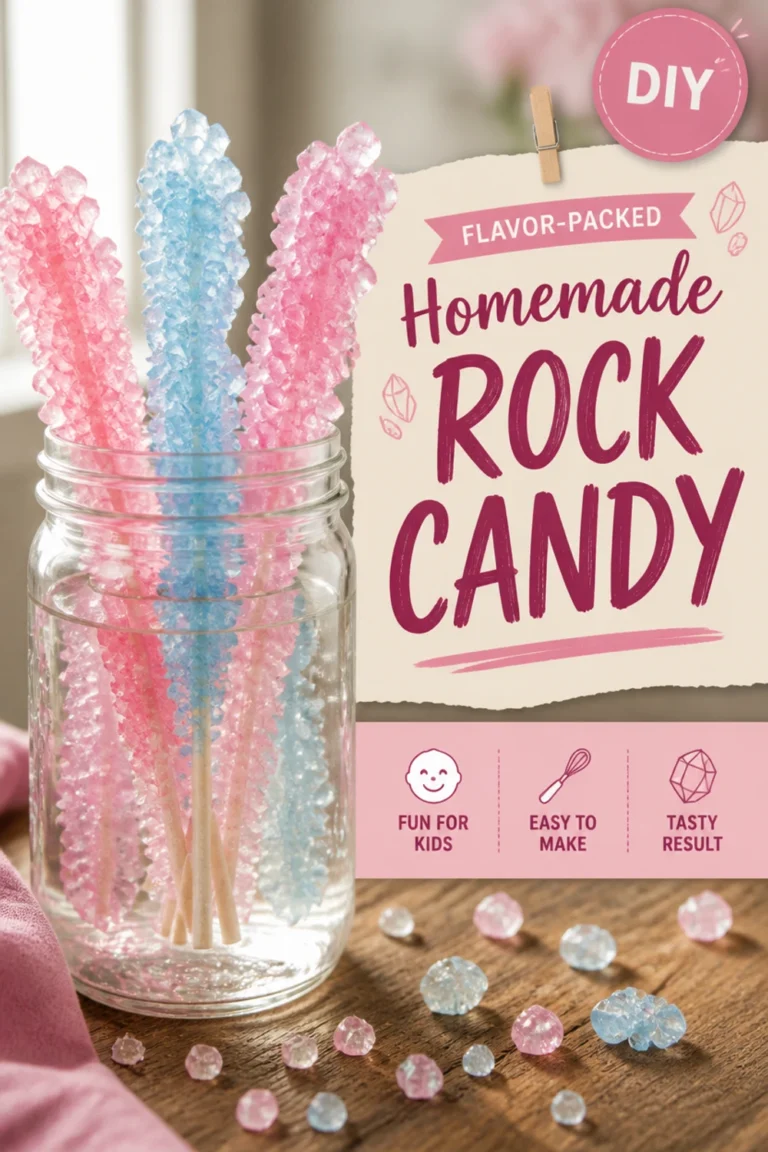
Homemade Rock Candy
Recipe details This homemade rock candy recipe takes about 10 minutes of prep and 15 minutes of cooking, plus a 5 day resting time for the crystals to grow. The recipe card lists the yield as 3 candies, though the actual number depends on the size of your jars.
- Total Time: 7225 min
- Yield: 3 Candies 1x
Ingredients
1 cup water
3 cups white granulated sugar
1 – 2 tsp flavoring
Instructions
1-Begin by dipping the sticks in water: Begin by dipping the sticks in water and then rolling them in sugar. A plate works well to hold the sugar. I only dip it where I want the sugar crystals to grow. Set the sticks aside and allow them to dry. These are the seed crystals that the other crystals will grow on.
2-Add a large pot to the stovetop: Add a large pot to the stovetop and set to medium heat. Pour in the water and bring it to a simmer. Then add in the sugar a cup at a time, stirring it to dissolve the sugar. Bring it to a boil. If you are only using one color and flavor you can add it in right when it boils.
3-Remove the pot from the heat and: Remove the pot from the heat and allow the sugar solution to cool for 20 minutes.
4-After 20 minutes run the tap water: After 20 minutes run the tap water until it gets really hot, let the water run over the glass or mason jar to heat it up until really warm. Make sure to use a wide glass or mason jar like the 800ml kind if you want larger candies, but you will get fewer of them, with this amount of liquid you will get 1 large one. Smaller mason jars or glasses for smaller candies, but you will get more of them. 2 to 3 of them. Pour the hot sugar solution into the containers. If you are using a metal thermos no need to heat it up. If you want different colors now would be the time to add those colors and flavors.
5-Attach a clothespin to a sugar stick: Attach a clothespin to a sugar stick and set it in the solution. If necessary use a metal ring on top of the mason jar so the clothespin can sit on it. Try and keep the stick in the very middle of the glass and at least 1.5 inches from the bottom. If it is too close to the bottom the crystals might fill up the bottom.
6-Let the crystals form for 3 to: Let the crystals form for 3 to 5 days. Use a fork and gently break away any thin layer of sugar that has formed on the surface of the solution. Then pull out the rock candy and place in another container to dry for 4 hours. That’s it! Enjoy!
Last Step:
Please leave a rating and comment letting us know how you liked this recipe! This helps our business to thrive and continue providing free, high-quality recipes for you.- Prep Time: 10 min
- Cook Time: 15 min
- Method: stovetop
Nutrition
- Serving Size: 1 serving
- Calories: 194 kcal