You crush a handful of cookies, whip up a creamy filling, spoon it into little dishes, and let the fridge finish the job. It is a quick dessert that feels fancy enough for company and easy enough for a random Tuesday.
Why You Will Love These No Bake Oreo Cheesecake Cups
This is the recipe I hand to friends who insist they cannot bake. You do not have to bake. You barely have to measure.
Only five ingredients. Cream cheese, whipped topping, powdered sugar, vanilla, and Oreos. That is the entire list, and there is a good chance most of it is already in your kitchen.
They come in individual servings. No slicing, no scooping, no hoping a slice holds together on the plate. Everyone gets their own little dish, which also means no arguing over the corner piece.
No oven required. This is a prep and chill dessert, which is exactly what I want in the middle of summer when the thought of turning on the oven makes me break a sweat.
Easy to make gluten free. Use gluten free Oreos and the rest of the ingredients are already naturally gluten free.
So many ways to change it up. Any Oreo flavor works, including mint, holiday themed, or peanut butter. You can also change the presentation, layering it like a parfait, building it in one big dish, or turning it into mini cheesecakes.
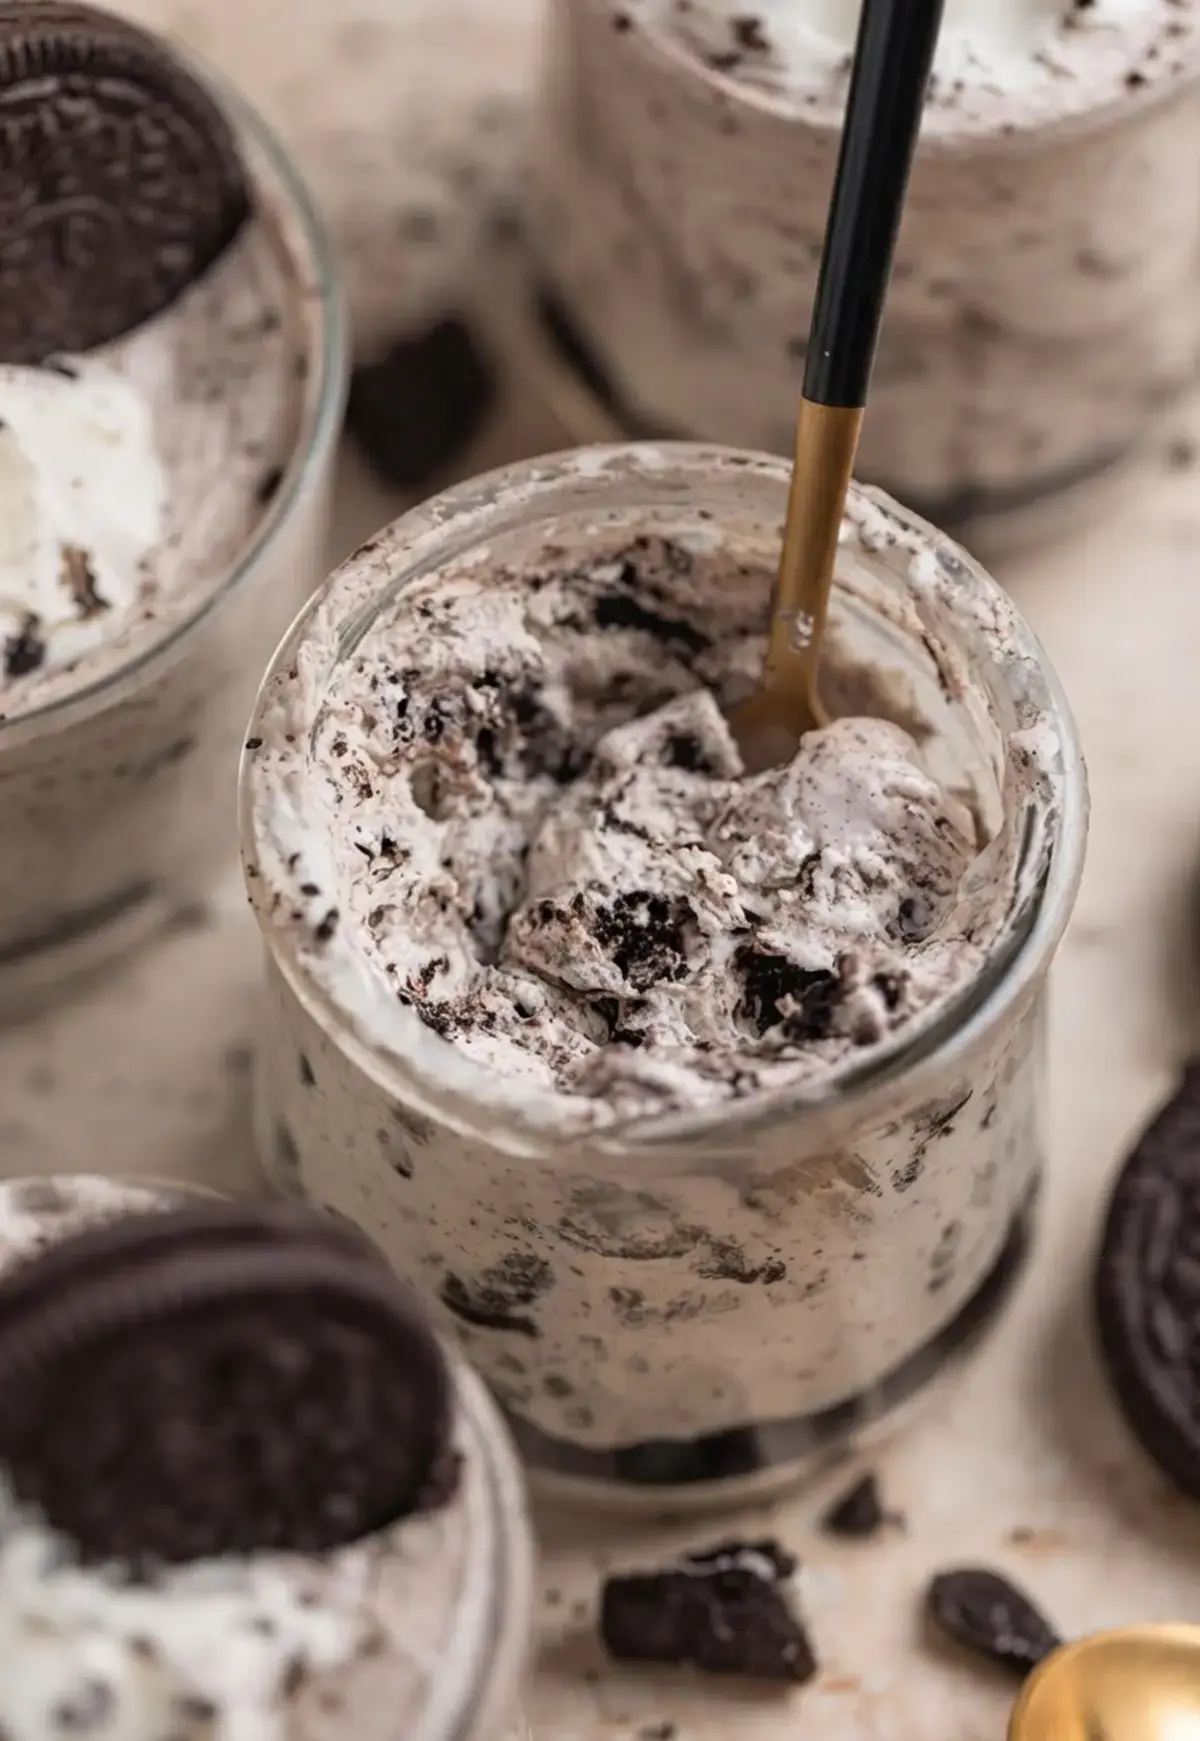
My favorite part is how impressive it looks with almost no effort. Spoon it into small glass jars, add a swirl of whipped cream and a cookie on top, and nobody at the table will guess how quickly it came together.
I brought a tray of these to a family cookout last month and they disappeared before the burgers were even off the grill.
They also travel well. I have packed these cups in a cooler for a picnic, and because they are already portioned, there is nothing to slice or plate at the other end. Just keep them cold and hand them out.
The cups are at their best after a full chill, so making them earlier in the day works in your favor.
Recipe Ingredients:
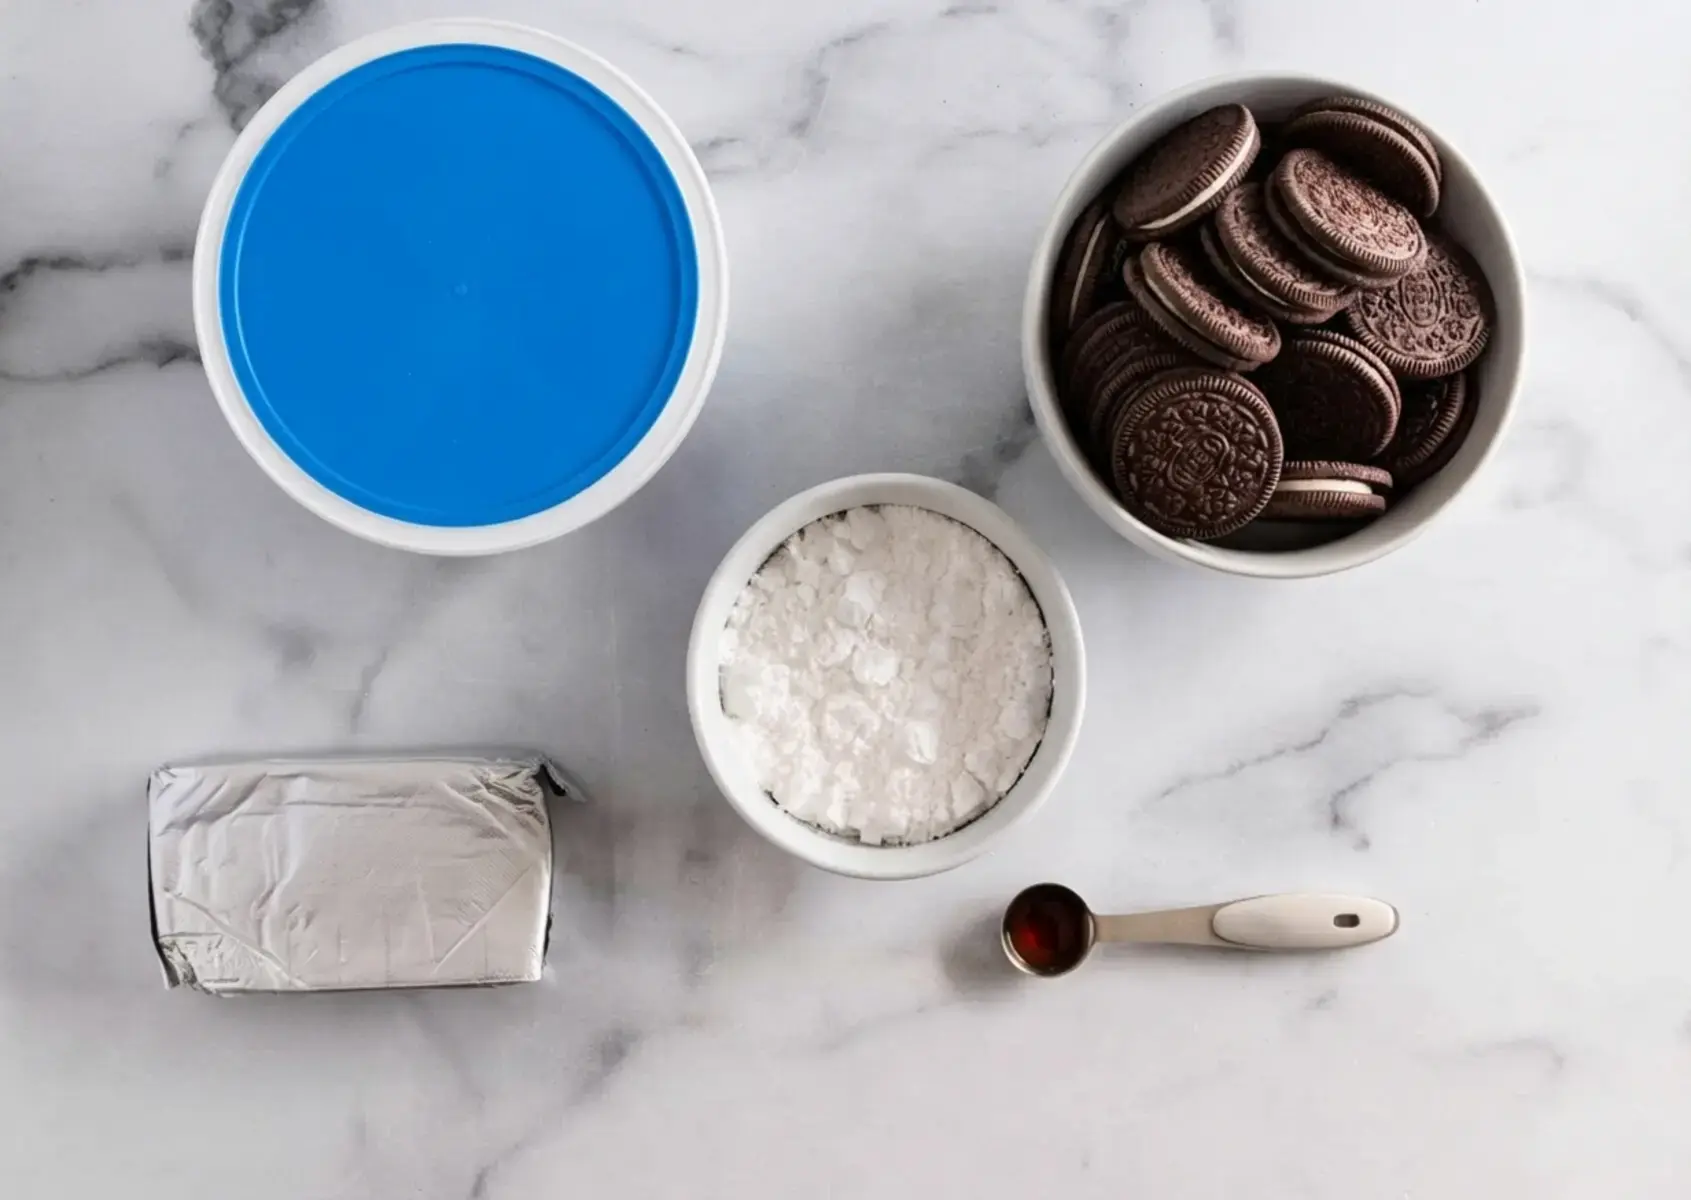
Five simple things. The quality of each one matters more than you might think, so here is what to grab and why.
1 (8 ounce) block cream cheese, softened. Full fat gives the creamiest result, and that is what I always use. Reduced fat can work if that is what you have, but please skip the zero fat version. It never whips up the way you want it to.
8 ounces Cool Whip or whipped topping. This keeps the filling light and fluffy instead of heavy. If you would rather skip the tub, homemade whipped cream made from heavy cream works beautifully too.
2/3 cup powdered sugar. It sweetens the mixture and helps it firm up as it chills.
1 teaspoon vanilla. A small pour that makes the whole filling taste richer.
24 to 26 Oreo cookies, plus more if you like. Traditional chocolate is my favorite, Golden Oreos are a close second, and gluten free Oreo varieties work just as well.
Let the cream cheese sit out until it is truly soft. Cold cream cheese fights the mixer and leaves little lumps behind.
That is the whole shopping list, and if you keep Oreos around the way I do, you may only need to grab the cream cheese.
Do not skip the powdered sugar, even if you are tempted to cut back. It does double duty here, sweetening the filling and helping it set.
How to make this recipe
This is a stir and chill situation, which is exactly why I love it. Here is the order I follow.
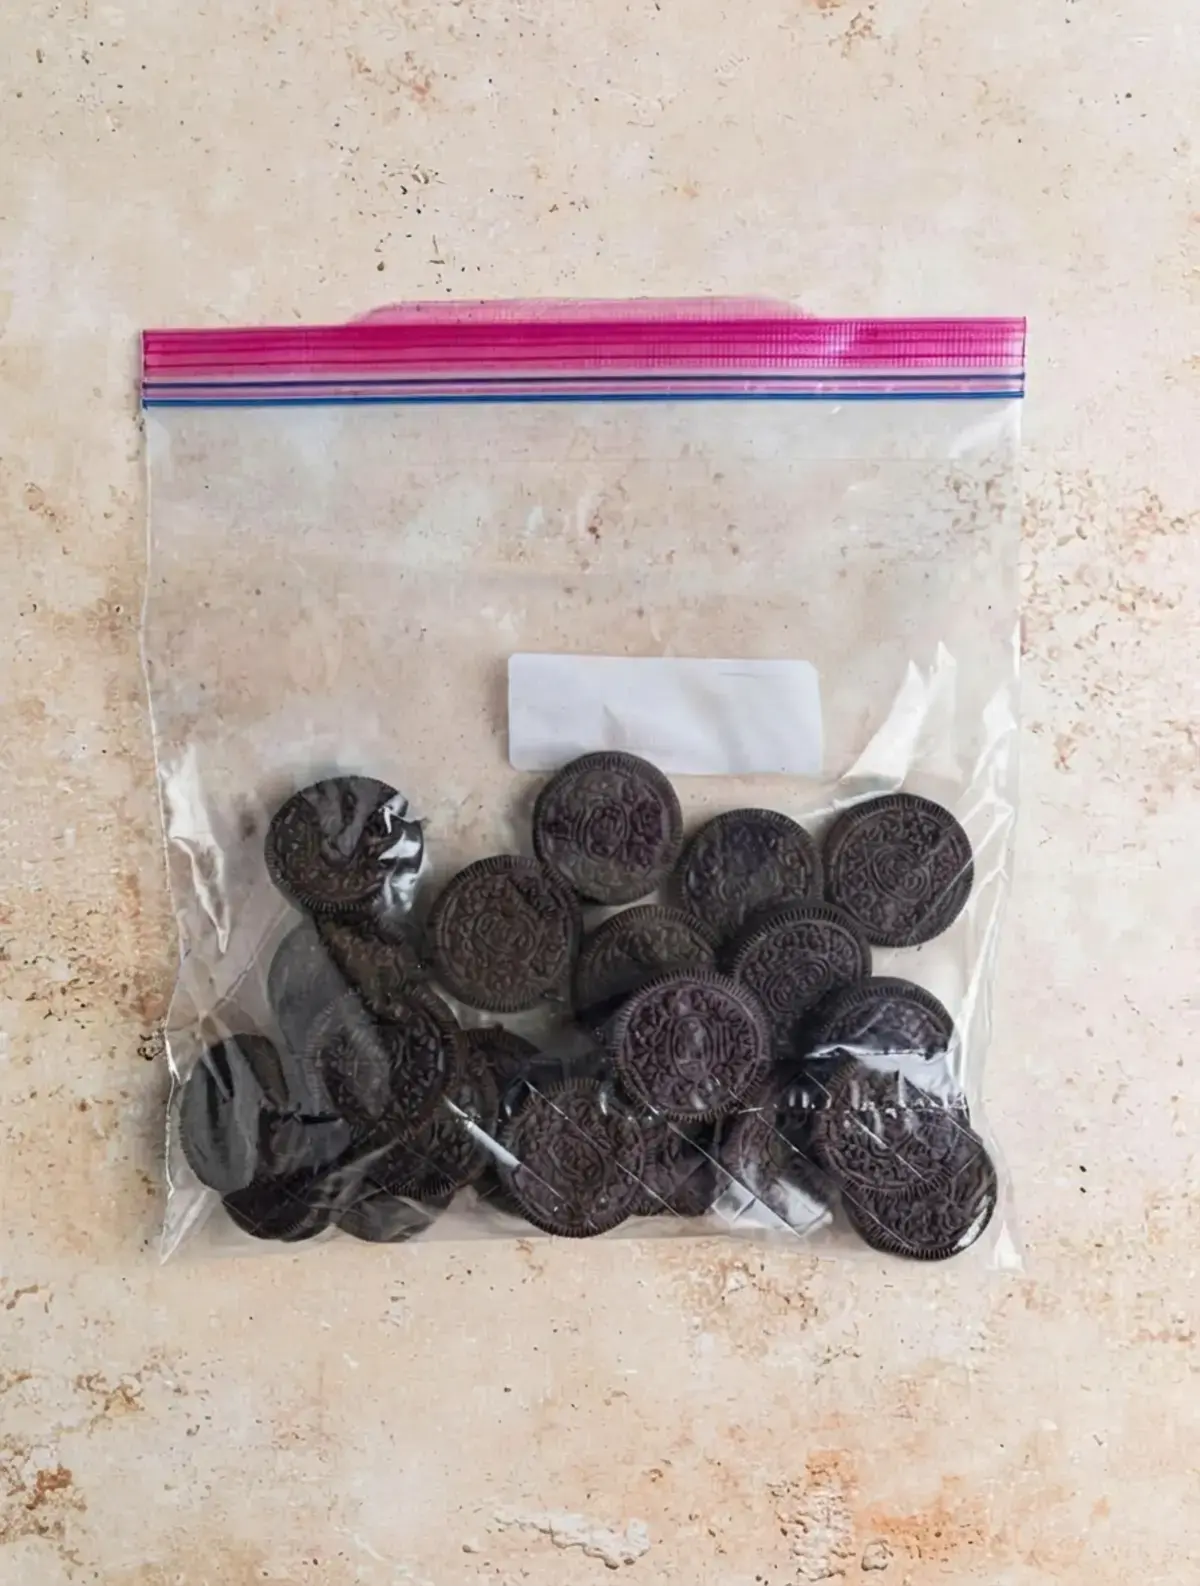
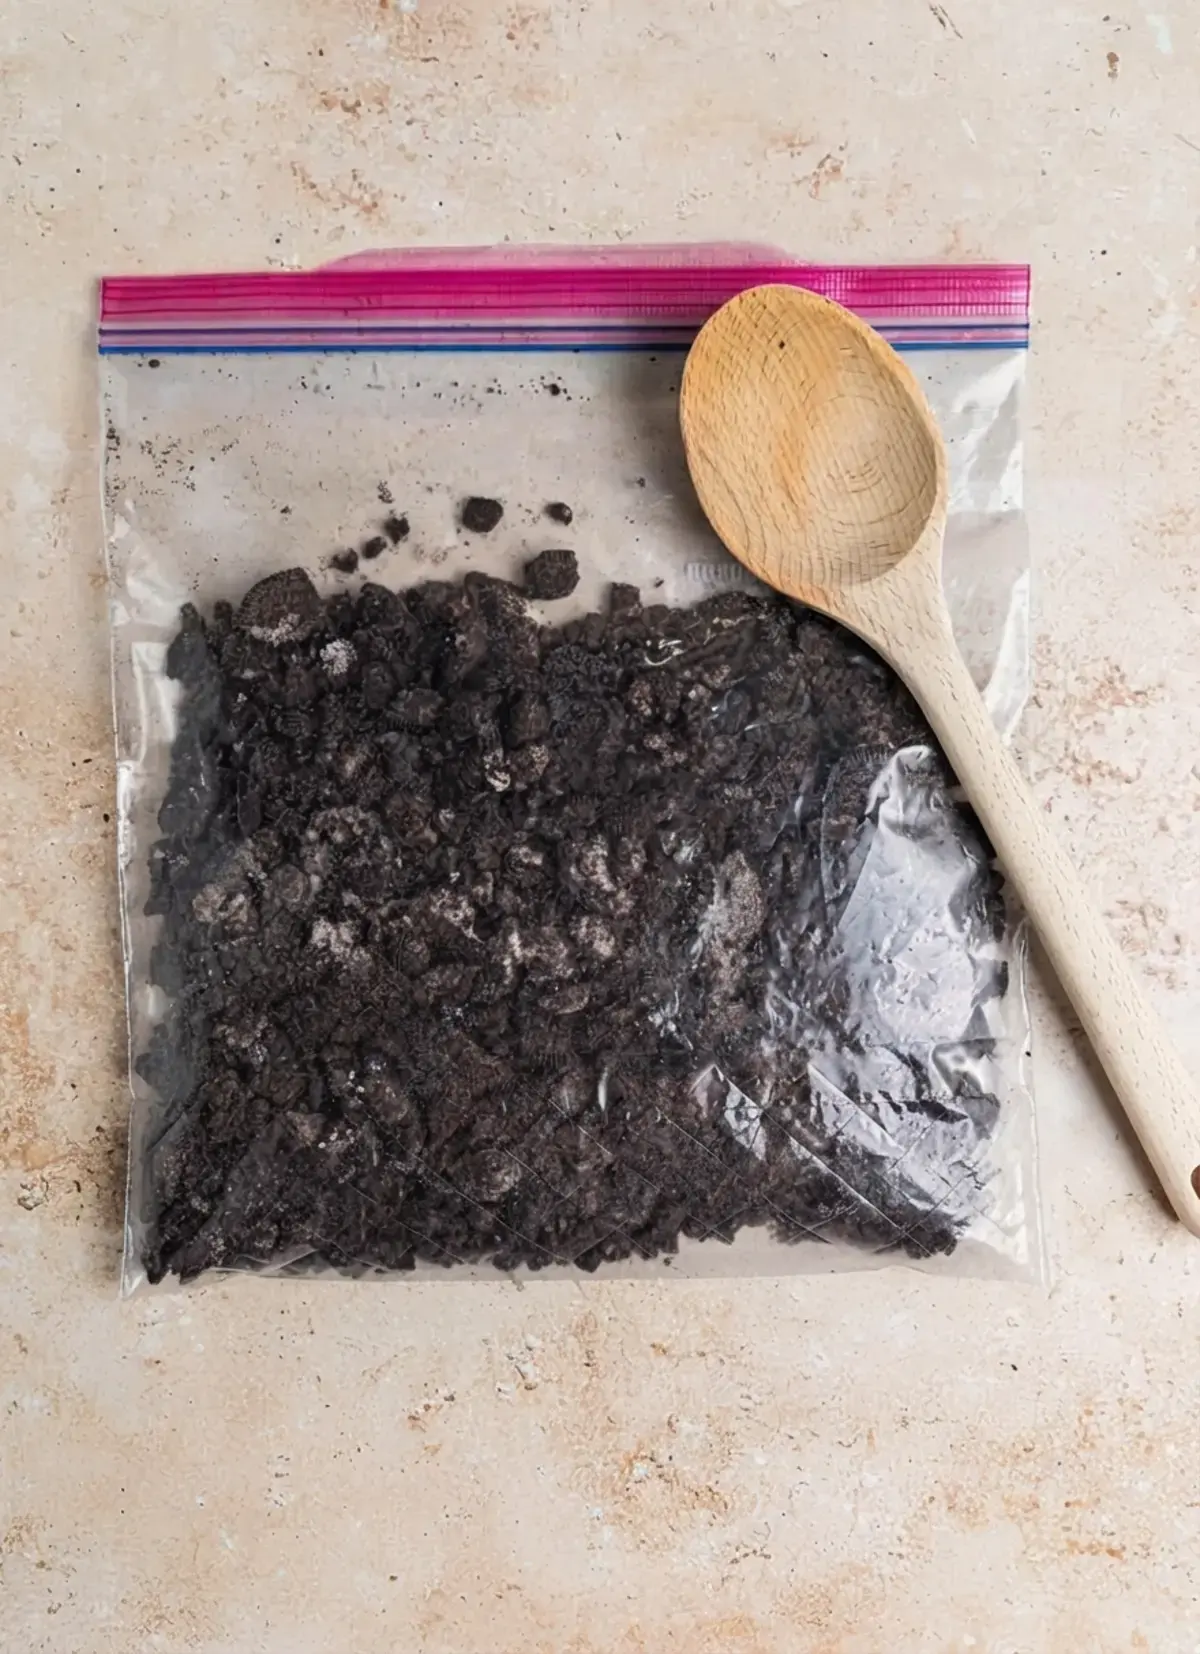
Crush the Oreos. Place them in a plastic bag and seal it, then go at them with a rolling pin or a sturdy wooden spoon. There is no wrong way to do this, although a food processor means more dishes to wash. I like leaving fairly large pieces rather than fine crumbs, because those bigger chunks give you little pops of cookie in every bite.
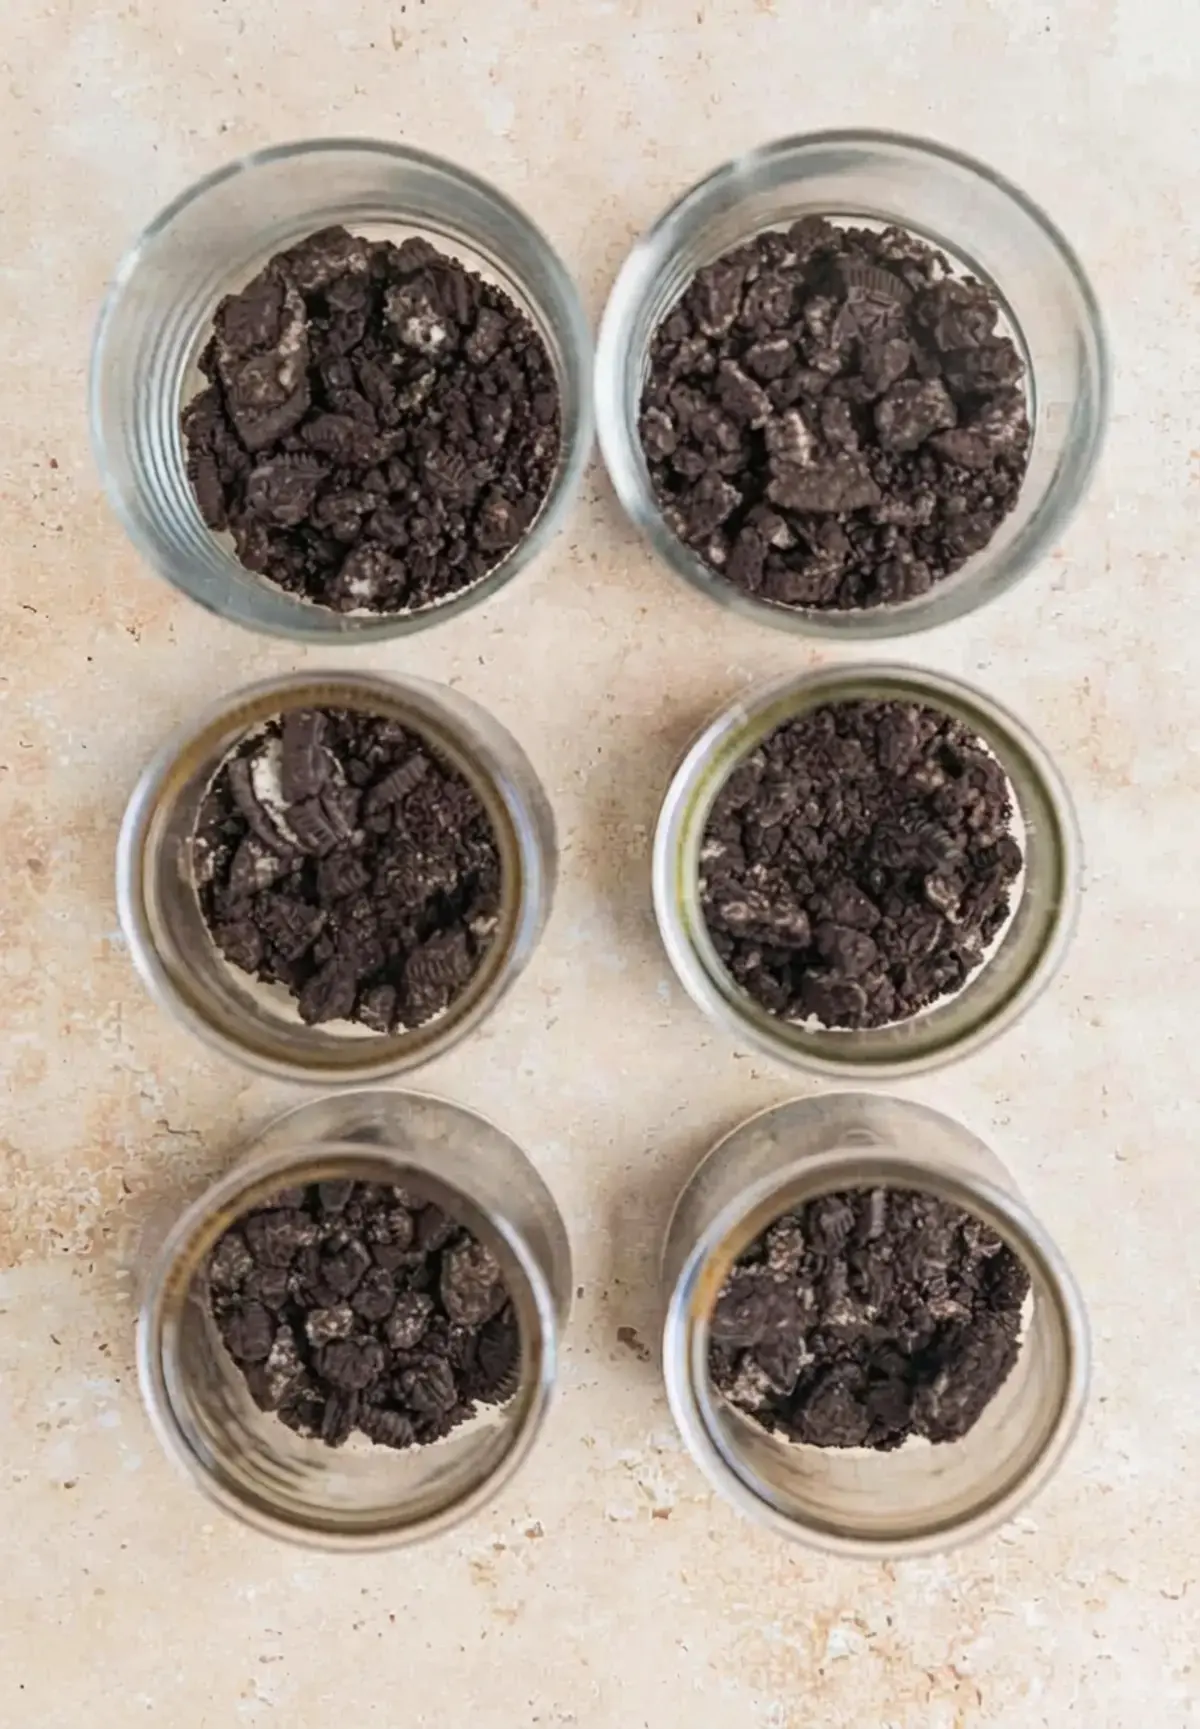
Build the bottom layer. Spoon about 1 1/2 to 2 tablespoons of the crushed Oreos into the bottom of 6 small dessert dishes. Glass yogurt jars and small 1 cup dishes are perfect, just make sure each one holds at least 3/4 cup to 1 cup. Set them aside. If you would rather skip the cookie bottom, that works too, and you will use about 6 to 8 fewer cookies.
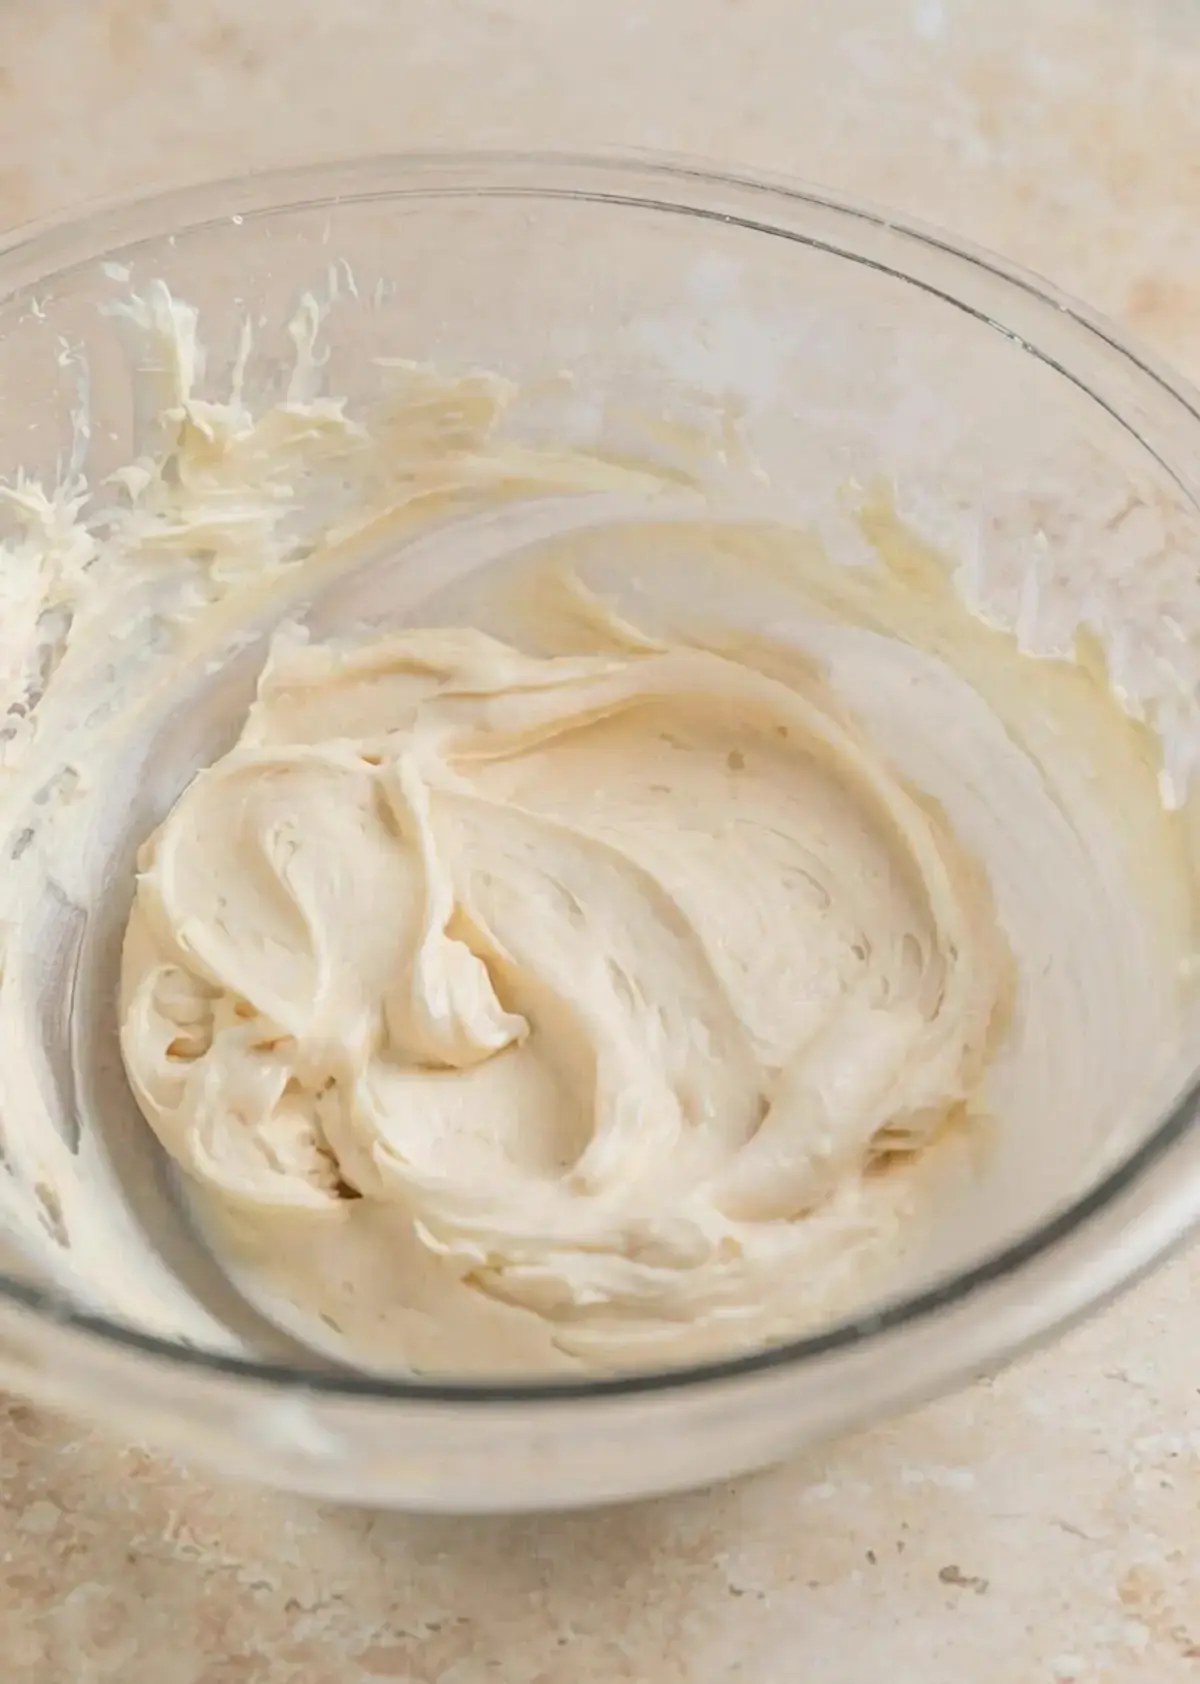
Whip the base. In a mixing bowl, combine the powdered sugar and the softened cream cheese. Beat with a hand or stand mixer until the mixture is creamy and smooth. Start on a lower speed, unless you enjoy a powdered sugar cloud drifting across your kitchen.
Add the vanilla. Beat it in until it disappears into the mixture.
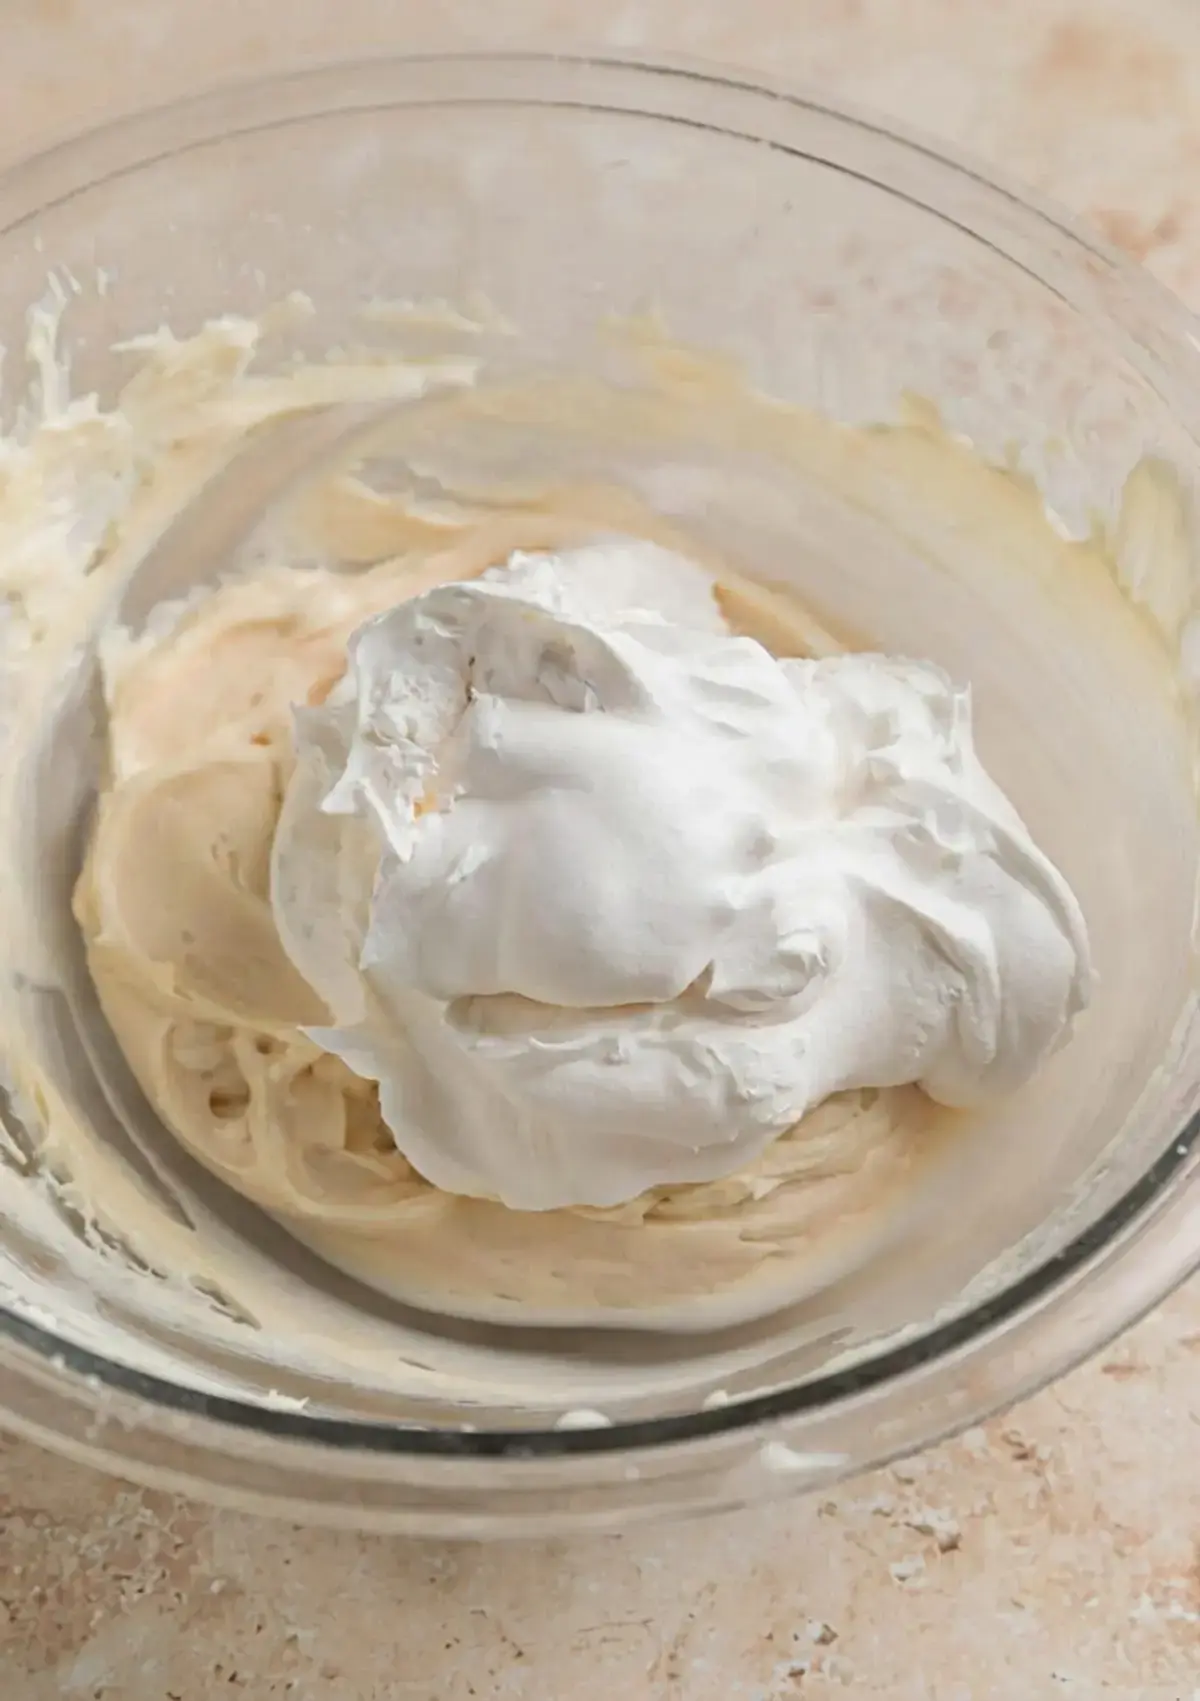
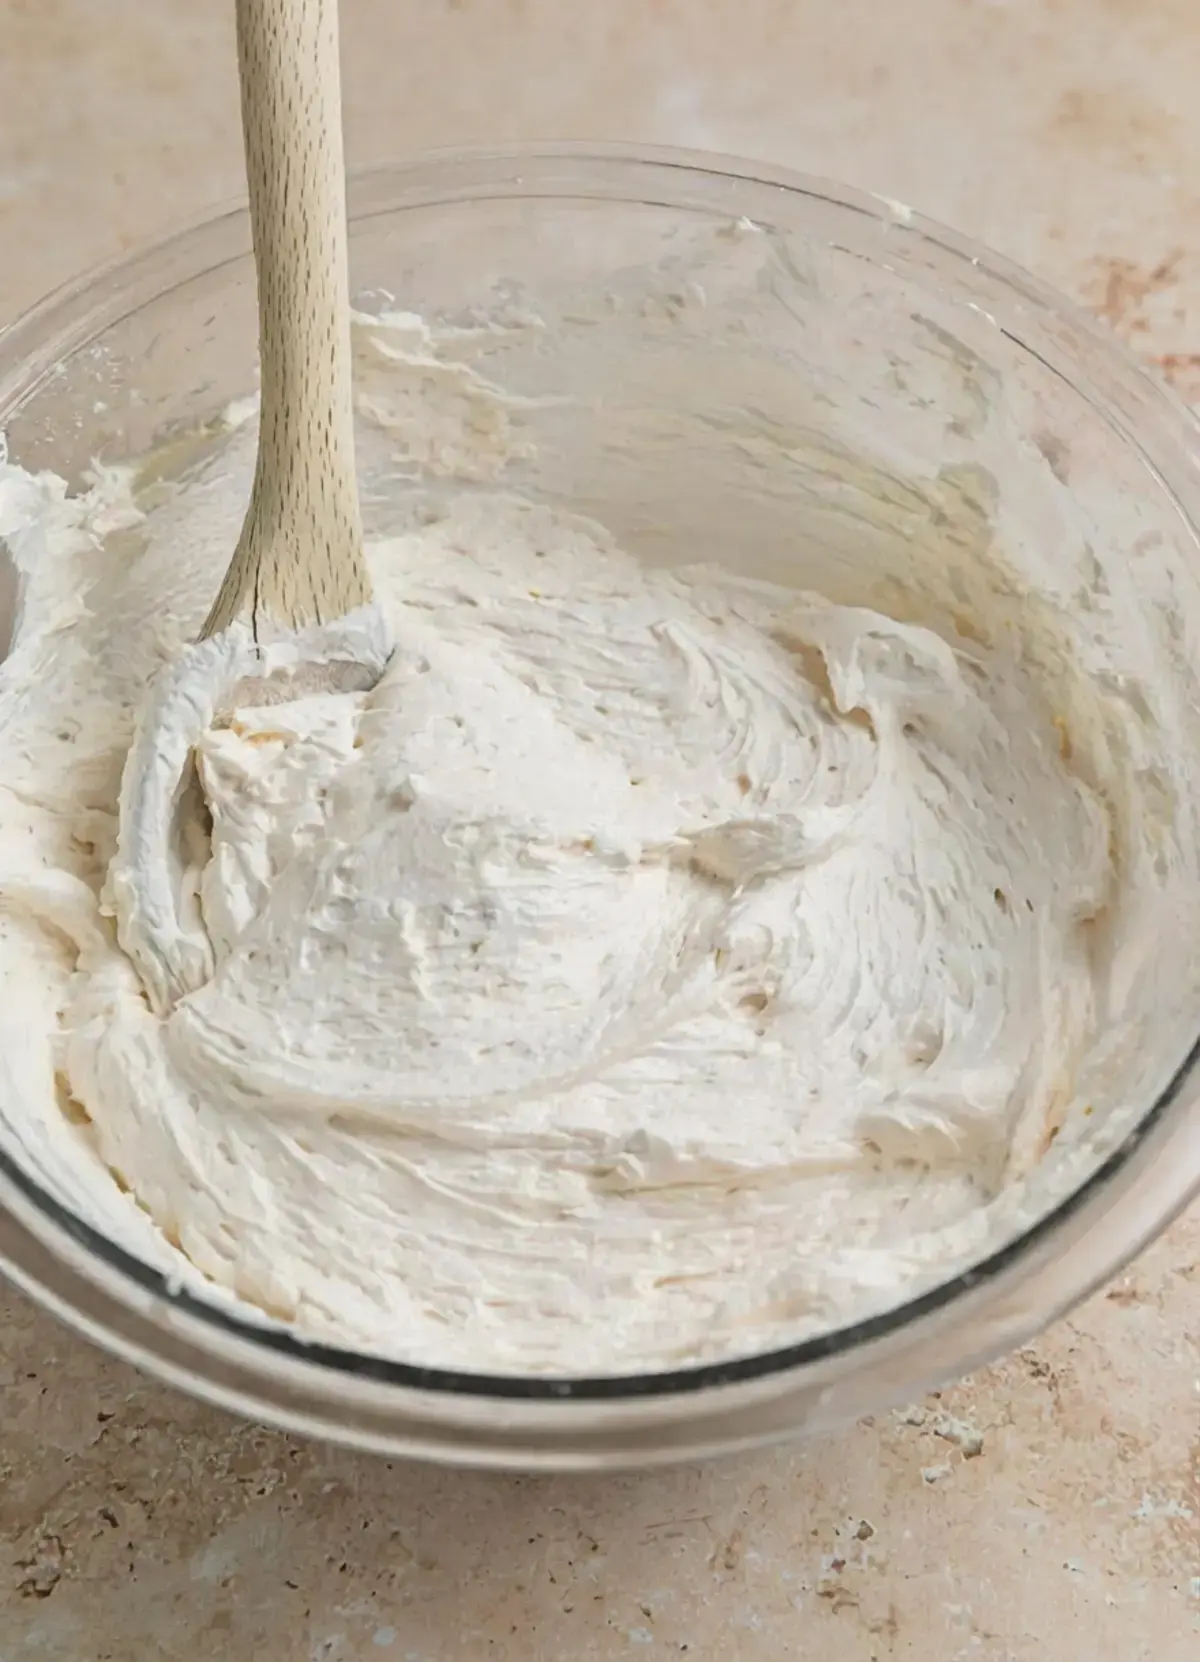
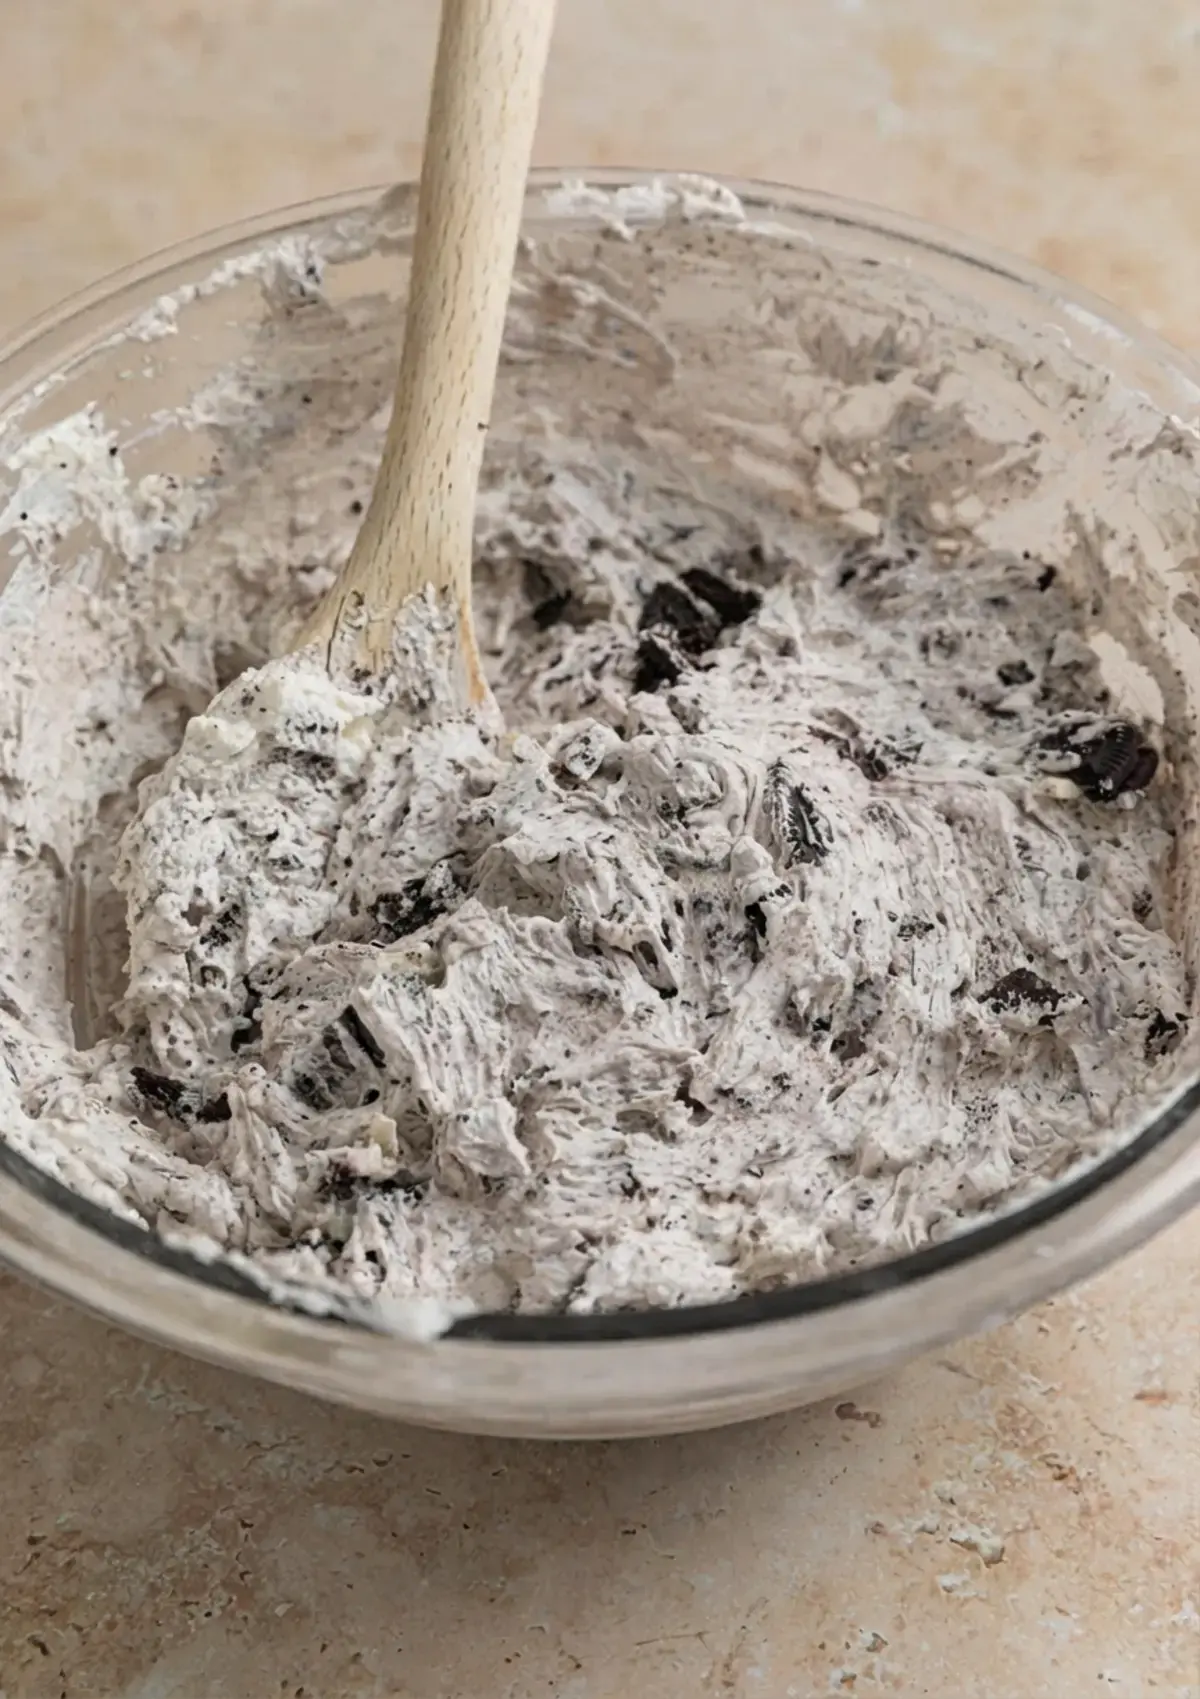
Fold in the Cool Whip. Switch to a spatula and fold gently until it is fully incorporated. Folding instead of beating keeps the filling airy.
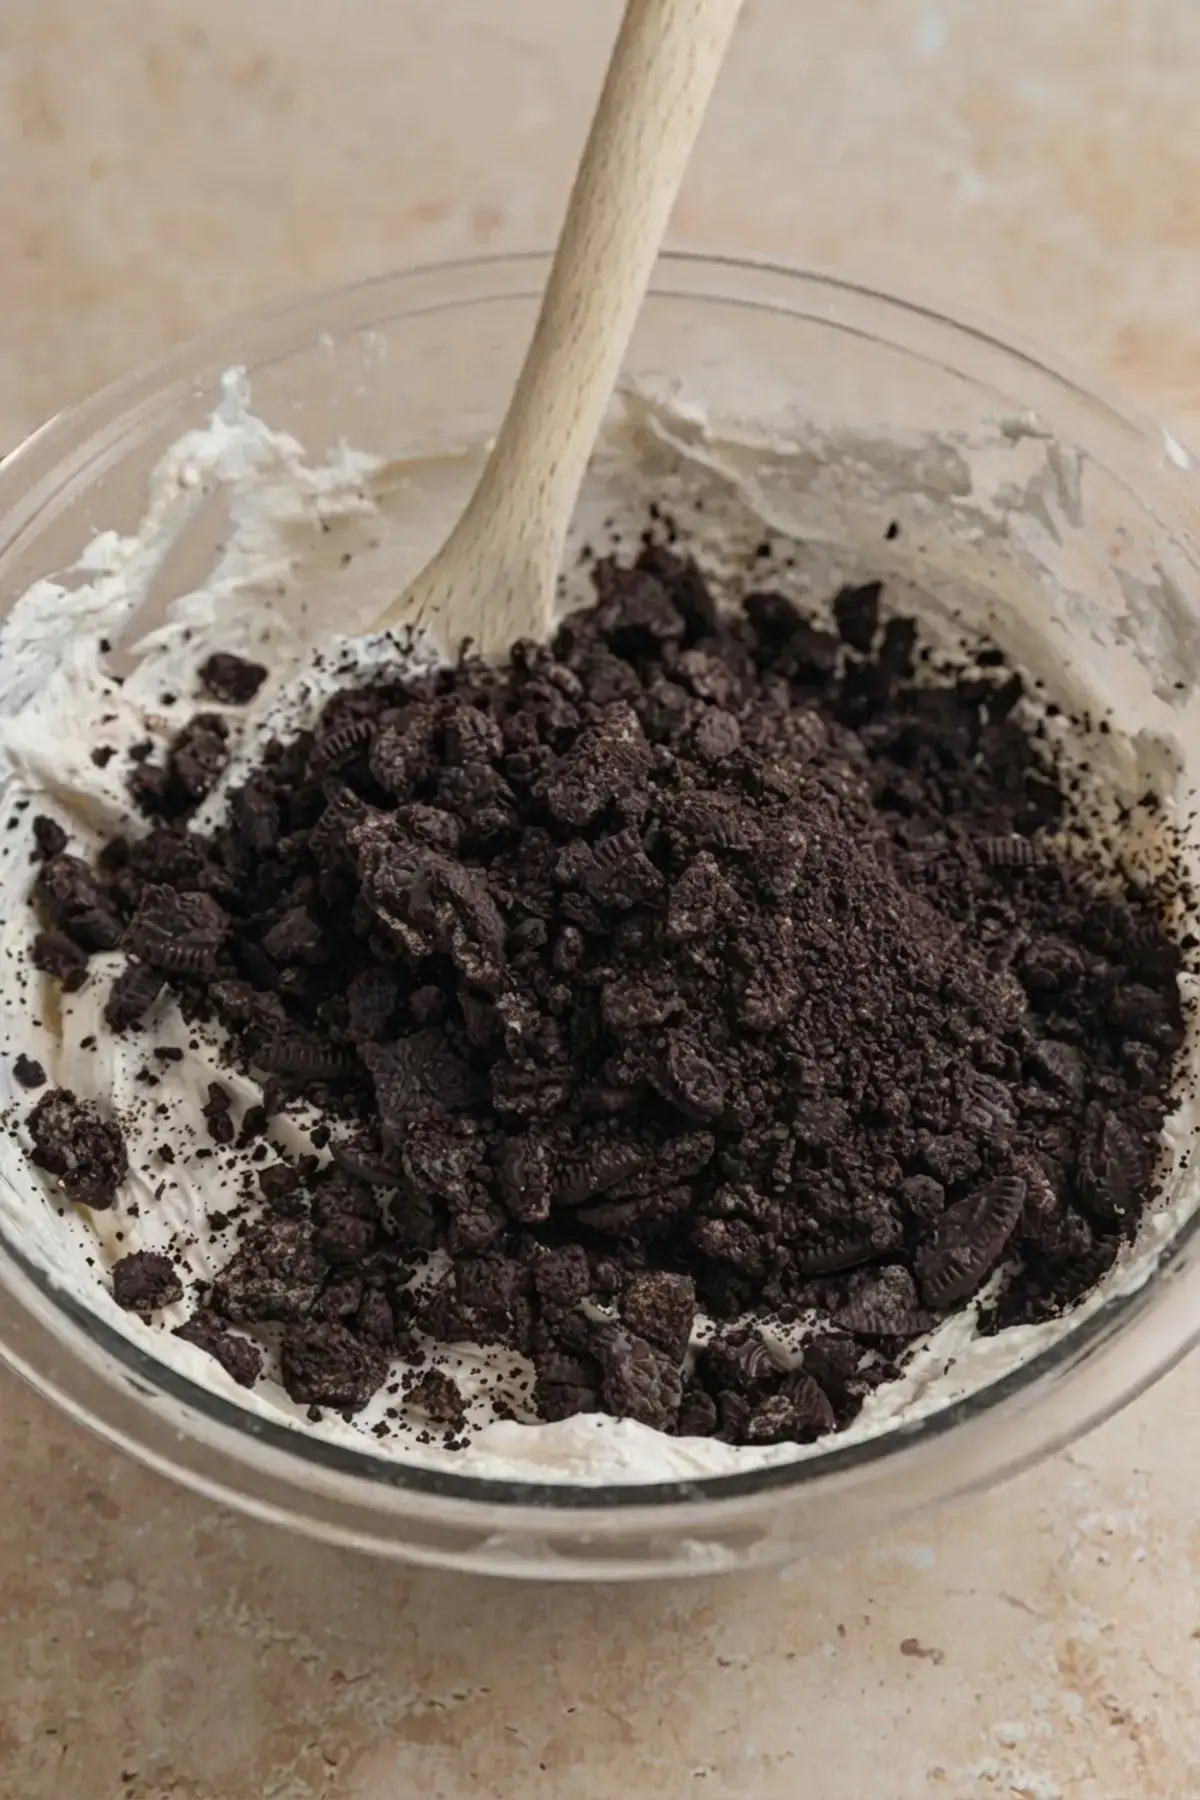
Fold in the rest of the cookies. The remaining crushed Oreos go in now, gently, so the filling stays light.
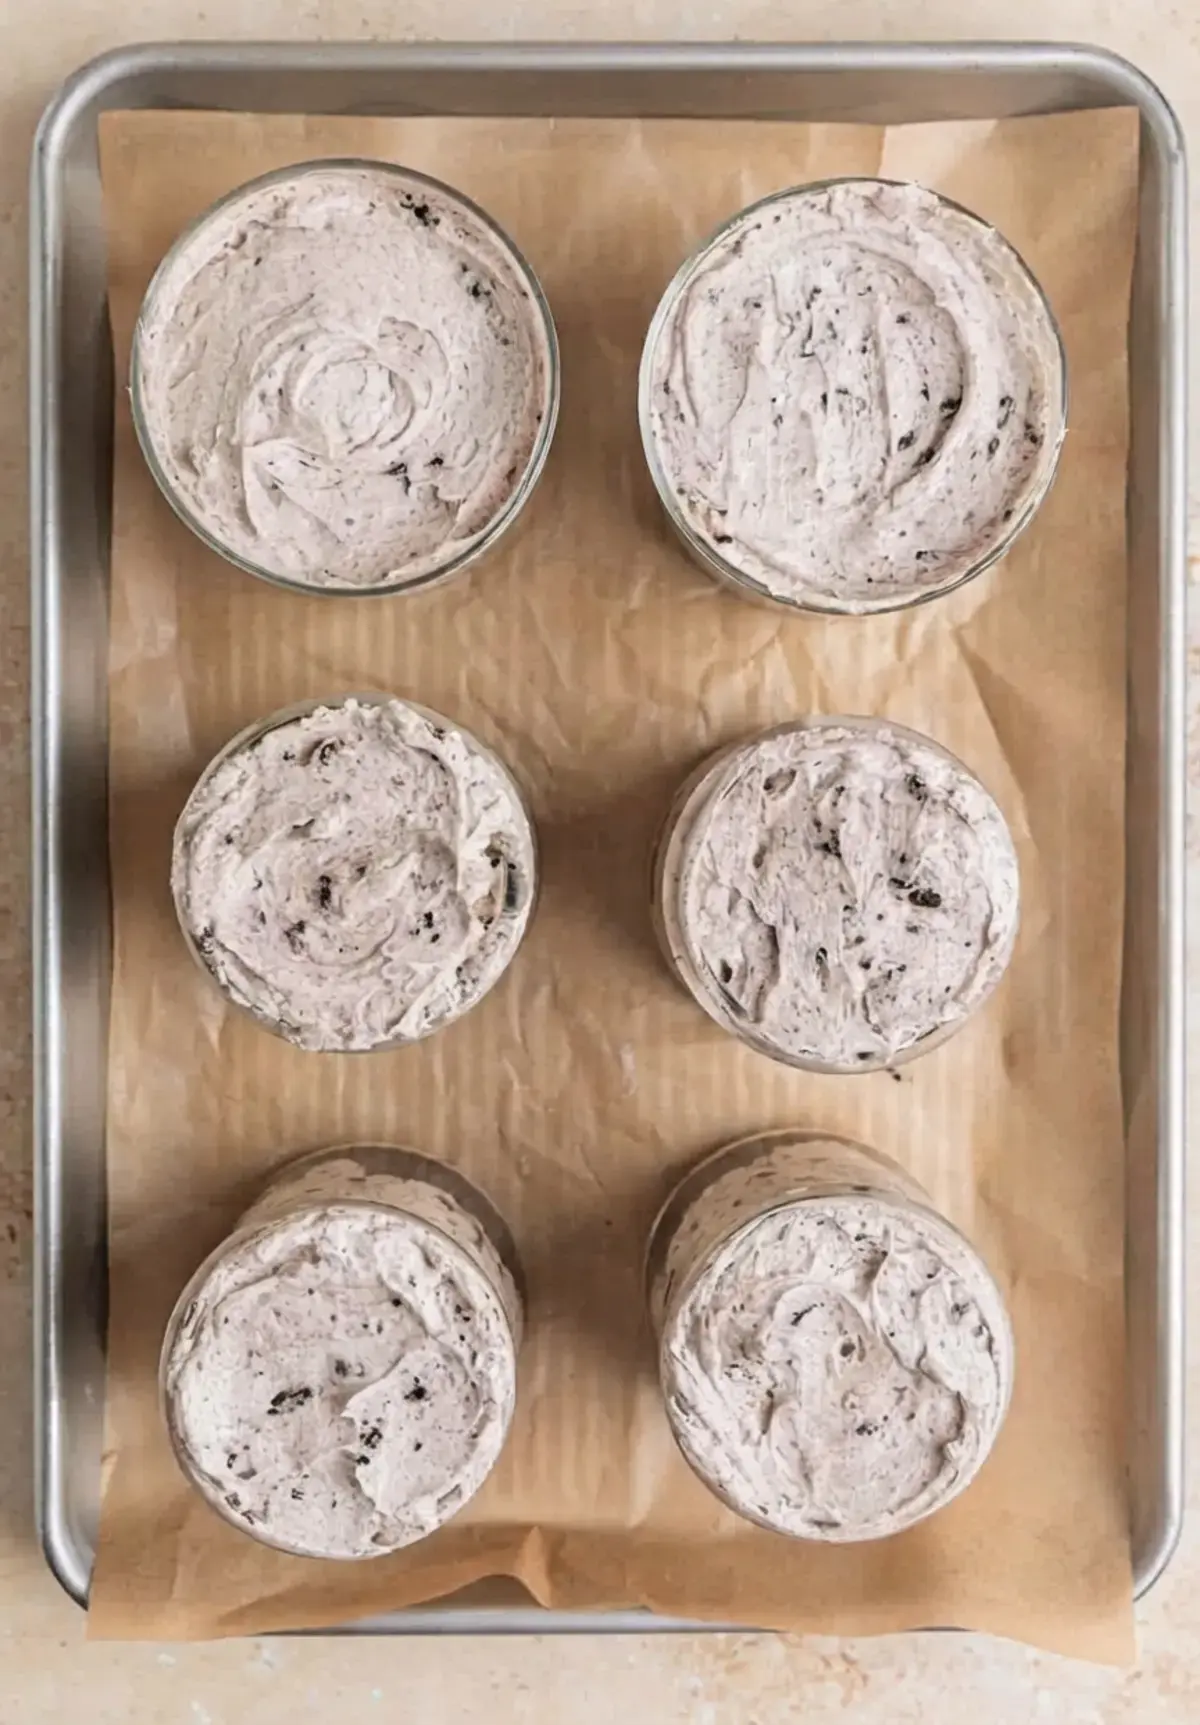
Fill the cups. Divide the cheesecake filling evenly among the 6 dishes, then press down lightly so it settles into the gaps around the cookie layer at the bottom.
Chill. Refrigerate for about 1 hour before serving.
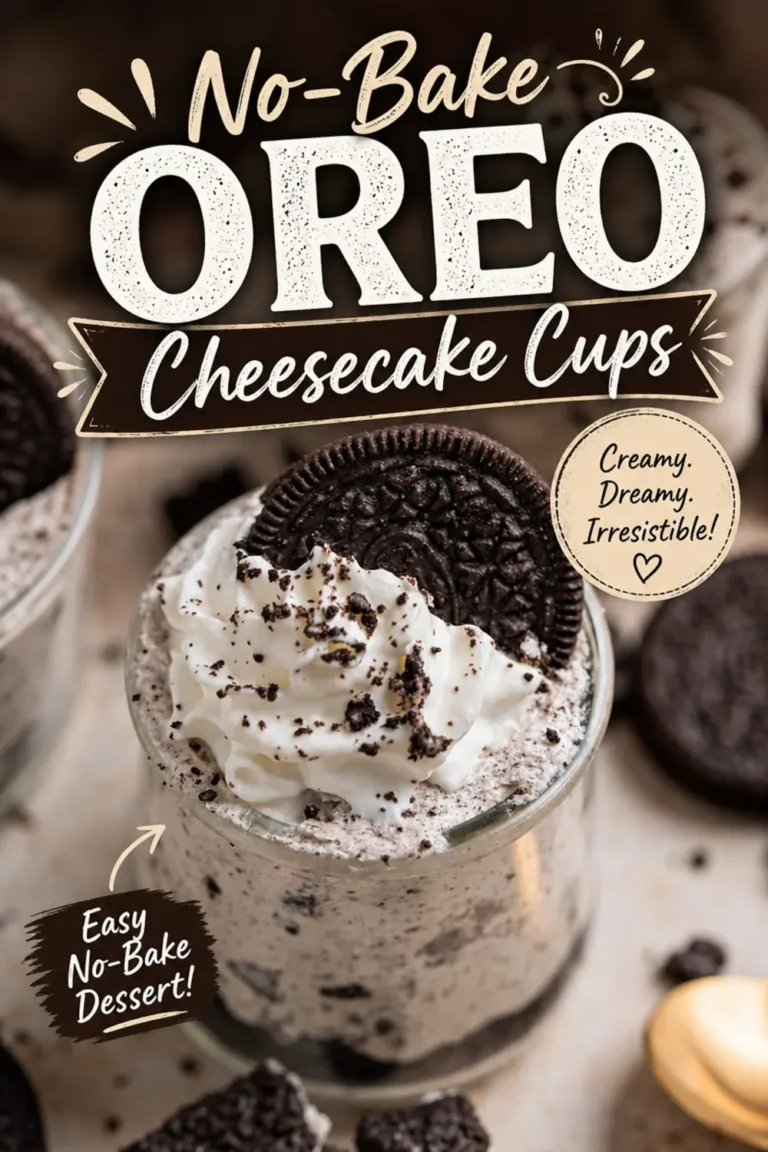
Finish and serve. Top each cup with a large dollop of whipped cream. If you want the full dessert shop look, add a mini Oreo or half a full sized cookie, then sprinkle on some crushed Oreo crumbs.
That is about 15 minutes of hands on work, and then the fridge takes over. My kind of dessert math.
If your filling looks a little loose right after mixing, do not worry. It thickens considerably as it chills, and that is exactly what the hour in the fridge is for.
A quick word on texture. If you fold gently and chill fully, you get a filling that is creamy and light with cookie crunch in every spoonful. If you beat it hard, it will still taste good, but it will be denser.
One more tip. If you want a little extra crunch on top, save a small handful of crushed cookies and add them right before serving instead of folding them all in.
Recipe Tips
A few small tweaks can take these cups in fun new directions.
Go layered. Instead of pressing the cookies into the bottom, layer cookies and filling for a parfait style cup that shows off all those pretty cookie pieces.
Make it in one larger dish. Build the whole thing in a bigger dish and spoon it out at the table.
Try mini cheesecakes. Form the bottom into more of an Oreo crust, then pipe or spoon the mixture into muffin liners. The exact yield for that version is not pinned down, so keep an eye on your portions.
Switch up the cookie. Any Oreo flavor works, so this is your chance to play around. Mint, peanut butter, or seasonal flavors all taste great.
Make a mint cookies and cream version. Add about 1/2 teaspoon peppermint extract along with mint Oreos for a cool, refreshing twist.
Honestly, the mint version is the one my family requests most, and it takes one extra ingredient.
How To Make This In One Dish:
If you want something closer to a classic Oreo cheesecake that you scoop and serve from one pan, use an 8 x 8 inch square pan or a small baking dish instead of individual cups.
With a larger dish, I like building more of an Oreo crust rather than a thin scatter of crumbs, the same approach as a no bake chocolate pie. It makes serving much easier and gives every spoonful a sturdy cookie base.
You can also use a bread pan and layer Oreos and cheesecake, repeating the layers until all of your ingredients are used up.
One honest note before you grab that springform pan. This filling sets up nicely, but it is not sturdy enough to hold clean, beautiful slices in a springform, and things can get messy fast. Keep it in a dish you can scoop from and you will be much happier.
Whatever dish you choose, the chilling step stays the same, so give it about an hour in the refrigerator before anyone digs in.
It is also a great option when you are feeding a crowd and do not want to fuss with individual portions.
Storage:
These cups keep well, which makes them a wonderful make ahead dessert.
Store them in the refrigerator for up to 5 days, tightly wrapped or in an airtight container.
If your cups do not have lids, cover each one with plastic wrap and then foil for the longest storage.
Keep in mind that the Oreos soften more with each passing day, so the texture on day one is the crunchiest you will get.
To freeze, wrap the cups tightly, twice for the best results, then thaw overnight in the refrigerator before serving.
The filling stays creamy and the cookie pieces slowly melt into it, which honestly some people prefer.
One more thing. If you are making these for a party, do not stress about the exact number of cookies. A few extra crushed Oreos on top never hurt anyone.
Try these other treats:
If easy sweets are your thing, these are worth a look:
No Bake Caramel Apple Cheesecake
No Bake Chocolate Peanut Butter Bars
Homemade Jello Pudding Pop Recipe
Dulce de Leche Cheesecake Brownies
5 Minute Cheesecake Dip
FAQs
Can I use gluten-free Oreos for these cheesecake cups?
Yes, you can use gluten-free Oreo cookies in this recipe. The gluten-free Oreo variety is widely available and works perfectly in place of the classic version, making the dessert accessible for those with celiac disease or gluten sensitivity. The texture and flavor remain essentially the same.
How should I store leftover Oreo cheesecake cups?
Store the cheesecake cups tightly covered or in an airtight container in the refrigerator. They will last for up to five days, though the Oreo pieces will gradually soften as they absorb moisture from the filling. For longer storage, the cups can be frozen for up to two months and thawed overnight in the refrigerator before serving.
What can I use instead of Cool Whip?
You can replace the Cool Whip with an equal volume of homemade whipped cream made from heavy cream whipped to stiff peaks. This substitution produces a richer, more natural flavor. For best results, whip 1 cup of cold heavy cream with 1 to 2 tablespoons of powdered sugar until stiff peaks form, then gently fold it into the cream cheese mixture.
How long do these no-bake Oreo cheesecake cups need to chill?
The cheesecake cups need to chill for at least 1 hour before serving to allow the filling to set properly. The recipe recommends a minimum chill time of about 1 hour, though they can be chilled for longer if desired. The recipe card states a total preparation and chill time of 45 minutes, with the chill step alone taking 30 minutes.
No Bake Oreo Cheesecake Cups I have never met an Oreo I did not love, and these no bake Oreo cheesecake cups are my newest obsession. Five ingredients, one bowl, no oven.
Total Time:45 min
Yield:61x
Ingredients
Scale
1 cream cheese, softened, softened 8 oz. Cool Whip or whipped topping 2/3 c powdered sugar 1 tsp vanilla 24–26 Oreo cookies
Instructions
1-Place the Oreos in a plastic bag: Place the Oreos in a plastic bag and seal. Using a rolling pin or a sturdy wooden spoon, crush the Oreos. Spoon 1 1/2 – 2 tablespoons of the crushed Oreos to the bottom of 6 small dessert dishes (make sure dishes are at least 3/4 cup-1 cup size). Set aside. 2-Using a hand or standing mixer, whip: Using a hand or standing mixer, whip cream cheese and powdered sugar until creamy and smooth. Add the vanilla and beat to mix in. Gently fold in the Cool whip to incorporate. Fold in remaining crushed Oreos. 3-Divide the cheesecake filling evenly across the: Divide the cheesecake filling evenly across the dishes and gently press onto the crushed Oreos. Chill for about 1 hour or until ready to serve. 4-Top with whipped cream and more crushed: Top with whipped cream and more crushed Oreos before serving. Enjoy!
Last Step:
Please leave a rating and comment letting us know how you liked this recipe! This helps our business to thrive and continue providing free, high-quality recipes for you.