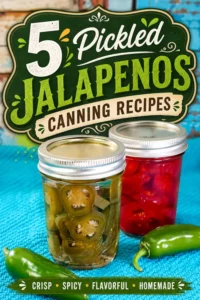
Pickled Jalapenos Canning Recipe
I always look forward to the late summer harvest when my garden jalapeños are overflowing. Turning this spicy surplus into shelf stable jars of tangy pickled pepper slices is one of my favorite ways to preserve the season.

I process them in a water bath canner, and the finished peppers are perfect for topping nachos, taco salads, sandwiches, and deviled eggs. I even save the leftover brine to whisk into salad dressings, marinades, or drizzle over roasted vegetables.
This guide walks you through my tested method so you can stock your pantry with confidence.
Jump to:
- Pickled Jalapenos Canning Recipe
- Ingredient Overview for Pickled Jalapeños
- Jalapeño Peppers
- Vinegar (5% Acidity)
- Water
- Garlic
- Safe Changes for This Pickled Jalapeños Recipe
- Safe Adjustments for Flavor
- Jar Size Options
- Changes That Are Not Safe
- Steps for Canning Pickled Jalapeños
- Home Canning Checklists
- Step 1: Prepare the Canning Equipment
- Step 2: Prepare the Hot Peppers
- Step 3: Make the Pickling Brine
- Step 4: Fill the Jars
- Step 5: Process in a Water Bath Canner
- Step 6: Cool and Store
- Ways to Enjoy Pickled Jalapeños
- Preserve the Heat for Months to Come
Ingredient Overview for Pickled Jalapeños
The recipe relies on a short list of ingredients, each contributing to both flavor and safe preservation.
Jalapeño Peppers
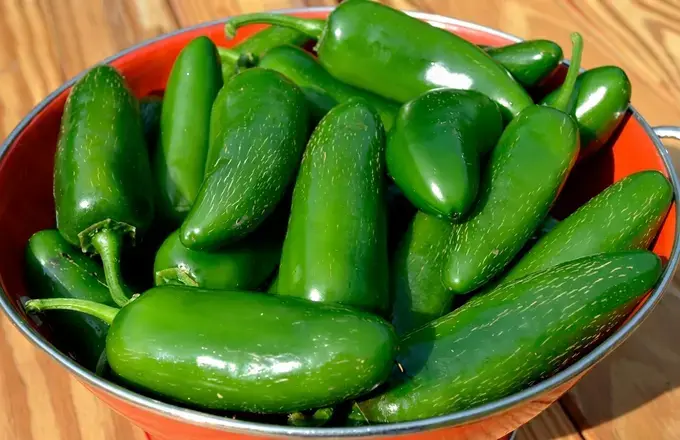
Choose fresh, firm jalapeños with smooth, glossy skin and no soft spots. Green peppers are milder and grassy, while red ones are riper, sweeter, and often hotter. You can use either color or a mix of both. For the best quality, I always try to can the peppers within about a day of harvesting.
Vinegar (5% Acidity)
Use only commercial vinegar labeled 5 percent acidity, such as white distilled or apple cider vinegar. White vinegar gives a sharper, traditional pickle taste, while apple cider adds a fruity note and a darker color. Both are perfectly safe as long as the acidity stays at 5 percent.
Water
Water tempers the sharpness of the vinegar, but the tested ratio must be kept for safe acidity. Never add more water or cut back on the vinegar, or the recipe becomes unsafe for shelf stable canning.
Garlic
Crushed garlic cloves are simmered in the brine to lend a mild garlic background. They are discarded before the jars are filled so the flavor stays subtle and does not affect the processing safety.
Safe Changes for This Pickled Jalapeños Recipe
Because this recipe comes from a tested canning formula, the ingredient ratios and processing instructions should be followed exactly. However, a few flavor adjustments are permitted.
Safe Adjustments for Flavor
Small scale tweaks that do not compromise safety include swapping other pepper varieties, like serrano or banana peppers, while keeping the total pepper weight the same. You can add a little pickling salt per jar, since the original recipe has none.
A little sugar or honey can mellow the flavor, though it will not reduce the spiciness. You may also add small amounts of dried spices like cumin seeds, oregano, or black peppercorns to each jar.
Jar Size Options
The recipe is adapted for half pint jars, and pint jars are also safe. The processing time is identical for both sizes. Smaller 4 ounce jars are fine with proper headspace and full processing time, but quart jars are not part of the tested version.
Changes That Are Not Safe
To keep the recipe safe for water bath canning, do not reduce the vinegar or increase the water. Do not add low acid vegetables such as onions or carrots, and do not add extra peppers beyond the tested amount. Finally, never skip the boiling water bath processing.
Steps for Canning Pickled Jalapeños
The peppers are sliced, packed into jars, covered with hot vinegar brine, and processed in a water bath canner. This method is adapted from the classic hot peppers formula for a small batch of five half pint jars, with proportions unchanged for safety.
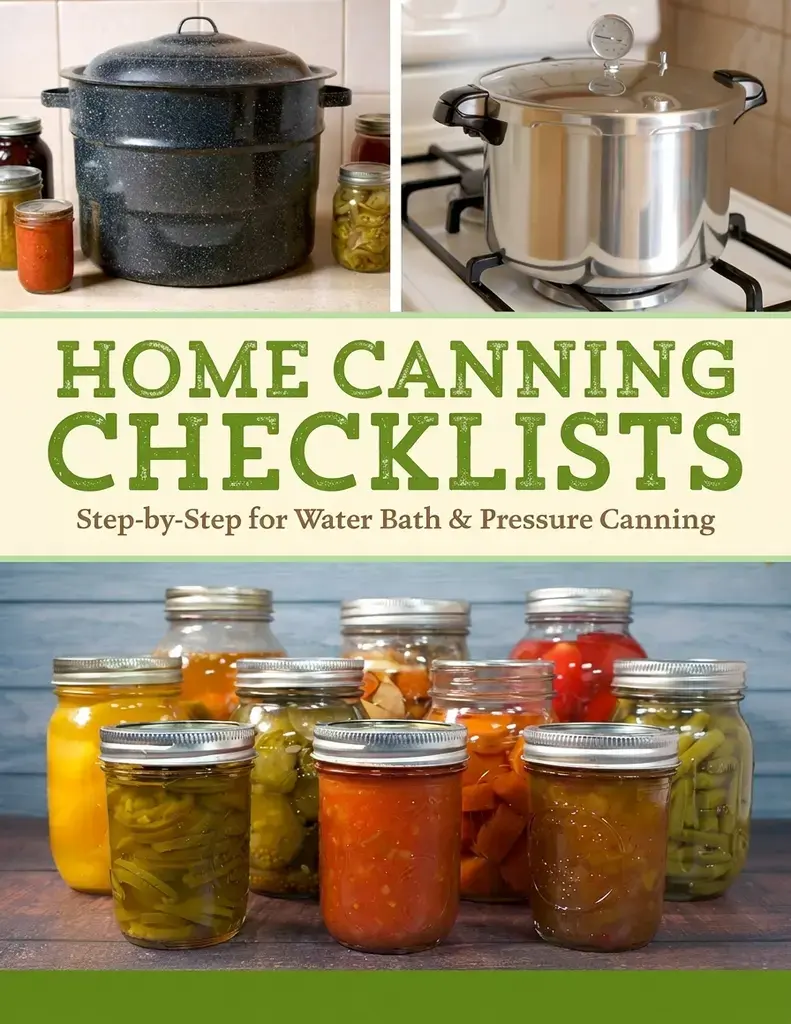
If you are new to canning, I highly recommend reviewing a beginner water bath guide before you start.
Home Canning Checklists
A full printable recipe appears at the end of the original guide, but the following are the general steps for making and canning pickled jalapeño slices.
Step 1: Prepare the Canning Equipment
Collect all your canning gear before starting. You will need a water bath canner with its rack, five half pint jars, new lids, reusable bands, a jar lifter, funnel, bubble popper, canning ladle, kitchen scale, and gloves.
You will also need everyday items like a large saucepot, prep bowl, small pot, towels, a knife, and a cutting board. Wash the jars, lids, and tools in warm soapy water and rinse well. Discard any jars with cracks or chips.
To prevent thermal shock, warm the jars upright in the canner covered with water at a 180 degree simmer for 10 minutes and keep them hot until filling.
Step 2: Prepare the Hot Peppers
Weigh the peppers, wash them under clean running water, and air dry on a clean towel.
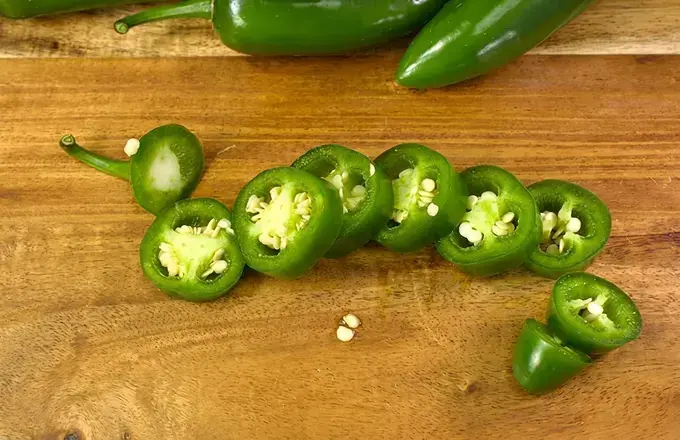
Wearing gloves to protect your skin, remove the stems and cut the peppers into 1 inch slices or rings.
Step 3: Make the Pickling Brine
In a large saucepot, stir together the vinegar, water, and crushed garlic.
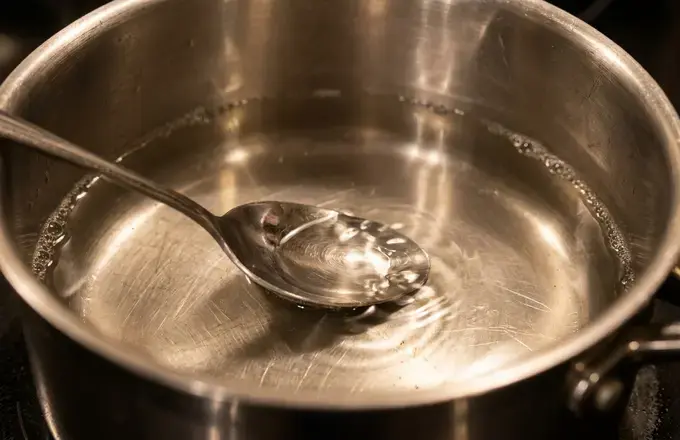
Heat the mixture to a boil, lower the heat, and let it simmer at 180 degrees for 5 minutes. Fish out and throw away the garlic cloves before moving on to filling the jars.
Step 4: Fill the Jars
Lay a dry towel on the counter and remove one hot jar, draining it while keeping the rest in the canner. Pack jalapeño slices into the jars and ladle hot brine over them.
Release air bubbles with a bubble popper, wipe the rim with a damp towel, center a lid, and screw the band to fingertip tight.
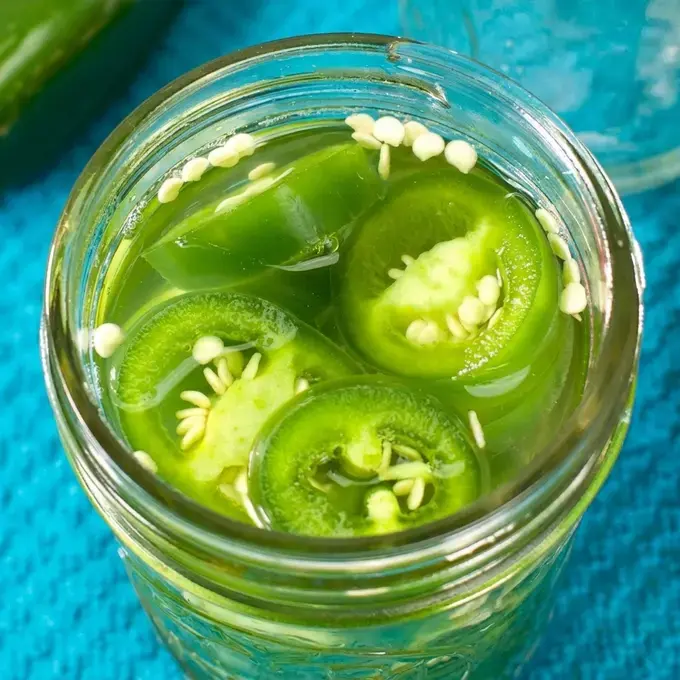
If your brine runs short, make more in the same ratio of 1 1/2 cups vinegar to 1/2 cup water, bring it to a simmer, and top off jars to 1/2 inch headspace.
Step 5: Process in a Water Bath Canner
With all jars back in the canner, ensure the water covers them by at least 2 inches. Cover the pot, bring to a full rolling boil, and start timing. Process for the time given in your recipe, adjusting for your altitude.
Step 6: Cool and Store
After processing, turn off the heat, remove the lid tilted away from you to avoid steam, and let the canner sit for about 5 minutes. Lift jars straight up onto a dry towel and leave the lids untouched. Cool undisturbed for 12 to 24 hours.
Check seals after 12 hours by pressing the lid centers. Wash, label, and date sealed jars, storing them in a cool, dark place for up to 18 months.
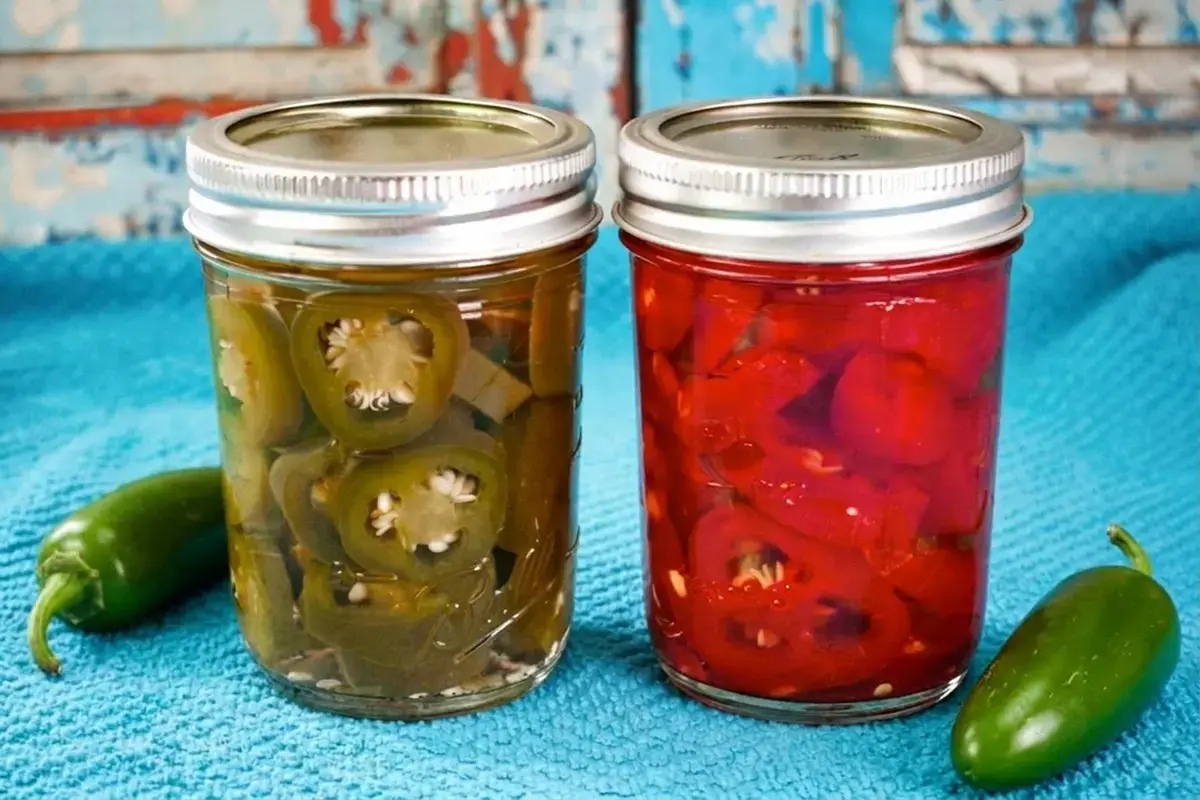
I always let my jars rest for 3 to 4 weeks before opening so the heat and tang can fully balance.
Ways to Enjoy Pickled Jalapeños
These spicy peppers are incredibly versatile. Pile them on nachos, quesadillas, and tacos. Add them to sandwiches, burgers, pizzas, and flatbreads. Chop them into deviled eggs or potato salad, or stir them into salsas and dips. Do not forget the leftover brine, which works beautifully in salad dressings, marinades, or drizzled directly over roasted vegetables.
Preserve the Heat for Months to Come
Pickled jalapeños are an easy way to enjoy the pepper harvest long after the season ends. The method works beautifully with green or red jalapeños and other hot pepper varieties.
If you want to expand your pantry, try related recipes like pickled bell peppers, candied jalapeños for a sweet and spicy twist, or marinated roasted red peppers.
Canning is a rewarding way to capture the flavors of your garden, and these spicy jars will bring a bright kick to your meals all winter long.