What Is Campfire Bread on a Stick?
Campfire bread on a stick is a simple no-knead dough wrapped around the end of a stick and cooked over hot embers. The method turns six basic ingredients into fresh bread without an oven. Slow rotation creates browned surfaces around the entire spiral.
The dough is mixed until moist, left to rise until doubled, and divided into eight pieces. Each piece is stretched, rolled, and twisted around its stick. Choosing embers instead of active flames gives the bread a steadier source of heat.

Jump to:
- What Is Campfire Bread on a Stick?
- Campfire Bread on a Stick Ingredients
- How to Make Campfire Bread on a Stick
- Mix the Dough
- Let the Dough Rise
- Knock Back and Divide
- Shape the Dough Strips
- Wrap the Sticks
- Cook Over Embers
- Tips for Even Campfire Bread
- Use Embers, Not Flames
- Shape Consistent Portions
- Rotate Patiently
- Prepare the Dough for Outdoor Cooking
- Turn Eight Pieces Into Even Spirals
- Manage Ember Heat
- Organize the Campfire Area
- Frequently Asked Questions
- Does campfire bread dough need kneading?
- How many pieces should I divide the dough into?
- Where should I hold the bread over the fire?
- Why must the stick keep rotating?
- How do I keep dough attached to the stick?
Campfire Bread on a Stick Ingredients
- 1 teaspoon dried yeast: this raises the dough during its covered rest.
- 1 teaspoon sugar: include it in the initial mixture.
- 2 1/2 cups flour: keep extra flour available only for hands and the work surface.
- 7/8 cup warm water: use the documented quantity in the moist dough.
- 2 tablespoons olive oil: mix it with the other ingredients.
- 1 teaspoon salt: distribute it evenly through the dough.
You also need a large bowl, a cover for the rising bowl, a floured work surface, and eight suitable sticks. Select and prepare cooking sticks responsibly for campfire use before handling the dough.
How to Make Campfire Bread on a Stick
Mix the Dough
Place the dried yeast, sugar, flour, warm water, olive oil, and salt in a large bowl. Mix them into a moist dough. No kneading is required for this source recipe.
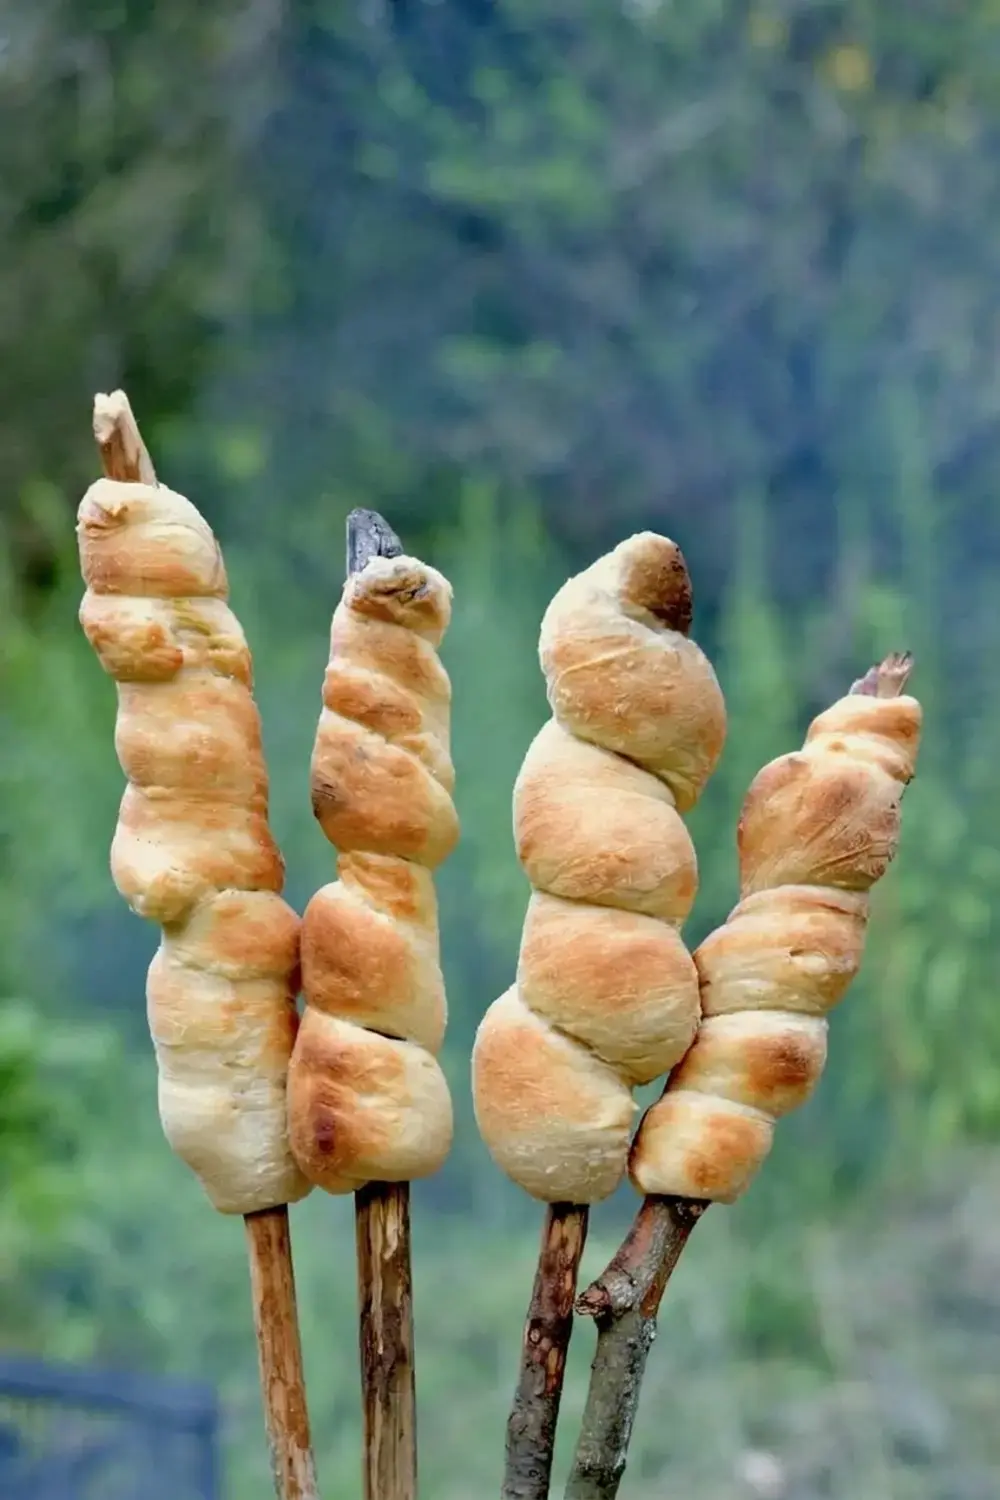
Work only until the ingredients form one consistent mass without dry pockets. The dough is meant to remain moist, so do not add flour to the bowl simply to imitate a firm kneaded bread dough.
Let the Dough Rise
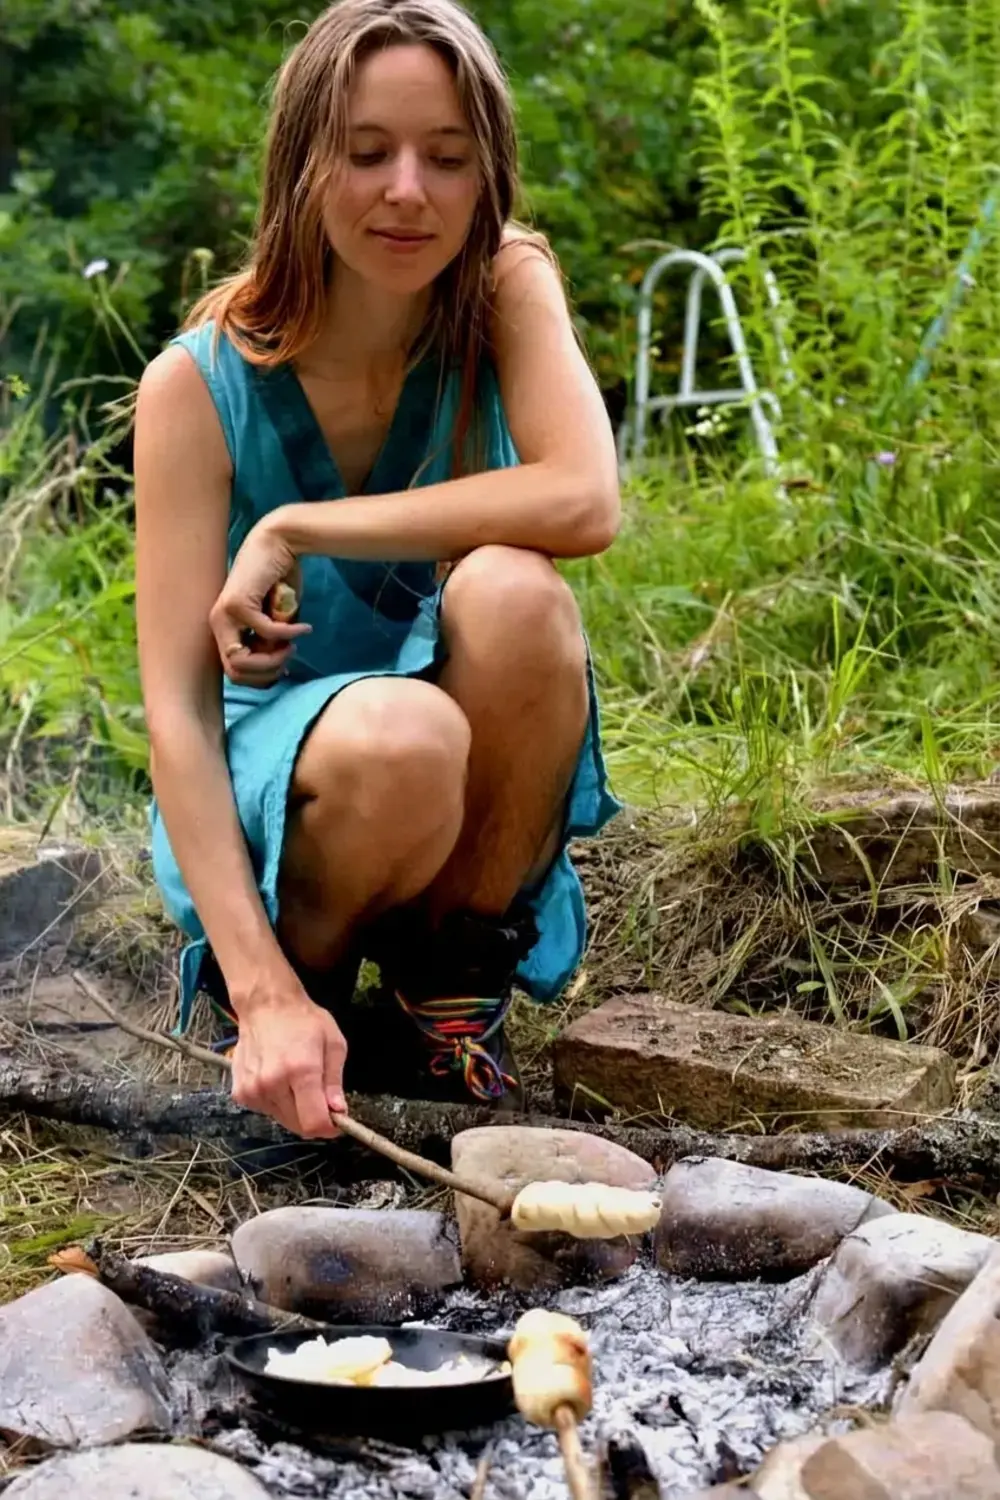
Cover the bowl and place it in a warm location. Let the dough rise until it has doubled in size, which the source estimates at about one hour.
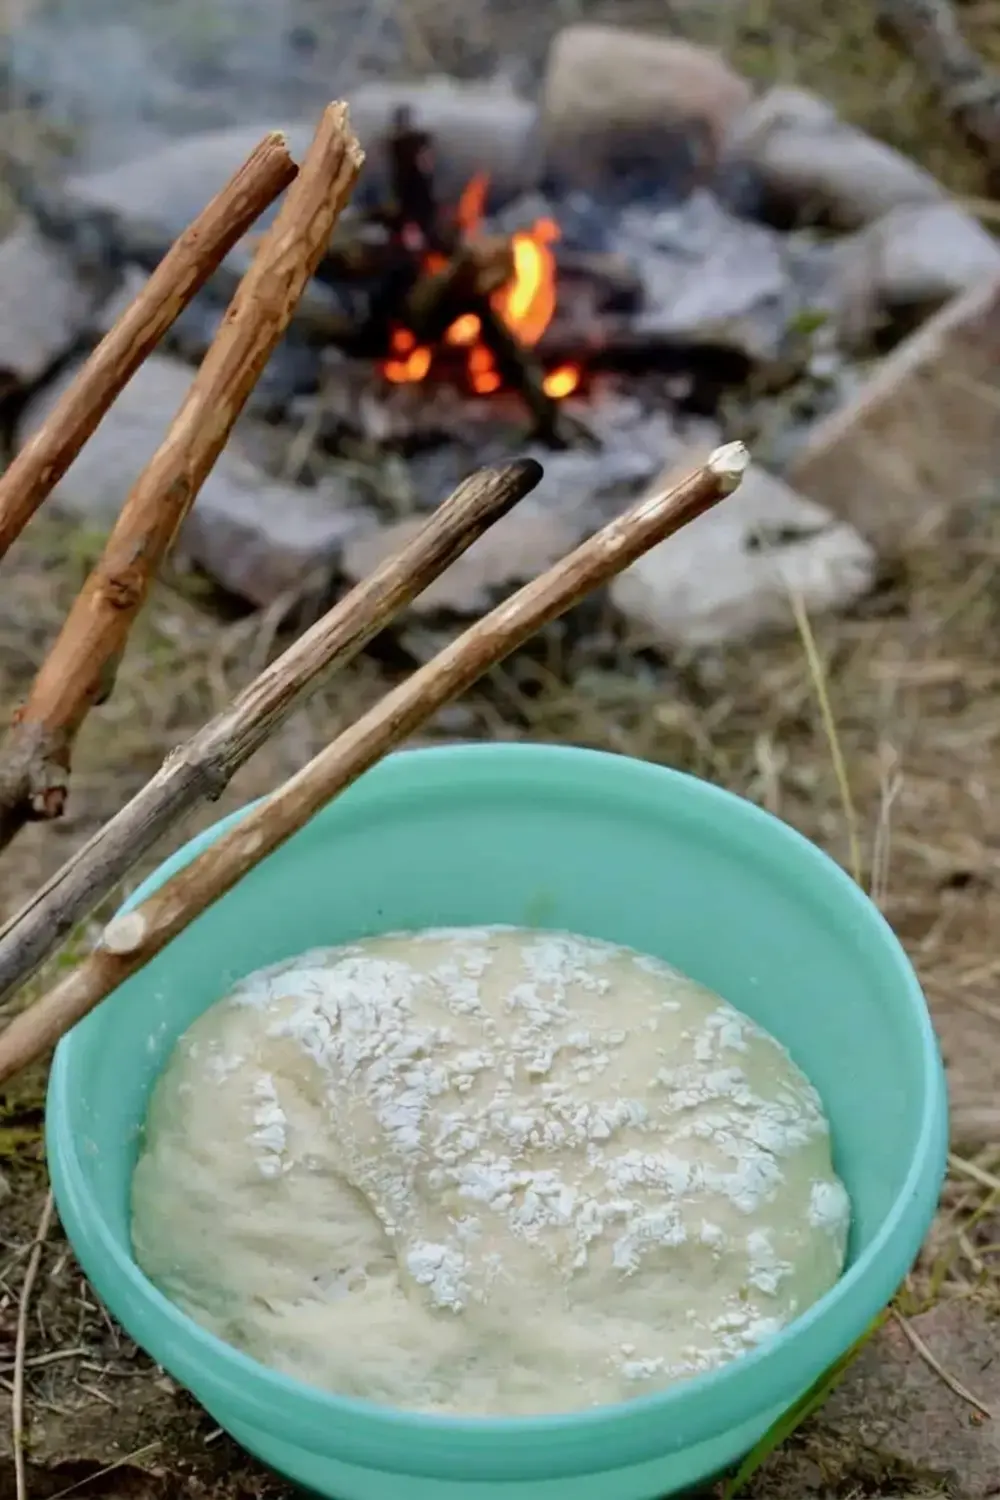
Use the visible increase in volume as the main cue. Keep the bowl protected while the yeast works, then uncover it only when you are ready to portion and shape the dough.
Knock Back and Divide
Flour your hands and briefly knock back the risen dough by bringing it into a ball. Tip the ball onto a floured work surface and divide it into eight pieces.
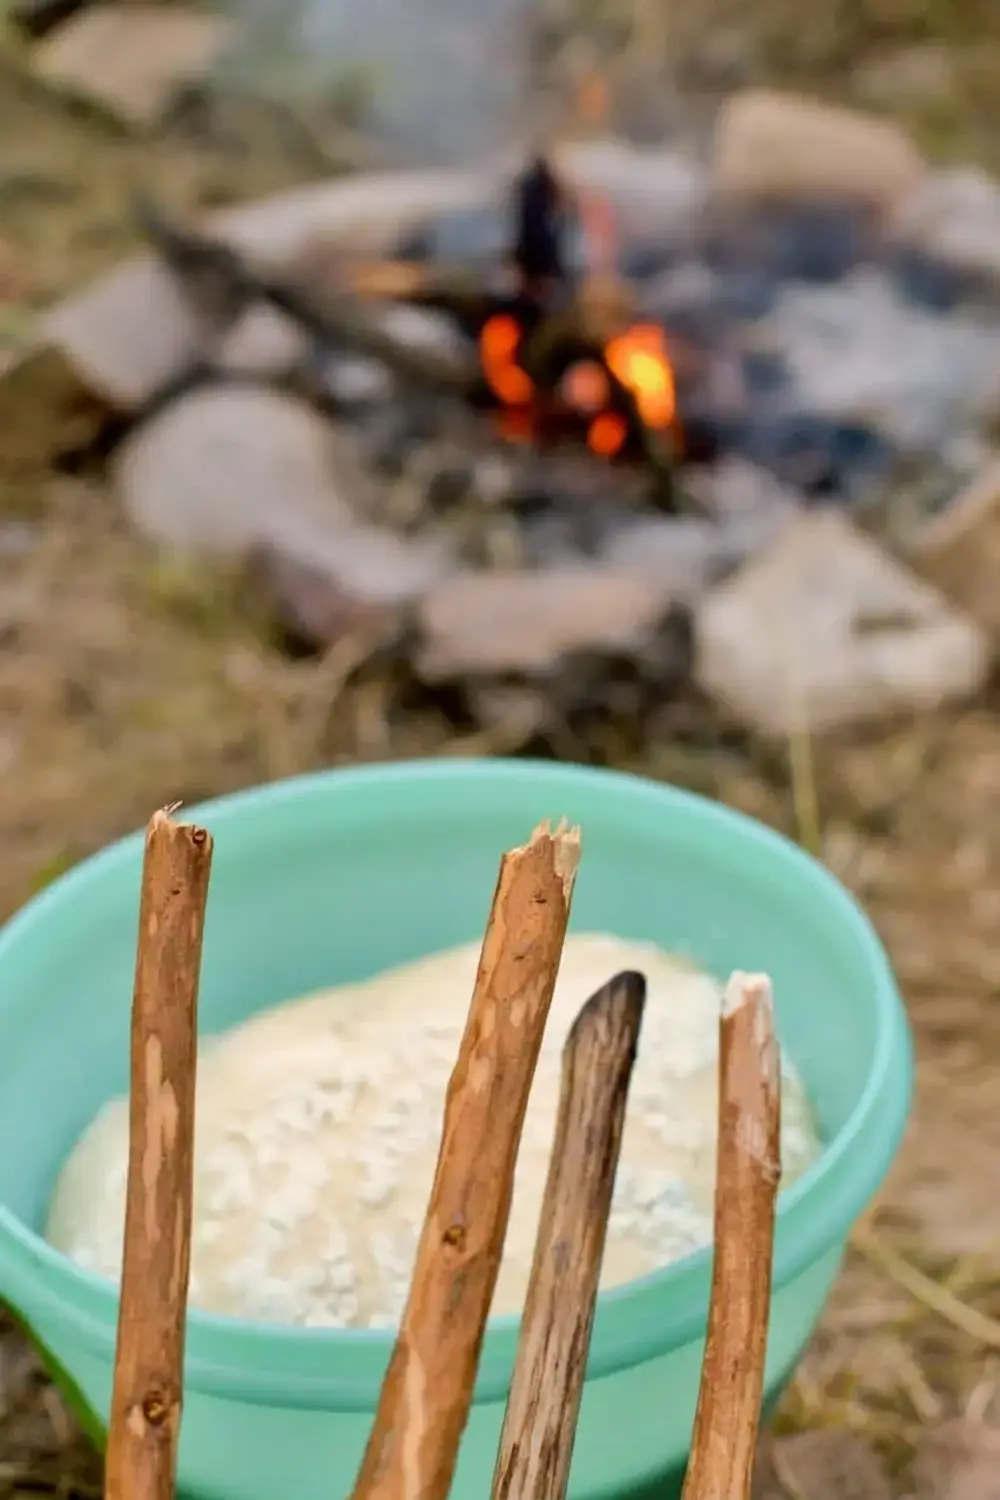
A brief handling is enough. The method does not introduce a separate kneading stage after rising. Keep the pieces reasonably even so the eight breads cook at a similar rate.
Shape the Dough Strips
Take one piece and stretch it into a strip. Roll that strip into a long sausage shape. Repeat with each remaining portion, keeping the thickness as even as practical from one end to the other.
Wrap the Sticks
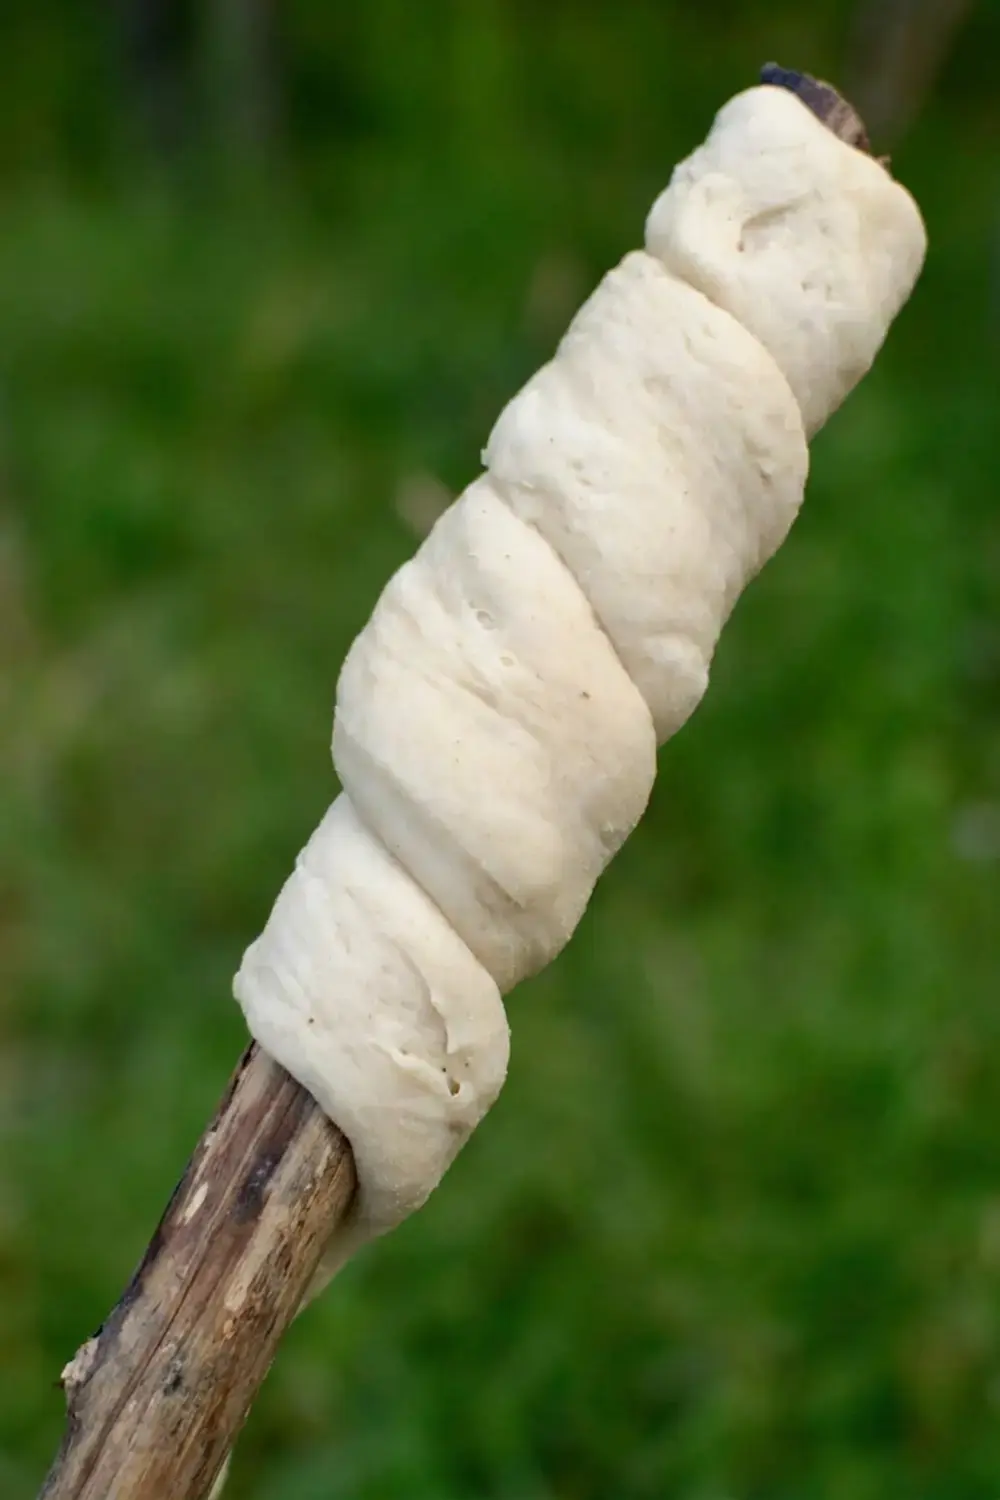
Twist one dough strip around the end of a stick. Pinch the dough together where necessary to secure the end and keep the spiral from loosening during rotation.
Check the attachment before moving close to the heat. Repeat with the other pieces until each stick carries one of the eight portions.
Cook Over Embers
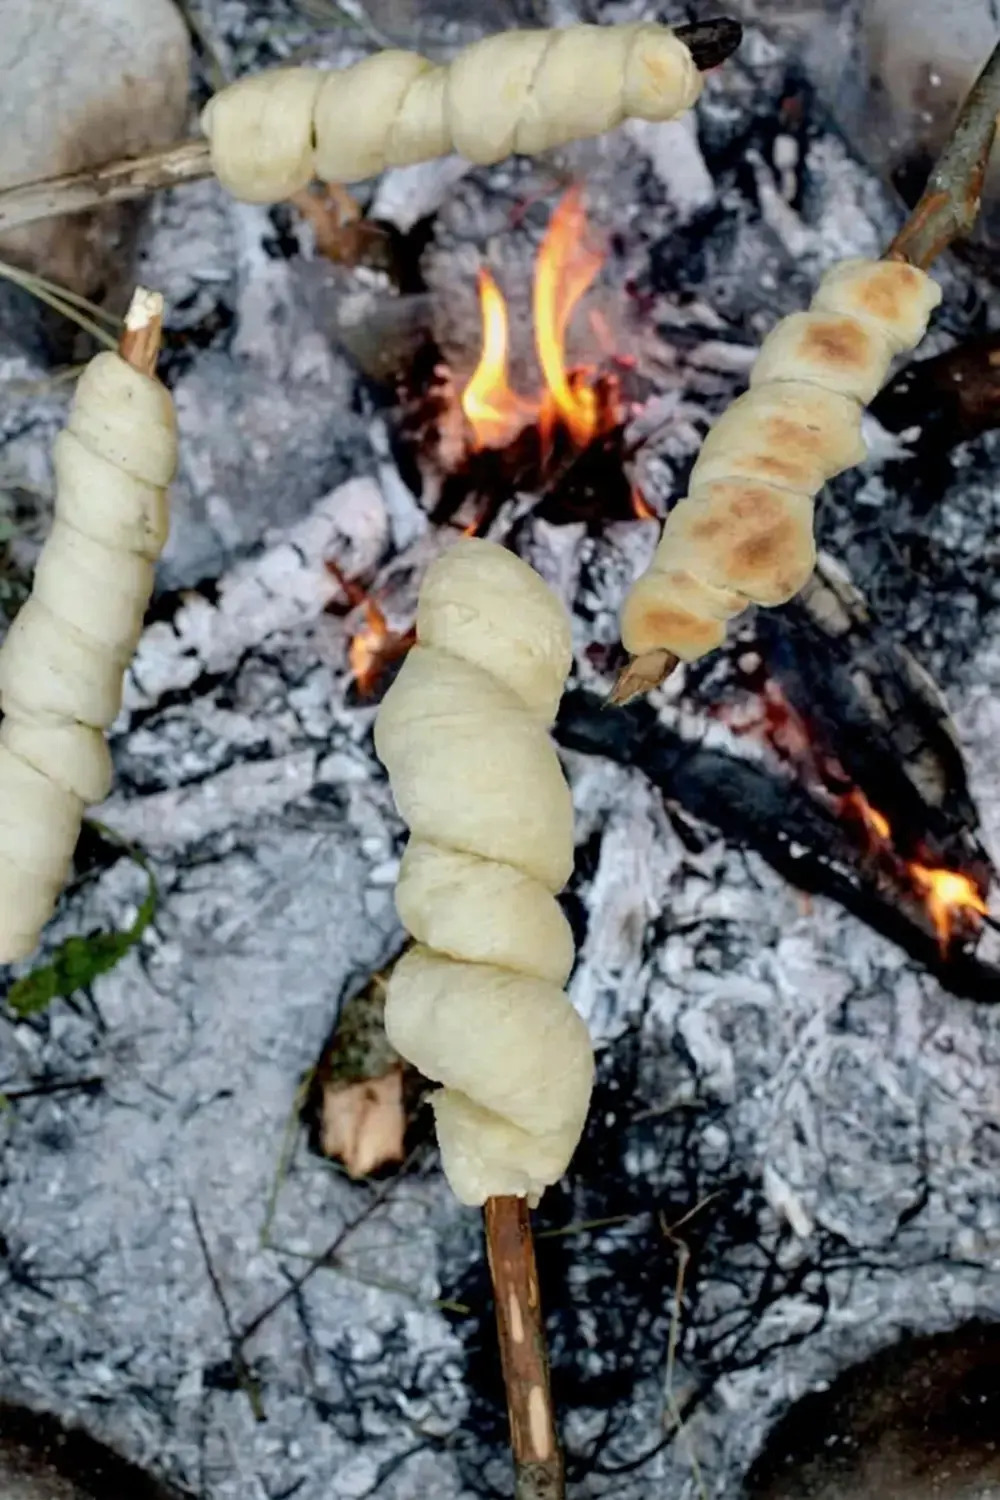
Hold or prop the sticks over the fire, choosing a spot above hot embers for the best results. Avoid placing the dough directly in active flames, which can darken the outside too rapidly.
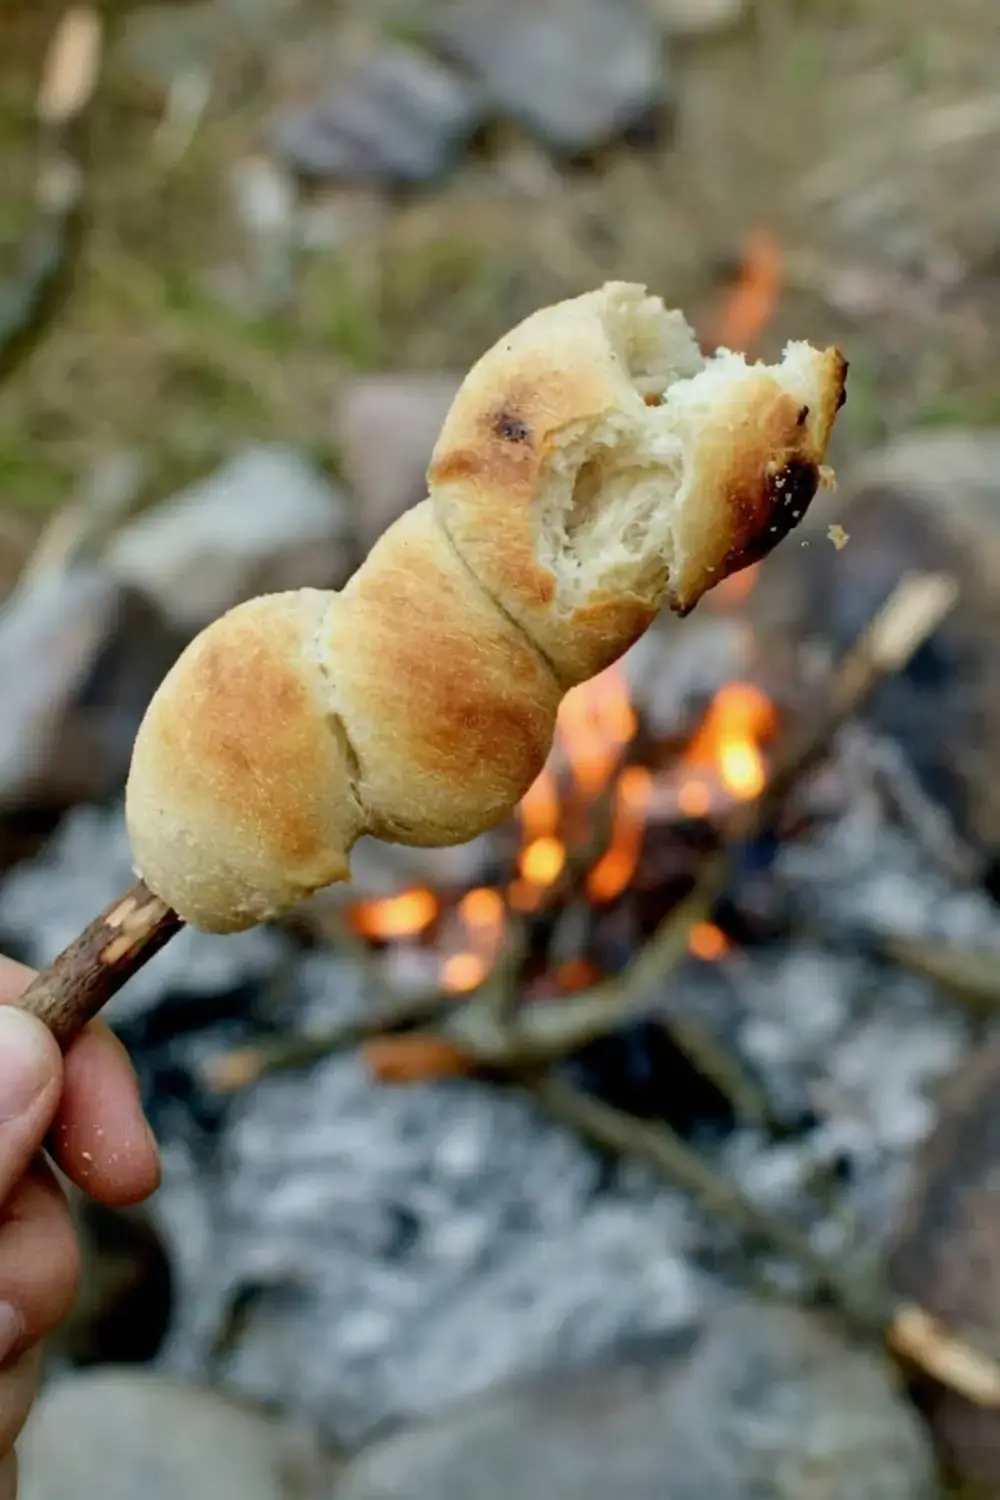
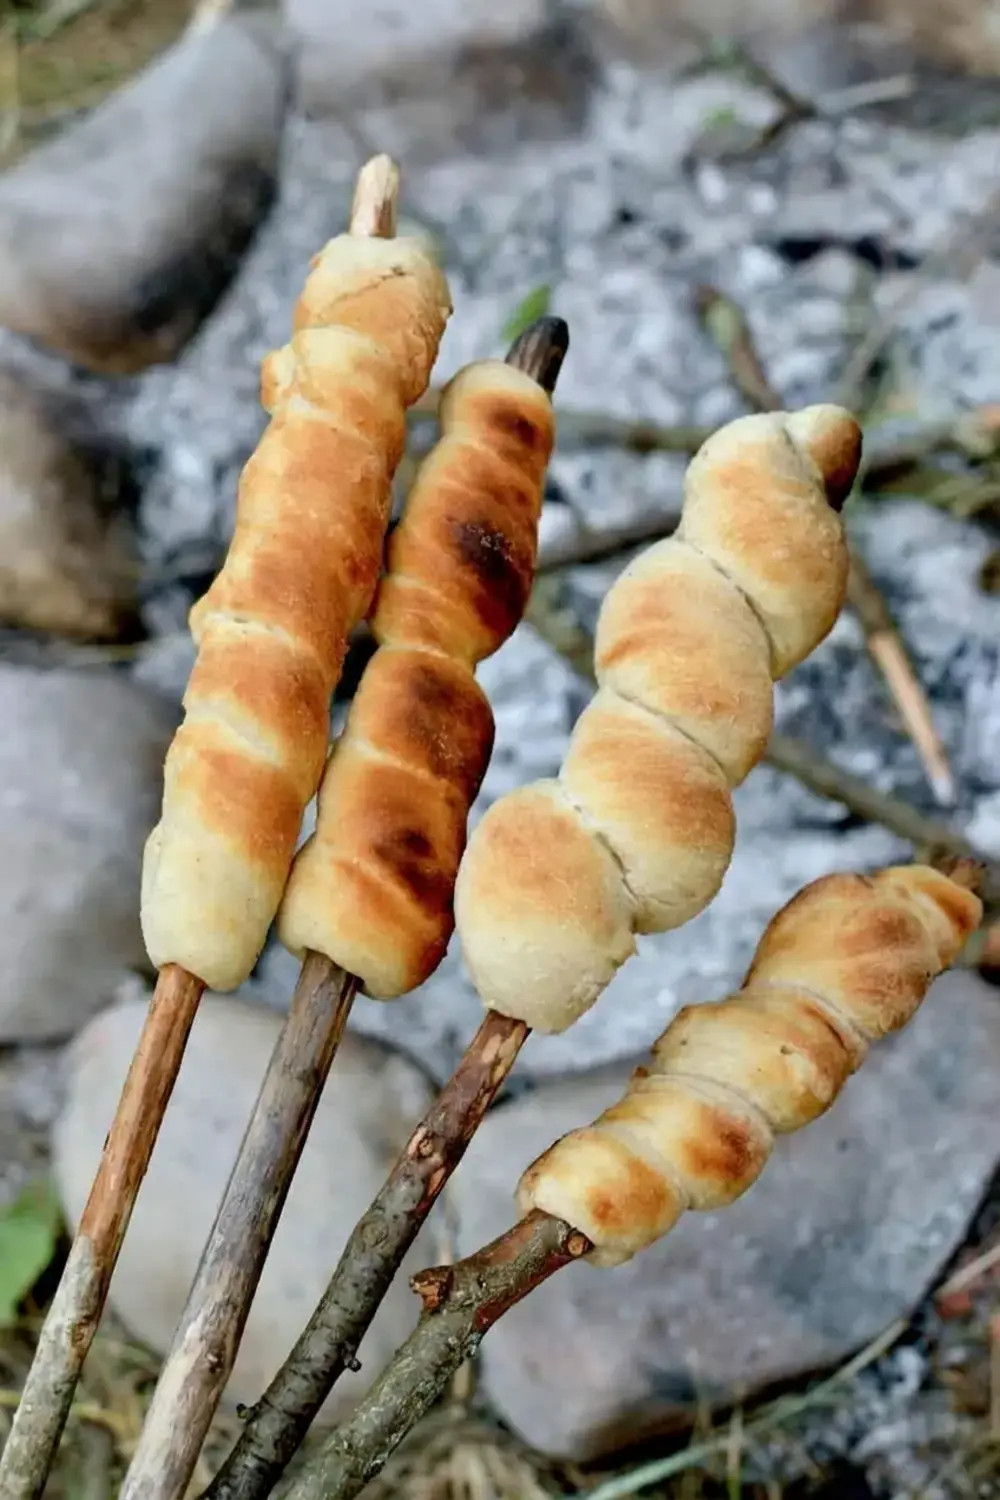
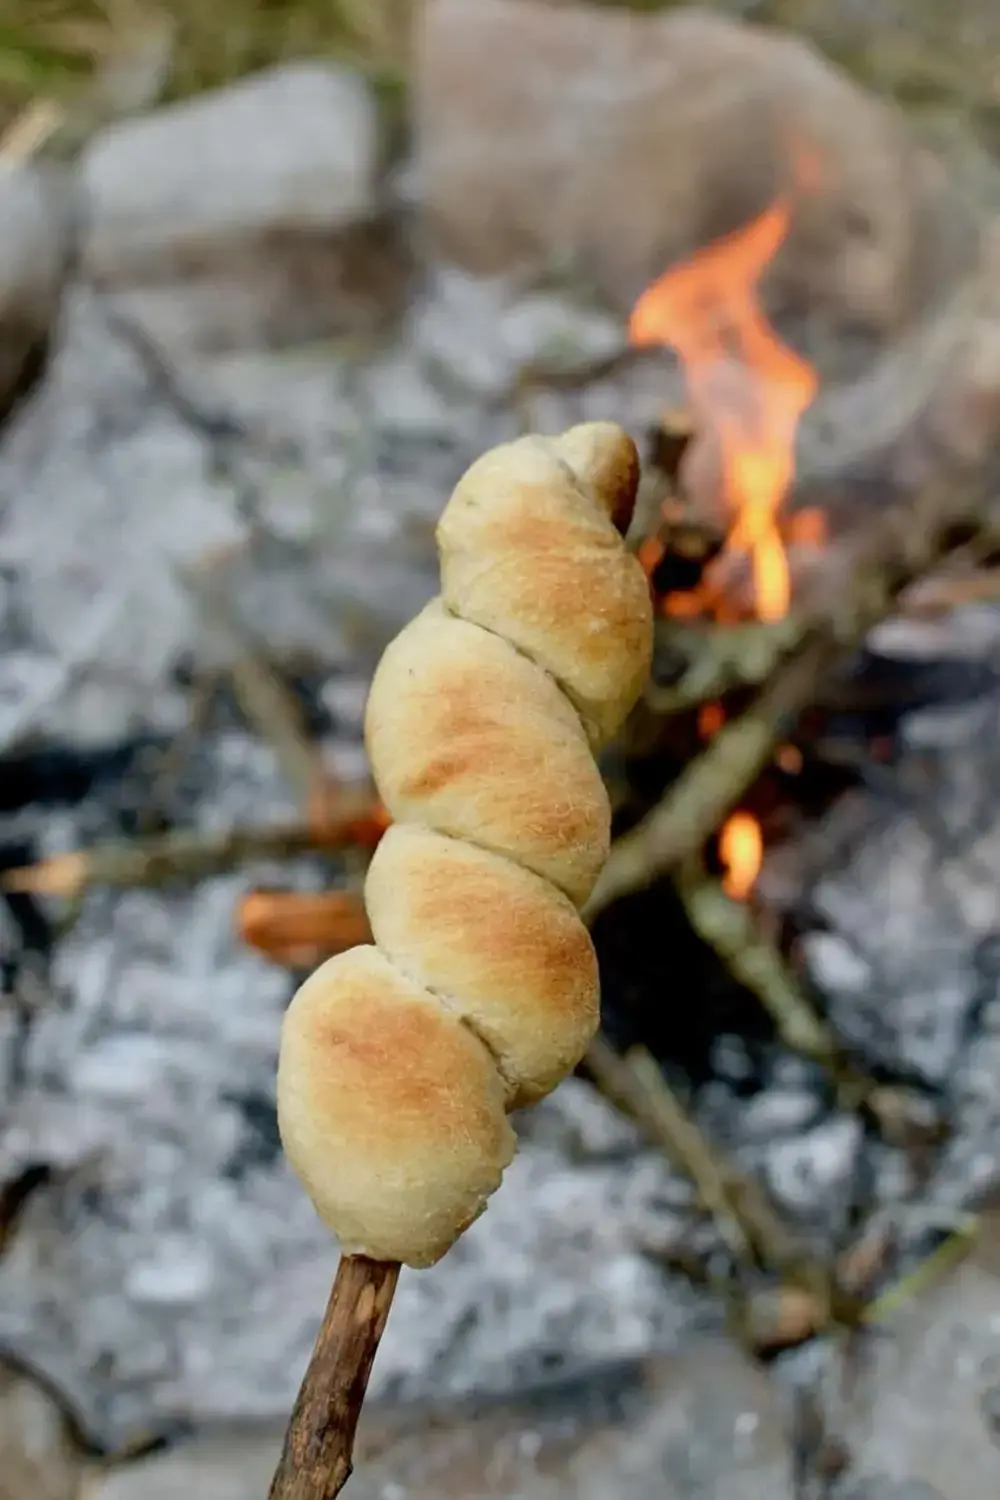
Keep rotating every stick so all sides face the heat. Continue until the entire spiral is browned rather than judging from one visible surface.
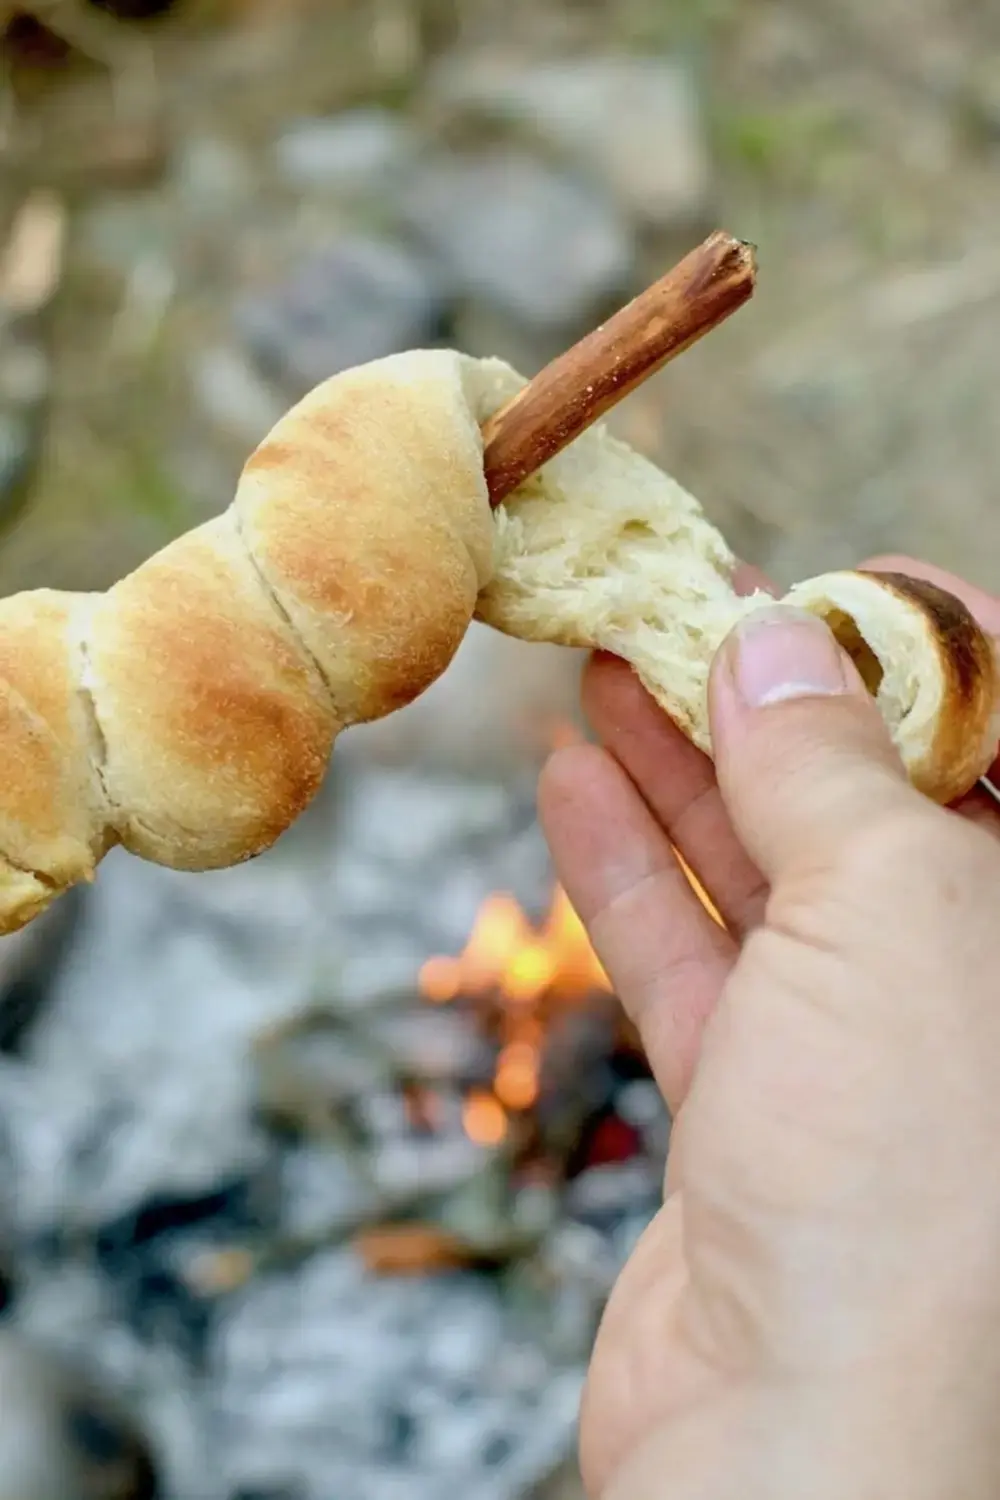
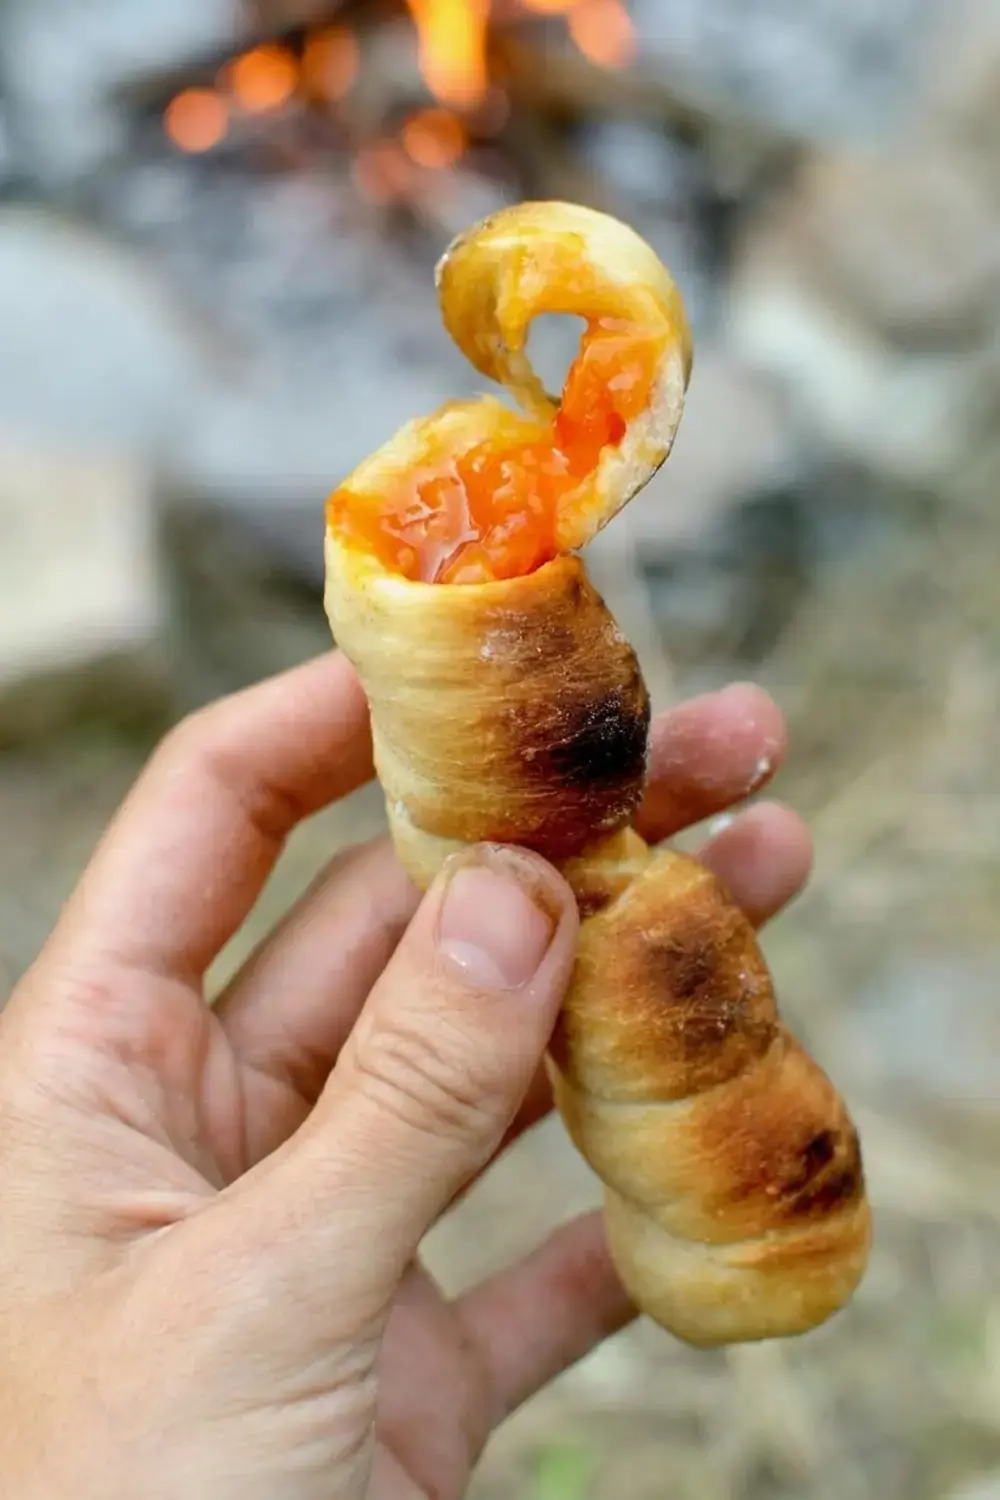
Remove the bread from the heat when all sides are evenly browned. Let it become comfortable to handle before eating it from or removing it from the stick.
Tips for Even Campfire Bread
Use Embers, Not Flames
Glowing embers provide more controlled heat than flickering flames. Position the bread far enough away that it browns gradually. If one section colors quickly, move the stick or change its angle instead of allowing that spot to burn.
Shape Consistent Portions
Eight even dough pieces create breads with similar cooking needs. A strip that is very thick in one place can remain undercooked while a thin section becomes dark. Roll each sausage shape as evenly as possible before wrapping.
Rotate Patiently
The source method depends on keeping every side moving through the heat. Turn steadily and inspect the complete spiral. Browning all around is a better guide than cooking one fixed side for a predetermined period.
Prepare the fire and shaping area before the dough finishes rising so the eight wrapped sticks can move efficiently toward the embers.
Prepare the Dough for Outdoor Cooking
The dough uses only yeast, sugar, flour, warm water, olive oil, and salt. Mixing them into a moist mass is sufficient because the source does not require kneading. Adding unlisted flour to create a conventional firm dough would change that method.
Covering the bowl protects the surface during the warm rise. Doubling in size is the visual goal, with about one hour given as guidance. Temperature can affect progress, so observe the dough rather than handling it repeatedly.
Floured hands are used only when briefly knocking back the risen dough and shaping it into a ball. A floured surface then supports clean division into eight pieces.
Turn Eight Pieces Into Even Spirals
Stretch each portion into a strip before rolling it into a long sausage. This two-stage shaping helps lengthen the dough without creating an excessively thick rope.
Twist one rope around the end of its stick and pinch the end to secure it. Check the attachment before approaching the fire, since a loose spiral is harder to correct over hot embers.
Similar thickness from end to end matters more than visual perfection. A very thick area may remain undercooked while a thin section becomes dark during the same rotation.
Manage Ember Heat
Hot embers provide steadier heat than tall flames. Hold or prop each stick at a distance where browning happens gradually, then keep rotating so every side receives exposure.
Watch the full spiral, including the inner curves between turns. If one area darkens quickly, change the height or angle. The method depends on patient movement rather than leaving the stick stationary.
Organize the Campfire Area
Prepare the sticks, floured shaping surface, and safe holding position while the covered dough rises. This lets the eight pieces move from shaping to cooking without an unnecessary delay.
Keep raw dough equipment separate from the area used for finished bread. Once every side is browned, move the stick away from the heat and allow the bread to become comfortable to handle before eating.
When several people cook sticks at once, leave enough space for each bread to rotate freely. Crowding makes it harder to view every surface and can place one spiral in a hotter ember zone than another.
Finished browning should extend around the complete dough rope, including the area closest to the stick. Continue controlled rotation rather than increasing exposure to flames for a faster exterior color.
Frequently Asked Questions
Does campfire bread dough need kneading?
No. Mix all six ingredients into a moist dough, cover the bowl, and let it rise in a warm place until doubled. The source specifically describes it as no-knead bread.
How many pieces should I divide the dough into?
After briefly knocking back the risen dough, place it on a floured surface and divide it into eight pieces. Shape each one into a long strip for a separate stick.
Where should I hold the bread over the fire?
Choose a position over hot embers rather than active flames. Embers provide steadier heat and reduce the chance that the outside burns before the dough cooks.
Why must the stick keep rotating?
Continuous, patient rotation exposes every side to the heat. Keep turning until all surfaces are browned rather than leaving one area facing the embers too long.
How do I keep dough attached to the stick?
Twist one long dough strip around the end of the stick and pinch the dough together where needed. The secured end helps prevent the spiral from loosening as it rotates.