How to make bounty bar with step by step photo:
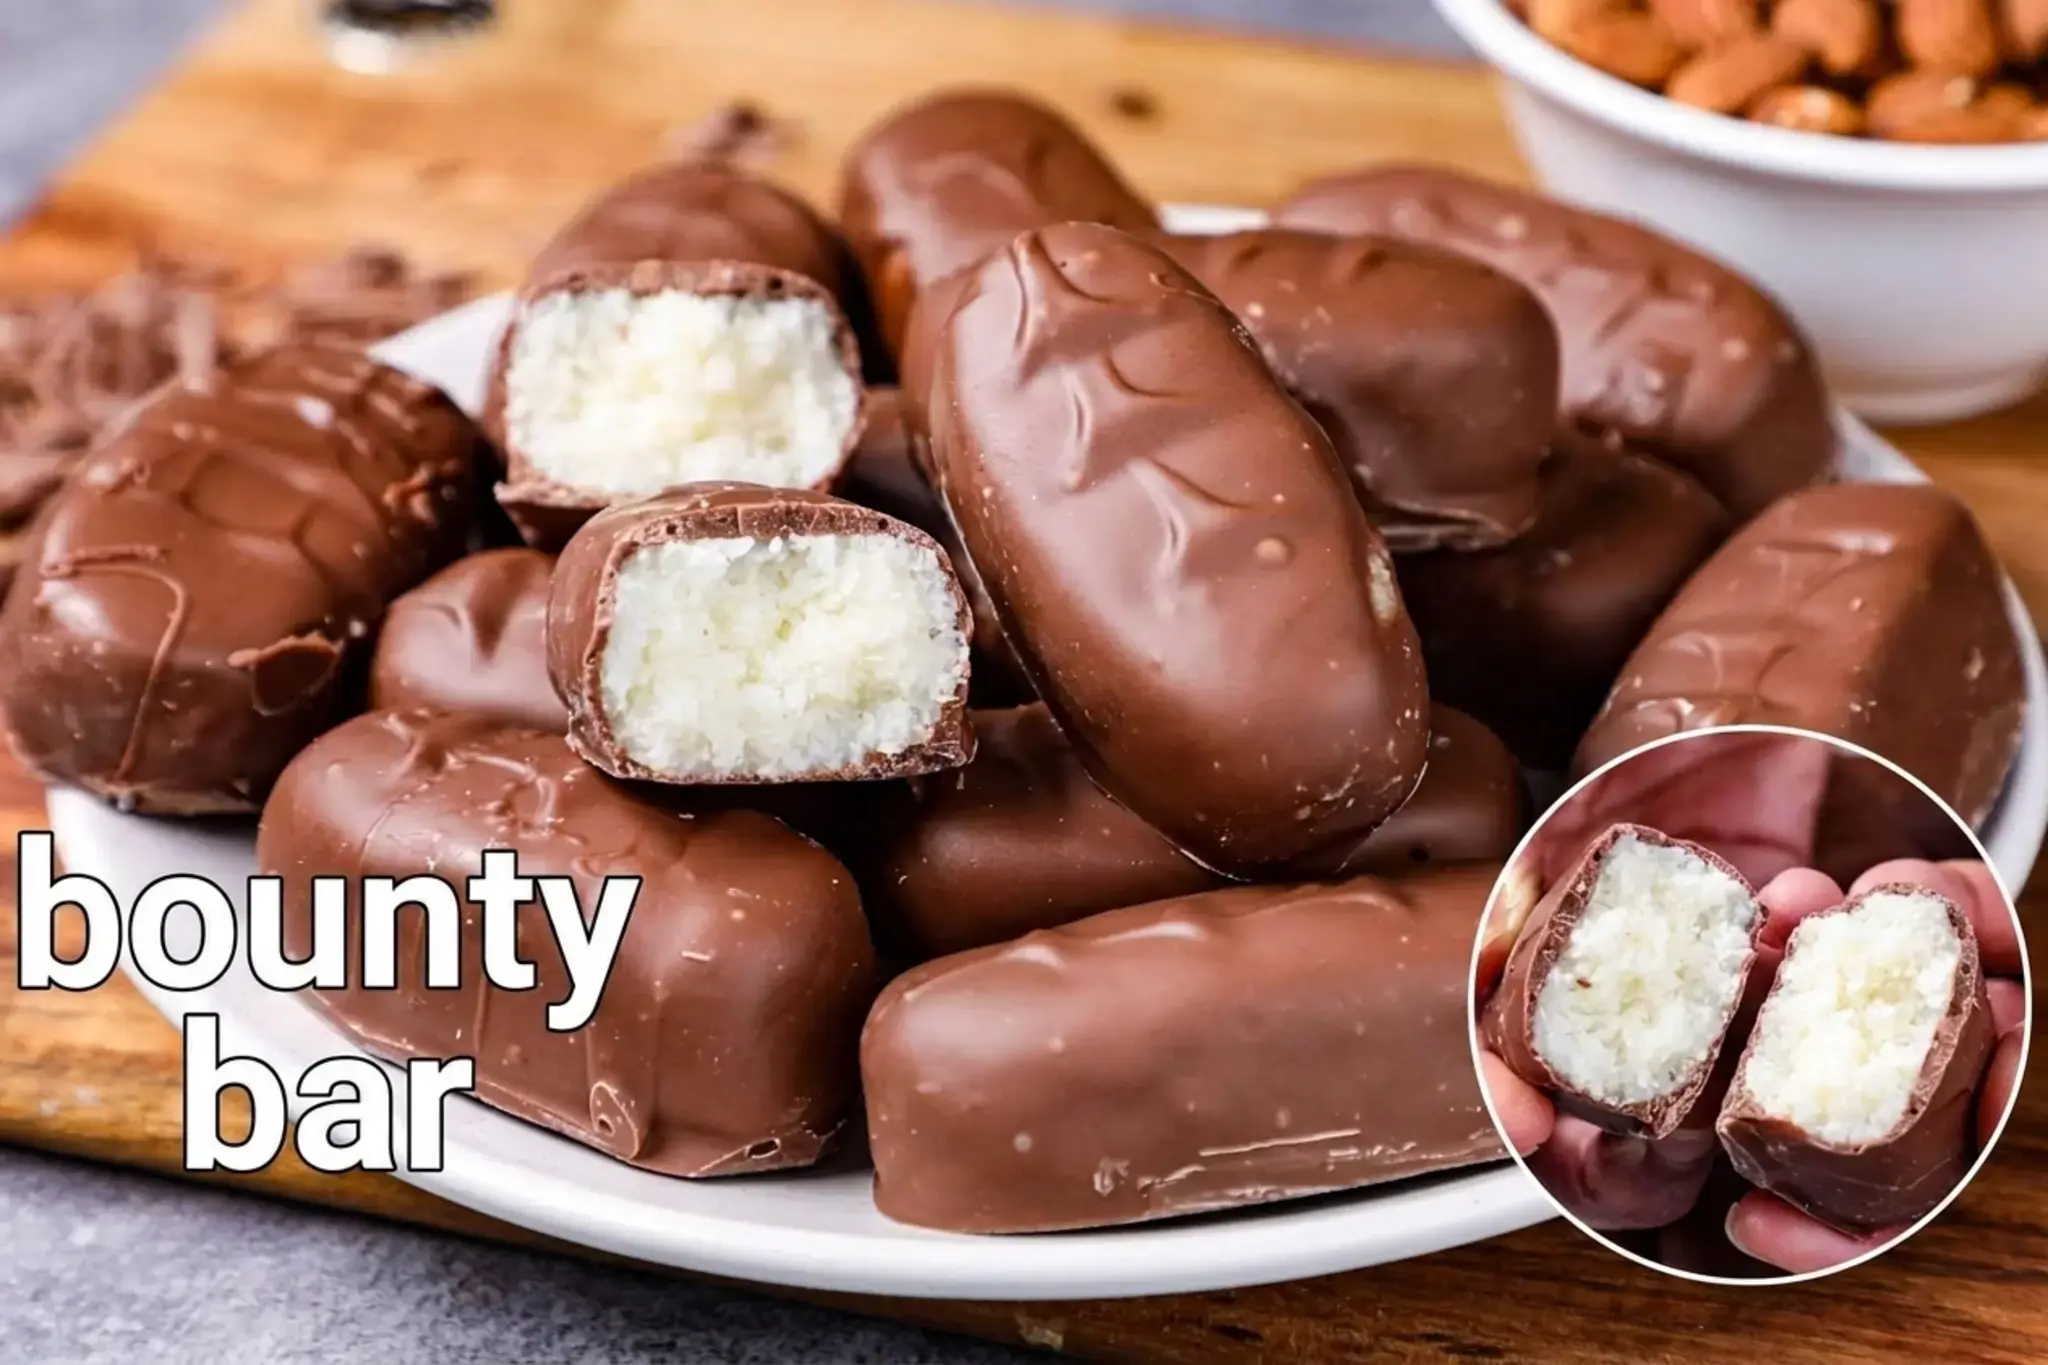
Making these coconut chocolate bars at home is simpler than you might think, and the transformation from basic ingredients to glossy finished bars is truly satisfying.
I still remember the first time I made these coconut bars at home; the smell of sweet coconut and melted chocolate filled the kitchen just like the store bought ones did when I was a kid.

The step by step process below captures every visual stage you would see in a detailed photo tutorial, so you can follow along with confidence.
Here is a quick visual walkthrough of the main stages, without needing to flip through separate images. Use the bullet points as your checklist while cooking.
- Pour 1½ cups milk and ¾ cup sugar into a large pan and stir continuously over medium heat until the sugar is completely dissolved. The liquid becomes slightly translucent and smooth, a visual cue that you are ready for the next ingredient.
- Sprinkle 2 cups desiccated coconut into the sweet milk and stir thoroughly. The dry shreds will begin to absorb the liquid almost immediately, swelling and darkening as they hydrate.
- Add ¼ cup cream and mix again. The introduction of cream visibly enriches the mixture, turning it glossier and giving the coconut a creamy coating that will later set into a tender, melt in the mouth center.
- Keep cooking over medium heat until the mixture starts to leave the sides of the pan and holds its shape when you press a spoonful together. At this stage, the coconut looks sticky but not wet, and a small ball can be formed without falling apart.
- Transfer the mixture onto a large plate and spread it gently to cool for a few minutes. As it cools, it becomes easier to handle and naturally stiffens.
- Scoop up a ball sized amount and roll it between your palms, then gently press and shape it into a rectangular log resembling a classic candy bar. Repeat with all the mixture.
- Place the shaped bars on a tray lined with parchment paper and refrigerate for a full hour. The chilled bars will feel firm and dry to the touch, ready for dipping.
- Meanwhile, melt 300 grams milk chocolate in a double boiler over barely simmering water, stirring constantly. The melted chocolate should be glossy and pourable, with no lumps.
- Allow the melted chocolate to cool slightly so that it is warm but not hot. A too hot chocolate will instantly melt the delicate coconut centers when you dip them.
- One by one, submerge each cold bar, using two forks to turn and coat every surface evenly. Let the excess chocolate drip back into the bowl before placing the bar on a fresh sheet of parchment paper.
- To create the familiar store bought look, run a butter knife gently across the still wet chocolate to mark three shallow parallel lines on top of each bar.
- Return the dipped bars to the refrigerator for at least one more hour until the chocolate is completely set and snaps when you break one open.
This sequence mirrors exactly what you would see in a dedicated step by step photo gallery and gives you complete confidence at each stage.
Jump to:
- How to make bounty bar with step by step photo:
- Notes:
- Key Ingredients and Components for Bounty Chocolate Recipe Bounty Bar
- How to Make Bounty Chocolate Recipe Bounty Bar
- How do I make easy homemade Bounty bars with desiccated coconut?
- What kind of coconut works best for this Bounty chocolate copycat recipe?
- Can I use dark chocolate instead of milk chocolate for homemade Bounty bars?
- How should I store homemade Bounty chocolate bars and how long do they last?
- FAQs
- How do I make easy homemade Bounty bars with desiccated coconut?
- What kind of coconut works best for this Bounty chocolate copycat recipe?
- Can I use dark chocolate instead of milk chocolate for homemade Bounty bars?
- How should I store homemade Bounty chocolate bars and how long do they last?
- bounty chocolate recipe | bounty bar recipe | chocolate coconut bars
- Ingredients
- Instructions
- Last Step:
- Nutrition
- Did you make this recipe?
Notes:
A few simple observations make all the difference between a frustrating experience and a batch of perfect homemade bounty bars every single time. Paying attention to these small details will reward you with professional looking results.
The most important rule is to cook the coconut mixture until it truly holds its shape. If you try to form a ball and it crumbles or sticks to your fingers, let it cook a couple of minutes longer.
The mixture should be slightly sticky when warm but set firmly once cold. Overcooking is not a big risk here; think more about undercooking.
If you are in a hurry, you can speed up the chilling stage by placing the shaped bars in the freezer for 15 to 20 minutes instead of a full hour in the refrigerator. They must be fully cold before dipping, or they will soften and lose their shape in the warm chocolate.
While the original recipe uses milk chocolate to stay true to the classic Bounty flavor, you can absolutely use dark chocolate for a more intense, less sweet coating. The method stays identical; just pick a good quality cooking chocolate that melts smoothly.
For more inspiration on chocolate tempering and alternative approaches, you can check the Bounty bars recipe shared by BBC Good Food, which offers a slightly different take.
If you are interested in a dairy free version, the vegan Bounty bars recipe from Loving It Vegan shows how to adapt the concept with plant based ingredients, though the technique remains similar.
Always use high quality couverture or meant for baking chocolate bars. Ordinary candy bars or chocolate chips can contain stabilizers that prevent them from melting into a smooth dip and may seize or turn grainy. A proper chocolate with high cocoa butter content gives that satisfying snap when you bite into the finished bar.
For a fun variation, you can flavor the coconut center with a spoonful of mango pulp or cherry puree, stirring it in just before you stop cooking. This introduces a fruity brightness that pairs surprisingly well with the chocolate shell.
If you enjoy experimenting with homemade desserts, our creamy rhubarb cheesecake crumble bars are another easy and rewarding treat to try.
Key Ingredients and Components for Bounty Chocolate Recipe Bounty Bar
The beauty of this copycat recipe is that it uses only a handful of everyday ingredients, yet the combination produces a candy bar that tastes remarkably close to the original.
Each component plays a specific role in texture and flavor, so measure carefully and choose the best quality you can. The following table makes it easy to gather everything before you start.
| Ingredient | Canonical Quantity | Role in the Recipe |
|---|---|---|
| Milk | 1½ cups | Provides moisture and helps dissolve the sugar, binding the coconut together as it cooks. |
| Sugar | ¾ cup | Sweetens the filling and, combined with the milk, creates a syrup that sets into a soft structure. |
| Desiccated coconut | 2 cups | The star of the bar. Its fine, dry shreds absorb the sweet liquid and give the iconic chewy yet tender texture. |
| Cream | ¼ cup | Adds richness and a creamy mouthfeel, making the center taste smooth and luxurious rather than dry. |
| Milk chocolate | 300 grams | Forms the crisp outer shell. High quality cooking chocolate guarantees a glossy finish and clean snap. |
These measurements are taken directly from the canonical recipe card and form the foundation of every successful batch. While it can be tempting to reach for sweetened flake coconut, stick with unsweetened desiccated coconut for the most authentic texture; the recipe already includes sugar, and moist flake coconut can make the bars too wet and difficult to shape.
How to Make Bounty Chocolate Recipe Bounty Bar
The method for these homemade candy bars is a rewarding mix of gentle stovetop cooking and patient chilling. I remember one Sunday afternoon when I had promised my niece a cooking day, and we decided to recreate her favorite chocolate coconut bars.
The process was so straightforward that she handled most of the stirring and shaping herself, and her proud grin when she marked the signature lines on each bar is now a permanent happy memory. Here is how you can recreate that same joy.
Begin by combining the milk and sugar in a large, heavy bottomed pan. I use a deep skillet or a wide saucepan; the important thing is that it allows steam to escape easily.
Stir continuously over medium heat until every last grain of sugar dissolves, which takes only a minute or two. You will know it is ready when the liquid looks clear and a quick taste reveals a sweet, uniform milk.
Next, add all the desiccated coconut at once and stir thoroughly with a wooden spoon. At first, the mixture will look quite dry, but within seconds the coconut absorbs the milk and transforms into a thick, cohesive mass.
Now pour in the cream and mix again; this is where the filling moves from simply sweet to genuinely creamy. Keep stirring over medium heat, making sure no part sticks to the bottom of the pan.
The single most important visual cue: you are looking for the moment when the mixture comes together into a soft dough like mass that can be shaped without collapsing. If you scoop a small amount and roll it between your palms, it should form a neat, non sticky ball that holds perfectly.
Once you reach that stage, immediately transfer the coconut mixture onto a large plate and spread it out a little. This short cooling period, about five to eight minutes, makes it safe to handle and much easier to mold.
When it is cool enough to touch but still pliable, begin shaping the bars. I like to use a heaped tablespoon of mixture per bar, rolling it into a short log and then flattening the sides to create a neat brick shape.
Place each bar onto a parchment lined tray and repeat until all the mixture is used.
Refrigerate the tray, uncovered, for exactly one hour. During this time, the bars firm up dramatically and any residual stickiness disappears. When you take them out, they should feel cold and solid, ready to be transformed by chocolate.
While they chill, prepare the coating. Chop the milk chocolate into small, even pieces and place it in a heatproof bowl set over a pan of simmering water, ensuring the bowl does not touch the water.
Melt the chocolate slowly, stirring often, until it is completely smooth and glossy. Remove the bowl from the heat and let the chocolate stand for five minutes so it can cool slightly; dipping cold bars into very hot chocolate will cause the centers to soften and slip.
Line another tray with fresh parchment paper. Using two forks or dipping tools, lower one coconut bar at a time into the chocolate, turn it gently to coat all sides, then lift it out and let the excess drip back.
Place the coated bar on the prepared tray and, before the chocolate starts to set, drag the tip of a butter knife lightly over the top to make three parallel indentations.
This simple detail turns a homemade sweet into a convincing look alike of the iconic Bounty bar. Repeat until every bar is coated.
Return the tray to the refrigerator for at least one hour, though I find that two hours gives the most satisfying chocolate snap. Once the coating is completely hard, you can enjoy your homemade Bounty bars right away or store them.
The total active cooking time is around 30 minutes, with 10 minutes of preparation and about 100 minutes of combined chilling, making this a wonderful project for a leisurely afternoon.
If you are in the mood for another chocolate forward dessert, our homemade chocolate cake with chocolate frosting is a classic favorite that always brings smiles.
How do I make easy homemade Bounty bars with desiccated coconut?
To make homemade Bounty bars, cook 1½ cups milk and ¾ cup sugar together, then stir in 2 cups desiccated coconut and ¼ cup cream until the mixture holds its shape.
Cool slightly, shape into bar sized logs, and refrigerate for about 1 hour until firm. Melt 300 grams milk chocolate in a double boiler, let it cool slightly, then dip the chilled coconut bars to coat and refrigerate again until the chocolate sets.
What kind of coconut works best for this Bounty chocolate copycat recipe?
This recipe is designed for desiccated coconut, which is dried and finely shredded, so it absorbs the milk and sugar mixture and sets into firm bars. Using desiccated coconut helps the filling hold its shape and gives the classic Bounty texture. Moist sweetened flake coconut typically found in US baking aisles can make the bars too wet and overly sweet.
Can I use dark chocolate instead of milk chocolate for homemade Bounty bars?
Yes, you can use either milk chocolate or dark chocolate for the coating, but the canonical recipe uses 300 grams of milk chocolate to match the traditional Bounty flavor.
If you prefer a less sweet, more intense chocolate taste, you can swap in good quality dark baking chocolate. Melt it gently using a double boiler and let it cool slightly before dipping the chilled coconut bars.
How should I store homemade Bounty chocolate bars and how long do they last?
Once the chocolate has set, store homemade Bounty bars in an airtight container in the refrigerator because the filling contains milk and cream. Properly chilled, they keep their best flavor and texture for about a week.
For longer storage, you can freeze them in a single layer, then move to a freezer safe container and thaw in the fridge to avoid condensation on the chocolate.
FAQs
How do I make easy homemade Bounty bars with desiccated coconut?
What kind of coconut works best for this Bounty chocolate copycat recipe?
Can I use dark chocolate instead of milk chocolate for homemade Bounty bars?
How should I store homemade Bounty chocolate bars and how long do they last?
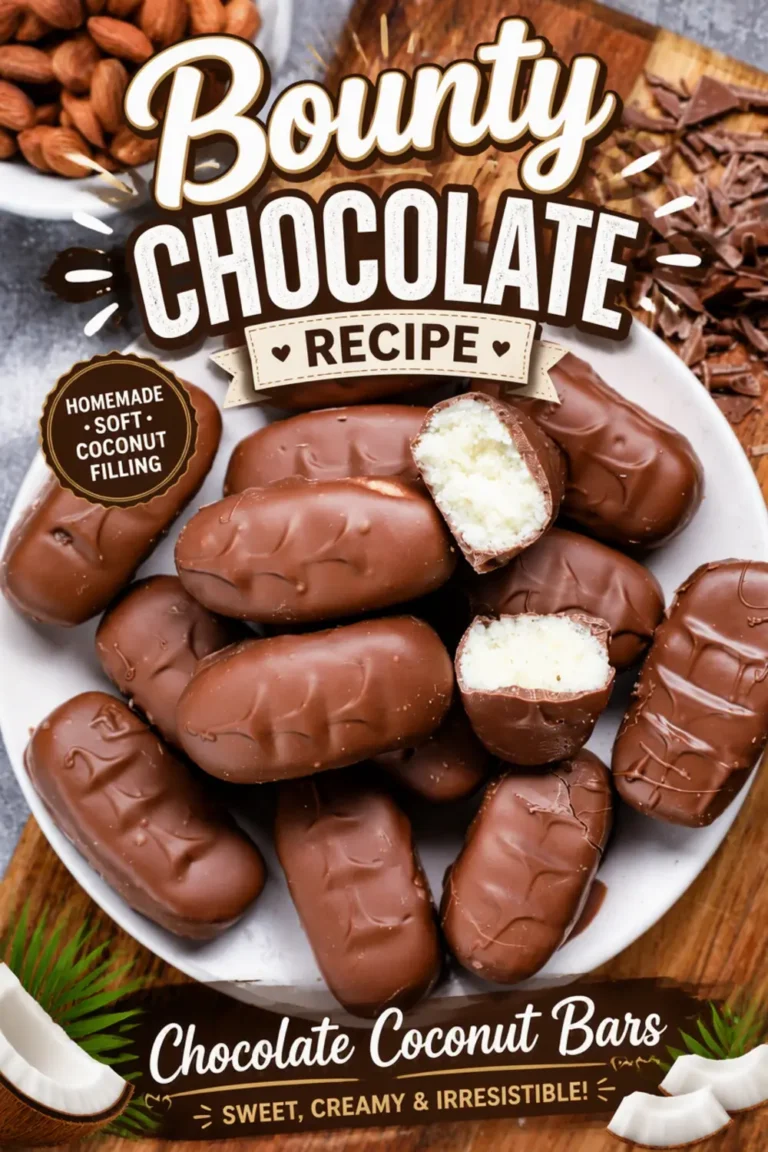
bounty chocolate recipe | bounty bar recipe | chocolate coconut bars
How to make bounty bar with step by step photo: Making these coconut chocolate bars at home is simpler than you might think, and the transformation from basic ingredients to glossy finished bars is truly satisfying. I still remember the first time I made these coconut bars at home; the smell of sweet coconut and melted chocolate filled the kitchen just like the store bought ones did when I was a kid.
- Total Time: 100 min
Ingredients
1½ cup milk
¾ cup sugar
2 cup coconut, desiccated
¼ cup cream
300 grams milk chocolate
Instructions
1-firstly, in a large kadai take 1½: firstly, in a large kadai take 1½ cup milk and ¾ cup sugar.
2-stir well and dissolve sugar completely: stir well and dissolve sugar completely.
3-now add 2 cup coconut and mix: now add 2 cup coconut and mix well.
4-further, add ¼ cup cream and mix: further, add ¼ cup cream and mix well. adding cream makes the coconut layer creamy and tasty.
5-continue to cook on medium flame until: continue to cook on medium flame until the mixture starts to hold the shape.
6-now transfer the mixture to a plate: now transfer the mixture to a plate and cool slightly.
7-take a ball sized mixture and shape: take a ball sized mixture and shape it into bar shapes.
8-keep refrigerated for 1 hour or until: keep refrigerated for 1 hour or until it sets completely.
9-now prepare the melted chocolate by melting: now prepare the melted chocolate by melting 300 grams of milk chocolate using the double boiler method.
10-keep stirring until the chocolate melts completely: keep stirring until the chocolate melts completely.
11-cool the melted chocolate slightly: cool the melted chocolate slightly. if the chocolate is too hot then coconut bars will melt when dipped.
12-now dip the coconut bars into the: now dip the coconut bars into the melted chocolate and coat uniformly.
13-place into butter paper and mark 3: place into butter paper and mark 3 lines using a butter knife. 3 lines are marked to just mimic the store brought bounty bars.
14-refrigerate for at least 1 hour, so: refrigerate for at least 1 hour, so that the chocolate will set completely.
15-finally, enjoy homemade chocolate bounty bars for: finally, enjoy homemade chocolate bounty bars for a week when stored in an airtight container.
Last Step:
Please leave a rating and comment letting us know how you liked this recipe! This helps our business to thrive and continue providing free, high-quality recipes for you.- Prep Time: 10 min
- Cook Time: 30 min
- Method: mixed
Nutrition
- Calories: 221kcal
- Sugar: 24g
- Sodium: 19mg
- Fat: 14g
- Saturated Fat: 9g
- Carbohydrates: 27g
- Fiber: 2g
- Protein: 2g
- Cholesterol: 8mg