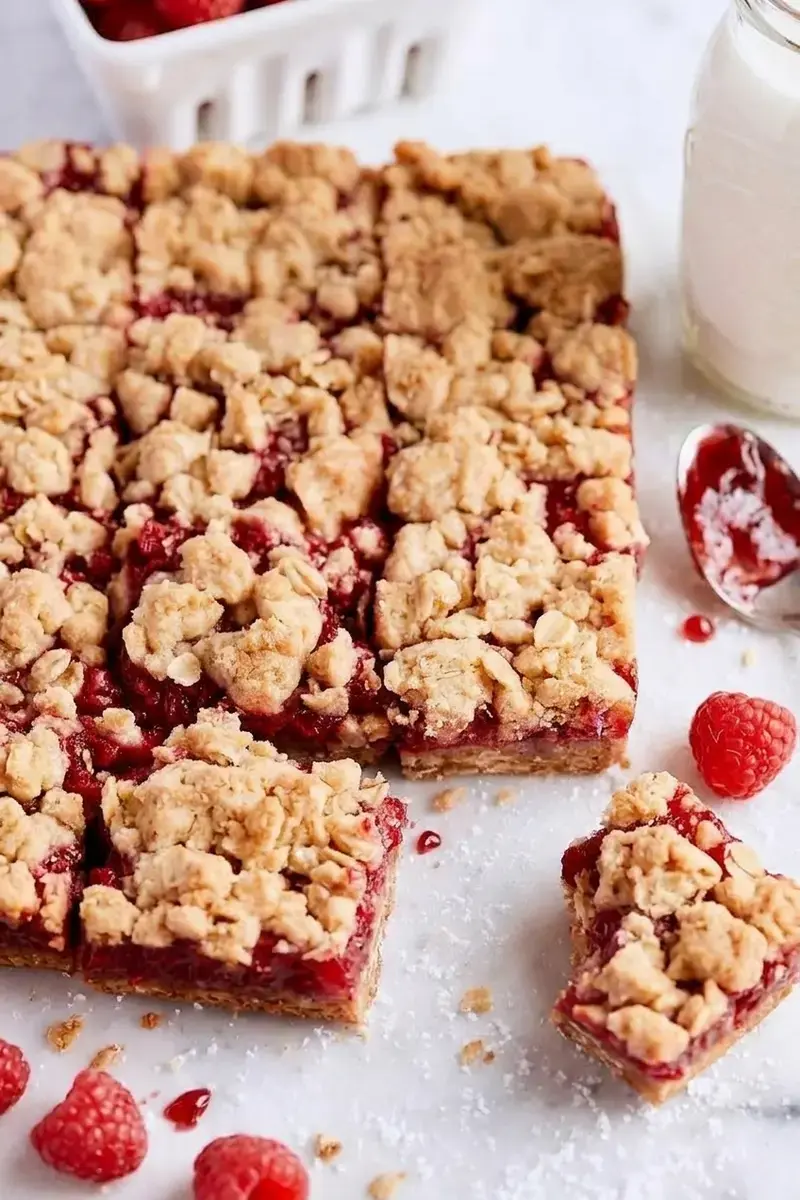
I’m so happy you’re here! There’s something about fresh raspberries that makes me think of bright summer mornings and the way sunlight filters through the kitchen window. These Jammy Raspberry Crumble Bars capture that feeling in a buttery, oat studded bar that comes together fast and disappears even faster.
The idea for this recipe started on a lazy Saturday when I had a basket of fresh raspberries sitting on the counter and a craving for something sweet, simple, and completely satisfying.
I had been working on a batch of blackberry pie bars earlier that season, and I kept thinking about how that buttery crumb crust would taste with raspberries instead.
So I swapped the berries, adjusted the sugar to balance the tartness, and ended up with something that tastes like a berry crumb bar met a fruit crumble and they became best friends.
A buttery oat crust that doubles as the crumble topping, giving you two textures from one simple dough
A jammy raspberry filling cooked on the stove until it thickens and coats the back of a spoon
A higher proportion of brown sugar to granulated sugar in the crust, which adds that warm, oatmeal cookie flavor
Rolled oats mixed right into the dough for a chewy, wholesome bite that pairs perfectly with the tart berries
A touch of cinnamon in the dry ingredients that brings warmth without overpowering the fruit
The beauty of this recipe is that the crust and crumble come from the same bowl. You will whisk together your dry ingredients, combine your melted butter, sugars, and vanilla in another bowl, and fold everything together.
That one dough does double duty: most of it gets pressed into the pan for the base, and about three quarters of a cup gets set aside to crumble over the filling later.
The raspberry filling is equally straightforward but it is where the real magic happens. Fresh raspberries go into a saucepan with sugar, cornstarch, salt, and a splash of fresh lemon juice. The cornstarch is what gives the filling that jammy, spoon coating consistency.
You will bring it to a boil, pressing the berries gently to release their juices, then let it simmer until it thickens.
The result is a glossy, vibrant filling that tastes like the best homemade jam you have ever had, only it takes about six minutes instead of an afternoon.
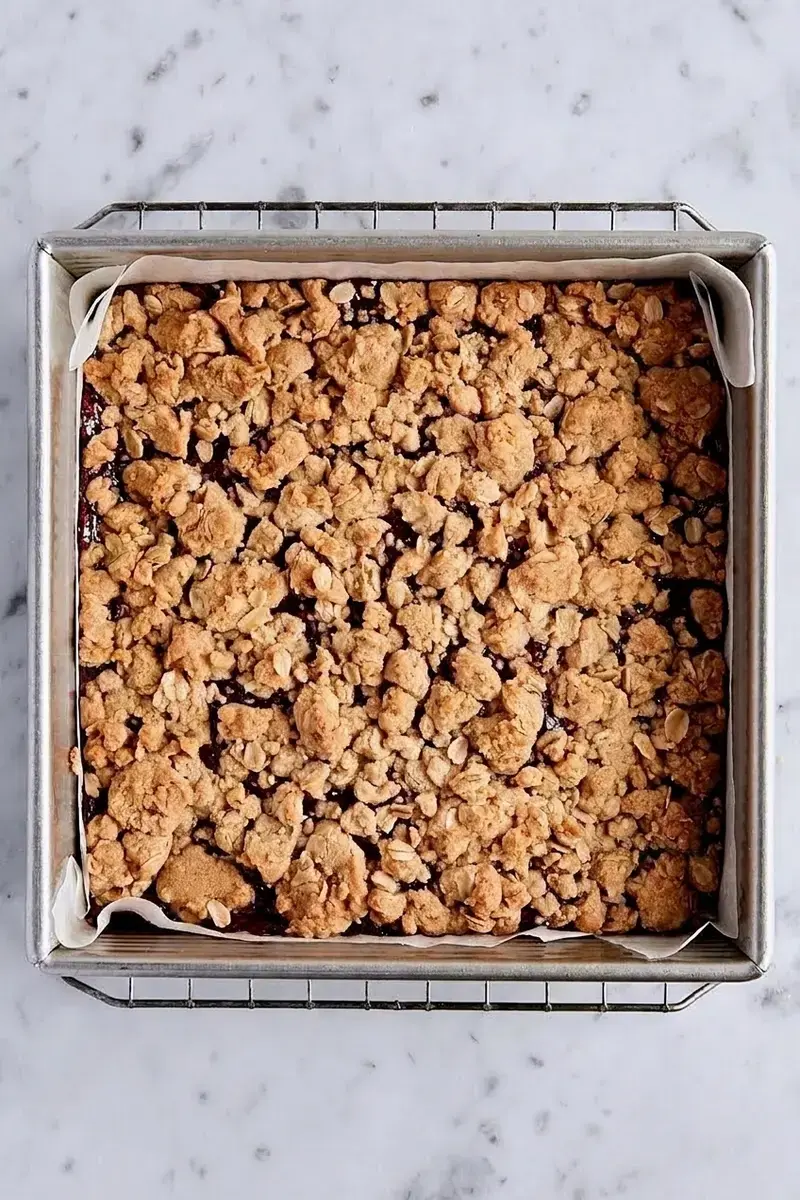
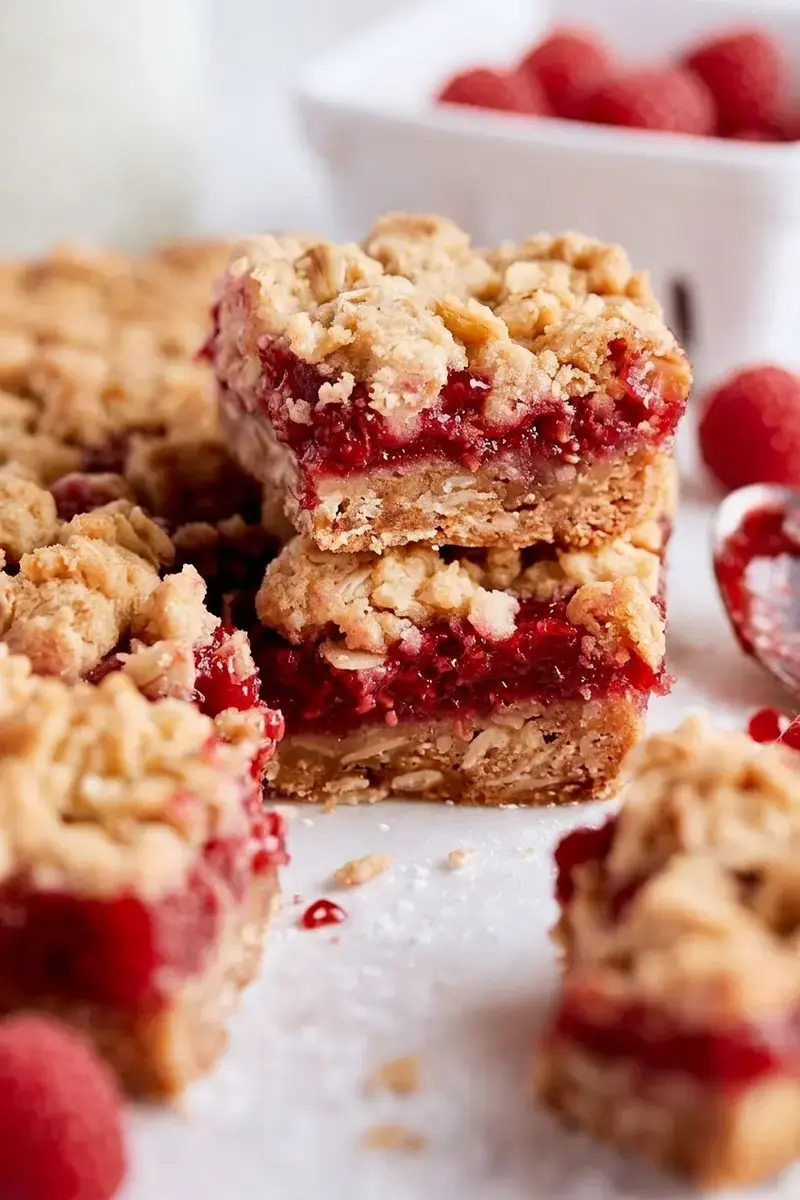
Once the crust is par baked and the filling is spooned over it, you scatter the reserved crumble dough on top and bake everything together. The topping turns golden and crisp while the filling bubbles up around the edges, creating those beautiful craggy bits that everyone always fights over.
These bars are egg free, which makes them a wonderful option when you are baking for someone with egg allergies or when you simply want a dessert that comes together without reaching for the carton.
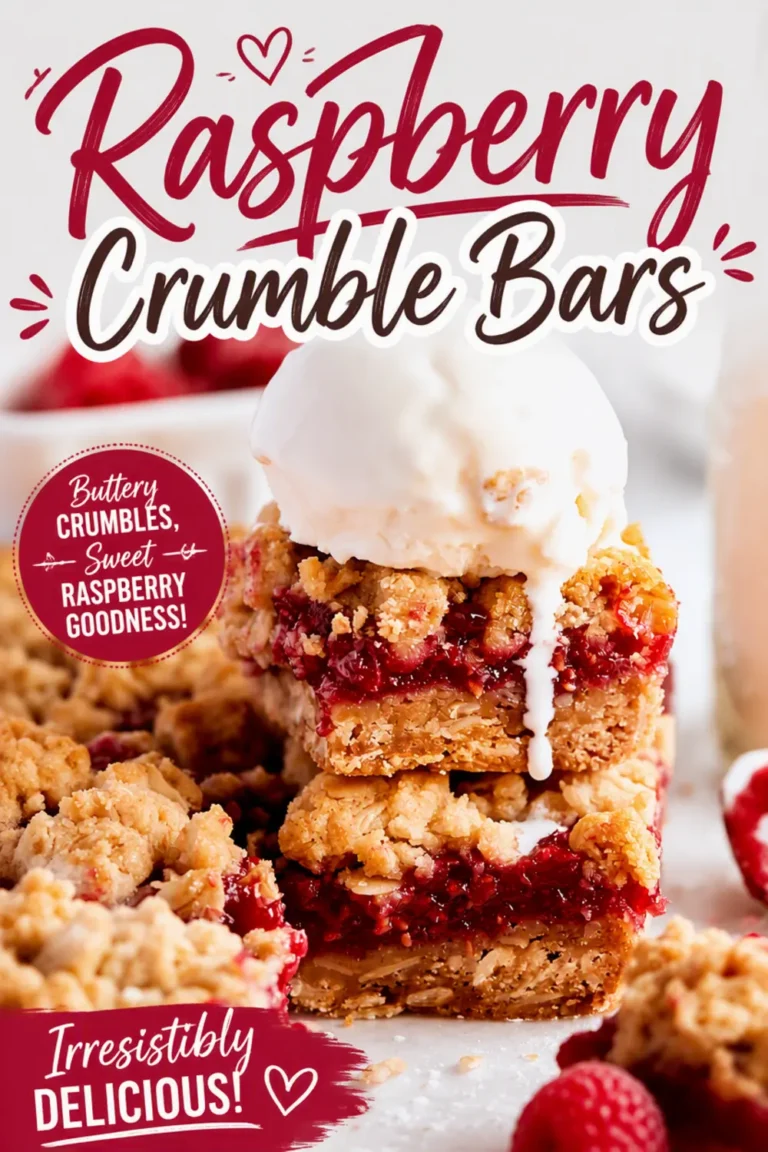
When it comes to serving, these bars are delightful on their own, but they are especially good with a scoop of vanilla ice cream on top. The contrast of jammy filling against cold, creamy ice cream is something I look forward to every single summer.
A dollop of whipped cream or a drizzle of heavy cream also works beautifully if you want to dress them up for company.
You may also like to pack these for a picnic or wrap them individually for lunchbox treats. They hold up well at room temperature for several hours and taste even better the next day, once the flavors have had time to settle and mingle together.
These bars are tagged for Mother’s Day, Spring, and Summer, and they truly shine during berry season when fresh raspberries are at their peak. But honestly, I have made them year round and they always taste like a sunny morning in bar form. Sweet, simple, and completely satisfying!
Now let me walk you through the whole process from start to finish. I have broken it down into clear steps so you can follow along easily, even if you are new to baking from scratch.
The total time is about 1 hour 25 minutes, with 30 minutes of prep and 55 minutes of cook time, and you will end up with 16 generous bars.
Ingredients
Crust and Crumble
1 1/2 cups (210 g) all purpose flour
1 cup (80 g) rolled oats
1/4 tsp baking soda
1/4 tsp salt
1/4 tsp cinnamon
3/4 cup (168 g) unsalted butter, melted
1/2 cup (100 g) light brown sugar
1/4 cup (50 g) granulated sugar
1 tsp (4 g) vanilla extract
Filling
2 1/2 cups (425 g) fresh raspberries
3/4 cup (150 g) granulated sugar
1/8 tsp salt
3 Tbsp (24 g) cornstarch
1 tsp fresh lemon juice
Step 1: Prep your oven and pan
Preheat your oven to 350°F and line an 8 inch square baking pan with parchment paper. I like to leave some overhang on two sides so I can use it as handles to lift the bars out later. This little trick makes cutting clean squares so much easier.
Step 2: Make the crust and crumble dough
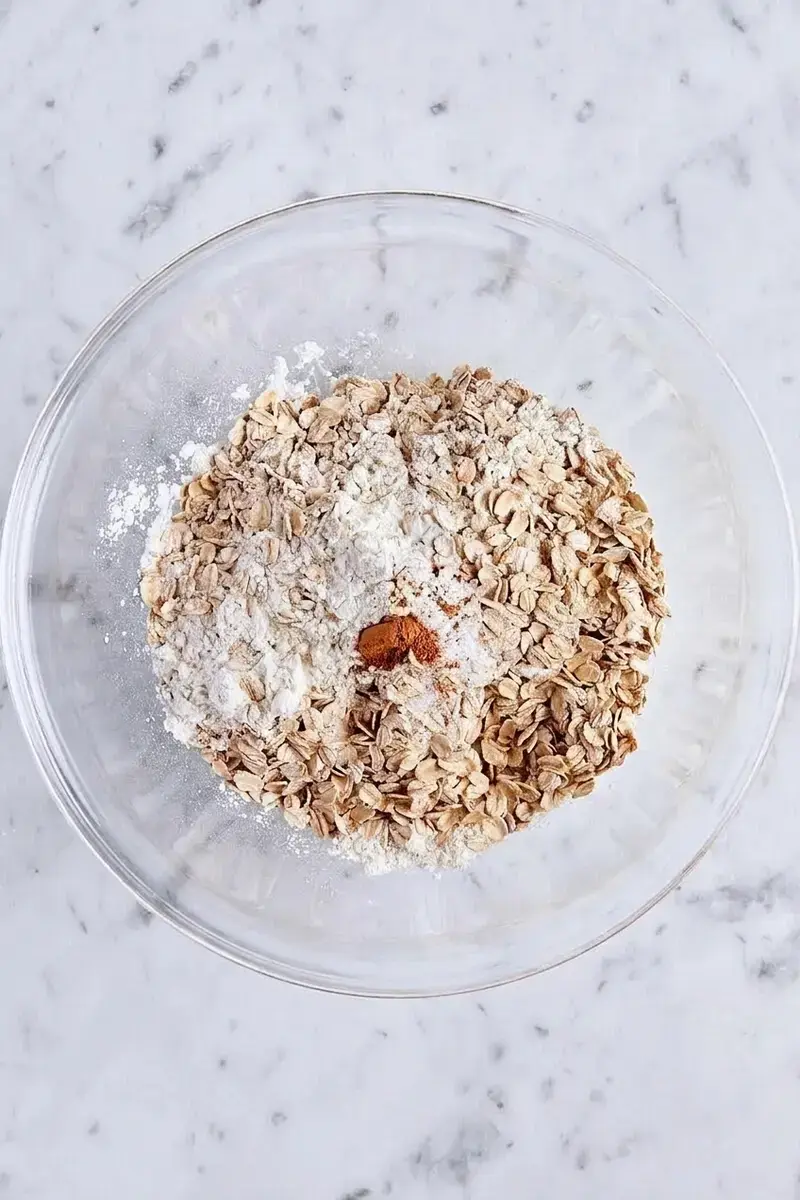
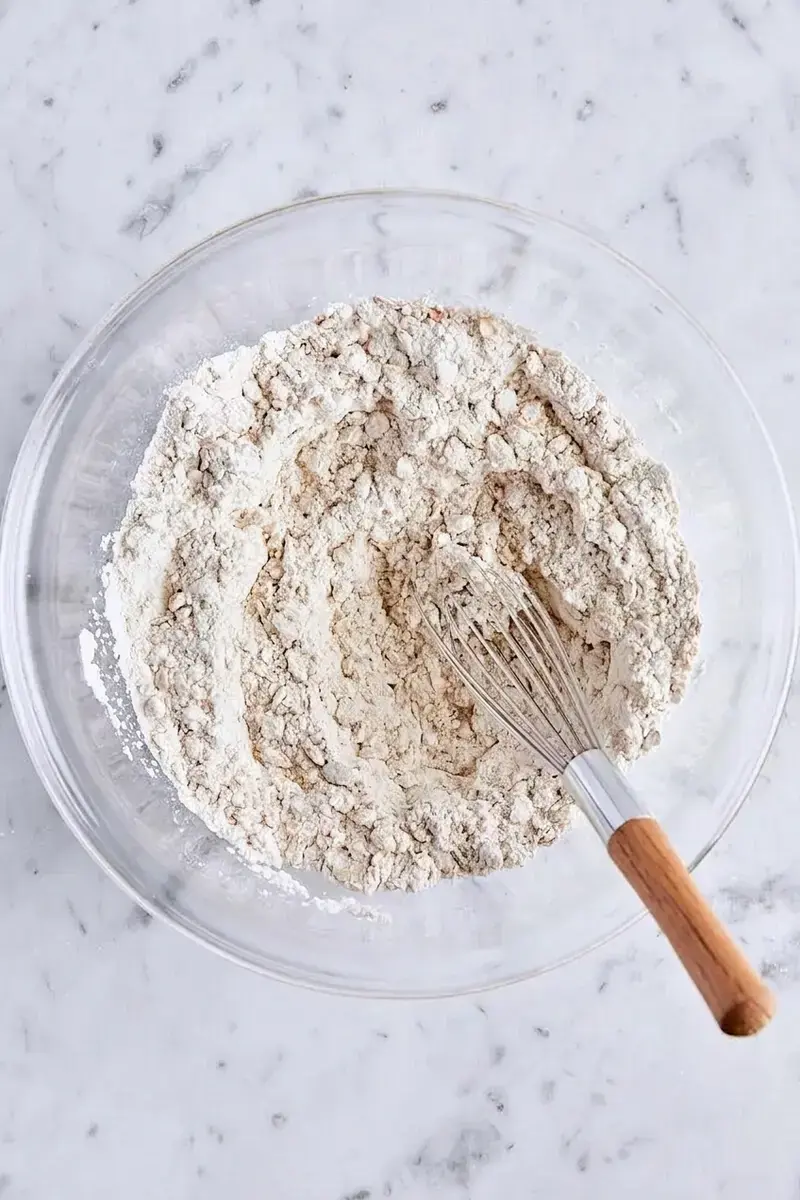
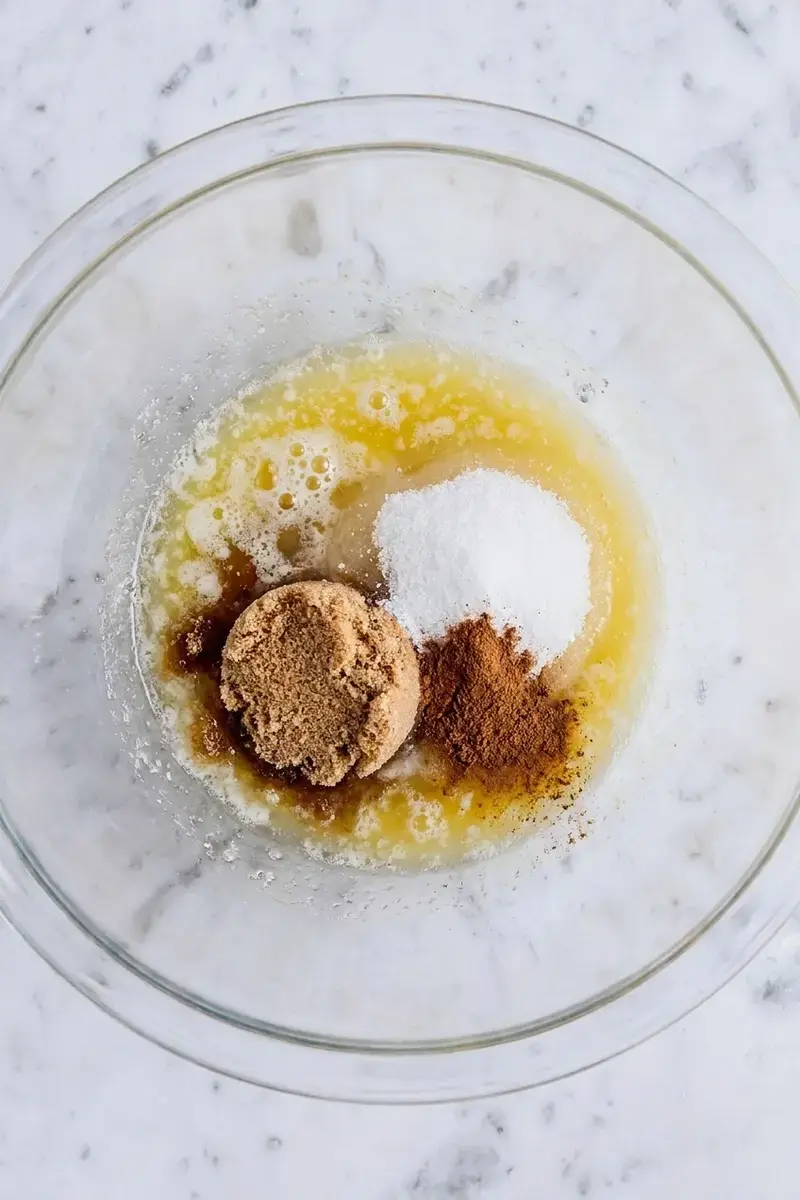
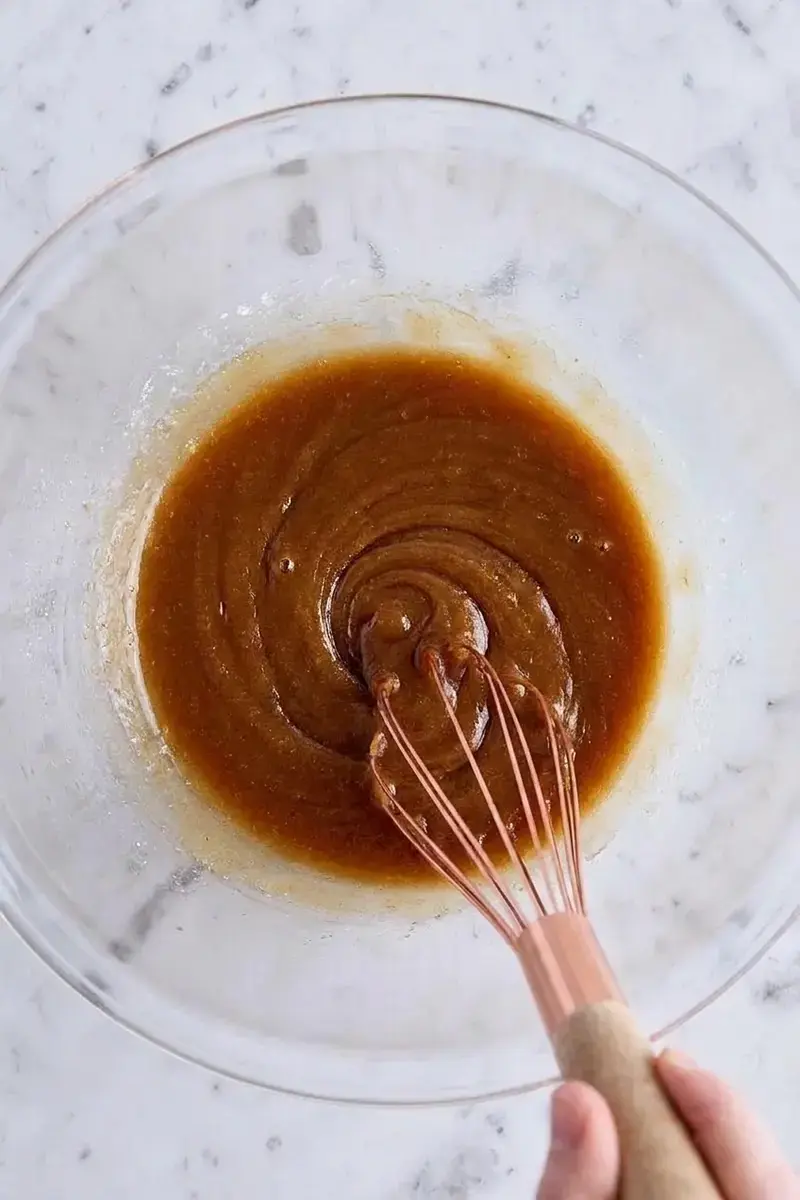
In a medium bowl, whisk together the flour, rolled oats, baking soda, salt, and cinnamon. In a large bowl, whisk together the melted butter, light brown sugar, granulated sugar, and vanilla extract until well combined and smooth.
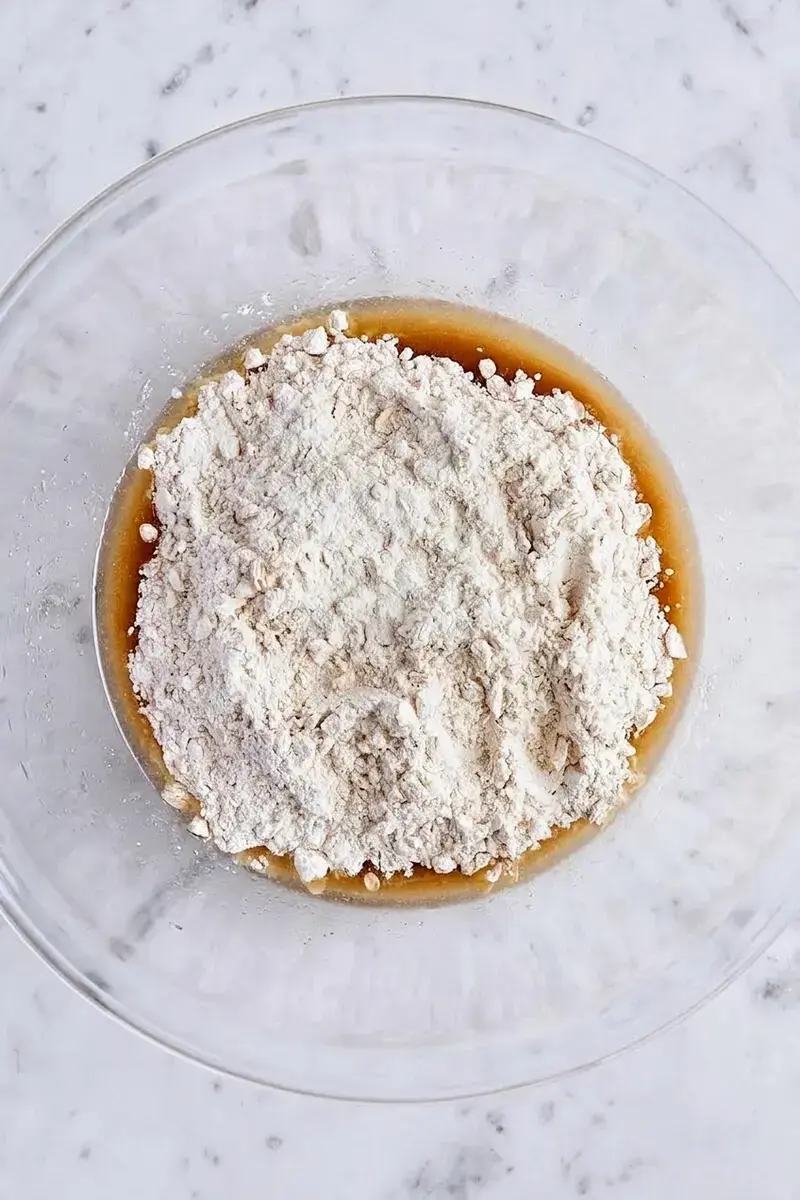
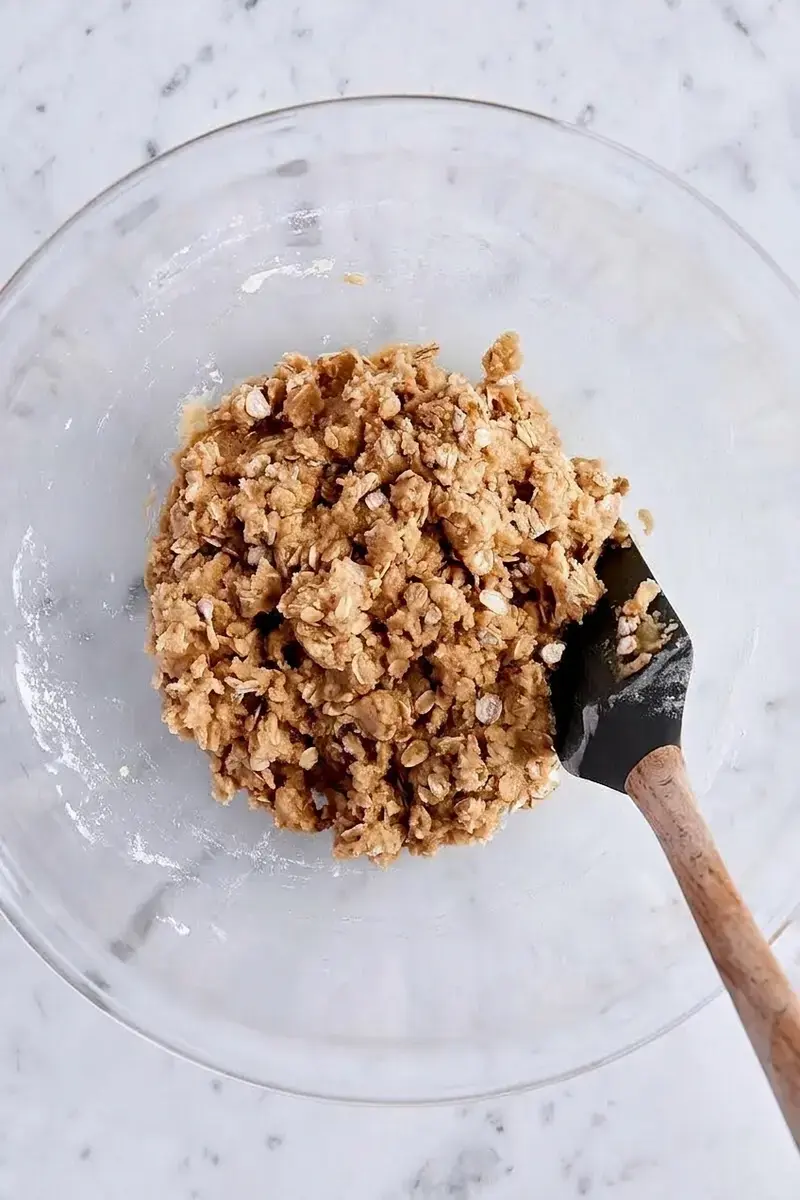
Add the dry ingredients to the wet and fold everything together with a spatula until no streaks of flour remain. The dough will be soft and a little sticky, and that is perfectly fine.
Step 3: Reserve the topping and press the crust
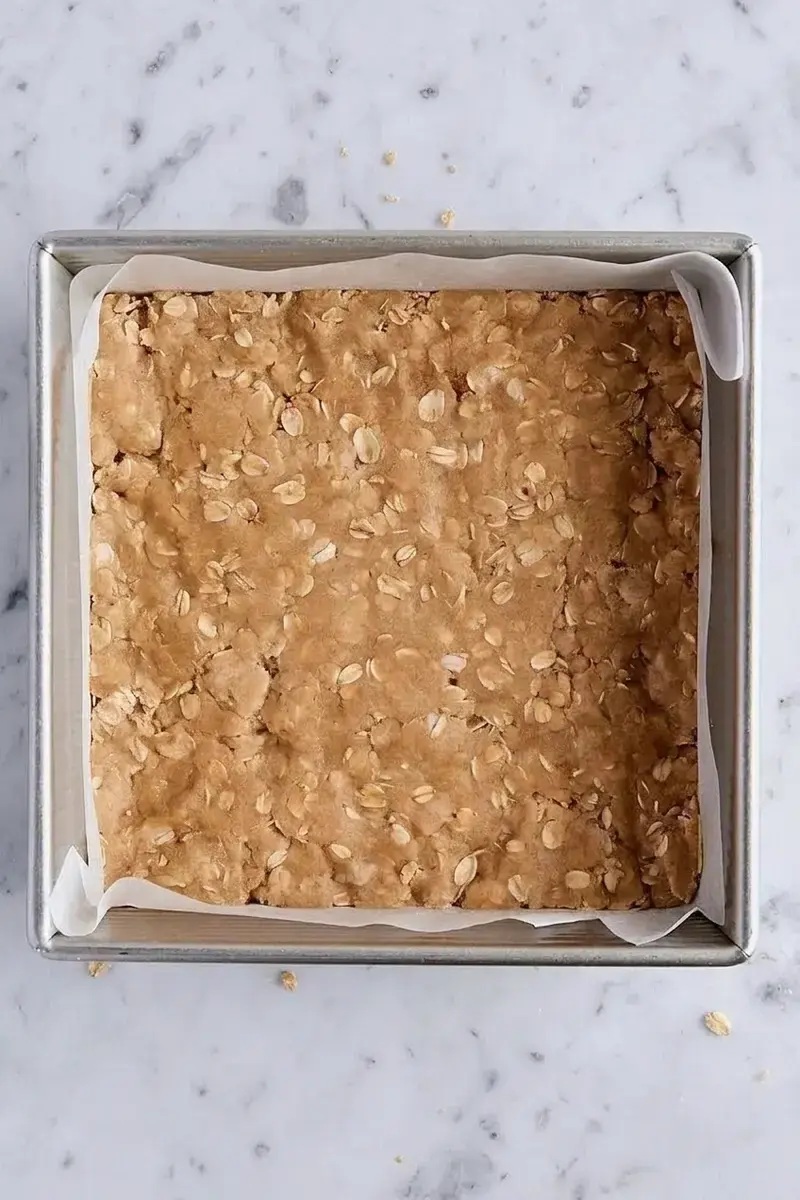
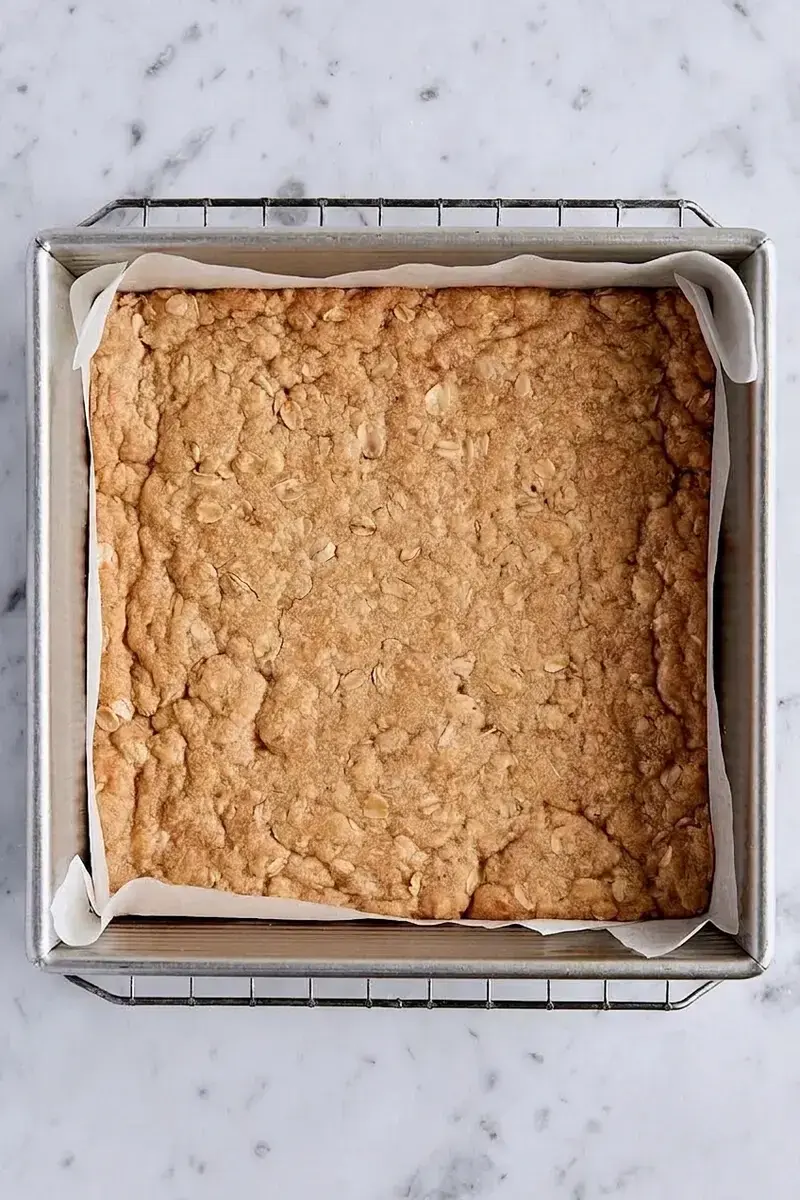
Scoop out 3/4 cup (220 g) of the dough and set it aside in the fridge to chill while you work on the rest. Press the remaining dough evenly into the bottom of your prepared baking pan.
I like to use the back of a measuring cup or my fingertips to press it into an even layer. Take your time here so the crust bakes uniformly.
Step 4: Par bake the crust
Bake the crust for 14 to 16 minutes, until it is lightly golden and set to the touch. This par baking step helps the crust stay sturdy under the wet filling so it does not get soggy. Transfer the pan to a wire rack and let it cool for 15 minutes while you make the filling.
Step 5: Cook the raspberry filling
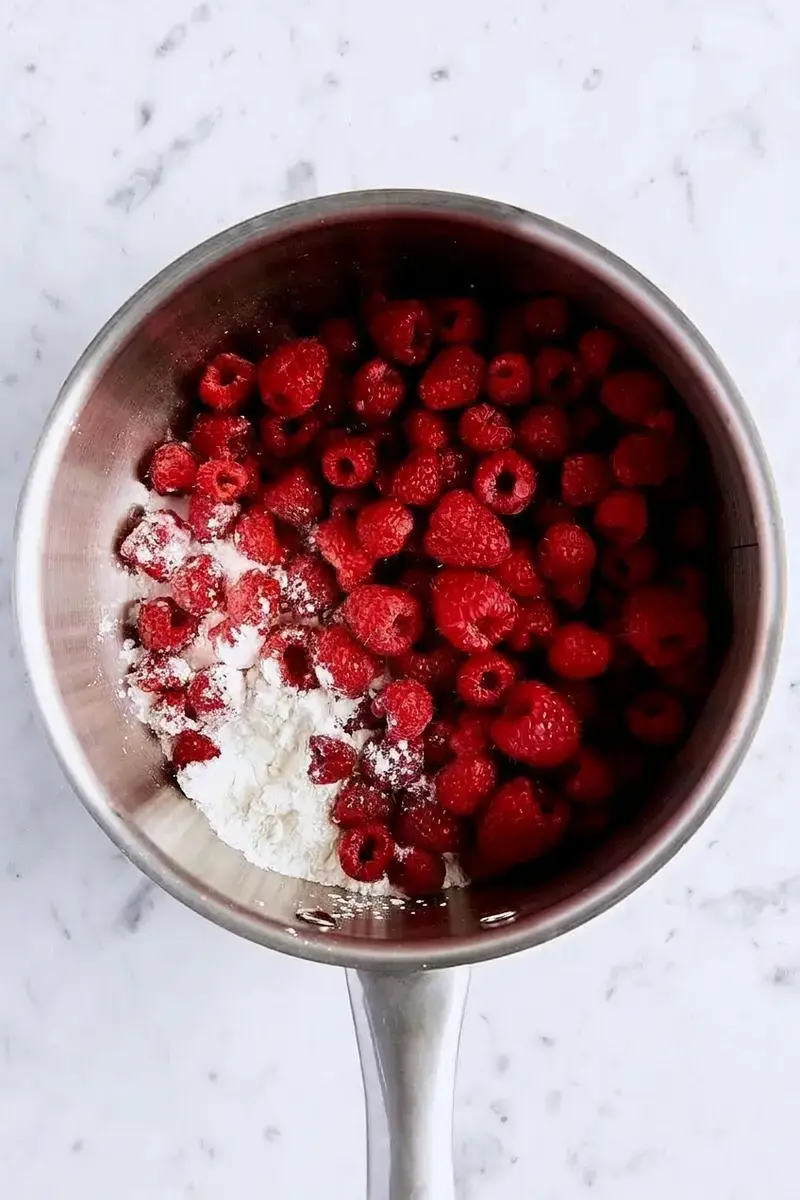
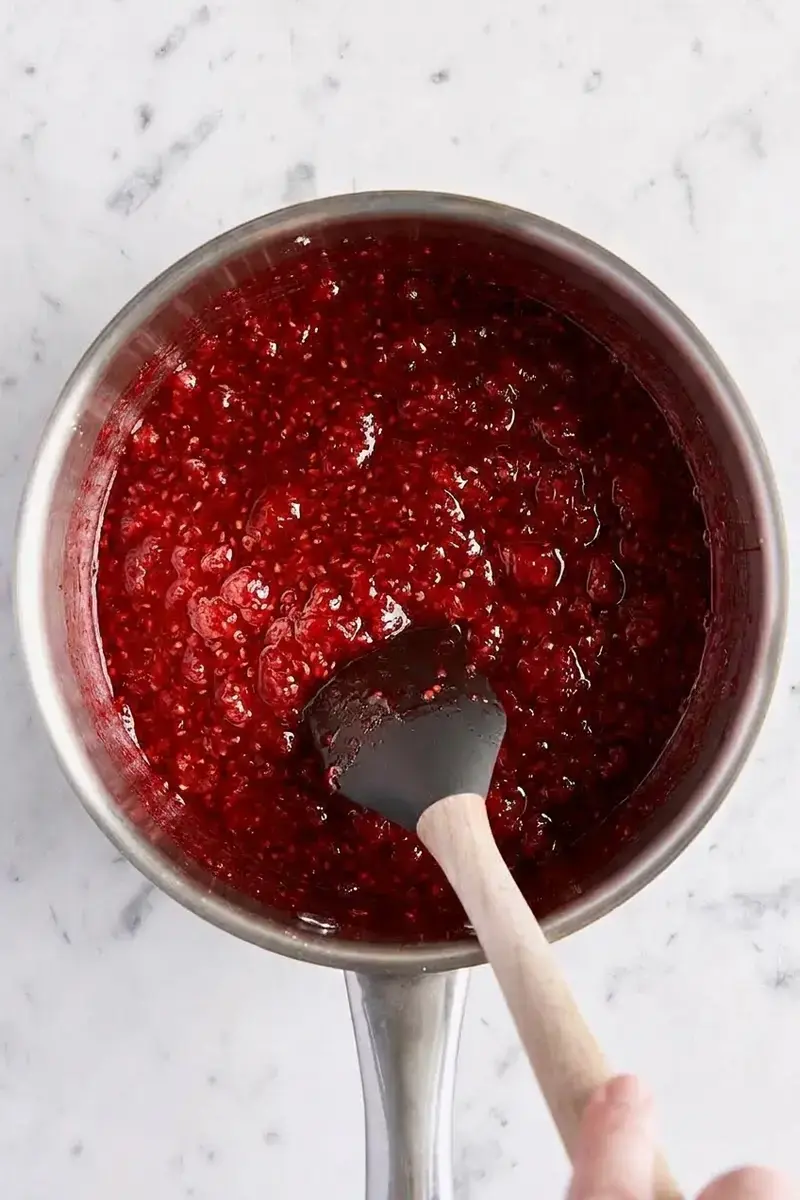
In a heavy saucepan, combine the fresh raspberries, granulated sugar, salt, cornstarch, and fresh lemon juice. Set the pan over medium high heat and bring the mixture to a boil, pressing firmly on the berries with the back of a spoon to release their juices.
This takes about 3 to 4 minutes. Reduce the heat to low and simmer for 1 to 2 minutes, until the filling thickens and coats the back of a spoon. Remove the pan from the heat and let the filling cool for 10 minutes.
You are looking for a texture that is thick but still spreadable, not a stiff paste.
Step 6: Assemble the bars
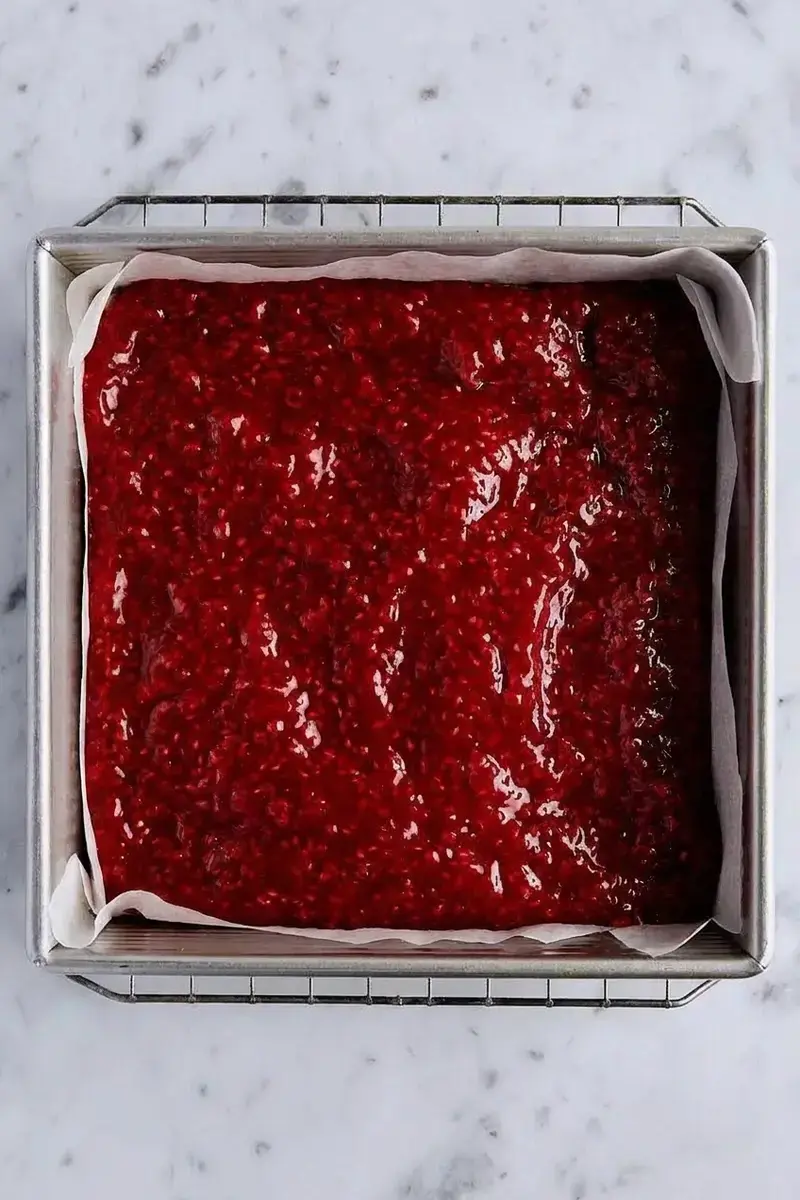
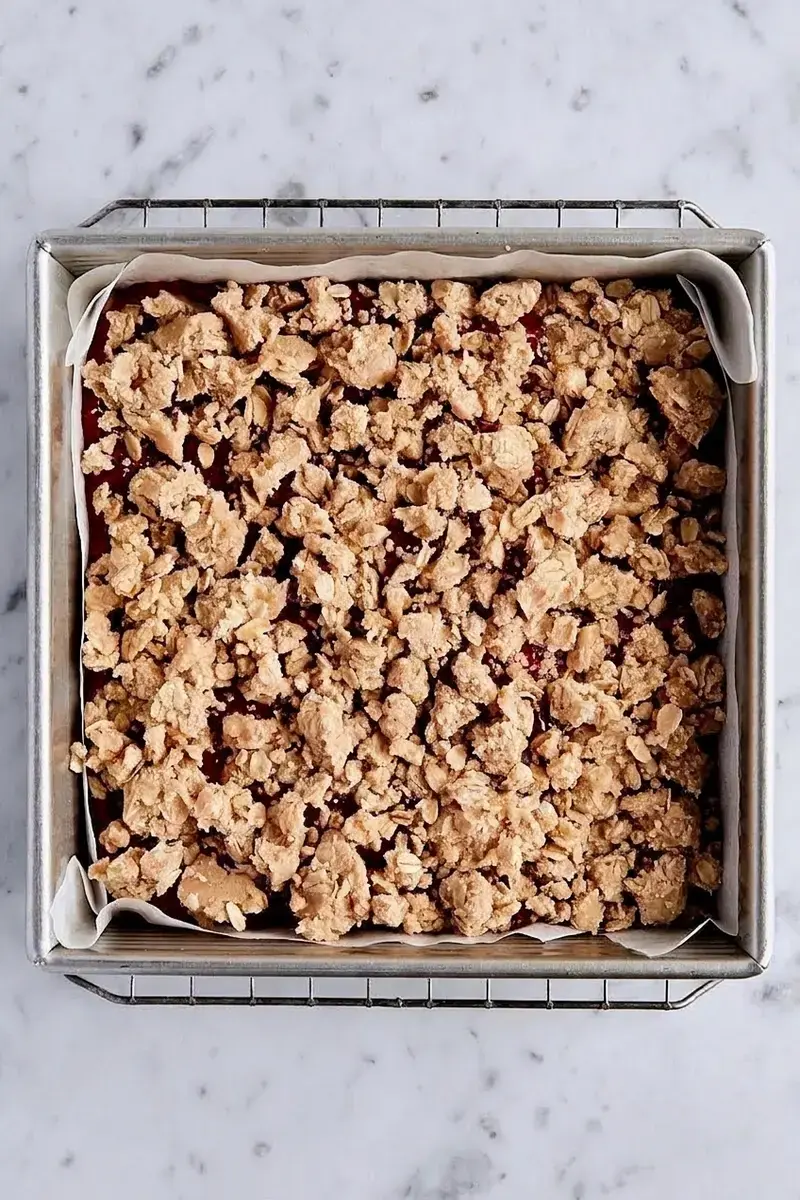
Spoon the cooled raspberry filling over the par baked crust and spread it gently into an even layer with the back of a spoon. Take your reserved crumble dough from the fridge and crumble it over the filling in small pieces.
Some of the dough will break into tiny pebbles and some will stay in larger chunks, and that mixture of textures is exactly what you want. The bigger pieces get crisp in the oven while the smaller ones melt slightly into the filling.
Step 7: Bake until golden
Return the pan to the oven and bake for another 40 to 42 minutes, until the topping is golden brown and the filling is slightly bubbly around the edges. Let the bars cool completely in the pan on a wire rack. Patience is key here because cutting warm bars will give you messy, crumbly pieces.
Just before cutting, pop the pan in the freezer for 15 minutes. This firms up the filling and makes it much easier to get clean, neat squares every time.
Step 8: Cut and store
Once the bars are cool and briefly chilled, use the parchment overhang to lift them out of the pan and onto a cutting board. Cut into 16 squares with a sharp knife, wiping the blade between cuts if needed for the cleanest edges.
Store any leftover bars in an airtight container in the refrigerator for up to 3 days. Bring them to room temperature before serving for the best texture and flavor. The cold fridge firms them up nicely, but letting them sit out for a few minutes softens the butter in the crust and brings out the full raspberry flavor.
Detail
Value
Prep time
30 minutes
Cook time
55 minutes
Total time
1 hour 25 minutes
Yield
16 bars
Oven temperature
350°F
Method
Bake
Cuisine
American
These bars are perfect for Mother’s Day, spring gatherings, or any summer afternoon when you want something sweet without spending hours in the kitchen. The combination of buttery oats, jammy raspberries, and a crisp crumble topping is sweet, simple, and completely satisfying. I hope you love them as much as I do!
FAQs
What are raspberry crumble bars?
Raspberry crumble bars are a classic American dessert bar made with a buttery oat crust, a jammy raspberry filling, and a crumbly topping. They combine the taste of a fruit crumble with the convenience of a bar cookie, perfect for easy serving.
How do you make raspberry crumble bars from scratch?
Make a dough with flour, oats, melted butter, sugars, and vanilla. Press most into an 8-inch pan and bake at 350°F for 14 to 16 minutes. Cook fresh raspberries with sugar, cornstarch, and lemon juice until thickened, spread over the crust, crumble reserved dough on top, and bake 40 to 42 minutes. Cool completely and chill before cutting.
Can I use frozen raspberries in raspberry crumble bars?
Yes, you can use frozen raspberries straight from the freezer without thawing. Add them to the saucepan and cook as directed; they may release extra liquid, so simmer a bit longer until the filling thickens. The cornstarch will still set properly during baking.
How should I store raspberry crumble bars?
Store raspberry crumble bars in an airtight container in the refrigerator for up to 3 days. Before serving, bring them to room temperature for the best texture. For longer storage, freeze the bars for up to 2 months and thaw overnight in the refrigerator.
Raspberry Crumble Bars I’m so happy you’re here! There’s something about fresh raspberries that makes me think of bright summer mornings and the way sunlight filters through the kitchen window.
Total Time:85 min
Yield:16 bars 1x
Ingredients
Scale
Crust & Crumble 1 1/2 cups all-purpose flour 1 cup rolled oats 1/4 tsp baking soda 1/4 tsp salt 1/4 tsp cinnamon 3/4 cup unsalted butter, melted 1/2 cup light brown sugar 1/4 cup granulated sugar 1 tsp vanilla extract
1-Preheat oven to 350°F and line an: Preheat oven to 350°F and line an 8-inch square baking pan with parchment paper. 2-Make crust and crumble: Make crust and crumble: Whisk together flour, oats, baking soda, salt, and cinnamon in a medium bowl. Whisk together melted butter, brown sugar, granulated sugar, and vanilla in a large bowl until combined. Add dry ingredients and fold in until incorporated. 3-Set aside 3/4 cup (220 g) of: Set aside 3/4 cup (220 g) of dough for topping (chill until ready to use). Press remaining dough evenly into bottom of prepared baking pan. 4-Bake crust for 14 to 16 minutes,: Bake crust for 14 to 16 minutes, until lightly golden and set. Transfer to a wire rack and cool for 15 minutes. 5-Make filling: Make filling: Combine raspberries, sugar, salt, cornstarch, and lemon juice in a heavy saucepan over medium-high heat. Bring to a boil, pressing firmly on berries to release juices, about 3 to 4 minutes. Reduce heat to low and simmer for 1 to 2 minutes, until filling is thickened and coats the back of a spoon. Remove pan from the heat and cool filling for 10 minutes. 6-Spoon raspberry filling over cooled crust and: Spoon raspberry filling over cooled crust and crumble reserved dough over filling. 7-Bake bars for another 40 to 42: Bake bars for another 40 to 42 minutes, or until topping is golden and filling slightly bubbly. Cool completely in pan on a wire rack. Just before cutting, chill in the freezer for 15 minutes. Carefully lift parchment and place bars on a cutting board; cut into squares with a sharp knife. 8-Store crumb bars in an airtight container: Store crumb bars in an airtight container in the refrigerator up to 3 days. Bring to room temperature before serving.
Last Step:
Please leave a rating and comment letting us know how you liked this recipe! This helps our business to thrive and continue providing free, high-quality recipes for you.