Apple Pie Cheesecake Bars
Fall baking season has a way of making every decision harder. There is apple pie on one side, cheesecake on the other, and only one oven. Apple Pie Cheesecake Bars end the argument in a single 13×9 inch pan.
The bars stack four things you already love: a crust that bakes up like pie dough, a smooth cheesecake layer, cinnamon apples that taste like the middle of a pie, and a buttery crumb topping over the top of everything.
A drizzle of caramel sauce is optional, and it is also the best small decision you will make this week.
I baked a pan of these on a Sunday afternoon with a very reasonable plan to save half for Monday. That plan lasted about eleven minutes.

My husband had two before they even cooled, my youngest asked for the corner square with the most crumbs, and a neighbor who just happened to stop by left with one wrapped in a napkin.
So here is my honest advice, straight from experience: make these and immediately feed them to people, unless you have some fancy pants willpower of steel.
Why the layers work
Most bar recipes ask you to choose between creamy and cozy. This one refuses to choose. The crust is pressed instead of rolled, so there is no chilling, no flour all over the counter, and no pie dough panic.
The cheesecake layer is tangy enough to keep the whole pan from tasting too sweet. The apples bring a little tartness and a lot of cinnamon, which is the flavor people actually mean when they say a dessert tastes like fall.
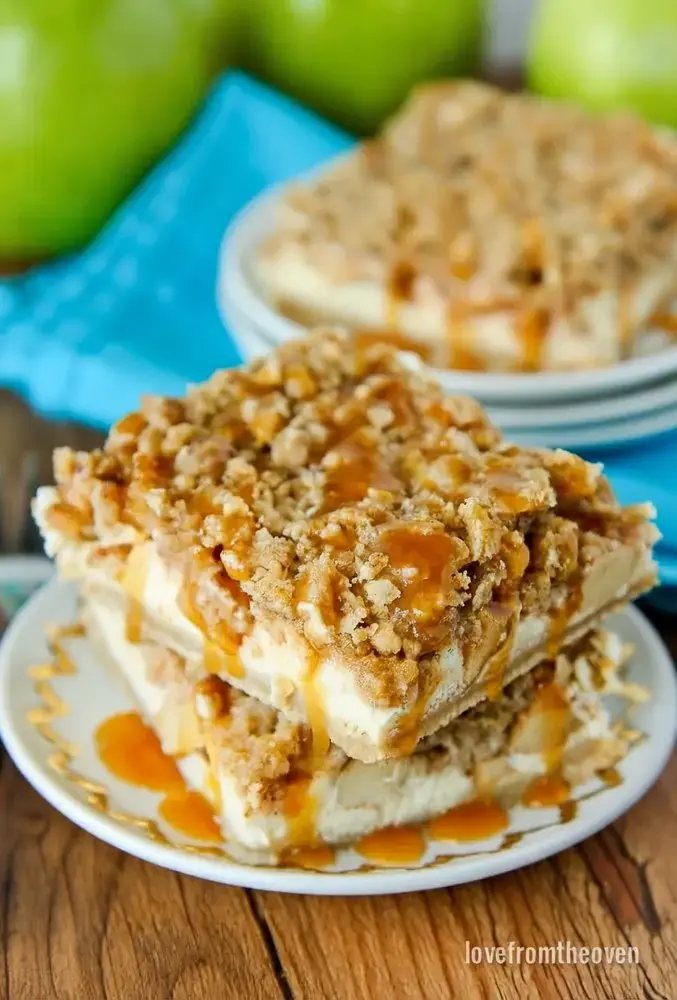
And the crumb topping adds crunch on top of all that softness, which is the reason nobody can stop at one square.
| Layer | What it adds |
|---|---|
| Pie style crust | A buttery, sturdy base that holds up to a creamy filling |
| Cheesecake layer | Tangy, smooth, and light after beating |
| Cinnamon apples | Tart fruit and warm spice, like pie filling |
| Crumb topping | Oats and brown sugar for crunch |
| Caramel drizzle | Optional finishing sweetness |
Caramel sauce is the finishing touch in this recipe, and it is worth keeping a jar in the pantry for exactly this reason. Warm it slightly so it drizzles instead of clumps, then zigzag it over the top right before serving.
If you are feeding a crowd, set the pan on the table with a small pitcher of caramel on the side and let people add their own.
It turns dessert into an activity, and it buys you a few extra minutes before the pan is empty.
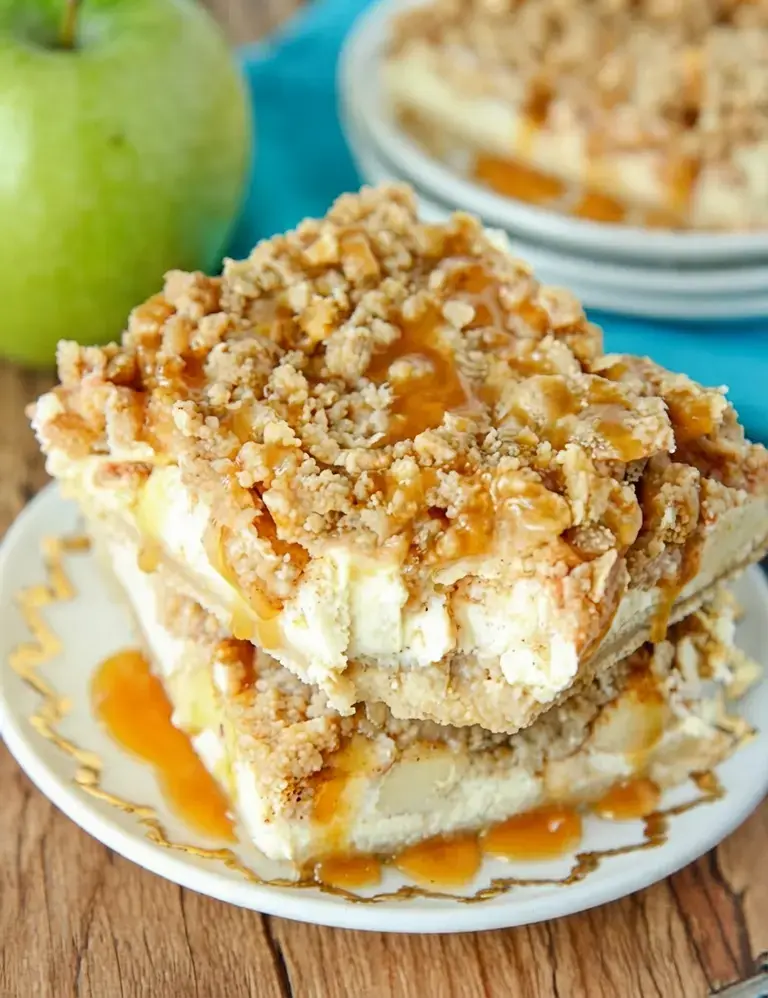
One practical note about timing: this is a relaxed recipe, but it is not a fast one. There is the crust bake, then the assembly, then the second bake, then a full cool down before the pan goes into the refrigerator.
That makes it a great Saturday project. Do the crust while the coffee is still hot, assemble while it bakes, and let the bars chill while you make dinner. By the time everyone finishes eating, dessert is cold, set, and ready to slice.
If you are baking for a holiday table, a potluck, or a bake sale, cut them small. These bars are rich, and small squares look generous on a platter. If you are baking for your own family on a random Tuesday, cut them however you like. Nobody is watching. Well, the dog is watching, but the dog is always watching.
More apple recipes to try
If one bag of apples turned into a baking habit, these are the next stops: Easy Apple Crisp, Apple Pie Foil Packets, Dutch Apple Pie, Caramel Apple Crumble, Apple Cinnamon Cookies, Chicken Apple Salad, Apple Pie Waffles, Apple Pie Six Ways, and Caramel Apple Bark.
Cheesecake recipes worth your time
And when the cheesecake craving does not stop there, try Classic Cheesecake Recipe, Mini Caramel Apple Cheesecakes, Churro Cheesecake, Cheesecake Brownies, Chocolate Chip Cookie Cheesecake Bars, Peanut Butter Cheesecake Bars, Cheesecake Minis, Oreo Cheesecake Bars, Mini Strawberry Cheesecakes, Coconut Cream Cheesecake Bars, and Mini Pumpkin Cheesecakes.
Make the pan, invite somebody over, and serve the bars cold with warm caramel. That combination is the whole point of fall baking.
Have I convinced you yet? Good. Grab the apples, soften the cream cheese, and let the oven do the rest.
Jump to:
- Apple Pie Cheesecake Bars
- Meet Christi, Love From The Oven
- Ingredients
- Instructions
- FAQs
- How do you make apple pie cheesecake bars from scratch?
- What kind of apples are best for apple pie cheesecake bars?
- Can you freeze apple pie cheesecake bars?
- How do you keep cheesecake bars from cracking on top?
- Apple Pie Cheesecake Bars
- Ingredients
- Instructions
- Last Step:
- Did you make this recipe?
Meet Christi, Love From The Oven
Christi Johnstone is the mom, baker, and cookbook author behind Love From The Oven. She calls herself a lover of sprinkles, which tells you plenty about her baking philosophy. Her goal is simple: share easy, delicious recipes that family and friends actually want to eat.
These bars fit that mission perfectly, because they look like a serious project but come together with a food processor and an electric mixer.
Ingredients
You need pantry basics plus cream cheese, eggs, and apples. One important detail before you shop: buy the brick style cream cheese, not the tub.
The brick softens and beats into a smooth, sliceable layer, and the tub style is looser, which changes how the bars set.
On the equipment side, a 13×9 inch pan, parchment paper or foil, nonstick cooking spray, a food processor, and an electric mixer will cover you.
For the crust
- 2 cups all purpose flour
- 1/2 cup packed brown sugar
- 3/4 cup cold butter, cut into cubes
For the cheesecake layer
- 2 (8 ounce) packages cream cheese, softened, brick style and not tub style
- 1/2 cup plus 2 tablespoons sugar, divided, with 1/2 cup going into this layer
- 1 teaspoon vanilla extract
- 2 large eggs
For the apple layer
- 3 medium apples, peeled and chopped into 1/4 to 1/2 inch pieces, and Granny Smith works beautifully here
- 1 teaspoon ground cinnamon
- 1/4 teaspoon ground nutmeg
- The remaining 2 tablespoons of sugar
For the crumb topping
- 3/4 cup flour
- 3/4 cup firmly packed brown sugar
- 1/2 cup quick cook oats
- 1/3 cup cold butter, cut into cubes
Optional
- Caramel sauce for drizzling over the top when serving
Two quick shopping notes. Keep the butter cold for both the crust and the topping, because cold butter is what creates those crumbs in the food processor. Also, the source notes that its nutrition facts are estimates calculated with a third party tool, so treat any nutrition numbers you see for this recipe as rough estimates rather than exact values.
Instructions
Here is the whole process, step by step. Read it once before you start, because one detail surprises people: the cheesecake filling goes onto a hot crust. That is not a typo and it is not a mistake in the recipe. It is simply how these layers settle together.
- Preheat the oven to 350 degrees F. Give it a full warm up while you get the crust ready.
- Make the crust. In your food processor, combine 2 cups all purpose flour, 1/2 cup packed brown sugar, and 3/4 cup cold butter cut into cubes. Pulse until a crumb type mixture forms. Press it into a 13×9 inch pan lined with parchment paper or foil and lightly sprayed with nonstick cooking spray. Bake for 15 minutes, then remove the pan from the oven.
- Make the cheesecake layer. In the bowl of an electric mixer, beat the cream cheese until it looks light and fluffy. Add 1/2 cup of the sugar and the vanilla extract, and beat until smooth. Add the eggs one at a time, mixing until just combined. Spread this mixture over the crust, and remember that the pan is hot from baking.
- Add the apples. In a bowl, stir together the chopped apples, ground cinnamon, ground nutmeg, and the remaining 2 tablespoons of sugar. Sprinkle the apple mixture over the cream cheese layer.
- Make the crumb topping. Back in the food processor, combine 3/4 cup flour, 3/4 cup firmly packed brown sugar, 1/2 cup quick cook oats, and 1/3 cup cold butter cut into cubes. Pulse until the mixture starts to form crumbs, then sprinkle it over the apples.
- Bake the bars. Bake for 25 to 30 minutes, or until the filling is set. Remove the pan from the oven. Once the bars have cooled to room temperature, transfer the pan to the refrigerator and store the bars there. When you are ready to serve, top with a drizzle of caramel sauce if you like.
Small details that make a difference
The eggs go in one at a time and only until they are just combined, so stop as soon as the last streak of yolk disappears into the batter.
The apples get sprinkled on rather than pressed down, which keeps the layers distinct once the bars bake. The topping gets pulsed just until crumbs begin to form, because a fine powder will not give you that little bit of crunch on top.
Cooling and serving
The bars need to cool to room temperature before the pan goes into the refrigerator. That cool down also helps them firm up, so they slice neatly instead of smearing across the pan.
Keep them chilled until you are ready to serve, then cut them into squares. I like a cold bar with a small scoop of vanilla ice cream, and I am not sorry about it.
Warm caramel sauce on top of a cold, creamy bar is the contrast that makes the whole dessert work.
Storing the leftovers, if there are any
These bars live in the refrigerator, covered, because of the cream cheese and eggs. Cold storage also keeps the crumb topping from going soft.
If you somehow end up with a few squares left, they are excellent the next day with coffee, and even better when you sneak one while standing in front of the open refrigerator door. Trust me on that last part.
FAQs
How do you make apple pie cheesecake bars from scratch?
What kind of apples are best for apple pie cheesecake bars?
Can you freeze apple pie cheesecake bars?
How do you keep cheesecake bars from cracking on top?
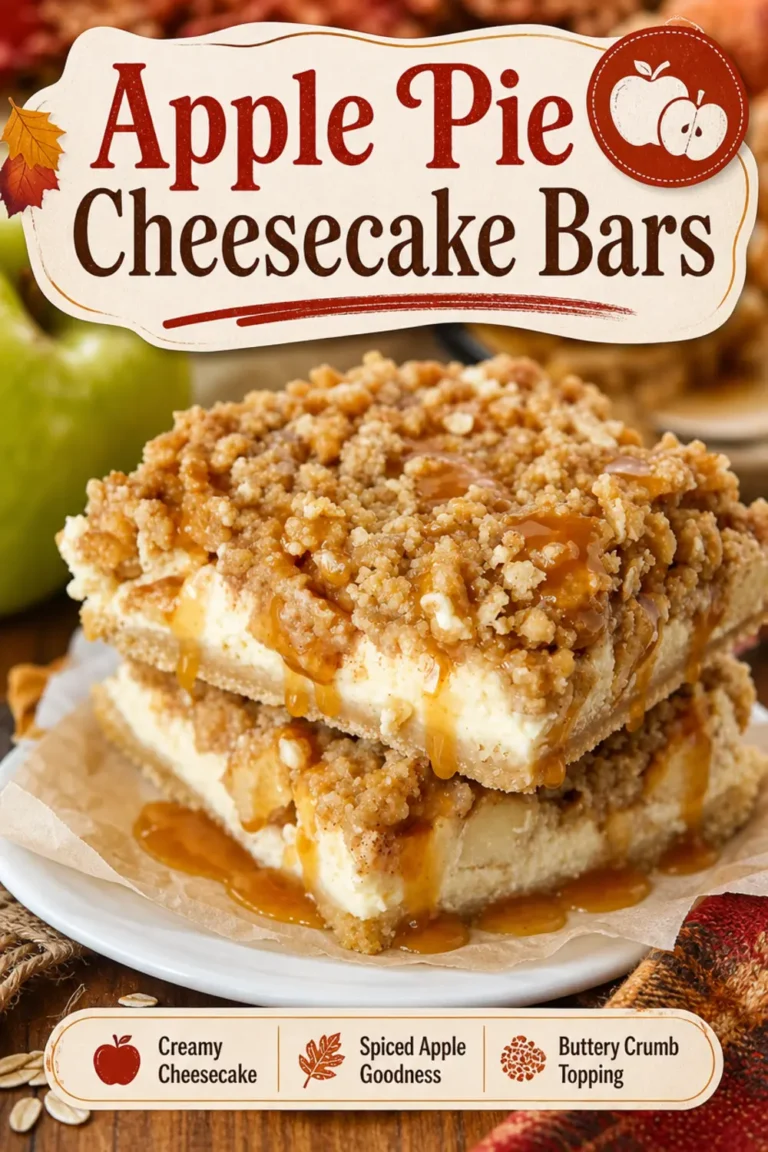
Apple Pie Cheesecake Bars
Apple Pie Cheesecake Bars Fall baking season has a way of making every decision harder. There is apple pie on one side, cheesecake on the other, and only one oven.
- Total Time: 0 min
Ingredients
Main Ingredients
2 cups all-purpose flour
1/2 cup packed brown sugar
3/4 cup cold butter, cut into cubes
2 8 oz packages cream cheese, softened (the brick, not the tub style)
1/2 cup plus sugar, divided
2 tablespoons sugar
1 teaspoon vanilla extract
2 large eggs
3 medium apples, granny smith is great, peeled and chopped into 1/4 to 1/2” pieces
1 teaspoon ground cinnamon
1/4 teaspoon ground nutmeg
Crumb Topping
3/4 cup flour
3/4 cup firmly packed packed brown sugar
1/2 cup quick cook oats
1/3 cup cold butter, cut into cubes
Optional
Caramel sauce, for drizzling over the top when serving
Instructions
1-Preheat oven to 350 degrees F: Preheat oven to 350 degrees F.
2-In your food processor combine and pulse: In your food processor combine and pulse flour, brown sugar and cut up cold butter until a crumb type mixture forms. Press into a 13×9 inch pan that has been lined with either parchment paper or foil and sprayed lightly with non-stick cooking spray. Bake for 15 minutes and remove from oven.
3-In the bowl of an electric mixer: In the bowl of an electric mixer beat cream cheese until light and fluffy. Add in 1/2 cup sugar and vanilla and beat until smooth. Add eggs, one at a time, and mix until just combined. Spread mixture over crust ( careful, remember your crust pan is hot from baking!).
4-In a bowl combine chopped apples, cinnamon,: In a bowl combine chopped apples, cinnamon, nutmeg and remaining 2 TBSP of sugar. Stir to combine. Sprinkle apple mixture over cream cheese mixture.
5-Once again in your food processor, combine: Once again in your food processor, combine flour, brown sugar, oats and remaining cold cubed butter, pulsing food processor until mixture starts to form crumbs. Sprinkle this topping over the apples.
6-Bake for 25-30 minutes or until filling: Bake for 25-30 minutes or until filling is set. Remove from oven. Once cooled to room temperature, transfer to refrigerator. Store in refrigerator. When serving top with a drizzle of caramel sauce if desired.
Last Step:
Please leave a rating and comment letting us know how you liked this recipe! This helps our business to thrive and continue providing free, high-quality recipes for you.- Prep Time: 0 min
- Cook Time: 0 min
- Method: bake