What Is Bounty Chocolate Recipe Bounty Bar?
I still remember the first time I tasted a real bounty bar at a school friend’s birthday party. The sweet coconut filling wrapped in creamy milk chocolate was unlike anything I had tried before.
Later, when I got serious about cooking, I wanted to capture that exact experience right in my own kitchen. The homemade bounty chocolate bar is essentially a coconut candy coated in smooth milk chocolate.
It recreates the famous store bought treat that originated with the Mars company but is now easy to make at home with a handful of ingredients.
The magic lies in the moist, tender coconut center and the glossy chocolate shell that sets with a satisfying snap.

Growing up in a household where coconut was a pantry staple, I always appreciated how this humble ingredient could transform a simple sweet. Coconut is deeply rooted in South Indian cuisine, from chutneys to payasams, so a bar built around desiccated coconut felt almost familiar.
This recipe uses milk, sugar, cream, and plenty of desiccated coconut cooked until the mixture holds its shape, then it gets dipped in melted chocolate.
If you want to experiment, you can swap the milk and sugar base with condensed milk for a no cook version, just stir the ingredients together and shape.
A drop of mango pulp or cherry pulp added to the coconut mixture gives a playful fruity twist that reminds me of summer fruit stands I use to visit.
But the classic combination of sweet coconut and real milk chocolate is what brings back those childhood memories most.
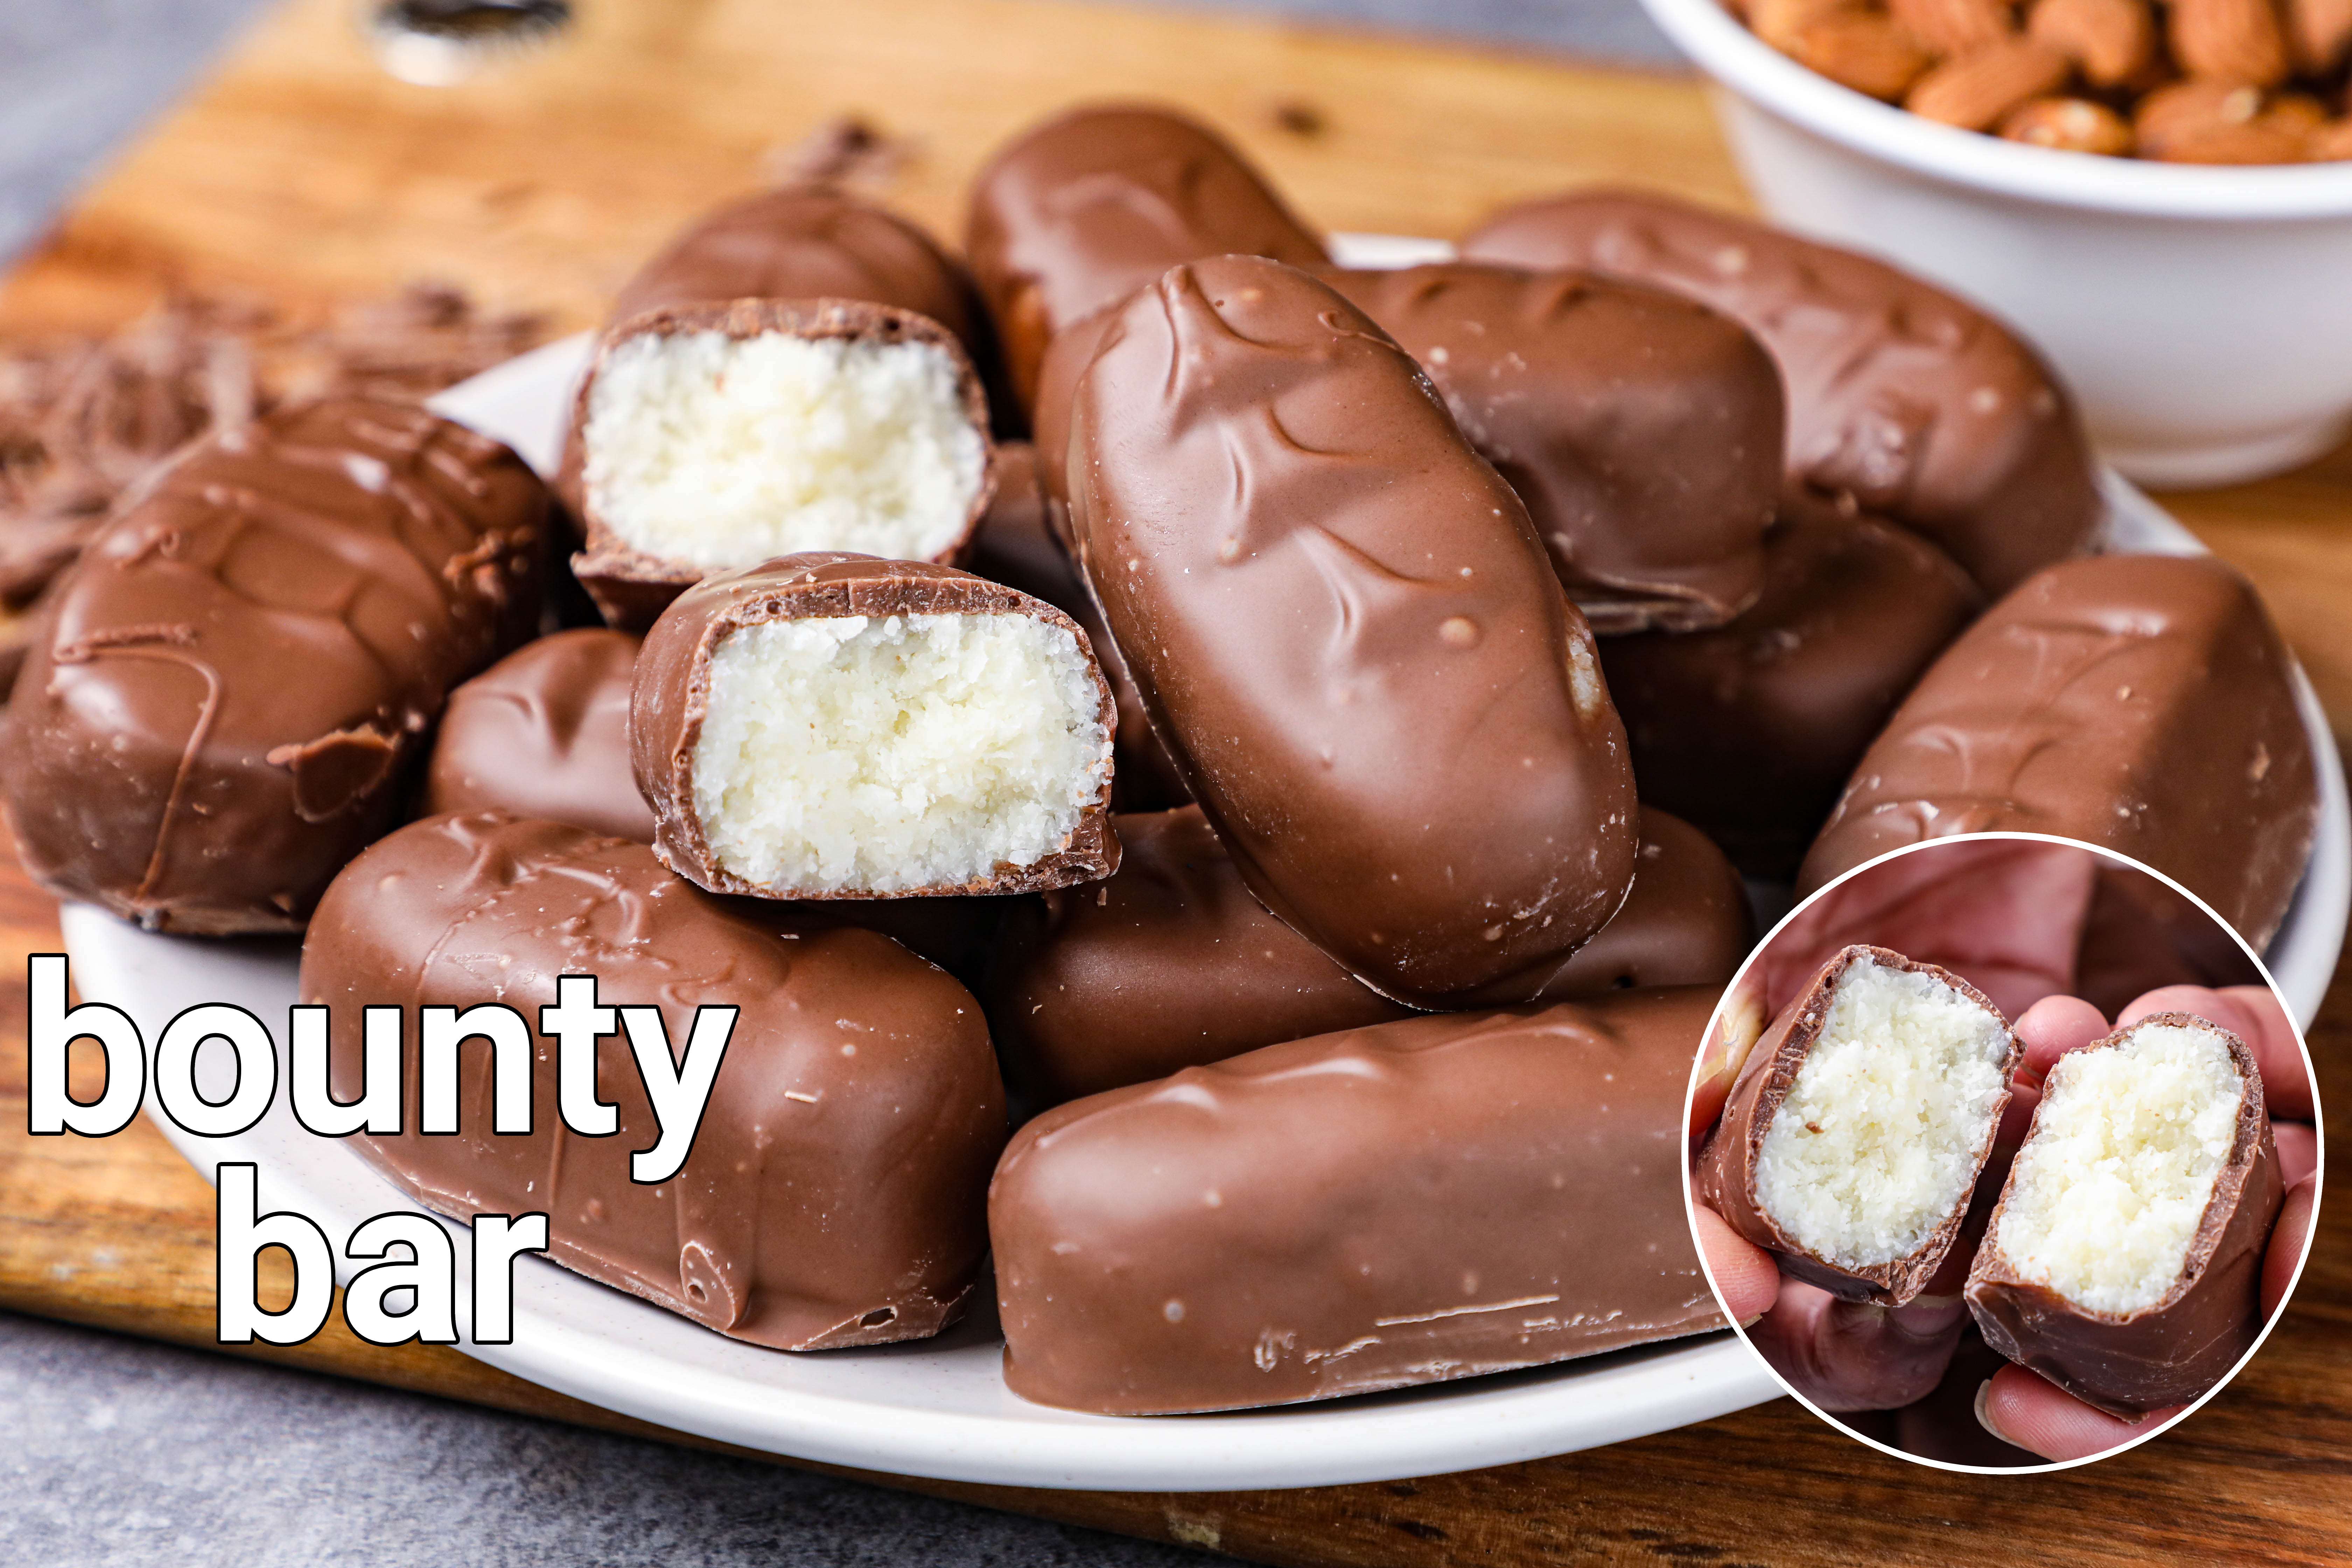
The recipe works best with a cooking chocolate bar rather than snacking chocolate because cooking chocolate melts smoothly and sets firmly.
The homemade bars look impressive with three shallow lines scored onto the surface, a small detail that tricks everyone into thinking you bought them from a shop.
Once you get comfortable with the technique, you will find yourself making these bars for school lunchboxes, potluck gatherings, and rainy afternoon snacks alike. You can also prepare a batch and freeze them for a quick treat during busy weeks.
This original bounty bar inspiration shows how a few simple steps produce something truly rewarding.
Jump to:
- What Is Bounty Chocolate Recipe Bounty Bar?
- How to Make Bounty Bar with Step by Step Photos
- Notes
- FAQs
- Can I use fresh coconut instead of desiccated coconut for this bounty bars recipe?
- What kind of chocolate should I use for coating the coconut bars?
- How do I prevent the coconut mixture from sticking to my hands while shaping the bars?
- How should I store homemade bounty bars, and how long do they last?
- bounty chocolate recipe | bounty bar recipe | chocolate coconut bars
- Ingredients
- Instructions
- Last Step:
- Nutrition
- Did you make this recipe?
How to Make Bounty Bar with Step by Step Photos
Before you start, gather everything you need because the cooking moves quickly once the pan warms up. The ingredients are straightforward and likely already in your pantry except perhaps the desiccated coconut. Here is exactly what you will need:
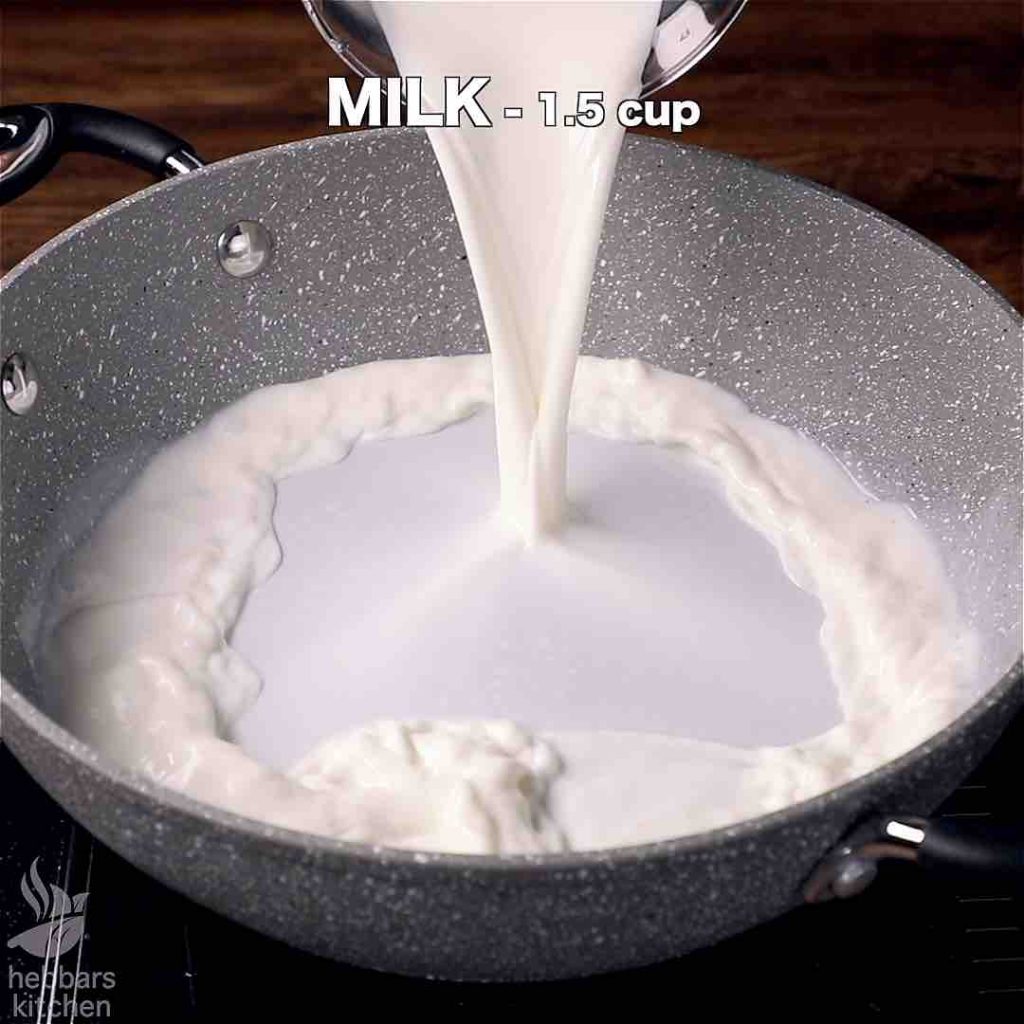
- 1½ cups milk
- ¾ cup sugar
- 2 cups desiccated coconut
- ¼ cup cream
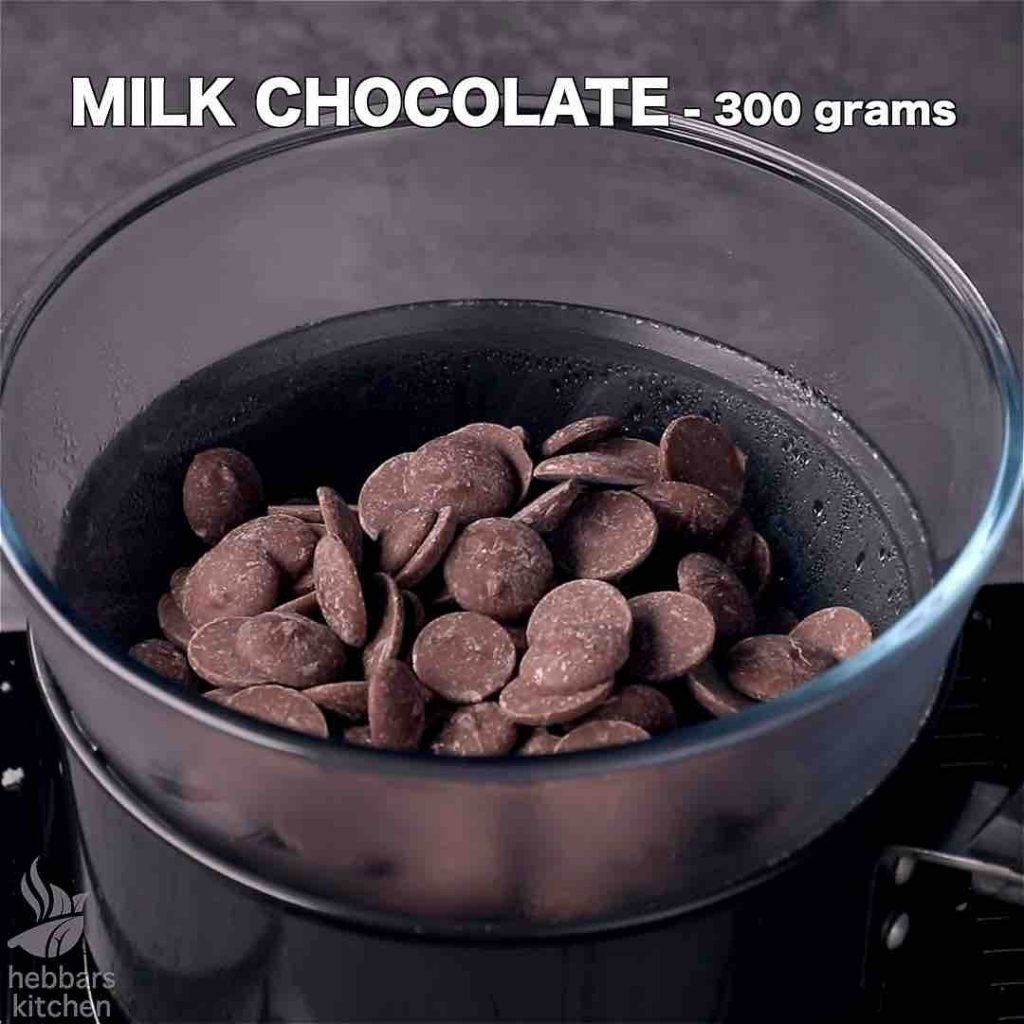
- 300 grams milk chocolate (use cooking chocolate, not eating chocolate)
Now, let me walk you through the process the same way I do it at home. A heavy bottomed kadai works beautifully for this, but any wide pan will do.
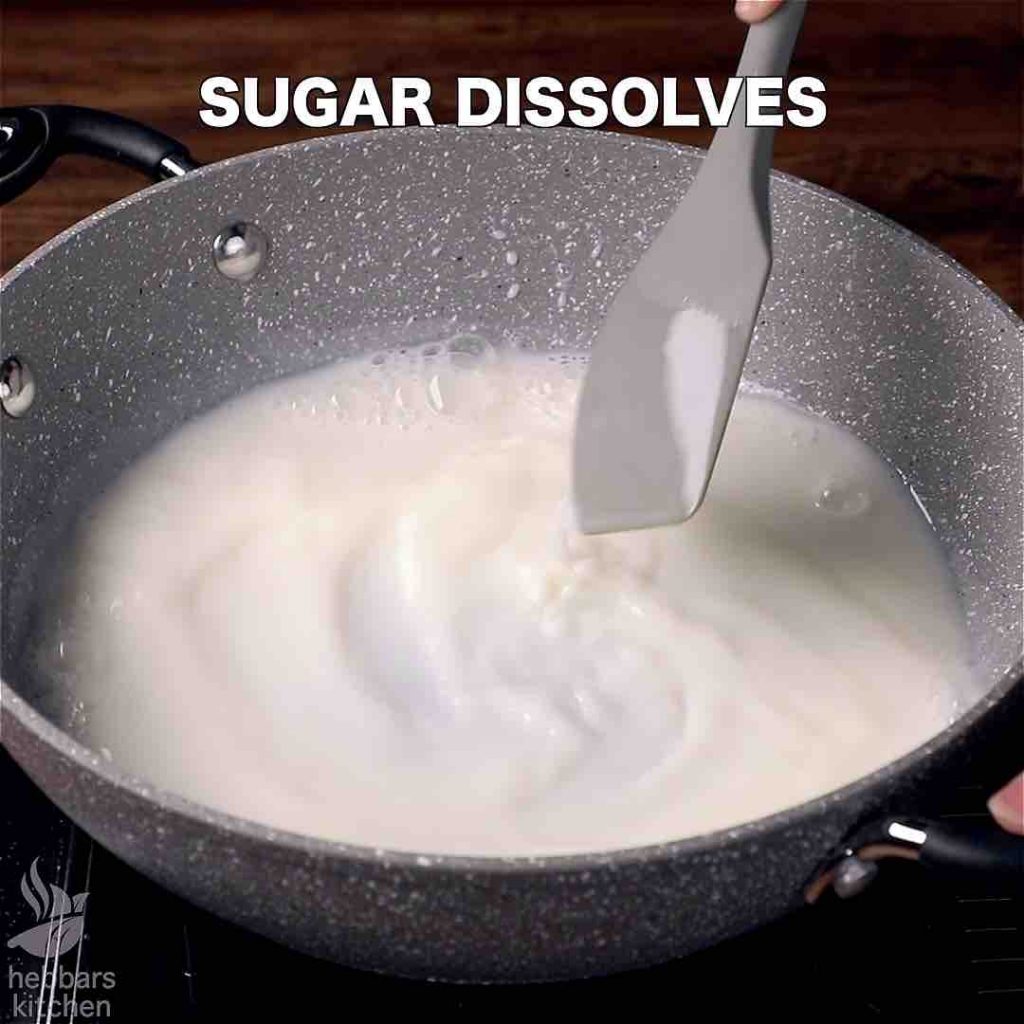
- Pour the milk and sugar into a large kadai placed over a medium flame. Stir well until the sugar dissolves completely. You will notice the milk turn slightly glossy.
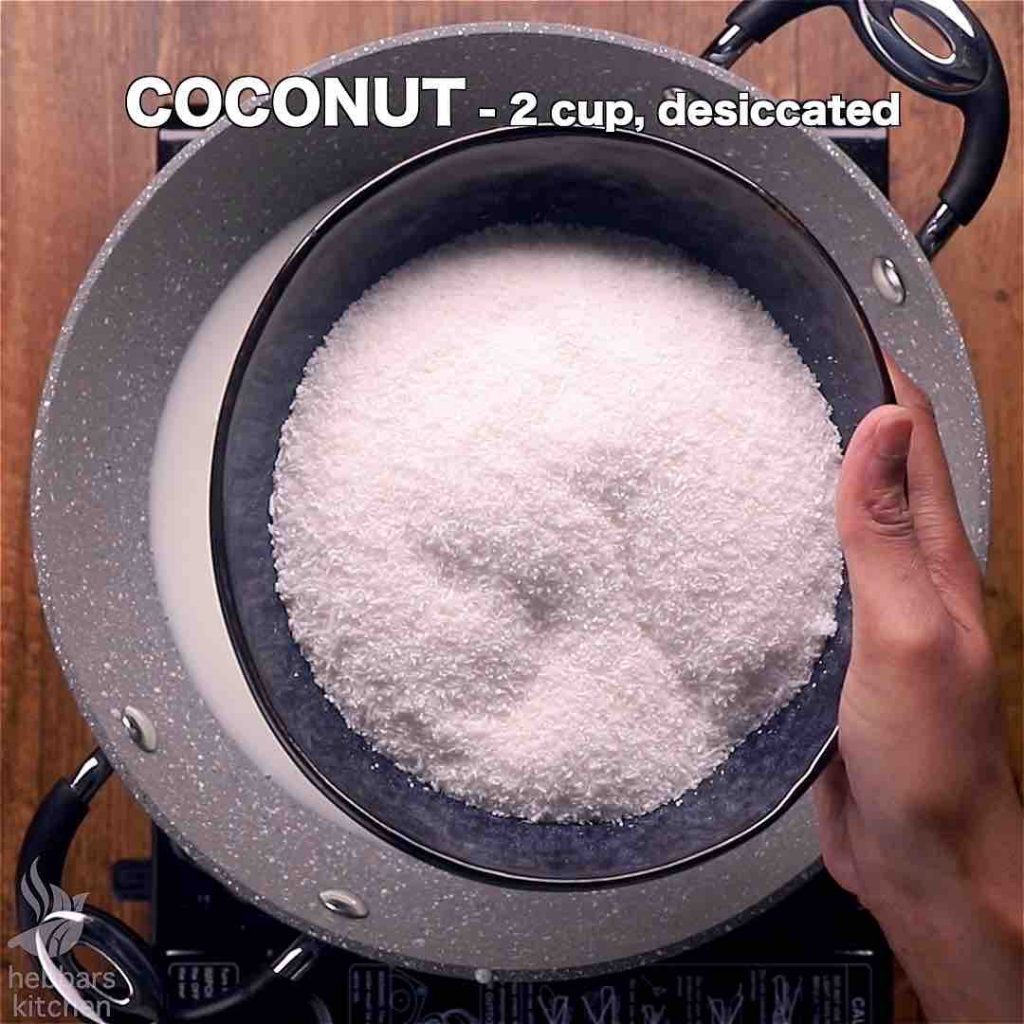
- Tip in the desiccated coconut and stir to combine. The kitchen will fill with a warm, nutty aroma that always makes me nostalgic.
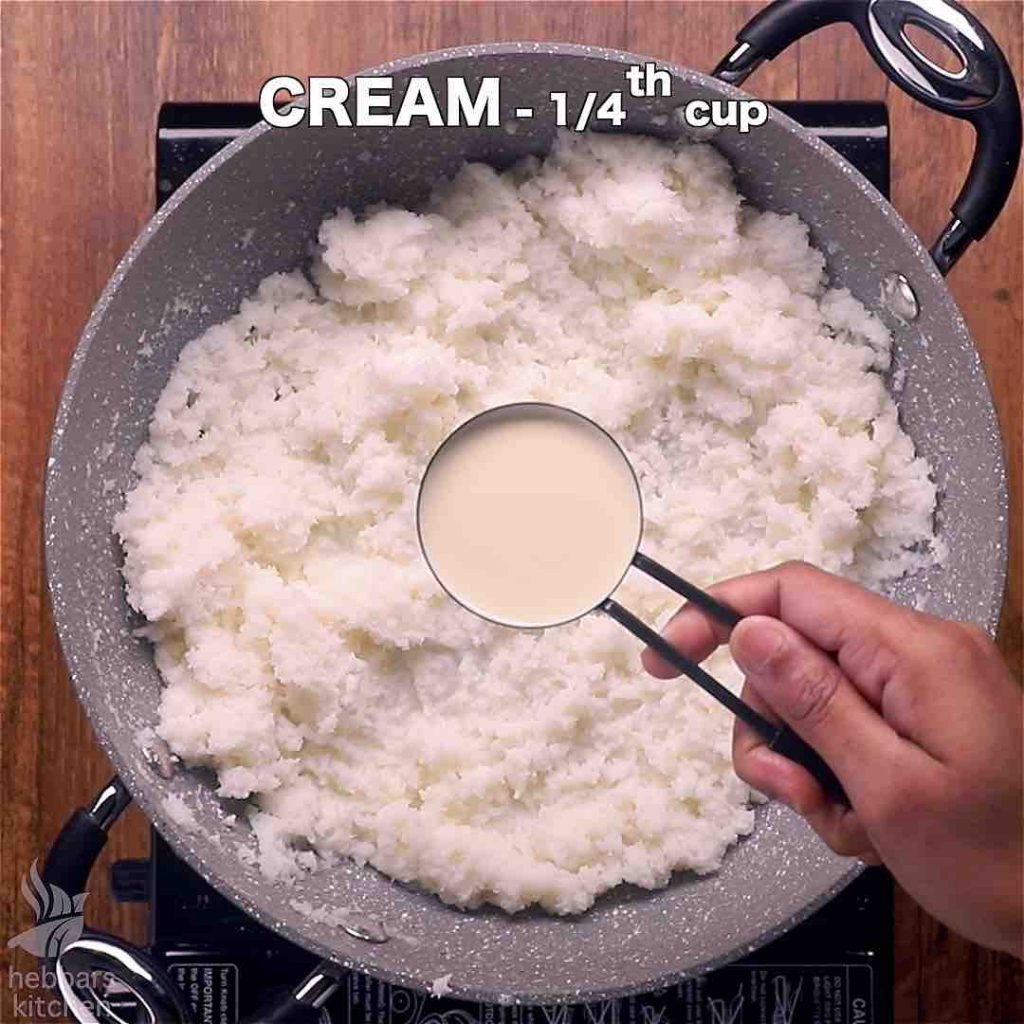
- Add the cream and mix again. The cream is the secret to a lush, soft center, so do not skip it. Continue cooking on medium flame and keep stirring so nothing catches on the bottom.
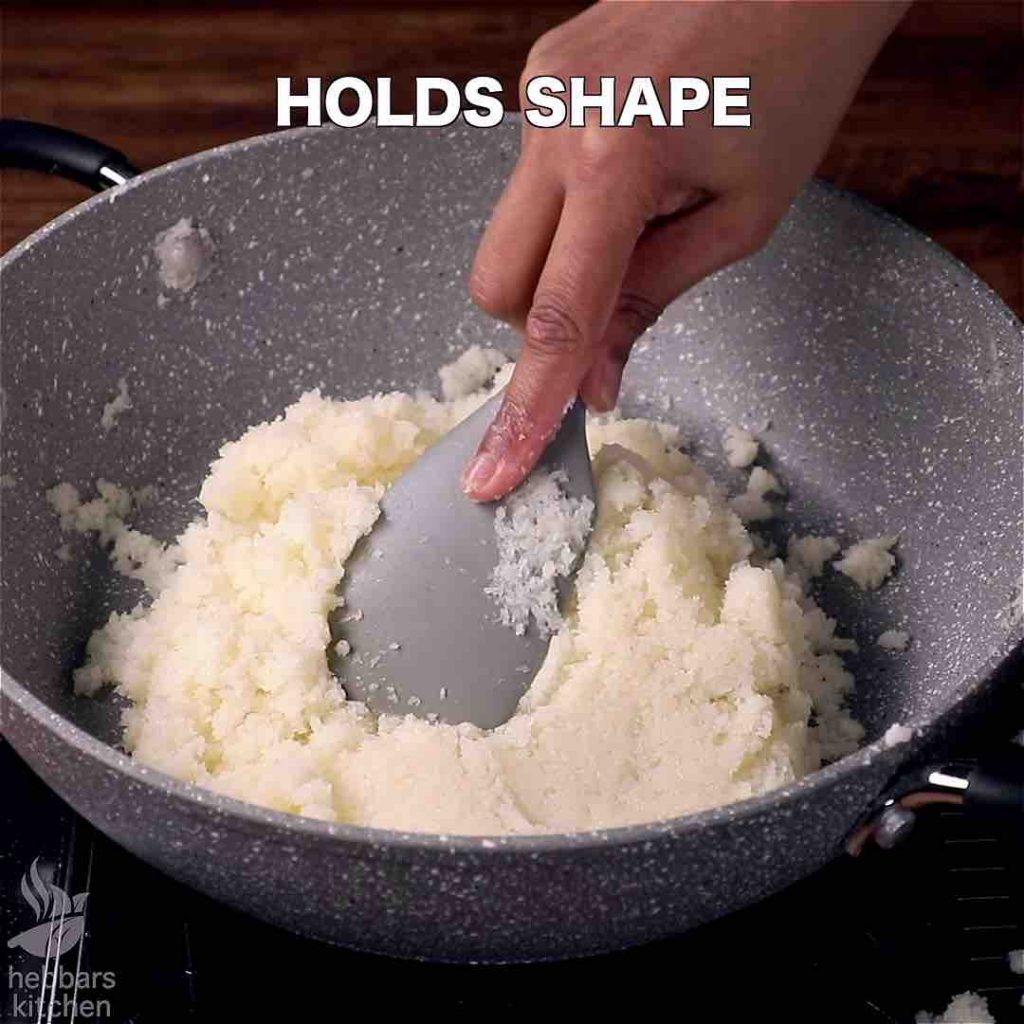
- After a few minutes the mixture will begin to tighten. You are looking for a stage where it holds its shape when you press a spoonful together. It should not be sticky when you try to form a ball. This typically takes about 8 to 10 minutes of cooking once the bubbles start.
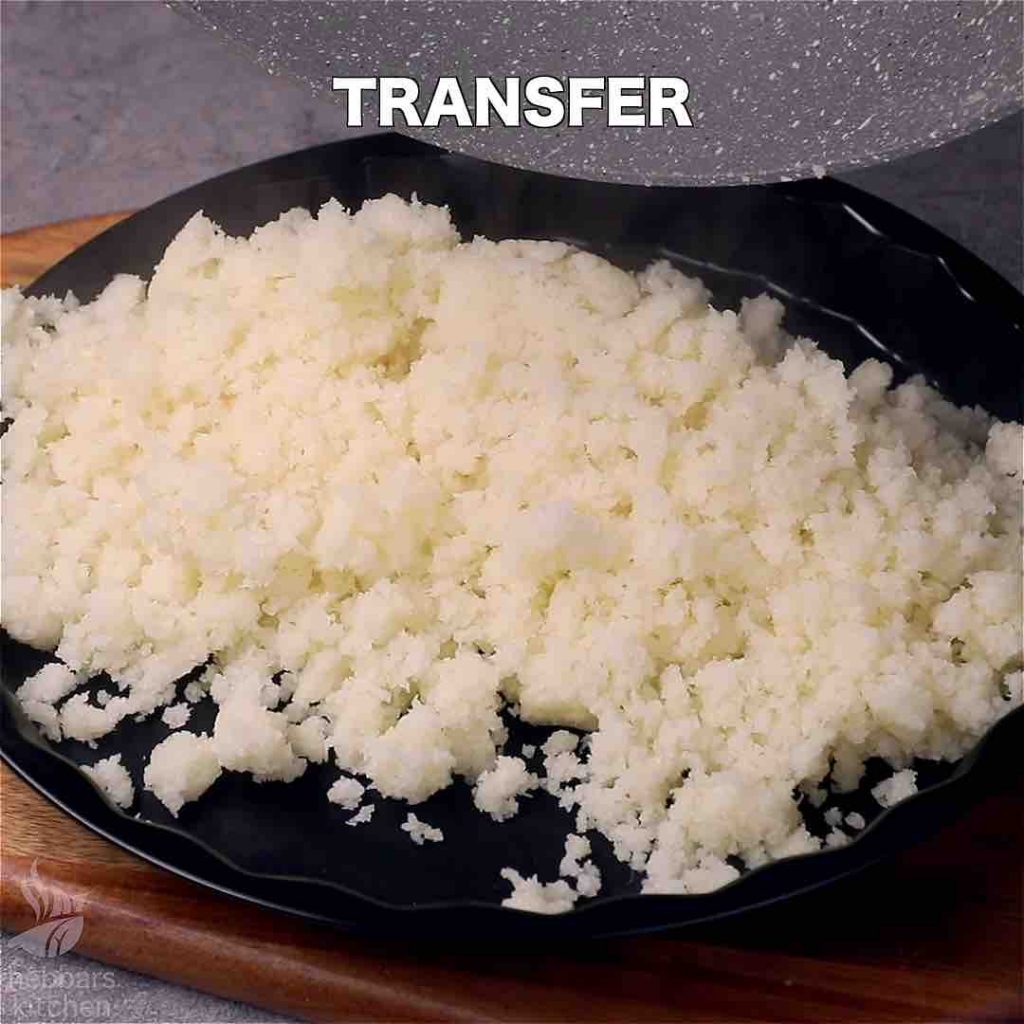
- Tip the hot mixture onto a plate and spread it slightly so it cools faster. Let it rest until you can handle it comfortably. I sometimes stand the plate near an open window while I wash the kadai.
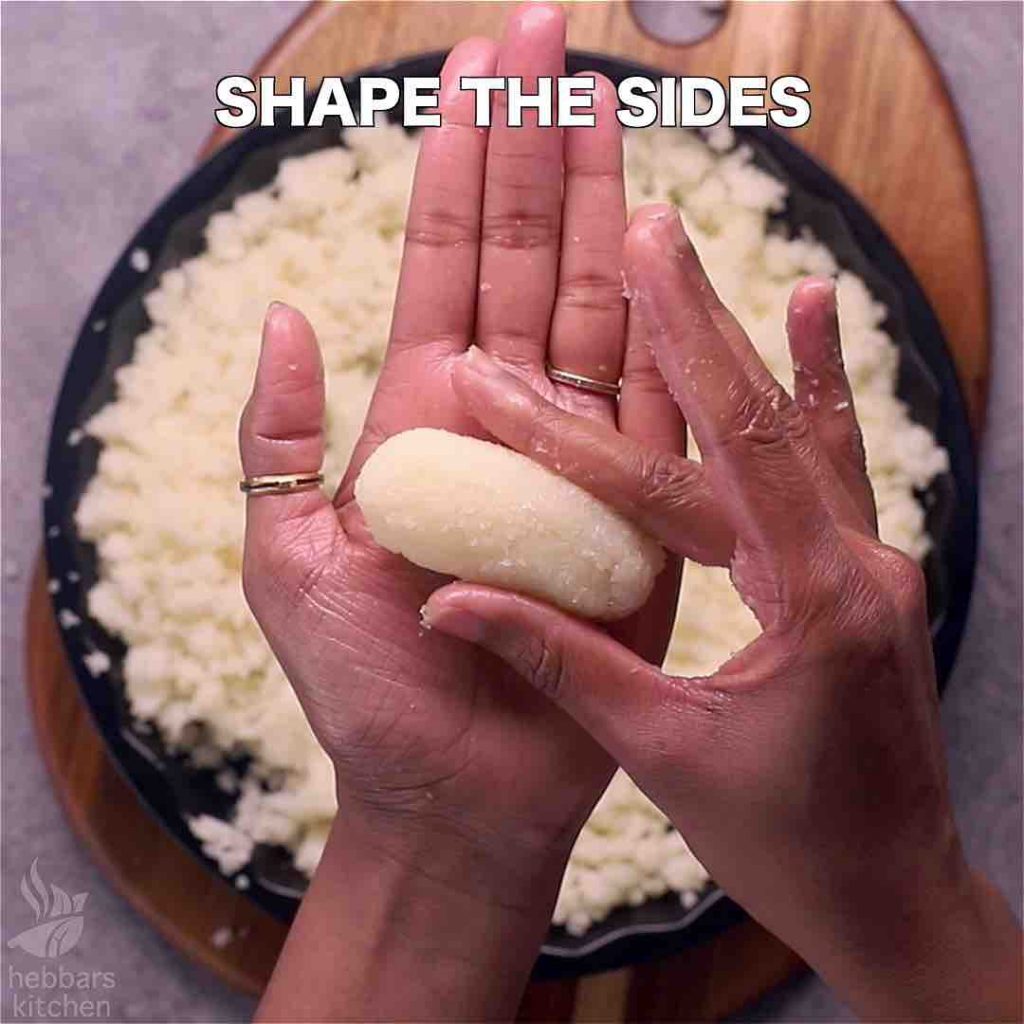
- Pinch off a ball sized portion and shape it into a neat rectangular bar on a sheet of butter paper. Repeat with the remaining mixture. You should get about 8 to 10 bars depending on how generously you shape them.
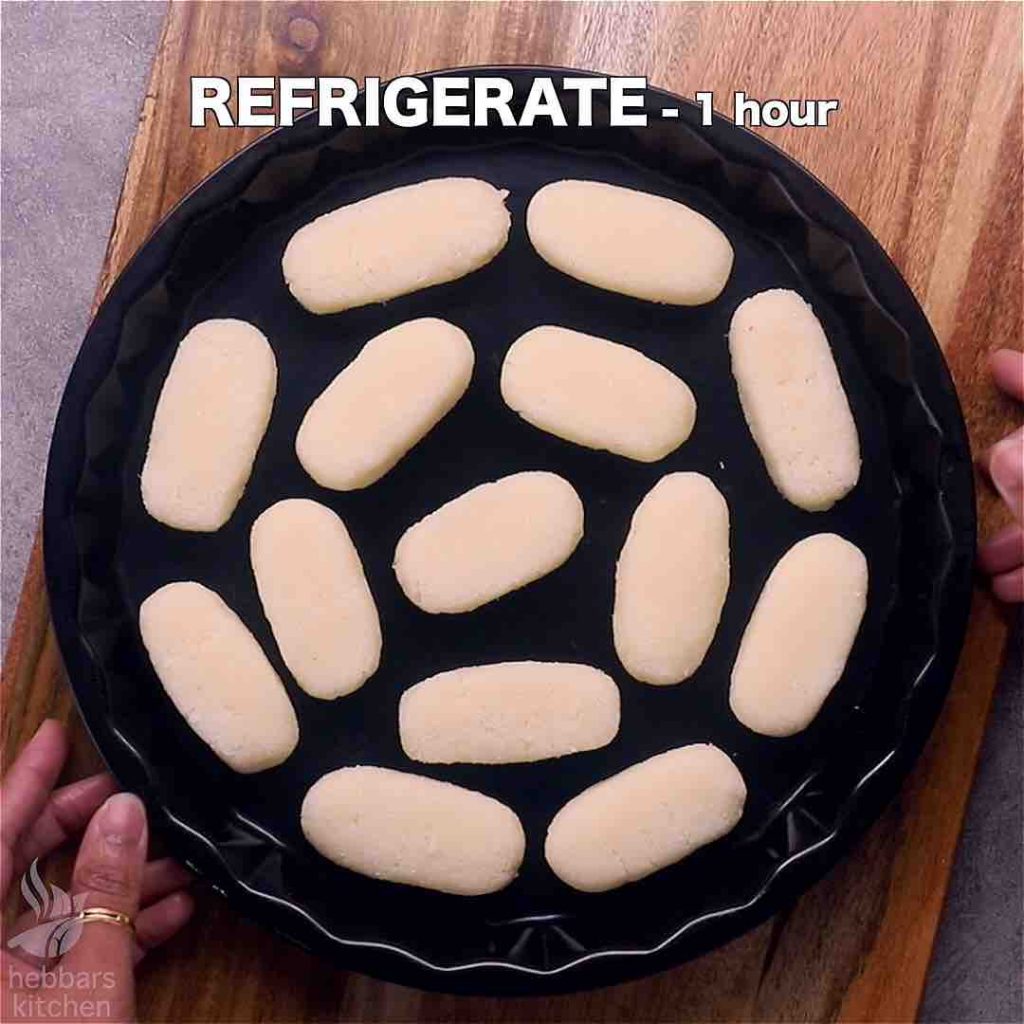
- Place the tray of bars in the refrigerator for at least 1 hour, or until they are firm and cold.
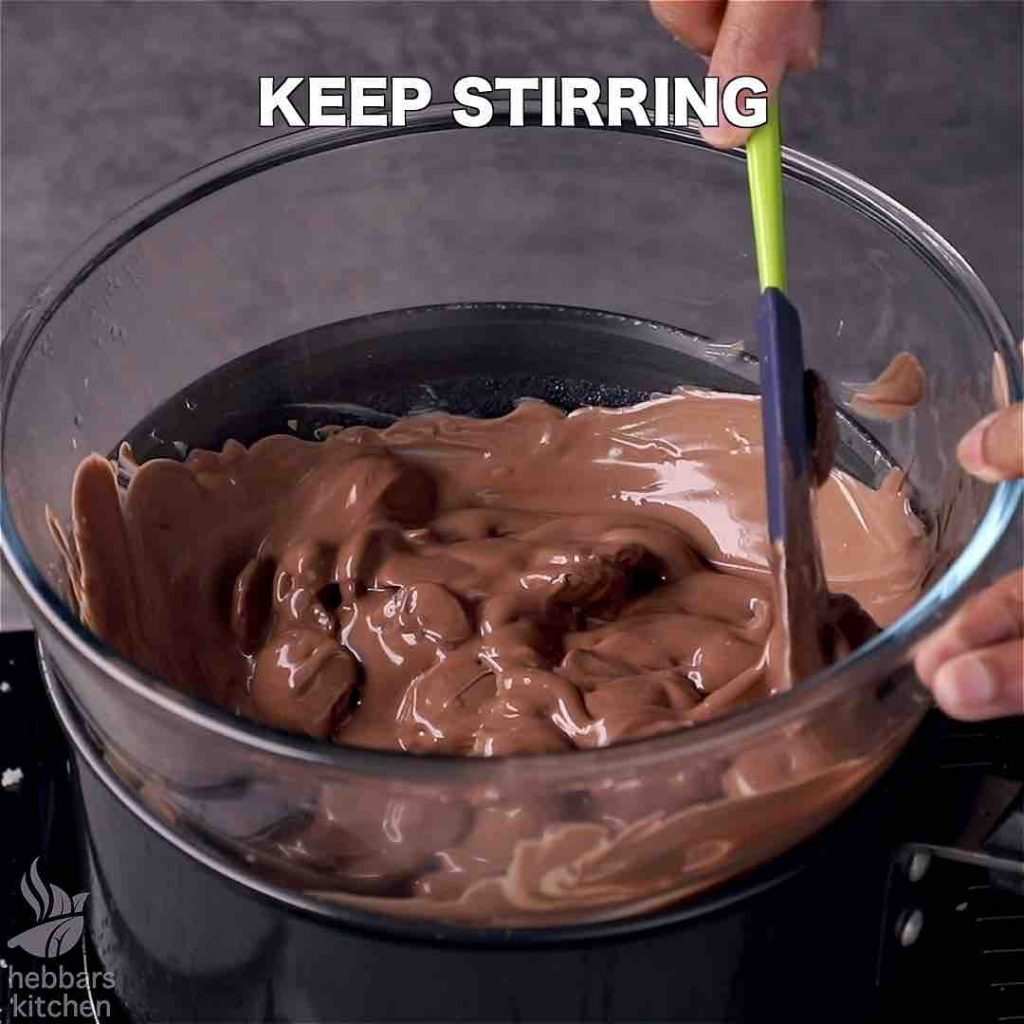
- While the bars chill, melt the milk chocolate using a double boiler method. Set a heatproof bowl over a saucepan of simmering water, making sure the water does not touch the bowl. Add the chocolate and stir gently until it melts into a silky pool.
- Once melted, take the bowl off the heat and let the chocolate cool for a couple of minutes. If the chocolate is too hot, it will melt the coconut bars on contact and you will lose that clean shape.
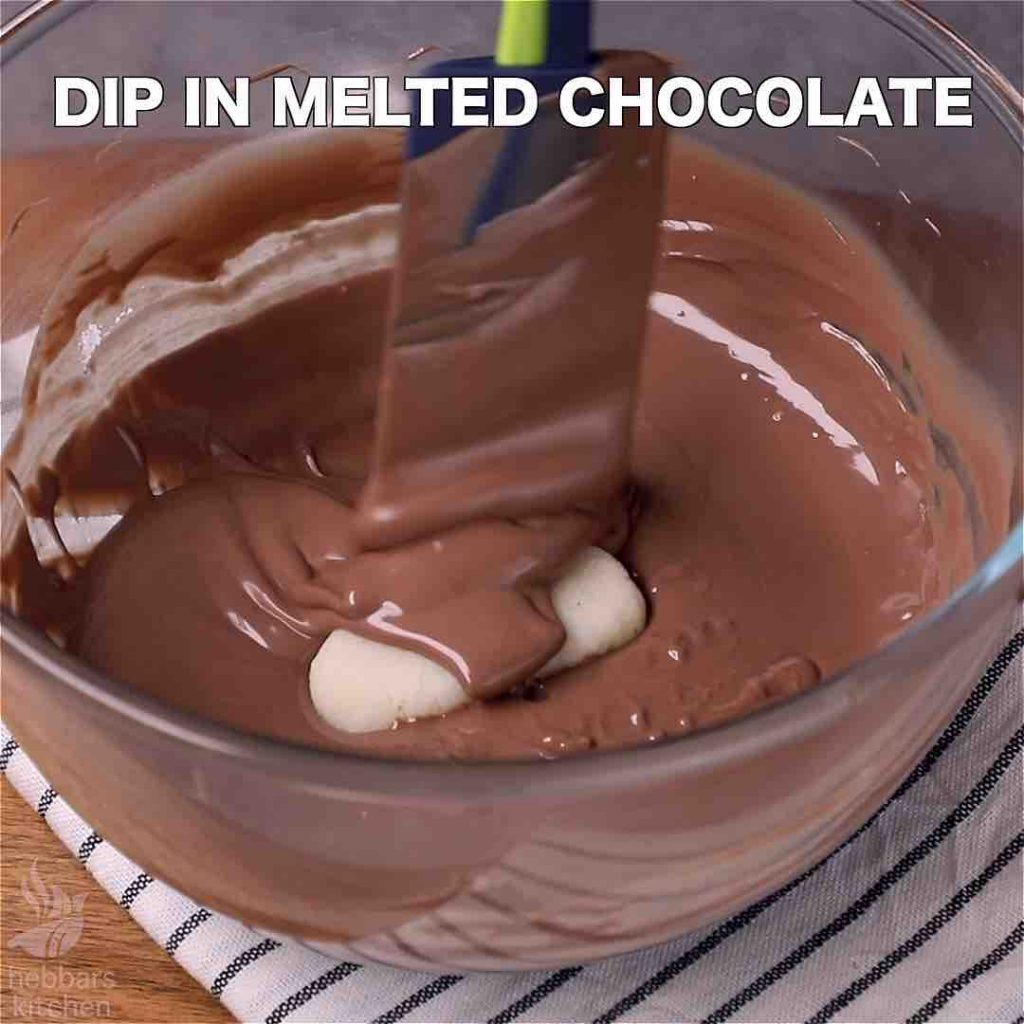
- Remove the chilled bars from the fridge. Using two forks, dip each bar fully into the melted chocolate, letting the excess drip back into the bowl. Place the coated bar onto a fresh sheet of butter paper.
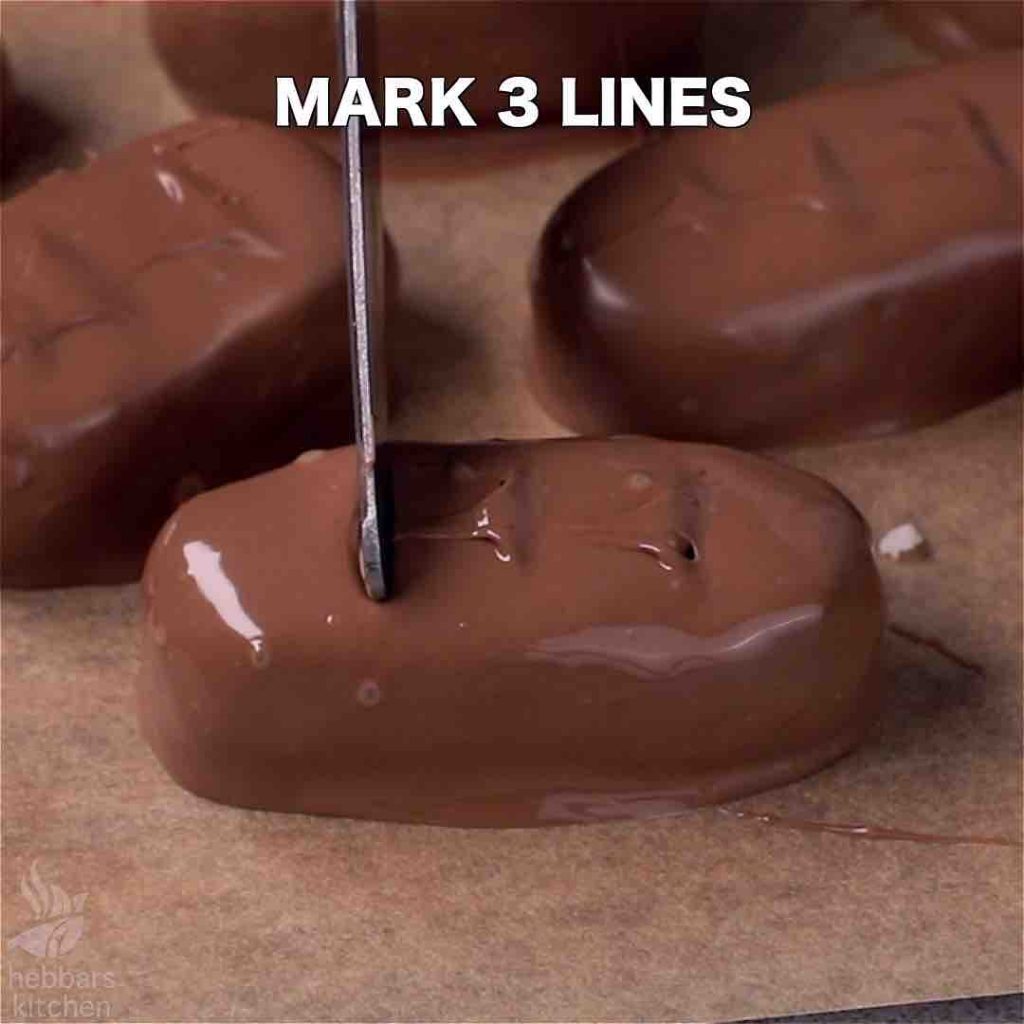
- While the chocolate is still wet, take a butter knife and lightly press three parallel lines across the top of each bar. This little step mimics the signature look of the store bought treat and makes the bars instantly recognizable.
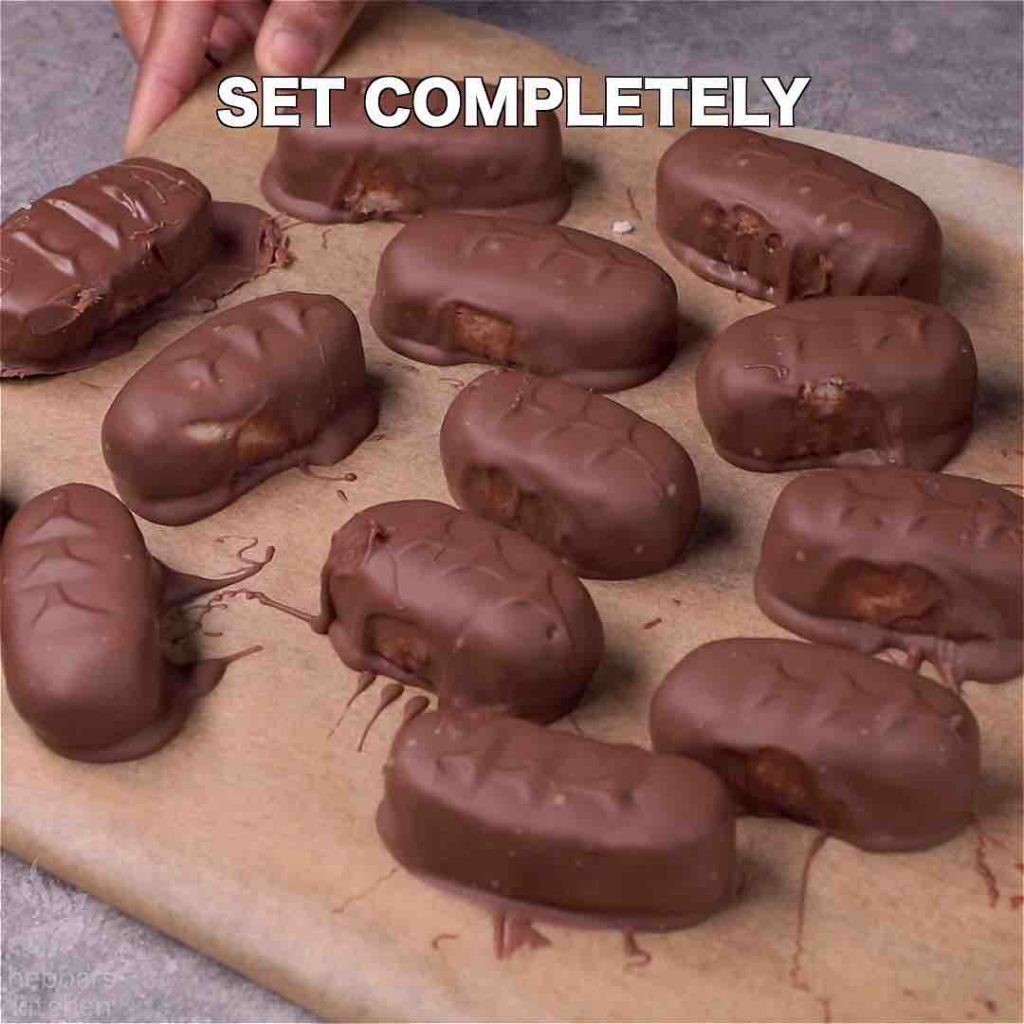
- Return the coated bars to the refrigerator for at least 1 hour, until the chocolate sets completely.
- Once set, transfer the homemade bounty bars to an airtight container. They keep well in the fridge for up to a week, though in my home they rarely last beyond the second day.
Notes
firstly, cook the mixture until it holds the shape and turns non sticky while forming a ball. This is the most important cue because if the mixture is too wet, the bars will lose form during dipping.
also, to hasten the process of cooling in the refrigerator, you can deep freeze for 15 to 20 minutes instead of waiting the full hour. I do this often when a sudden craving strikes.
finally, the outer chocolate layer can be milk chocolate or dark chocolate depending on your taste. Good quality cooking chocolate makes a noticeable difference because it melts smoothly and sets with a beautiful sheen.
Avoid ordinary eating chocolate; it often contains stabilisers that cause it to seize or not coat properly. Stored in an airtight container in the fridge, the bars stay fresh for up to a week, though for the best texture I request you to let them sit at room temperature for a few minutes before biting in.
FAQs
Can I use fresh coconut instead of desiccated coconut for this bounty bars recipe?
What kind of chocolate should I use for coating the coconut bars?
How do I prevent the coconut mixture from sticking to my hands while shaping the bars?
How should I store homemade bounty bars, and how long do they last?

bounty chocolate recipe | bounty bar recipe | chocolate coconut bars
What Is Bounty Chocolate Recipe Bounty Bar? I still remember the first time I tasted a real bounty bar at a school friend’s birthday party.
- Total Time: 100 min
Ingredients
1½ cup milk
¾ cup sugar
2 cup coconut, desiccated, desiccated
¼ cup cream
300 grams milk chocolate
Instructions
1-firstly, in a large kadai take 1½: firstly, in a large kadai take 1½ cup milk and ¾ cup sugar.
2-stir well and dissolve sugar completely: stir well and dissolve sugar completely.
3-now add 2 cup coconut and mix: now add 2 cup coconut and mix well.
4-further, add ¼ cup cream and mix: further, add ¼ cup cream and mix well. adding cream makes the coconut layer creamy and tasty.
5-continue to cook on medium flame until: continue to cook on medium flame until the mixture starts to hold the shape.
6-now transfer the mixture to a plate: now transfer the mixture to a plate and cool slightly.
7-take a ball sized mixture and shape: take a ball sized mixture and shape it into bar shapes.
8-keep refrigerated for 1 hour or until: keep refrigerated for 1 hour or until it sets completely.
9-now prepare the melted chocolate by melting: now prepare the melted chocolate by melting 300 grams of milk chocolate using the double boiler method.
10-keep stirring until the chocolate melts completely: keep stirring until the chocolate melts completely.
11-cool the melted chocolate slightly: cool the melted chocolate slightly. if the chocolate is too hot then coconut bars will melt when dipped.
12-now dip the coconut bars into the: now dip the coconut bars into the melted chocolate and coat uniformly.
13-place into butter paper and mark 3: place into butter paper and mark 3 lines using a butter knife. 3 lines are marked to just mimic the store brought bounty bars.
14-refrigerate for at least 1 hour, so: refrigerate for at least 1 hour, so that the chocolate will set completely.
15-finally, enjoy homemade chocolate bounty bars for: finally, enjoy homemade chocolate bounty bars for a week when stored in an airtight container.
Last Step:
Please leave a rating and comment letting us know how you liked this recipe! This helps our business to thrive and continue providing free, high-quality recipes for you.- Prep Time: 10 min
- Cook Time: 30 min
- Method: stovetop
Nutrition
- Calories: 221kcal
- Sugar: 24g
- Sodium: 19mg
- Fat: 14g
- Saturated Fat: 9g
- Carbohydrates: 27g
- Fiber: 2g
- Protein: 2g
- Cholesterol: 8mg