What Are Chocolate Brownie Cookies?
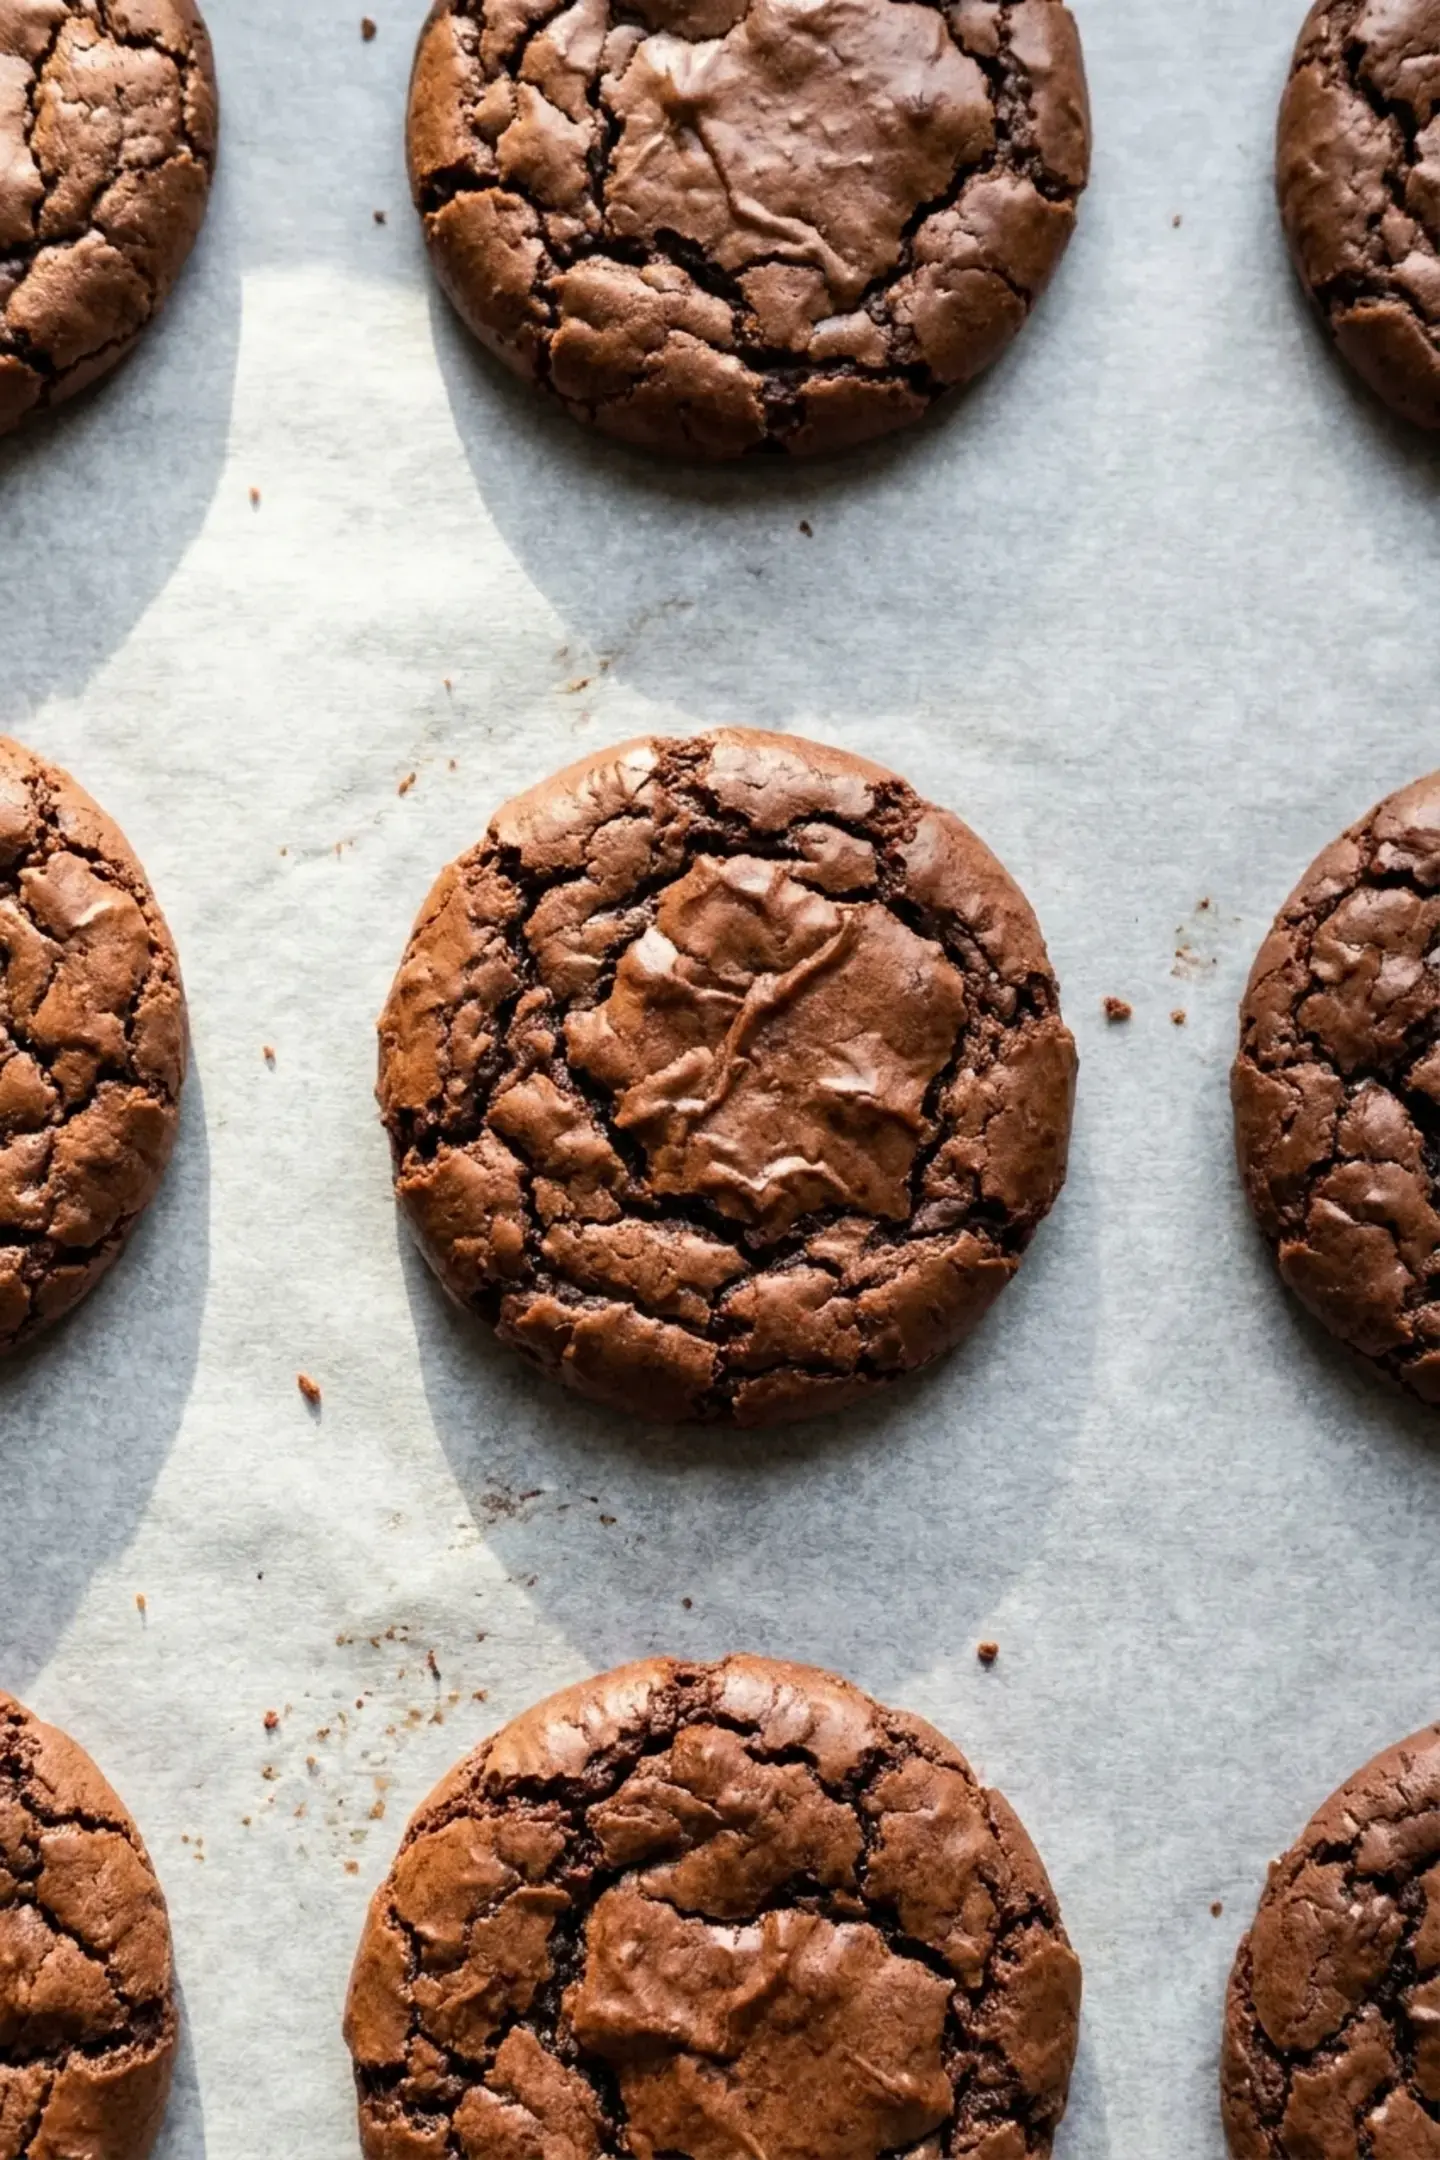
Chocolate brownie cookies combine the fudgy, chocolate-rich center of a brownie with the individual shape and crisp edge of a cookie. Their loose batter spreads in the oven and develops a shiny, crackled surface. No chilling is required, so the mixing, portioning, and baking stages follow one another directly.
The texture depends on two distinct mixtures. Butter and semi-sweet chocolate are melted together, while eggs, sugar, and vanilla are whipped until light and airy. Folding in the dry ingredients creates a batter that looks more like brownie batter than ordinary cookie dough.
Jump to:
- What Are Chocolate Brownie Cookies?
- Chocolate Brownie Cookies Ingredients
- How to Make Chocolate Brownie Cookies
- Prepare the Oven and Chocolate
- Whip the Eggs and Sugar
- Combine Wet and Dry Mixtures
- Portion and Bake
- Cool the Cookies
- Tips for Fudgy Crinkle Cookies
- Use Room-Temperature Eggs
- Measure the Flour Correctly
- Adjust and Store
- How the Brownie Texture Develops
- Handle the Loose Batter Correctly
- Protect the Fudgy Center
- Make Accurate Adjustments
- Frequently Asked Questions
- Why do the cookies have shiny crinkle tops?
- Does chocolate brownie cookie dough need chilling?
- How far apart should I space the cookies?
- How can I deepen the chocolate flavor?
- How should I store the cookies?
Chocolate Brownie Cookies Ingredients
- 1/4 cup unsalted butter: melt it with the semi-sweet chocolate.
- 4 ounces semi-sweet chocolate, about 1/2 cup: this forms the rich melted base.
- 2 large eggs: bring them to room temperature before whipping.
- 1 cup granulated sugar: beat it thoroughly with the eggs and vanilla.
- 1 teaspoon vanilla extract: this rounds out the chocolate flavor.
- 1 cup all-purpose flour: measure accurately to avoid a dry or heavy result.
- 1/4 teaspoon kosher salt: this balances the sweetness.
- 3 tablespoons cocoa powder: cocoa reinforces the chocolate in the batter.
- 1/8 teaspoon baking soda: use the small quantity exactly as listed.

How to Make Chocolate Brownie Cookies
Prepare the Oven and Chocolate
Preheat the oven to 350°F and line two cookie sheets with parchment paper. Place the butter and semi-sweet chocolate in a microwave-safe bowl. Heat them in 30-second intervals, stirring between rounds, until both are melted.
Set the melted mixture aside to cool while you prepare the eggs. It should remain fluid enough to combine, but it should not be so hot that it disrupts the airy egg mixture.
Whip the Eggs and Sugar
Put the two room-temperature eggs, granulated sugar, and vanilla in another bowl. Using a hand or stand mixer fitted with the whip attachment, beat on high for at least three to five minutes.
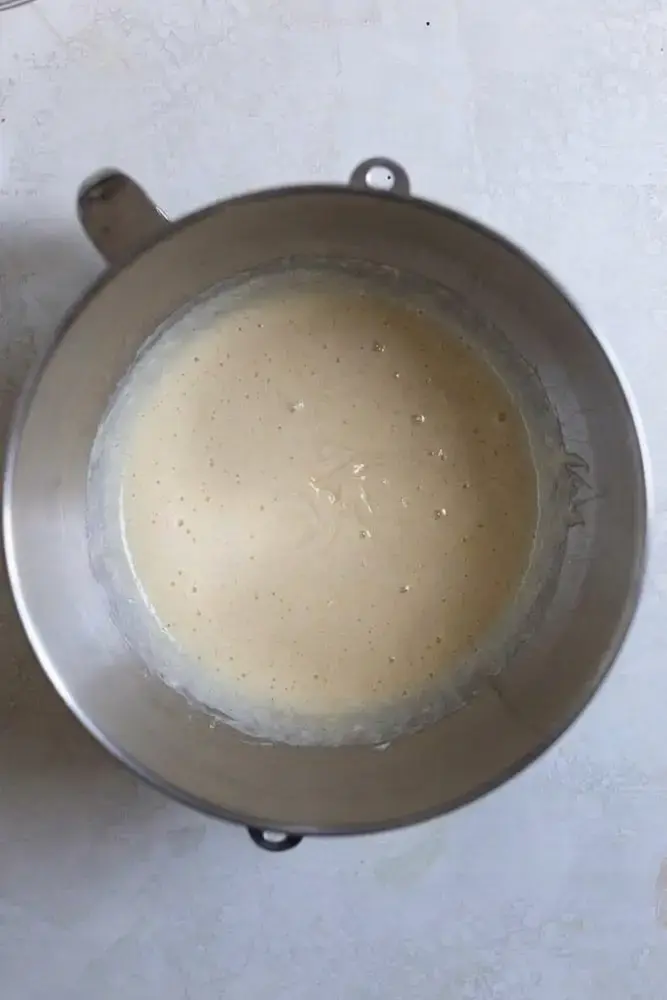
The mixture should look light and airy before you continue. This incorporated air is responsible for the crinkled brownie-like tops, so do not shorten the whipping stage merely because the ingredients appear combined.
Combine Wet and Dry Mixtures
Add the cooled chocolate and butter mixture to the whipped eggs. Combine with a spatula or mix on low to medium speed. Work gently enough to preserve the structure created during whipping.
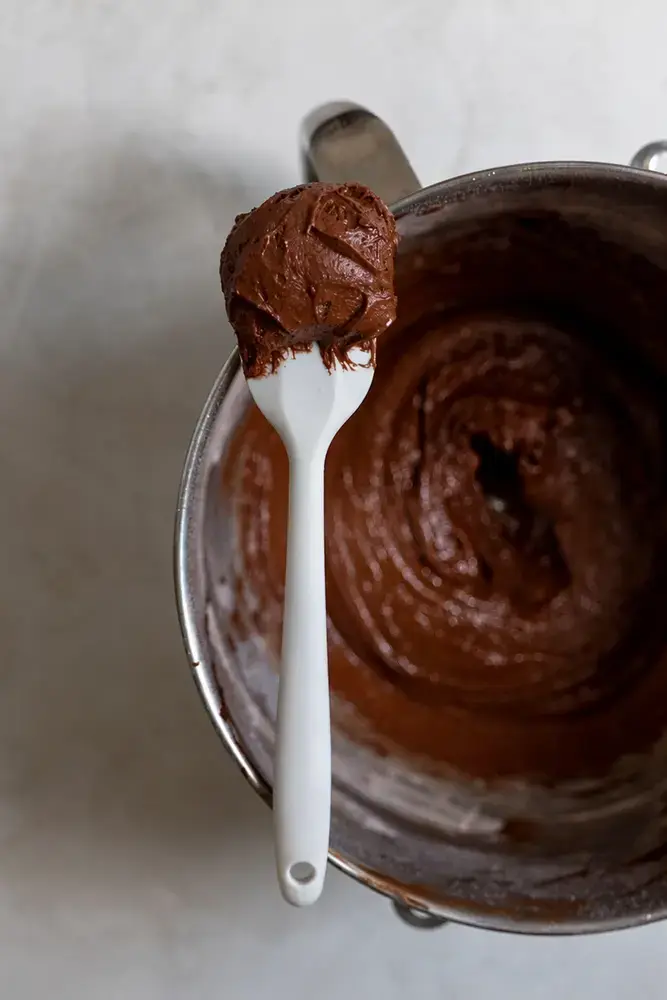
Add the flour, kosher salt, cocoa powder, and baking soda. Mix on low or by hand only until combined. The finished dough will be loose and batter-like rather than firm enough to roll.
Portion and Bake
Use a mini ice cream scoop or small spoon to portion the batter onto the prepared sheets. Leave two inches between cookies because they spread while baking. Keep the portions similar so they finish at roughly the same point.
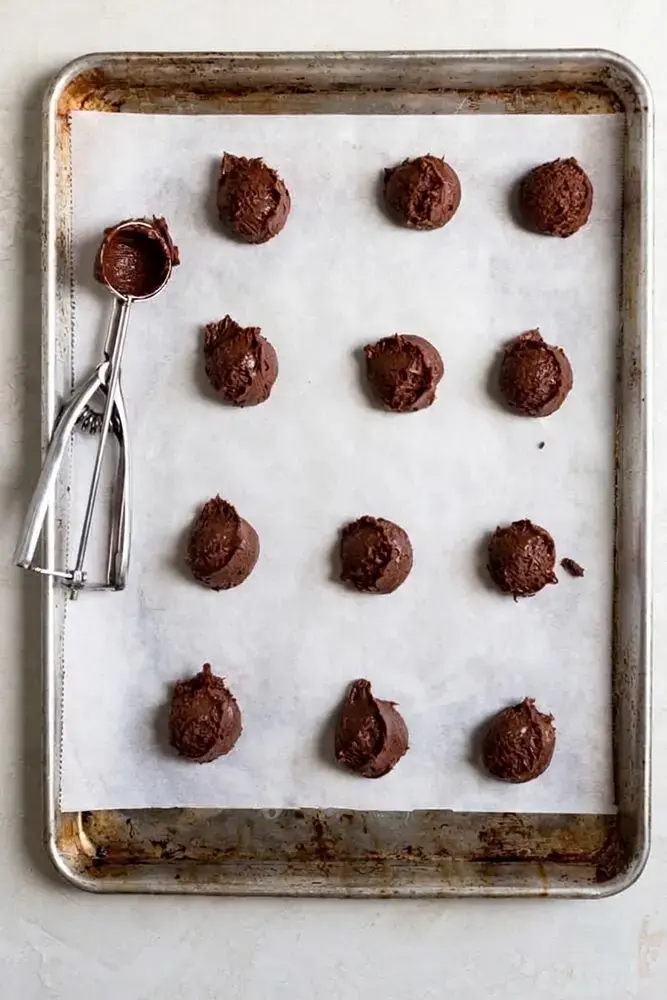
Bake the cookies for 10 minutes. Look for visible crinkles across the tops and crisp-looking edges. These visual cues matter because the soft centers continue settling after the sheets leave the oven.
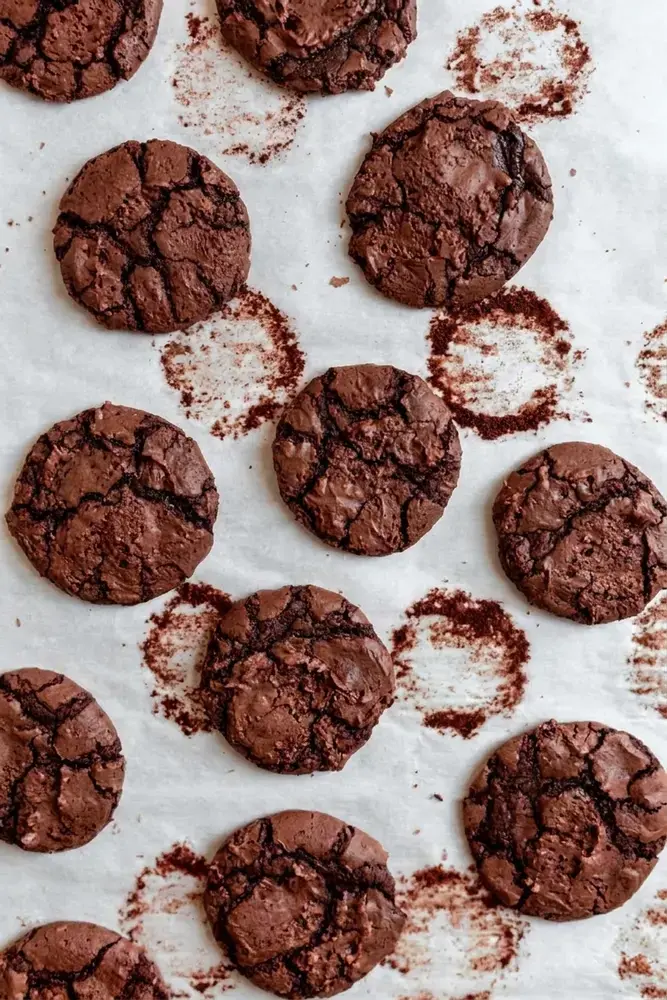
Cool the Cookies
Leave the cookies on the pan for 10 minutes. This rest lets the delicate centers firm enough for moving. Transfer them carefully to a wire rack and allow them to cool completely.
Tips for Fudgy Crinkle Cookies
Use Room-Temperature Eggs
The source specifically warns against cold eggs because they can make the batter too cold and interfere with baking. Room-temperature eggs also whip more readily into the light, airy mixture needed for the shiny crinkle top.
If the eggs are ready before you begin, the batter can proceed immediately from mixing to portioning. That supports the recipe’s no-chill approach and prevents the melted chocolate from sitting unnecessarily long.
Measure the Flour Correctly
A kitchen scale provides the most direct measurement. Without one, spoon flour into the measuring cup and level the top rather than packing the cup. Too much flour can change the loose brownie-batter consistency that defines this recipe.
Mix the dry ingredients only until no obvious pockets remain. Overworking after the flour is added is unnecessary. The goal is a uniform batter that still reflects the air whipped into the eggs and sugar.
Adjust and Store
For deeper chocolate flavor, add 1/2 teaspoon espresso powder to the flour mixture. This optional addition strengthens the cocoa impression without changing the required semi-sweet chocolate, cocoa powder, or vanilla.
Once completely cool, store the cookies in an airtight container or airtight plastic bag at room temperature for up to three days. Seal them only after cooling so warmth does not create condensation inside the container.
How the Brownie Texture Develops
The recipe builds its brownie-like character from melted semi-sweet chocolate, cocoa powder, and a loose batter. Butter melts with the chocolate, creating a smooth base that is cooled before it meets the whipped eggs.
Eggs, sugar, and vanilla need the full high-speed whipping stage. Three to five minutes incorporates the air responsible for the light appearance and crackled surface. Simply mixing until the sugar looks wet will not create the same structure.
The flour, salt, cocoa, and very small amount of baking soda enter only after the chocolate mixture is combined. Mixing on low or by hand limits unnecessary handling once the flour is present.
Handle the Loose Batter Correctly
This mixture looks more like brownie batter than rollable cookie dough. A mini ice cream scoop or small spoon provides control without adding flour or chilling the batter. Those unlisted corrections would change the documented no-chill method.
Leave two inches between portions on both parchment-lined sheets. The spacing anticipates spreading and helps every cookie develop an individual edge instead of joining its neighbor.
Protect the Fudgy Center
After 10 minutes in the oven, the tops should show crinkles and the edges should look crisp. The cookies remain on the hot pan for another 10 minutes, allowing their delicate centers to settle before transfer.
Moving them too soon can damage the soft structure. Waiting for the pan rest, then completing the cooling on a wire rack, produces a cookie that can be stored without trapping warmth.
Make Accurate Adjustments
Room-temperature eggs protect the batter temperature and whip more effectively. Flour should be weighed or spooned into the cup and leveled. Packing flour into the measure risks losing the loose consistency.
The optional 1/2 teaspoon espresso powder belongs with the dry ingredients. It deepens the chocolate impression while the required cocoa and melted semi-sweet chocolate remain unchanged.
Prepare both lined sheets before the batter is mixed because the recipe moves directly from mixing to portioning. Alternating sheets or preparing only one later can leave part of the no-chill batter waiting unnecessarily.
The source yields a batch of individual cookies, so maintain comparable scoop sizes across both pans. Smaller and larger portions would not share the same 10-minute visual cues or cooling behavior.
Wait until the wire rack has cooled every cookie completely before sealing the batch, preserving the crisp edges and fudgy centers described by the source.
Frequently Asked Questions
Why do the cookies have shiny crinkle tops?
Beat the room-temperature eggs, sugar, and vanilla on high for at least three to five minutes. The air incorporated during this stage creates the brownie-like crinkle surface.
Does chocolate brownie cookie dough need chilling?
No. The source recipe requires no chilling. The batter is loose and looks more like brownie batter than conventional cookie dough, so portion it with a mini scoop or small spoon.
How far apart should I space the cookies?
Leave two inches between portions on the parchment-lined sheets. The loose batter spreads during baking, and the space helps prevent the cookies from joining together.
How can I deepen the chocolate flavor?
Add 1/2 teaspoon espresso powder to the flour mixture. This is an optional source-supported addition and does not replace the cocoa or melted semi-sweet chocolate.
How should I store the cookies?
Cool the cookies completely, then place them in an airtight container or airtight plastic bag. The source recommends keeping them at room temperature for up to three days.