What Are Chocolate Coffee Cookies?
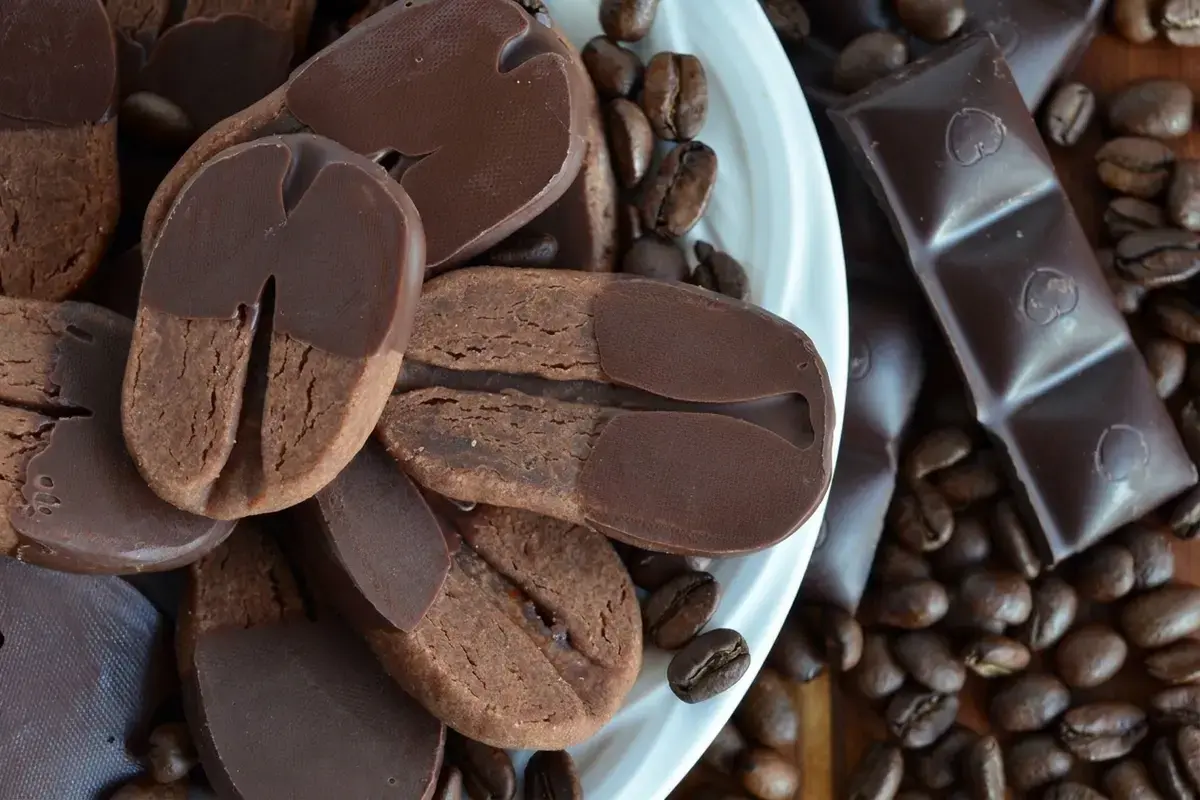
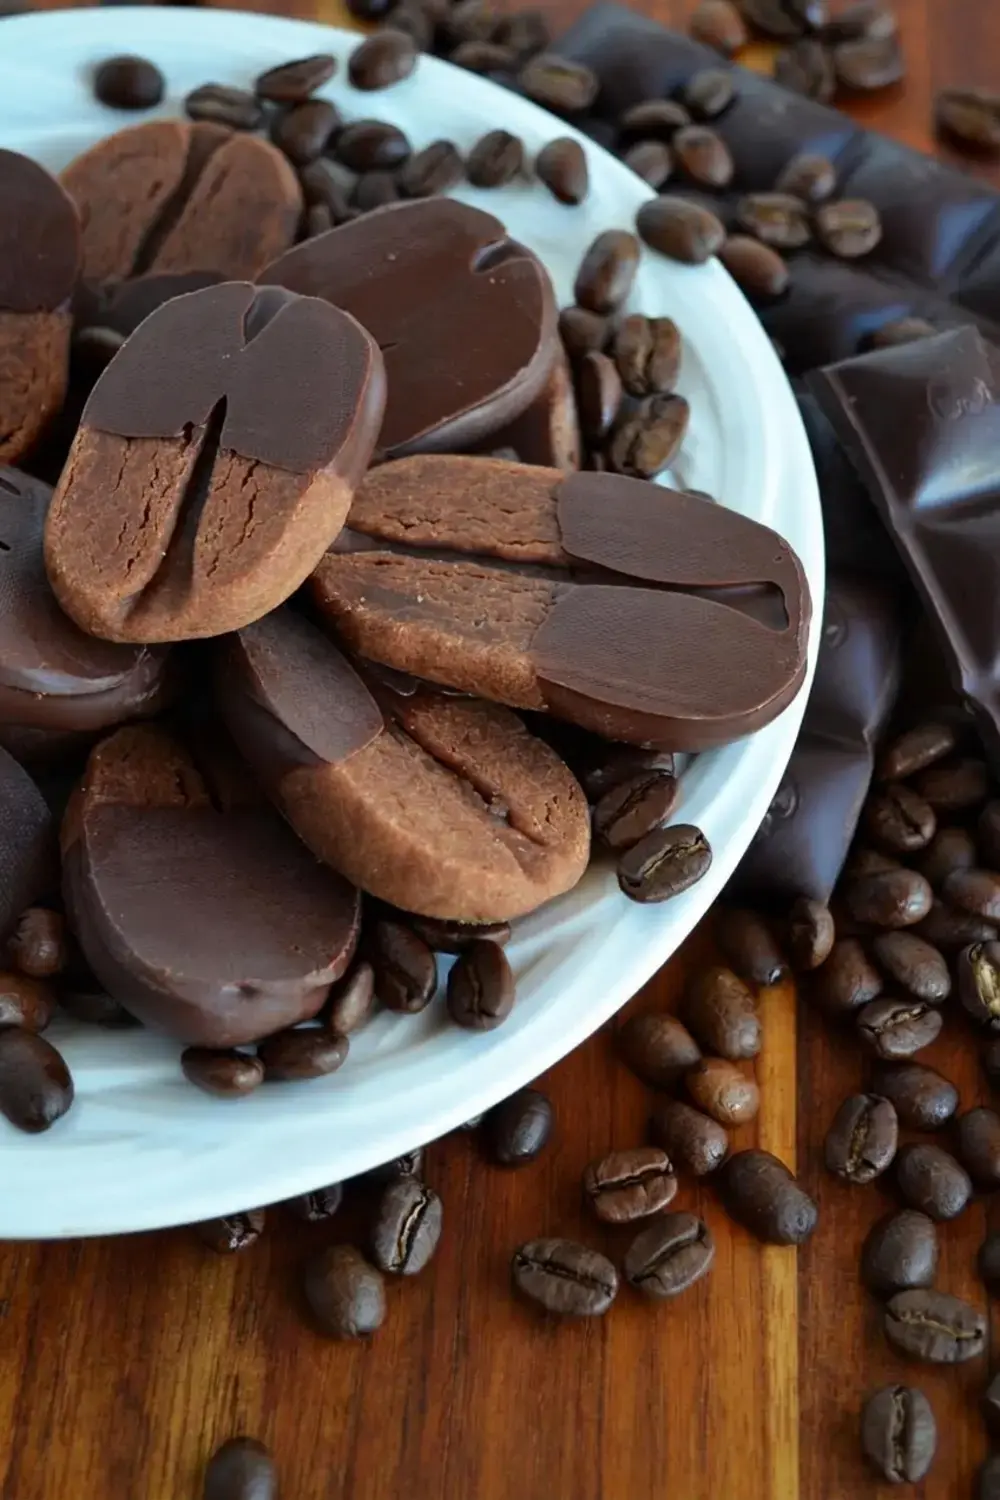
Chocolate coffee cookies combine instant coffee and cocoa in a soft butter and cream cheese dough. A coating of melted semi-sweet or dark chocolate reinforces the cocoa flavor. Their small oval shape and pressed center line make each cookie resemble an oversized coffee bean.
The recipe builds flavor in two stages. Coffee crystals dissolve in milk before entering the dough, while chocolate chips or chunks are melted with coconut oil for dipping after baking. Cooling the cookies fully between these stages helps the coating adhere and set cleanly.
Jump to:
- What Are Chocolate Coffee Cookies?
- Chocolate Coffee Cookies Ingredients
- How to Make Chocolate Coffee Cookies
- Dissolve the Coffee
- Mix the Dough
- Chill and Shape
- Bake and Cool
- Dip in Chocolate
- Tips, Variations, and Storage
- Measure and Mix Consistently
- Use the Faster Options
- Keep the Coating Neat
- What Creates the Coffee Bean Cookie
- Read the Baking Cues
- Choose Between Two Finishes
- Frequently Asked Questions
- What gives chocolate coffee cookies their coffee flavor?
- Why does the cookie dough need to chill?
- Can I make the cookies without the coffee-bean shape?
- When are the cookies ready to leave the oven?
- How should chocolate coffee cookies be stored?
Chocolate Coffee Cookies Ingredients
- 2 teaspoons instant coffee crystals: these provide the concentrated coffee note.
- 2 tablespoons milk: the liquid dissolves the coffee before mixing.
- 3/4 cup softened butter: evenly softened butter blends smoothly with the cream cheese.
- One 3-ounce package softened cream cheese: this joins the butter in the dough base.
- 3/4 cup packed brown sugar: check it for lumps before mixing.
- 1 teaspoon vanilla extract: vanilla supports the coffee and chocolate flavors.
- 2 cups all-purpose flour: measure it evenly for a consistent dough.
- 2 tablespoons cocoa: the source allows one tablespoon for a stronger coffee emphasis.
- 1/2 cup chocolate chips or chunks: use semi-sweet or dark chocolate for coating.
- 1 teaspoon coconut oil: melt this with the chocolate.
How to Make Chocolate Coffee Cookies
Dissolve the Coffee
Combine the instant coffee crystals and milk, stirring until the crystals dissolve. If older coffee does not dissolve readily, warm the milk slightly. Let it remain suitable for mixing before adding it to the softened dairy ingredients.

Mix the Dough
In a large mixing bowl, blend the softened butter and cream cheese thoroughly. Add the packed brown sugar, vanilla, and coffee-milk mixture. Stir until the wet ingredients are evenly combined and the coffee color is distributed through the base.
Add the all-purpose flour and cocoa, then stir until blended. Check the brown sugar and cocoa for lumps and sift them before use when necessary. Add the flour gradually enough to keep it in the bowl and stop once the dough is uniform.
Chill and Shape
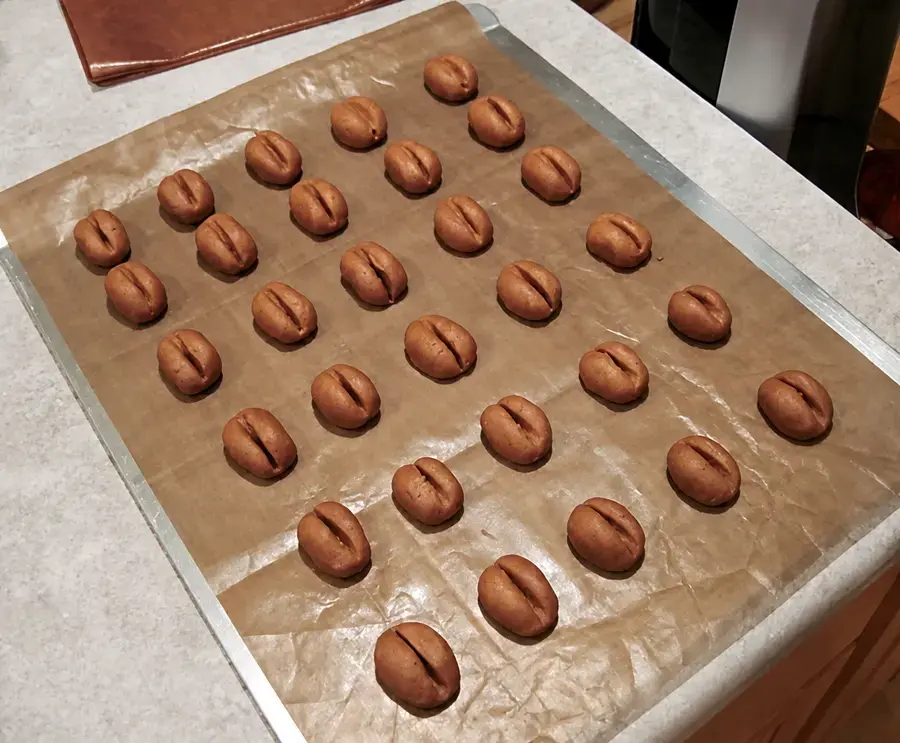
Cover the dough and chill it for one hour, or until it becomes firm and easy to handle. Preheat the oven to 350°F. Line baking sheets with parchment paper while the oven heats.
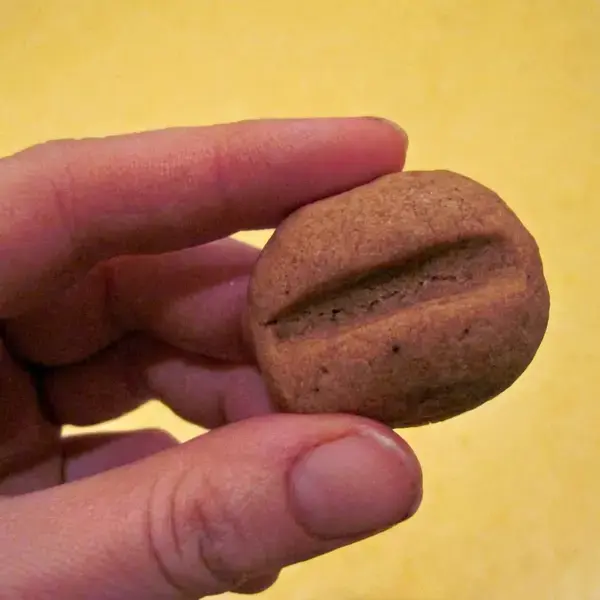
Shape the firm dough into one-inch ovals. Press a notch along the center of each oval with a chopstick or a similar tool, creating the characteristic coffee-bean appearance. Keep the pieces close to the same size for even baking.
Bake and Cool
Place the shaped cookies one inch apart on the parchment-lined baking sheets. Bake for 9 to 11 minutes, until the edges are firm and the bottoms appear a little darker.
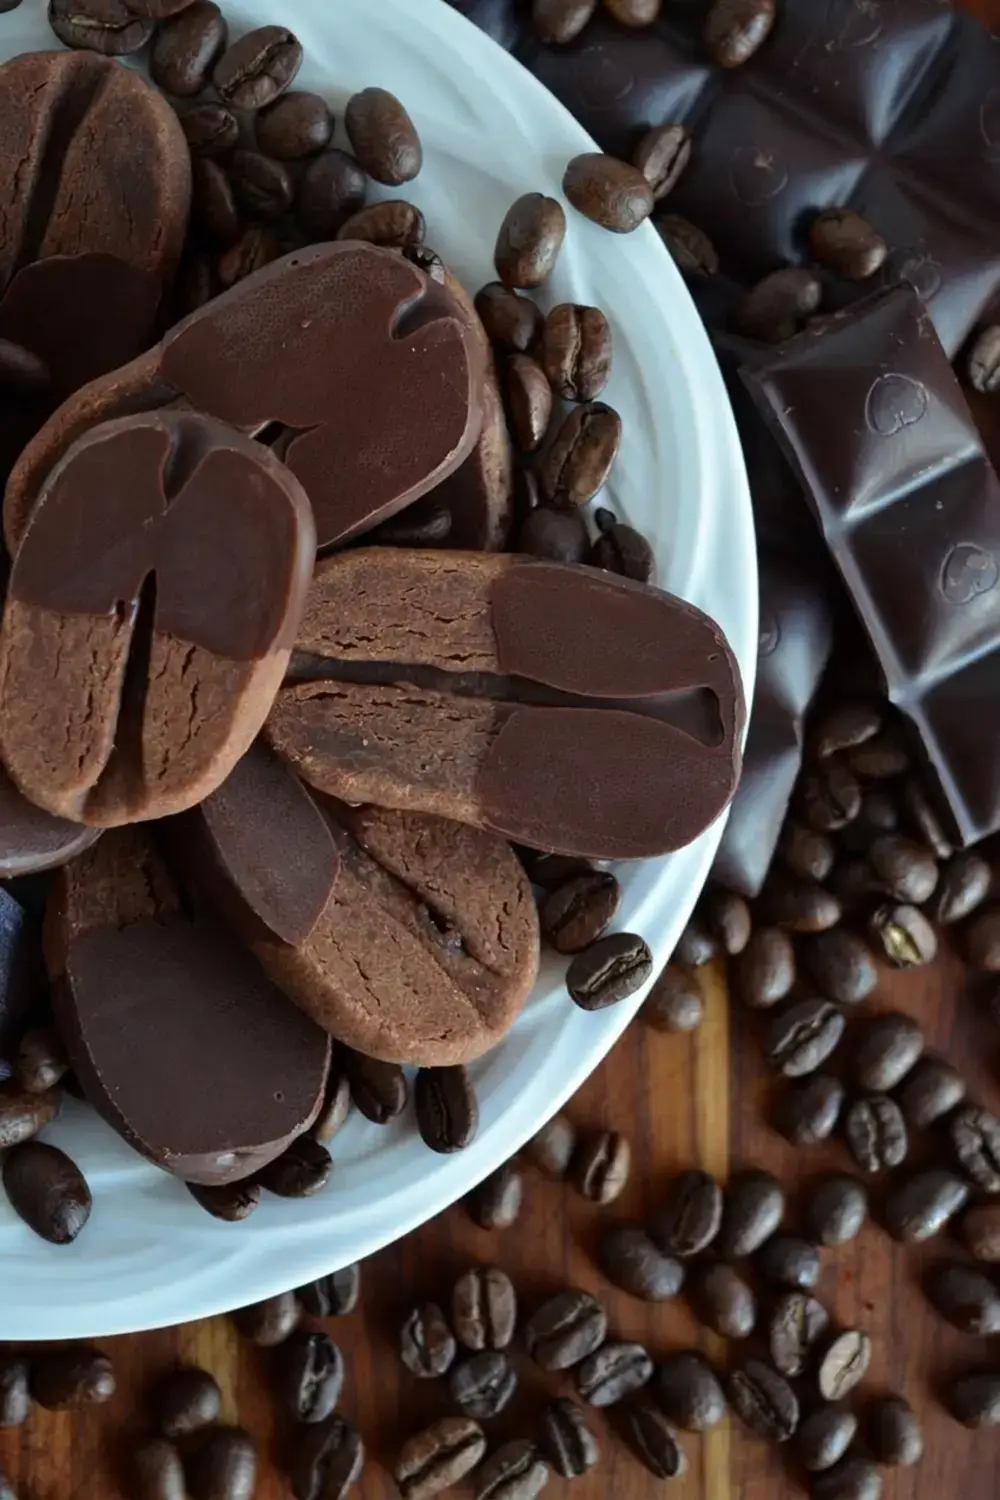
Transfer the cookies to a wire rack. They continue to cook briefly after leaving the oven, so do not wait for them to become hard on the baking sheet. Let them cool completely before dipping, since melted chocolate will not cling well to warm cookies.
Dip in Chocolate
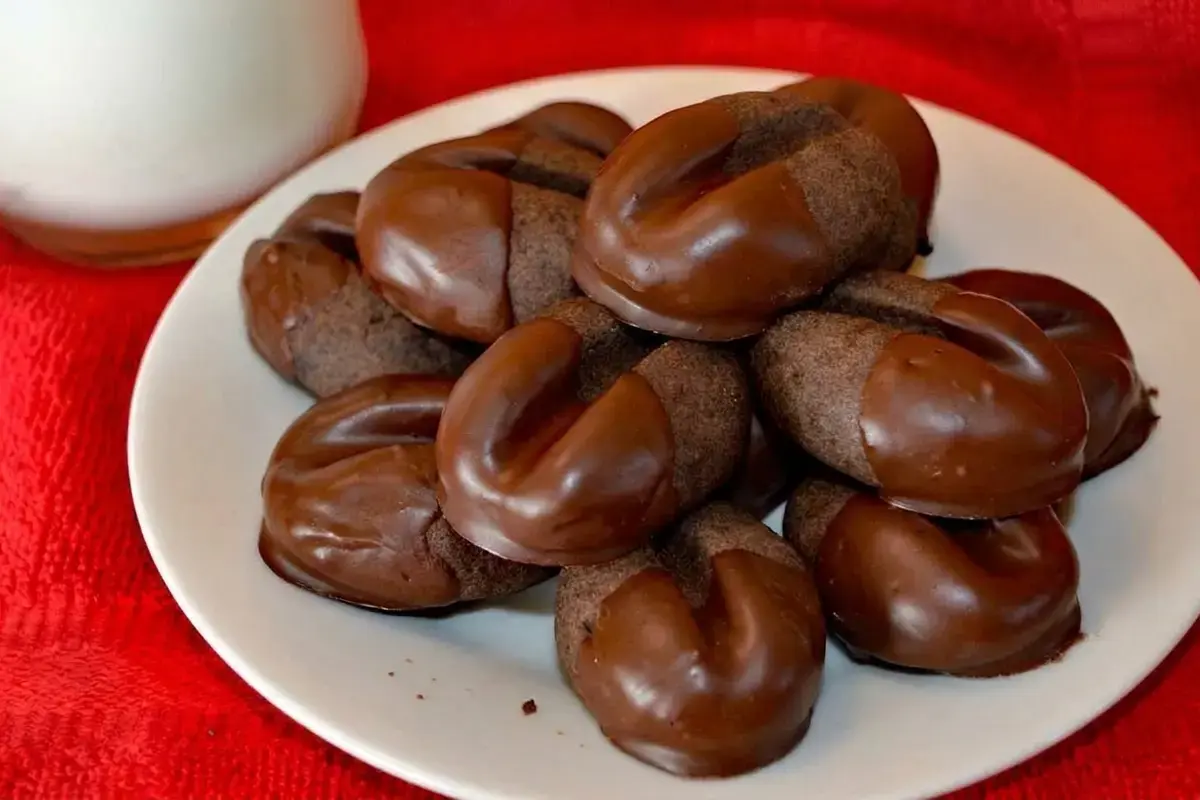
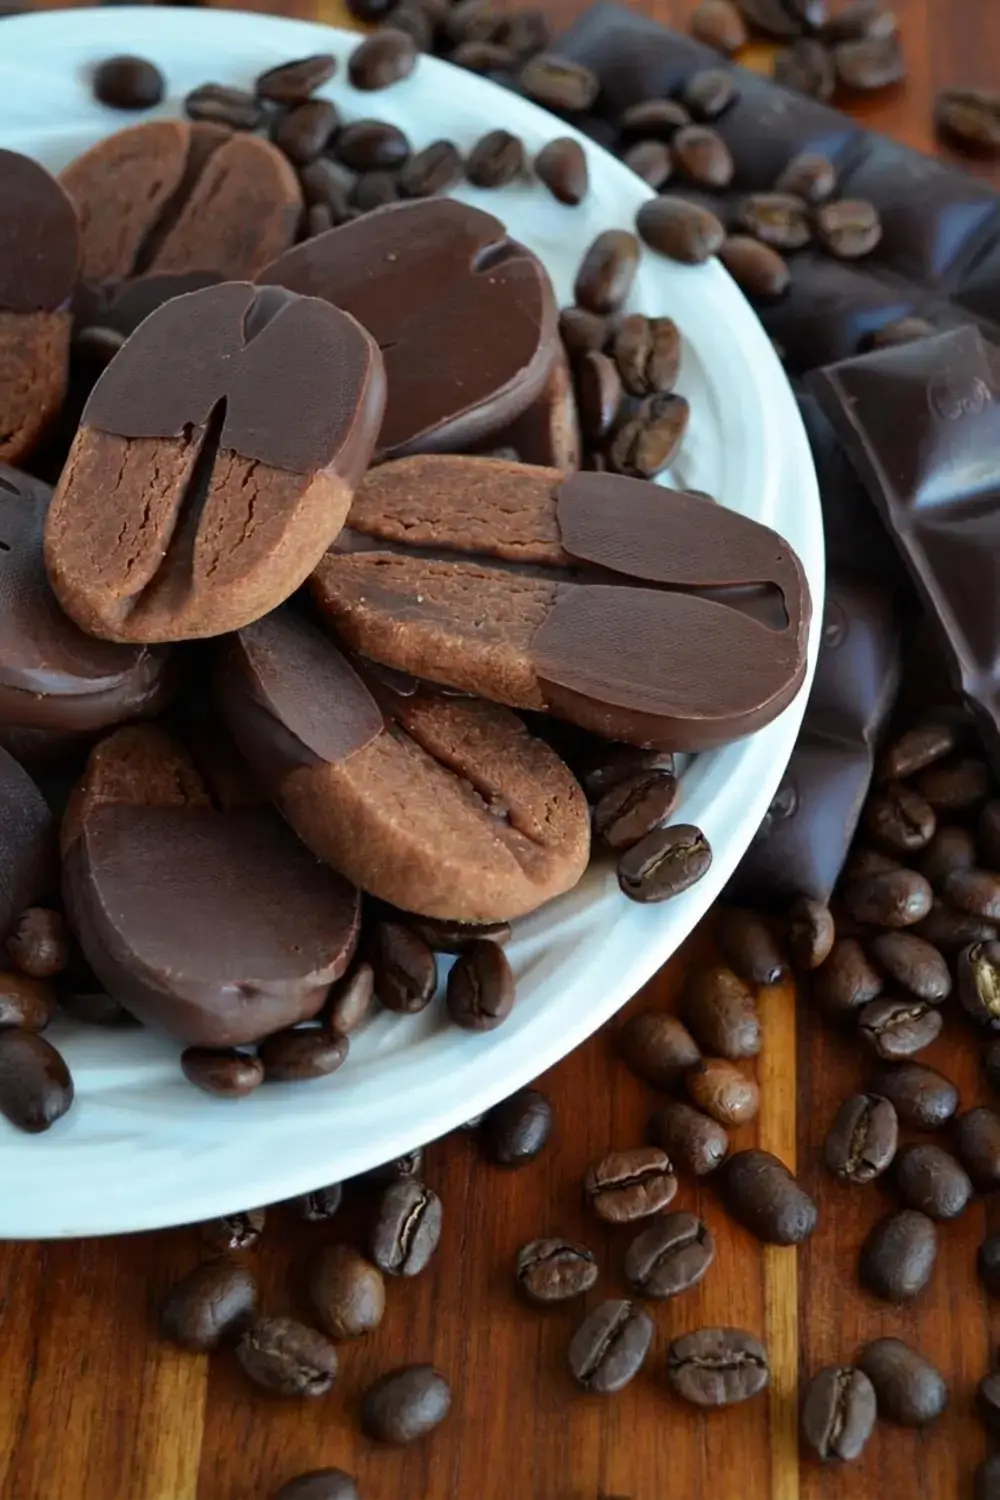
Melt the chocolate chips or chunks with the coconut oil in a small saucepan. Dip one cookie at a time, covering roughly one third to one half. Place each dipped cookie on wax paper or freezer paper so the coating can set.
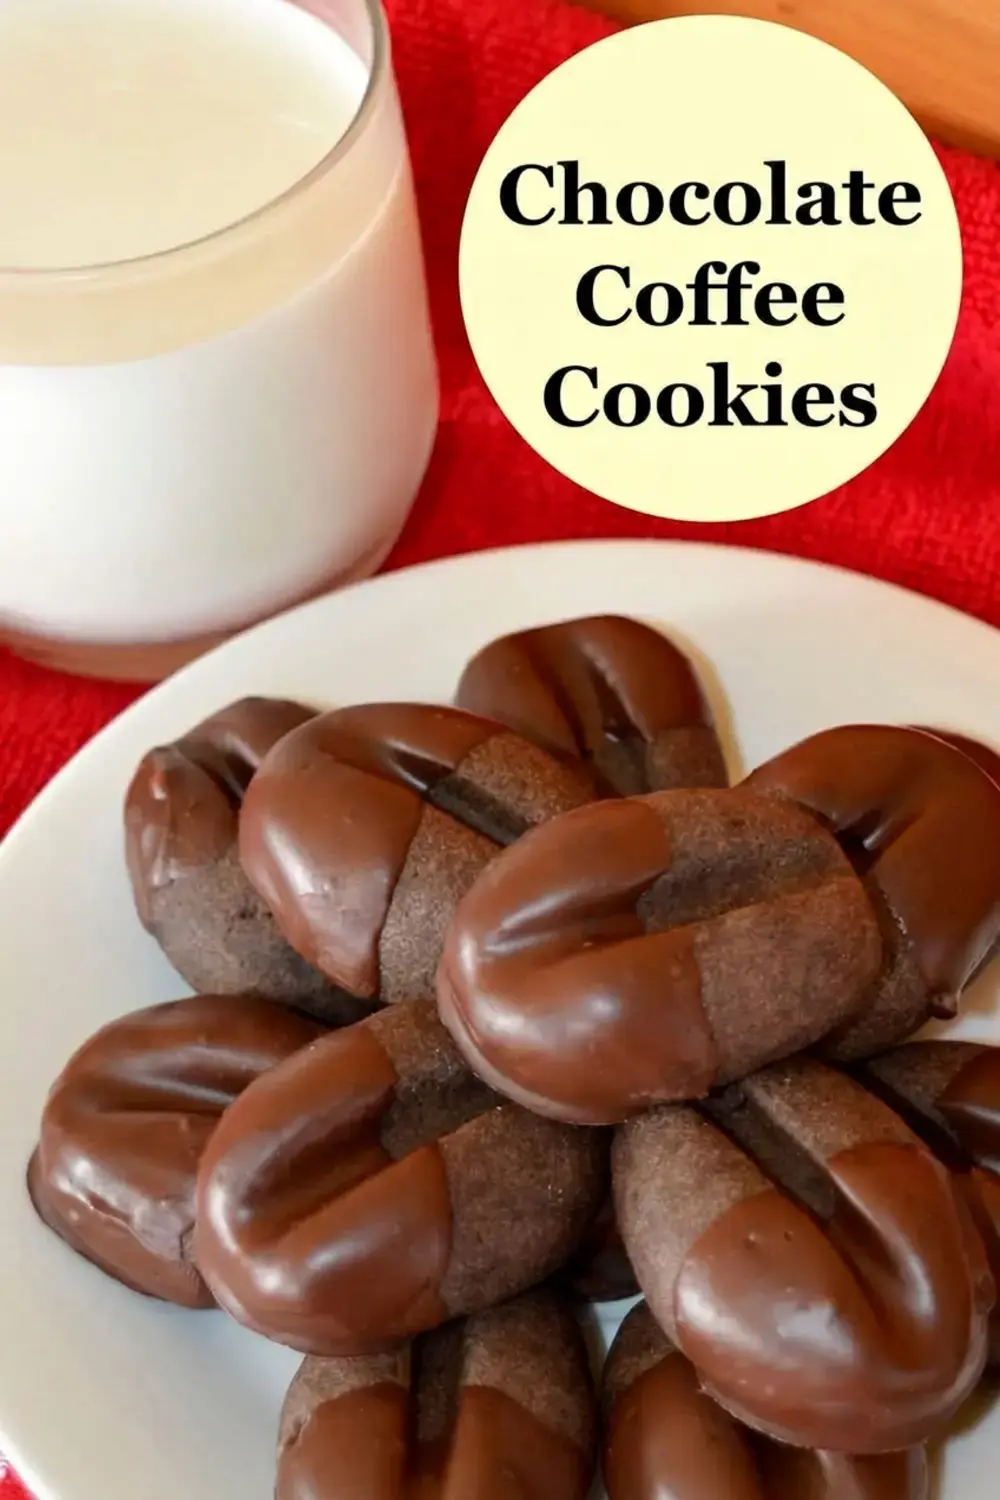
Move the dipped cookies to a cool area or the refrigerator if you want the chocolate to set faster. Wait until the coating is firm before stacking or storing the batch.
Tips, Variations, and Storage
Measure and Mix Consistently
Set the butter out in a covered container ahead of baking so it softens evenly. For the flour, scoop it into the measuring cup, level the top with a knife, and pour it into the dough. Consistent measurement and similarly sized cookies support even results across the pans.
For more coffee character and less cocoa presence, use one tablespoon cocoa instead of two. This is the source-supported flavor adjustment. Keep the two teaspoons of coffee crystals and the rest of the dough method unchanged.
Use the Faster Options
If the coffee-bean appearance is unnecessary, form the dough into a log about one inch in diameter and slice pieces approximately 3/8 inch thick. This removes the individual oval shaping and center-notch steps while retaining the same dough.
Another shortcut is to mix 1/2 cup mini chocolate chips into the dough before baking instead of dipping the cooled cookies. The cookies still contain two kinds of chocolate, but you avoid coating every piece separately.
Keep the Coating Neat
Let the cookies cool completely and allow the dipped coating to set before arranging them in a container. Place sheets of wax paper between layers to prevent sticking. Store the cookies in an airtight container at room temperature for up to one week, or freeze them for longer keeping.

What Creates the Coffee Bean Cookie
The cookie’s identity comes from three separate choices: dissolved coffee in the dough, cocoa mixed with the flour, and a partial chocolate coating. None of these elements alone produces the complete combination described by the source.
Dissolving the instant coffee crystals in milk prevents dry granules from remaining in the dough. Slightly warming the milk is needed only when older crystals resist dissolving, and the mixture should still blend smoothly with the softened butter and cream cheese.
Chilling transforms the mixed dough from soft to easy to handle. Once firm, one-inch ovals can be made consistently. Pressing the center with a chopstick creates the coffee-bean line without cutting the cookie into separate halves.
Read the Baking Cues
The cookies bake until their edges are firm and their bottoms become somewhat darker. They should not be hard when removed, because residual heat continues to firm them after they leave the oven.
Even size and one-inch spacing help the batch bake consistently. Move the finished cookies to a wire rack and wait for complete cooling before dipping, since warm surfaces prevent the chocolate mixture from adhering properly.
Choose Between Two Finishes
The original finish melts chocolate with coconut oil and covers roughly one third to one half of every cookie. Wax paper or freezer paper provides a surface where the coating can set without attaching to a serving plate.
The faster variation places mini chocolate chips directly in the dough and skips dipping. It preserves two chocolate forms but changes the final appearance. Choose the method before baking so the chips enter the dough at the correct point.
The sliced-log shortcut also changes appearance. A one-inch log cut into 3/8-inch pieces saves shaping time, but it does not produce the pressed coffee-bean design.
For consistent storage, let the chocolate coating become fully firm before placing wax paper between layers. Sealing cookies while coating is soft can damage the dipped sections and make neighboring pieces stick together.
Frequently Asked Questions
What gives chocolate coffee cookies their coffee flavor?
Two teaspoons of instant coffee crystals are dissolved in two tablespoons of milk, then mixed into the butter, cream cheese, sugar, and vanilla base.
Why does the cookie dough need to chill?
Chill the covered dough for one hour, or until it is firm and easy to handle. The firmer texture makes shaping the one-inch ovals and pressing the center notch easier.
Can I make the cookies without the coffee-bean shape?
Yes. The source suggests rolling the dough into a log about one inch in diameter and cutting slices about 3/8 inch thick when appearance is less important.
When are the cookies ready to leave the oven?
Bake at 350°F for 9 to 11 minutes, until the edges are firm and the bottoms are slightly darker. The cookies continue to firm as they cool.
How should chocolate coffee cookies be stored?
Place fully set cookies in an airtight container with wax paper between layers. Keep them at room temperature for up to one week, or freeze them for longer storage.