
Chocolate Peppermint Cheesecake
This one’s for you if you love a dessert that makes people gasp when you carry it to the table. This Chocolate Peppermint Cheesecake is rich, creamy, and completely indulgent, yet it is way easier to pull off than it looks.
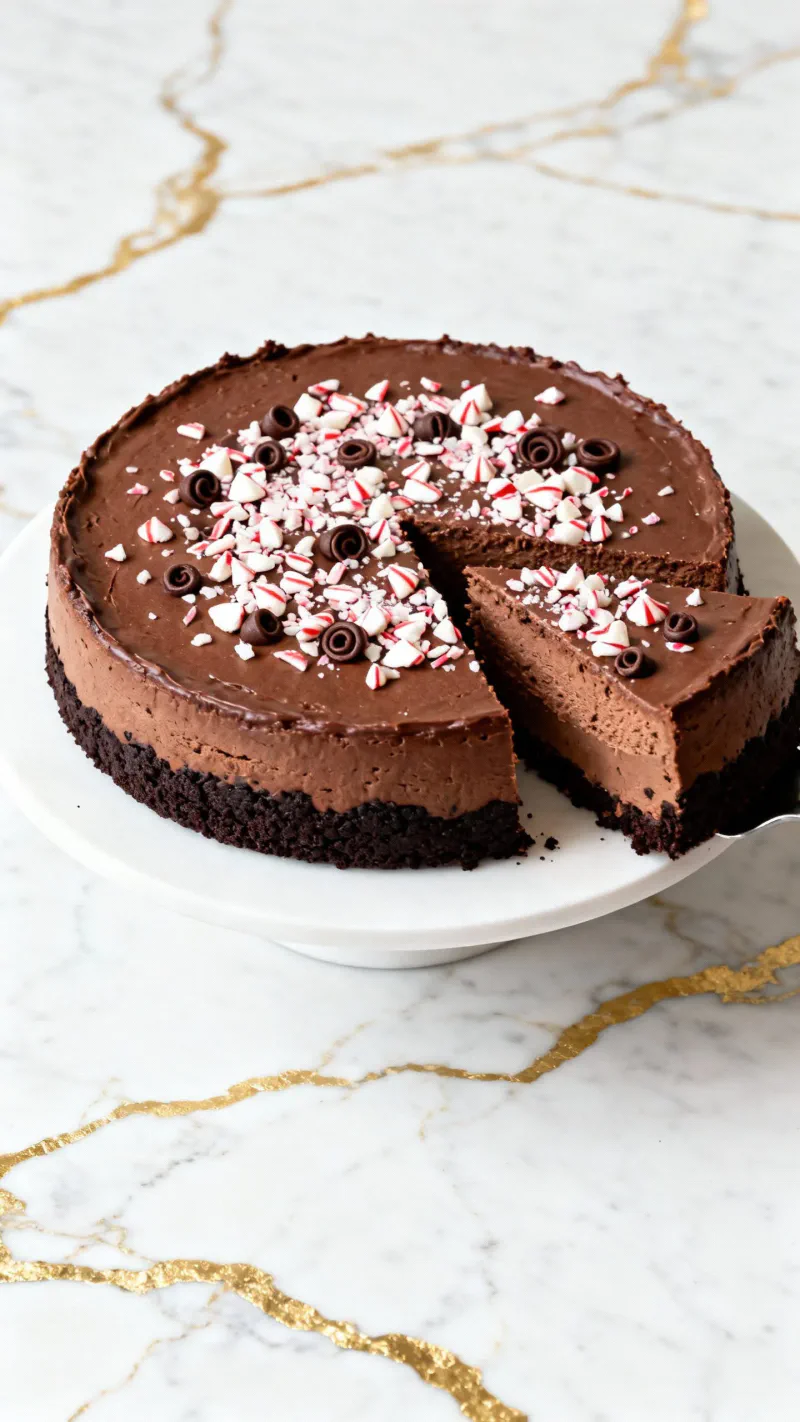
It starts with a chocolate cookie crust, gets filled with a silky chocolate cheesecake layer, and finishes with crushed peppermint on top for that festive crunch.

Here’s the magic: the peppermint provides freshness that cuts through all that richness. It tastes like a slice of December, honestly. If you enjoy chocolate and peppermint together, this is your holiday showstopper. My family requests it every single Christmas Eve, and people still talk about it from two years ago!
Jump to:
- Chocolate Peppermint Cheesecake
- Why I Love This Recipe
- Makes
- Total Time
- What You’ll Need
- Tools You’ll Need
- Pro Tips
- Substitutions and Variations
- Make Ahead Tips
- How to Make Chocolate Peppermint Cheesecake
- Step 1: Make the Crust
- Step 2: Melt the Chocolate
- Step 3: Beat the Cream Cheese and Sugar
- Step 4: Add Sour Cream, Cocoa, and Extracts
- Step 5: Add Melted Chocolate
- Step 6: Add Eggs
- Step 7: Pour and Bake
- Step 8: Cool and Chill
- Step 9: Add Toppings and Serve
- Leftovers & Storage
- Macros (Per Serving, Approximate)
- Why This Recipe Works (Quick Science)
- Common Mistakes
- What to Serve With
- FAQs
- What is the best way to prevent chocolate peppermint cheesecake from cracking?
- How long should you chill chocolate peppermint cheesecake before serving?
- Can I skip the water bath for this chocolate peppermint cheesecake recipe?
- How should I store leftover chocolate peppermint cheesecake?
- Final Thoughts
- About
- Millie Pham
- Chocolate Peppermint Cheesecake
- Ingredients
- Instructions
- Last Step:
- Nutrition
- Did you make this recipe?
Why I Love This Recipe
Let me tell you about the first time I made this. I brought it to a holiday party, and I watched it disappear in under twenty minutes. It was memorable, and not just because I got asked for the recipe four times in one night.
It’s rich like a classic chocolate cheesecake, but the minty twist makes it feel special. It’s festive without being over the top, and that crunchy peppermint topping is so satisfying against the smooth filling.
Here’s why I keep coming back to it:
- It’s make ahead friendly, which saves you on busy holiday weeks
- The texture is silky smooth every time
- Mint and chocolate are the ultimate winter combination
- The crust stays crisp and chocolaty
- It looks fancy but is actually simple
That last one matters most. Your guests will think you spent all day. Only you need to know the truth.
Makes
This recipe makes 12 generous servings, so there’s plenty for a crowd or for sneaking a second slice.
Total Time
Here’s the honest time breakdown:
- Prep: 30 minutes
- Bake: 1 hour
- Chill: at least 6 hours, preferably overnight
Yes, the chilling time is long, but most of it happens while you sleep. Plan ahead and this is totally doable.
What You’ll Need
Everything here is everyday stuff, nothing weird to hunt down:
Crust:
- 24 chocolate sandwich cookies (like Oreos)
- 1/4 cup unsalted butter, melted
Filling:
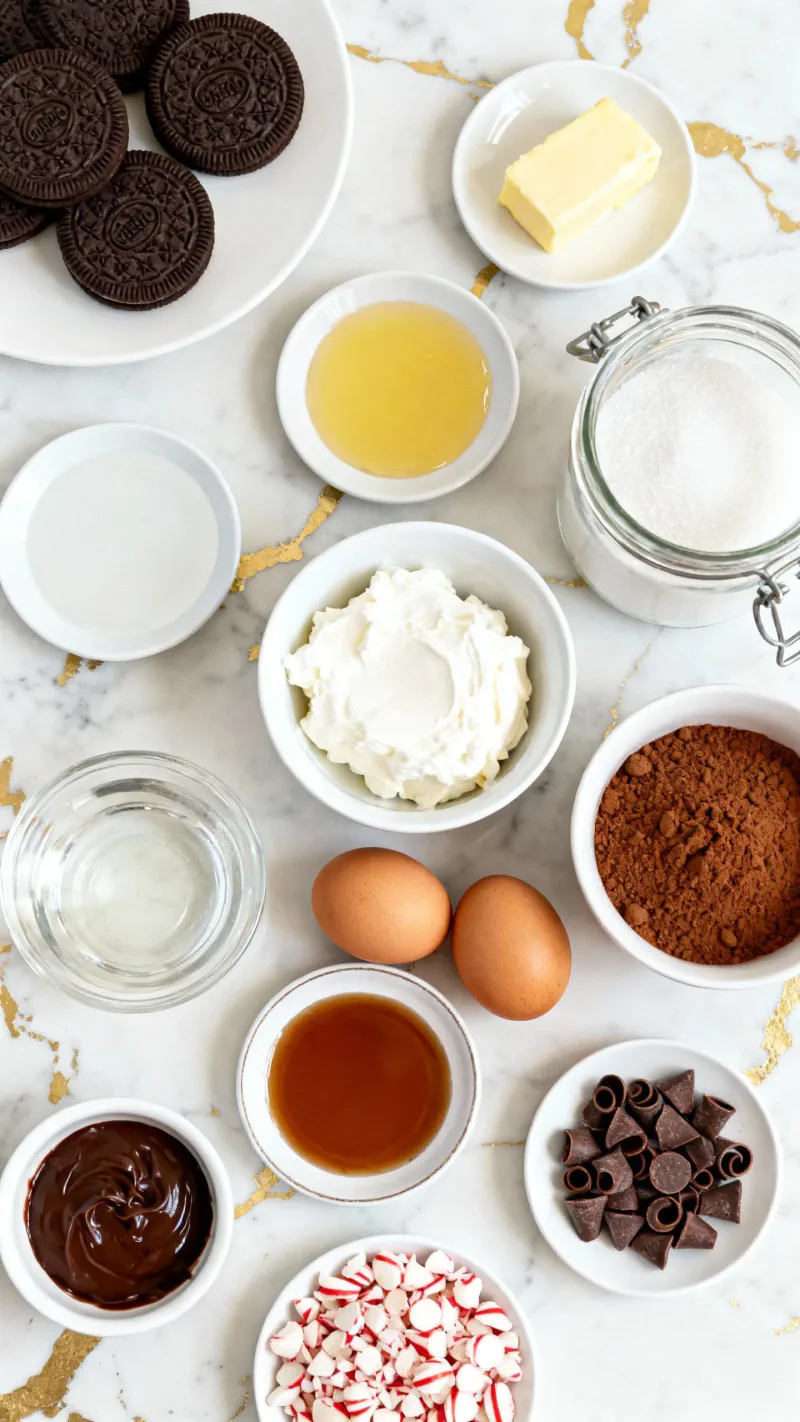
- 3 (8 oz) blocks cream cheese, softened
- 1 cup granulated sugar
- 1 cup sour cream
- 1/2 teaspoon peppermint extract
- 1 teaspoon vanilla extract
- 1/4 cup unsweetened cocoa powder
- 8 oz semi sweet chocolate, melted and cooled slightly
- 3 large eggs
Topping:
- 1/3 cup crushed peppermint candies
- Optional: mini chocolate curls for garnish
Pro tip from my kitchen: set the cream cheese out first thing in the morning. Softened cream cheese makes everything easier later.
Tools You’ll Need
You probably own most of this already:
- 9 inch springform pan
- Food processor, or a zip bag plus a rolling pin
- Mixing bowls
- Electric mixer, hand or stand
- Rubber spatula
- Small saucepan for melting chocolate
- Wire rack
- Foil for the water bath
- Roasting pan or large baking dish for the water bath
If you don’t own a food processor, the zip bag and rolling pin method works great. It’s also oddly satisfying after a long day.
Pro Tips
These are the little things that make a big difference:
- Room temperature cream cheese. Cold cream cheese means lumpy batter. Warm it up and your filling will be silkier.
- Melt the chocolate first. It needs time to cool slightly before it goes into the batter.
- Wrap the springform pan tightly in foil. This keeps water from leaking in during the water bath. Nobody wants a soggy crust.
- Do not skip the water bath. I know it feels fussy. It prevents cracks, and cracks are the number one heartbreak of homemade cheesecake.
- Chill it overnight. Six hours is the minimum, but overnight gives the best texture by far.
Trust me on the overnight chill. The flavor deepens and the texture becomes something truly special.
Substitutions and Variations
Want to tweak it? Here are easy swaps that work:
- Use gluten free cookies for a gluten free version
- Not a mint person? Swap the peppermint extract for more vanilla
- Use dark chocolate instead of semi sweet for a richer flavor
- Top with whipped cream instead of crushed peppermint
I’ve tried the dark chocolate version, and it’s wonderful for serious chocolate lovers. The whipped cream topping is lovely for kids who skip the crunchy bits.
Make Ahead Tips
This is the holiday dessert dream: you can make the cheesecake 1 to 2 days in advance and keep it chilled until serving. That’s one less thing to do on the big day.
One important note: add the crushed peppermint topping just before serving so it stays crunchy. Candies sitting in the fridge overnight turn sticky and sad. Ten seconds of sprinkling right before guests arrive keeps everything perfect.
How to Make Chocolate Peppermint Cheesecake
Nine steps, one gorgeous cheesecake. Let’s do this together.
Step 1: Make the Crust
Crush 24 chocolate sandwich cookies into fine crumbs. A food processor makes quick work of it, but the zip bag and rolling pin route works too.
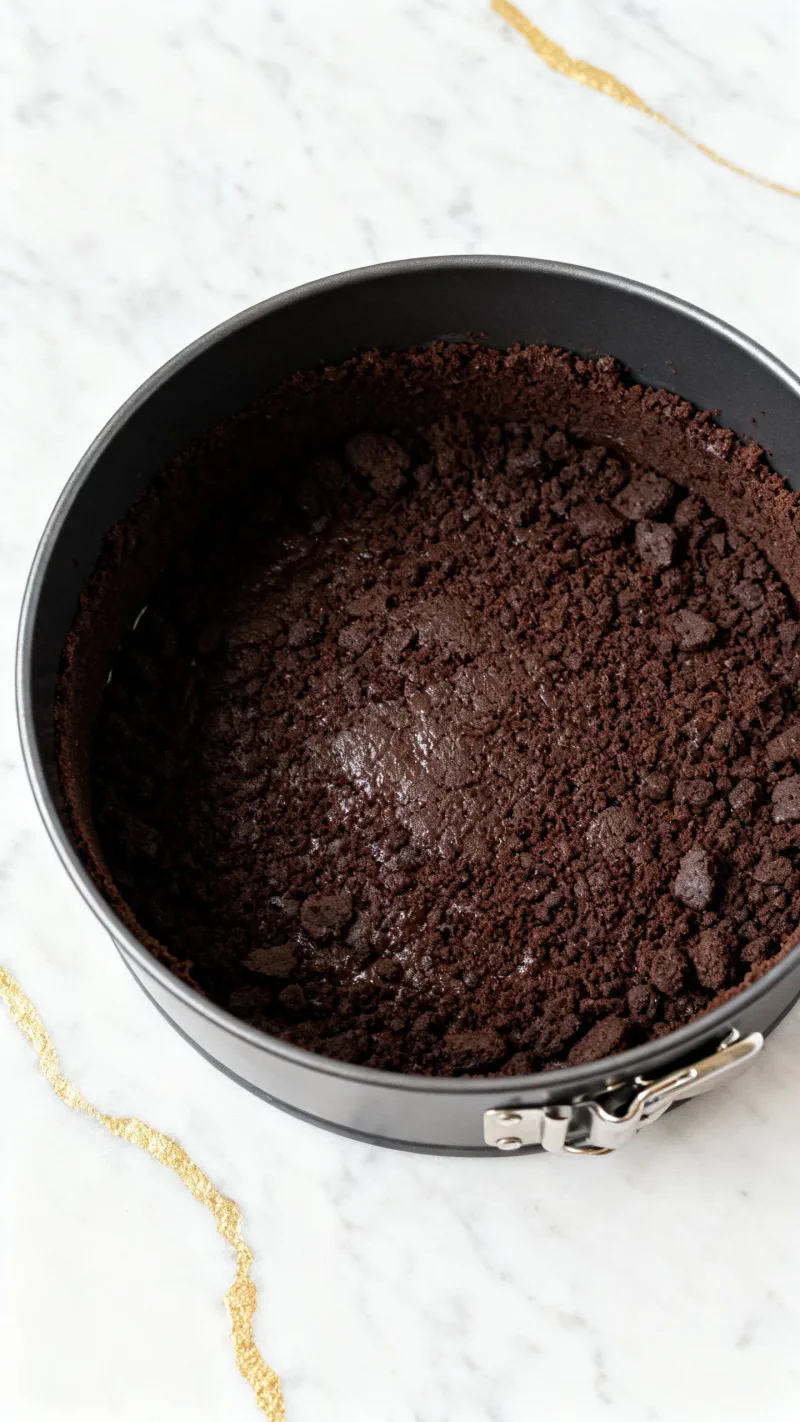
Mix the crumbs with 1/4 cup melted unsalted butter, then press the mixture firmly into the bottom of a 9 inch springform pan. Bake at 325°F for 10 minutes, then let it cool.
Step 2: Melt the Chocolate
In a small saucepan over low heat, melt 8 oz of semi sweet chocolate, stirring until it’s smooth and glossy.
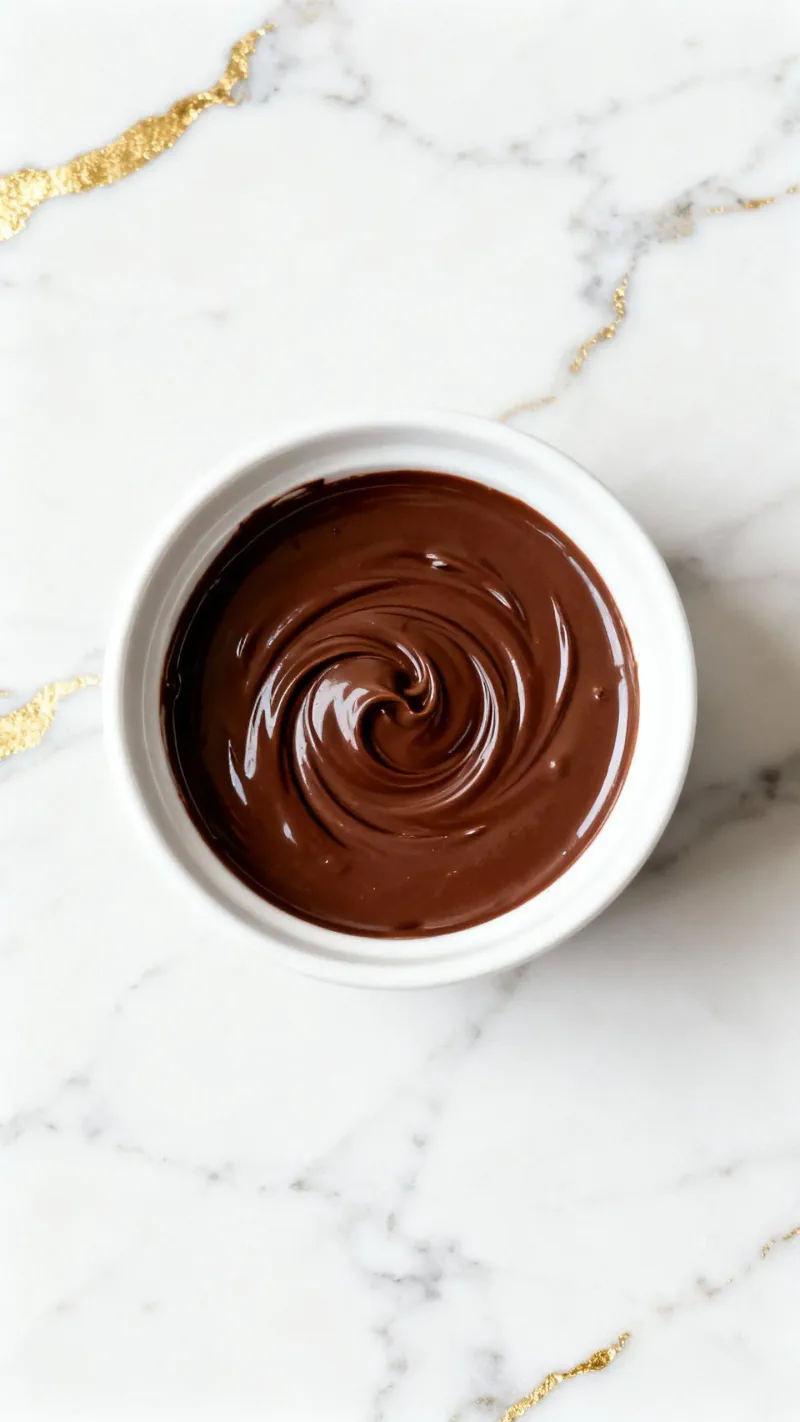
Set it aside to cool slightly. Don’t rush this part; piping hot chocolate can mess with your batter.
Step 3: Beat the Cream Cheese and Sugar
In a large bowl, beat 3 blocks of softened cream cheese with 1 cup granulated sugar until the mixture is light and fluffy.
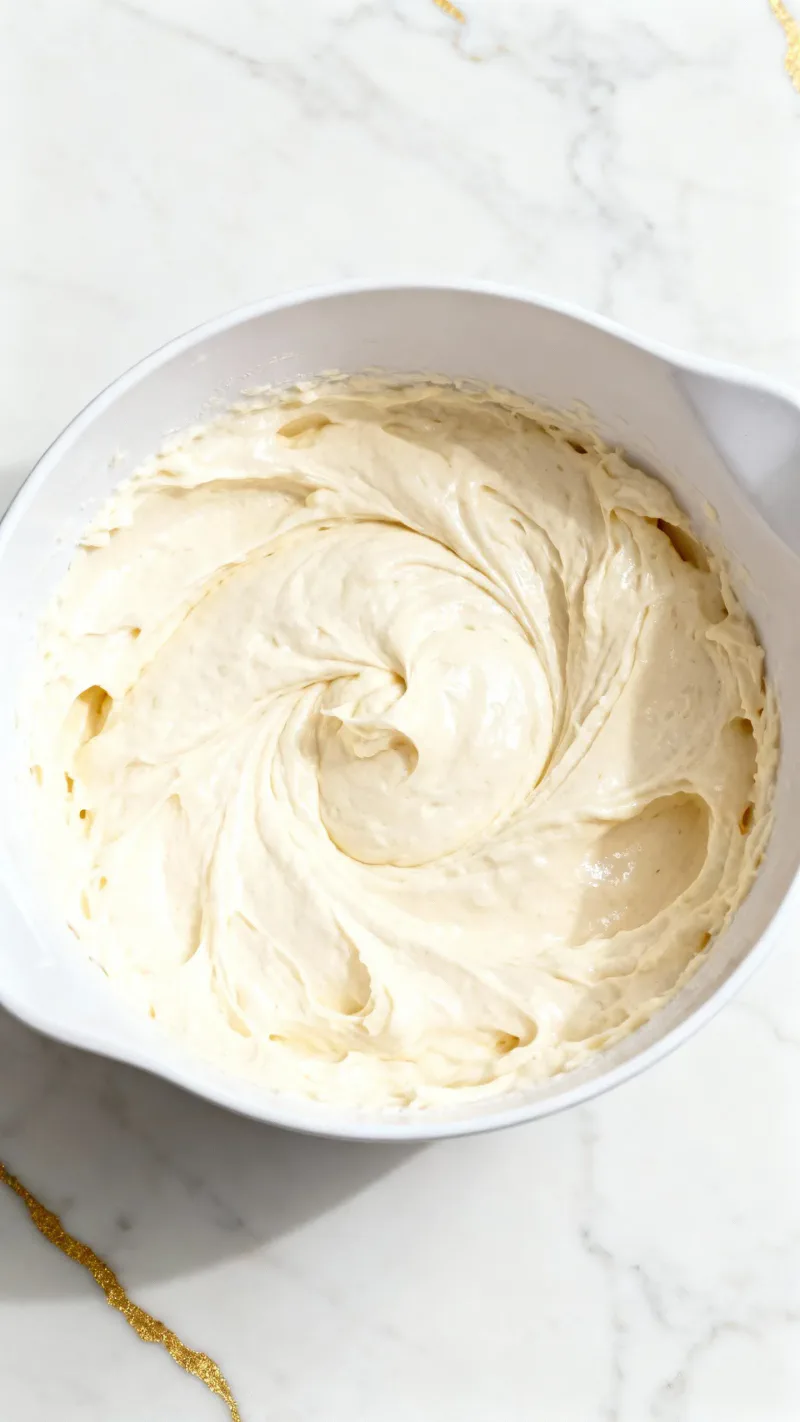
Take your time here. This is where the creamy magic starts.
Step 4: Add Sour Cream, Cocoa, and Extracts
Add 1 cup sour cream, 1/4 cup unsweetened cocoa powder, 1/2 teaspoon peppermint extract, and 1 teaspoon vanilla extract to the cream cheese mixture.
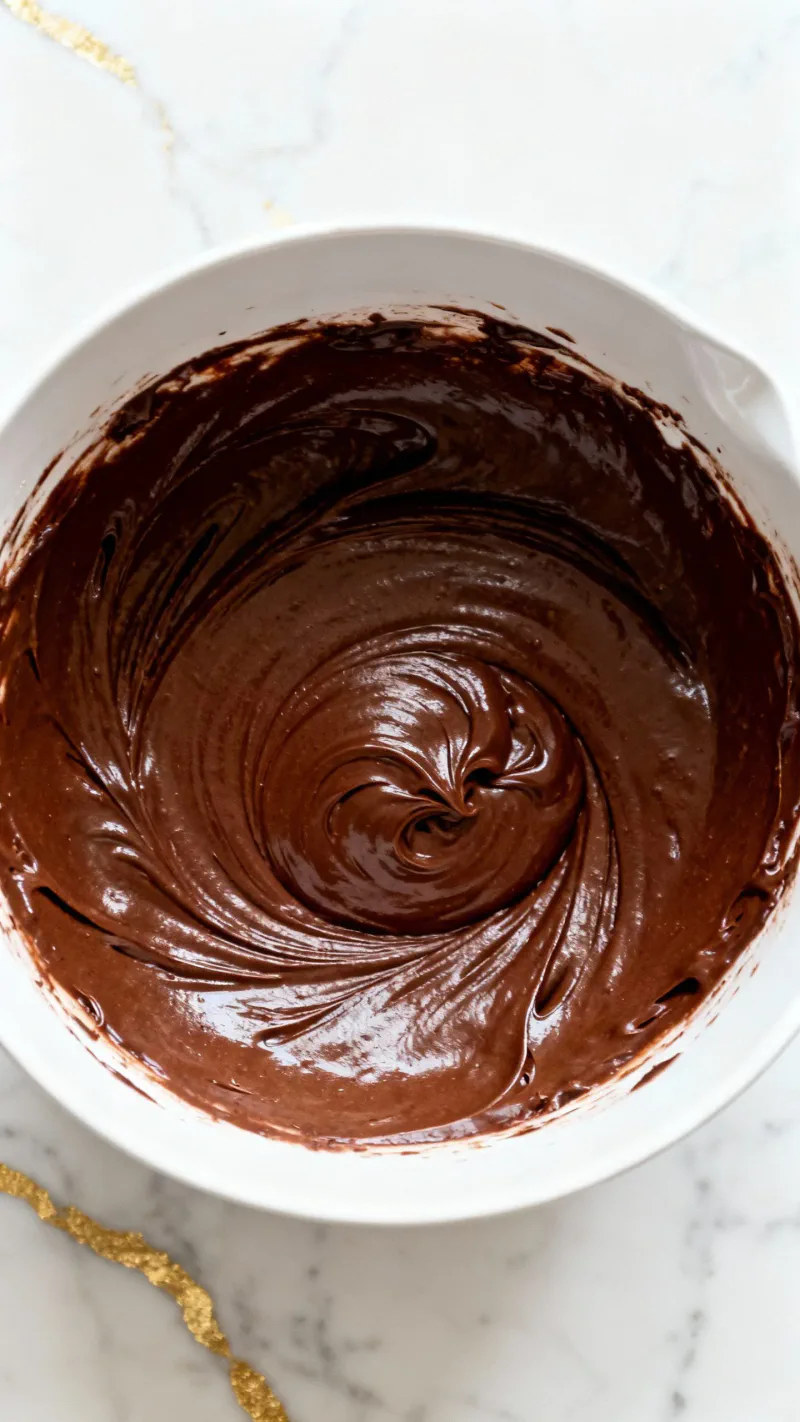
Beat until everything is smooth. Scrape down the sides of the bowl so nothing hides at the bottom.
Step 5: Add Melted Chocolate
Pour in the cooled melted chocolate and mix until fully combined.
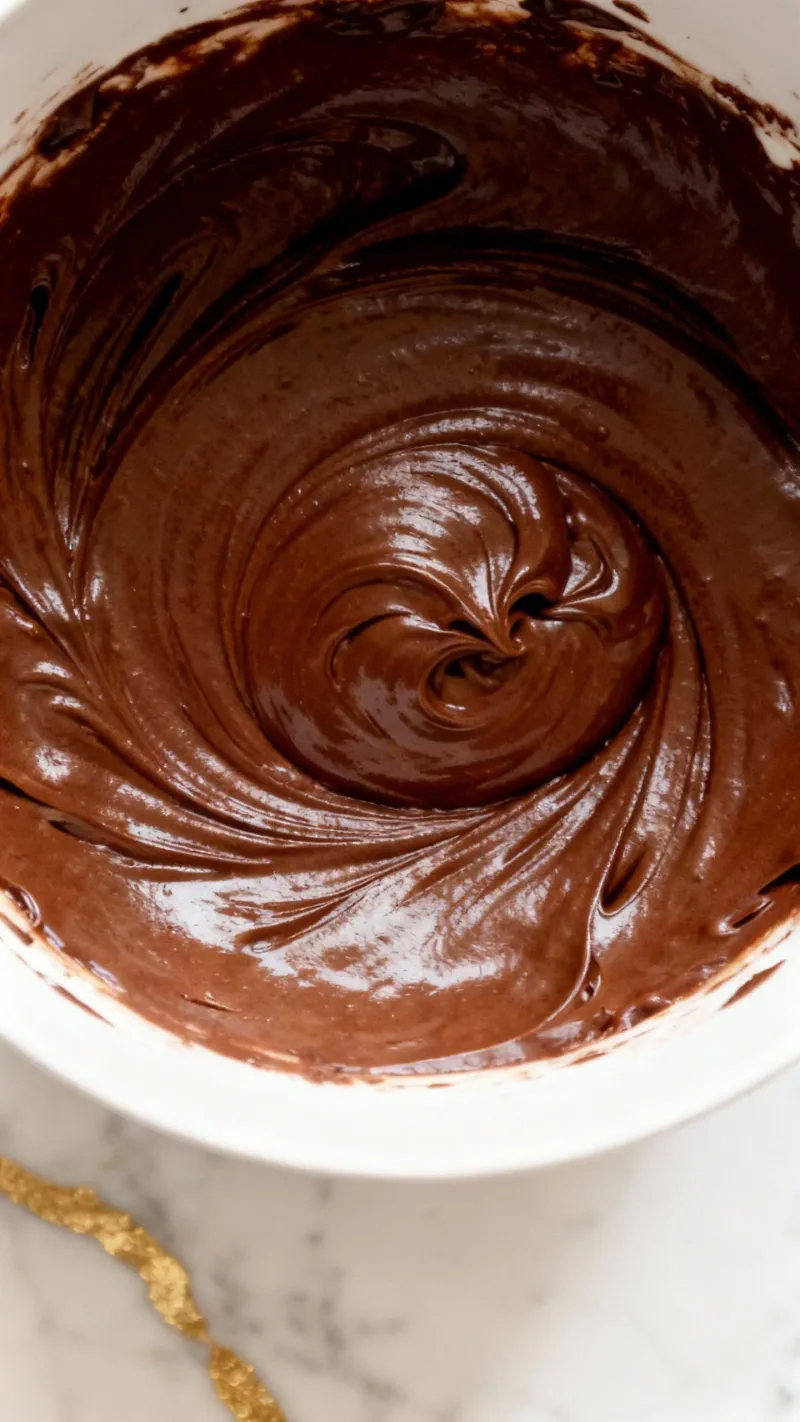
The batter should turn a deep, rich chocolate brown. It already smells amazing, doesn’t it?
Step 6: Add Eggs
Add 3 large eggs, one at a time, mixing on low speed just until each one is blended. Here’s the warning I give every first time cheesecake maker: don’t overmix.
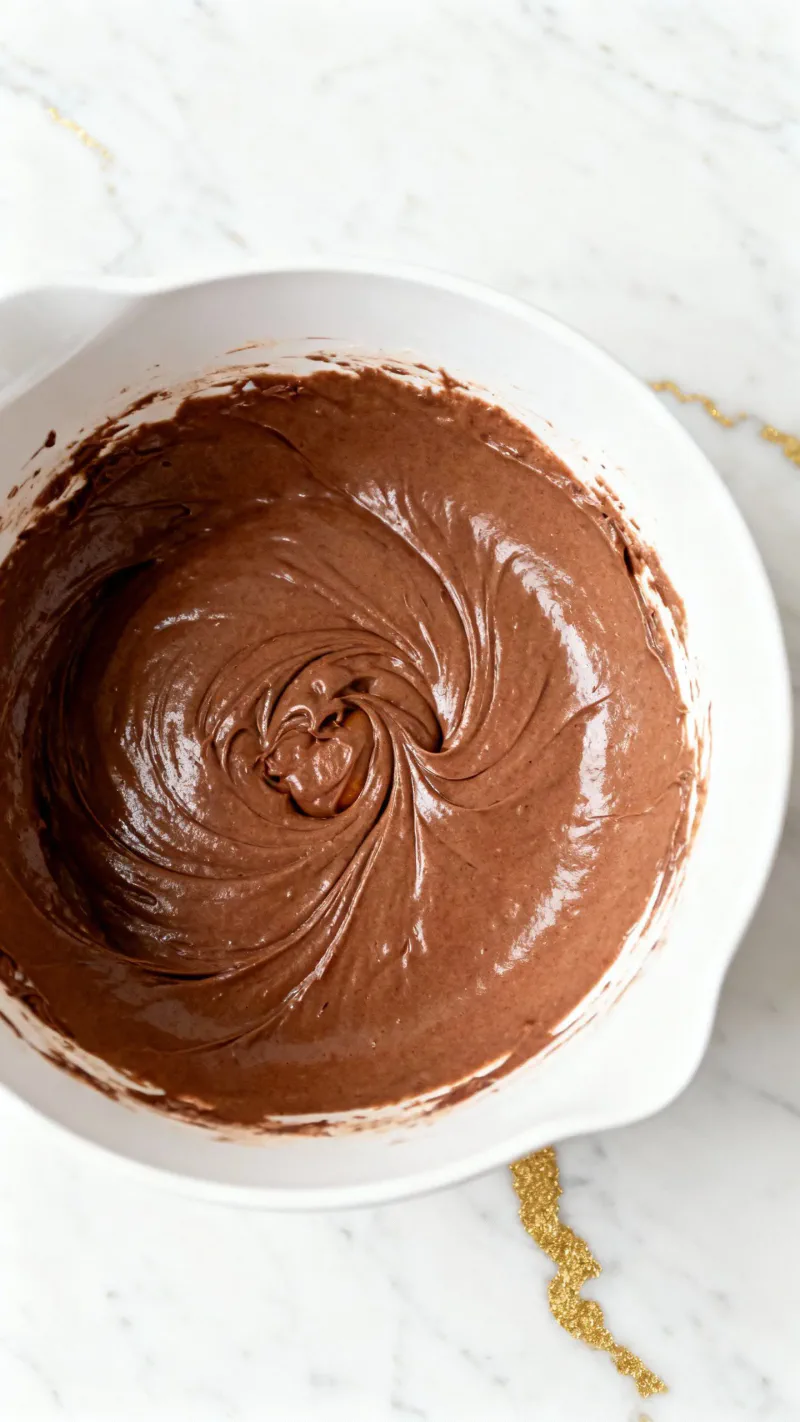
Extra air leads to uneven rising and cracking later. Low and slow wins.
Step 7: Pour and Bake
Pour the batter into the cooled crust. Now for the water bath: wrap the springform pan in foil, set it in a roasting pan, and fill the roasting pan with hot water until it reaches halfway up the sides.
Bake at 325°F for 55 to 65 minutes, until the center is just set. A slight wobble in the very middle is exactly what you want.
Step 8: Cool and Chill
Let the cheesecake cool completely on a wire rack. Then chill it in the fridge for at least 6 hours, or overnight if you can wait.
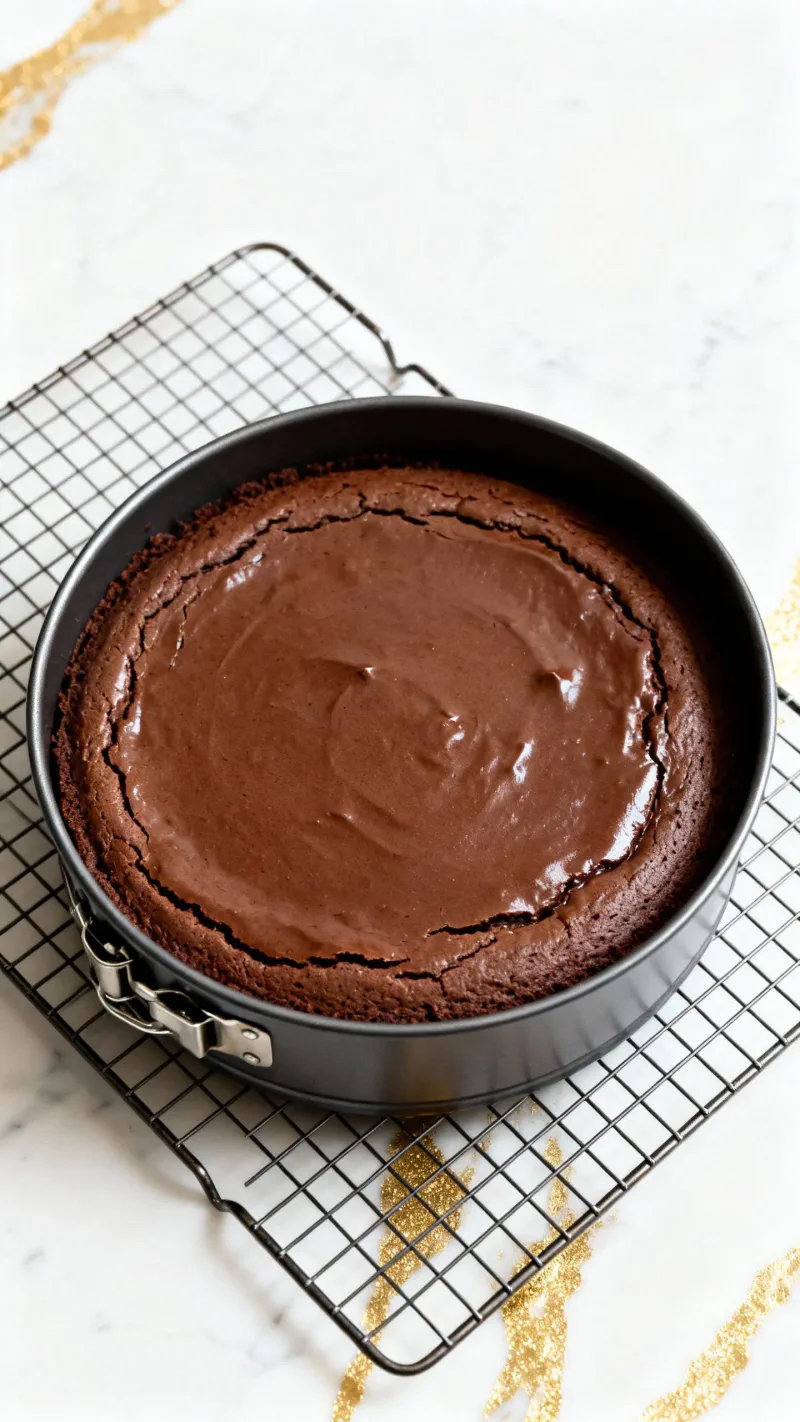
I know, waiting is the hardest step. It’s worth it.
Step 9: Add Toppings and Serve
Once chilled, scatter 1/3 cup crushed peppermint candies over the top.
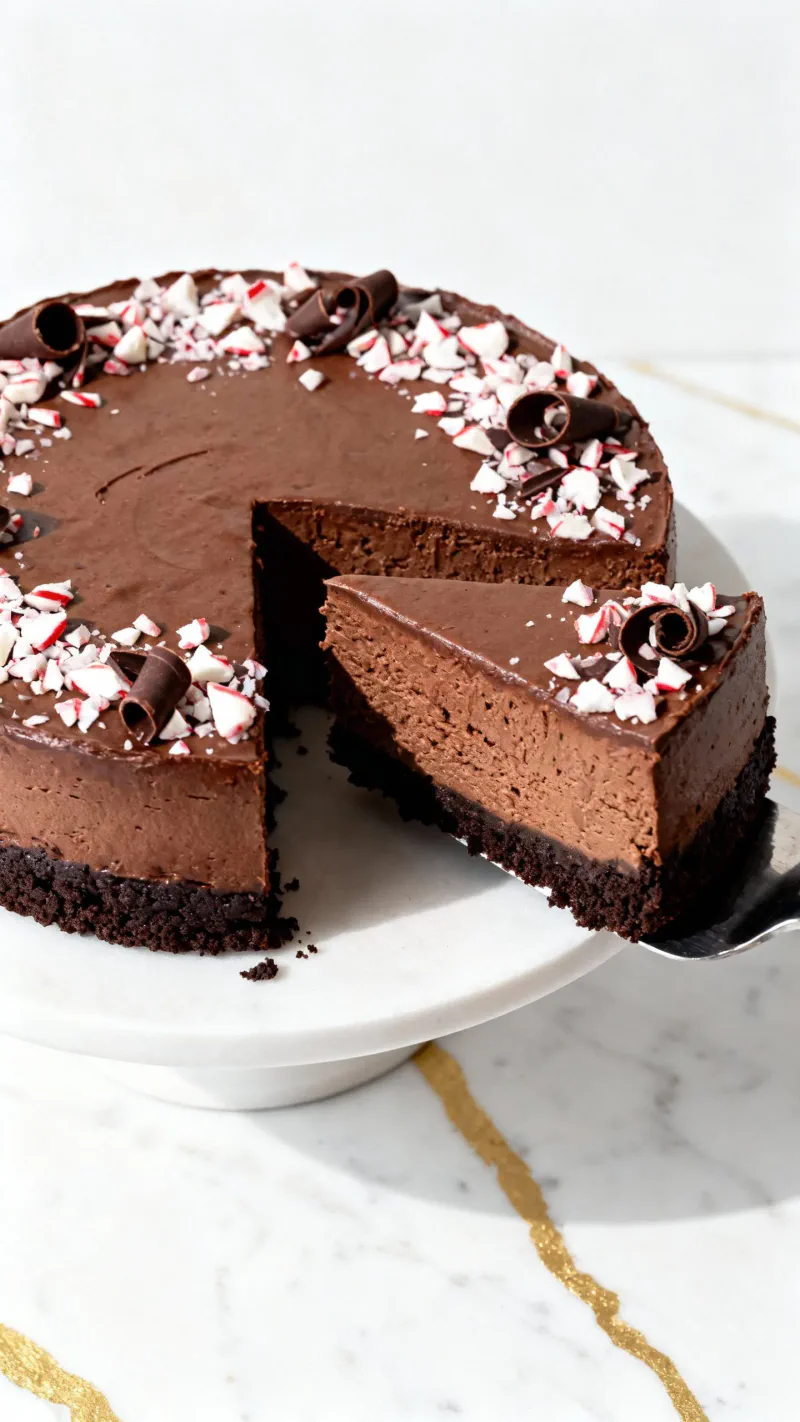
Add mini chocolate curls too, if you’re feeling fancy. Slice, serve, and accept the compliments gracefully.
Leftovers & Storage
If you somehow have leftovers (rare in my house), store the cheesecake covered in the fridge for up to 5 days. It holds up beautifully.
You can also freeze individual slices. Wrap each one tightly and place them in a freezer safe bag for up to 2 months. When the craving hits, thaw a slice overnight in the fridge before serving. Future you will be very grateful.
Macros (Per Serving, Approximate)
Here’s the approximate nutrition per serving, so you know exactly what you’re enjoying:
| Nutrient | Amount |
|---|---|
| Calories | 480 |
| Protein | 7g |
| Fat | 34g |
| Carbs | 38g |
| Sugar | 28g |
| Fiber | 2g |
It’s a holiday dessert, and holiday desserts are meant to be enjoyed. One glorious slice, zero regrets.
Why This Recipe Works (Quick Science)
Ever wonder why the instructions are so specific? Here’s the quick science, minus the lecture:
- The water bath bakes the cheesecake gently with even heat, which helps prevent cracking. Dry oven heat is what causes those dreaded cracks.
- Cream cheese and sour cream balance each other out to create that silky smooth texture.
- Melted chocolate adds richness without needing a ton of extra sugar.
- The peppermint lifts the chocolate’s heaviness just enough to keep every bite balanced.
Understanding the why makes you a more confident baker. And confident bakers make cheesecakes people talk about for years.
Common Mistakes
Learn from my early cheesecake failures so you can skip straight to success:
- Skipping the water bath. This can lead to cracks and dry edges. It takes two minutes and saves the whole dessert.
- Overmixing the batter. It adds air, and that air makes the cheesecake rise and fall unevenly. Mix eggs in on low speed, just until blended.
- Not chilling long enough. A cheesecake that hasn’t set fully tastes underdeveloped and slices messy. Give it at least 6 hours, ideally overnight.
- Adding peppermint candies too early. They can melt or get sticky in the fridge. Add them just before serving for that perfect crunch.
The biggest mistake? Rushing the chill. Patience is an ingredient in this recipe.
What to Serve With
This cheesecake plays well with others. Try it with:
- Hot chocolate or a peppermint mocha for the full festive moment
- A dollop of whipped cream on the side
- Chocolate dipped pretzels for a salty sweet contrast
- A holiday cookie platter for dessert tables
Last Christmas I served it with peppermint mochas after dinner, and my guests declared it the coziest night of the season. Set the scene and let the dessert do the rest.
FAQs
What is the best way to prevent chocolate peppermint cheesecake from cracking?
How long should you chill chocolate peppermint cheesecake before serving?
Can I skip the water bath for this chocolate peppermint cheesecake recipe?
How should I store leftover chocolate peppermint cheesecake?
Final Thoughts
This Chocolate Peppermint Cheesecake feels special without being intimidating. It’s smooth, rich, and just the right amount of minty, and it will impress anyone who tries a slice. It’s totally doable, even if you’ve never made a cheesecake before.
If you make it this holiday season, let me know how it turns out. I’d love to hear whether it becomes part of your tradition the way it has become part of mine. Happy baking, and cozy Christmas nights to you and yours!
About
This recipe comes from Millie Pham of Bean Leaf Cup, who knows her way around both desserts and warm drinks.
Millie Pham
Millie Pham is a brewer and tea lover, and the founder of Bean Leaf Cup. Her mission is simple: to share her tea and coffee knowledge with anyone who wants to learn.

She believes that brewing a truly great cup of tea or coffee should be easy for everyone, whether you’ve been at it for years or you’re just starting out. That friendly, approachable spirit shows in her recipes too, including this festive cheesecake.
Print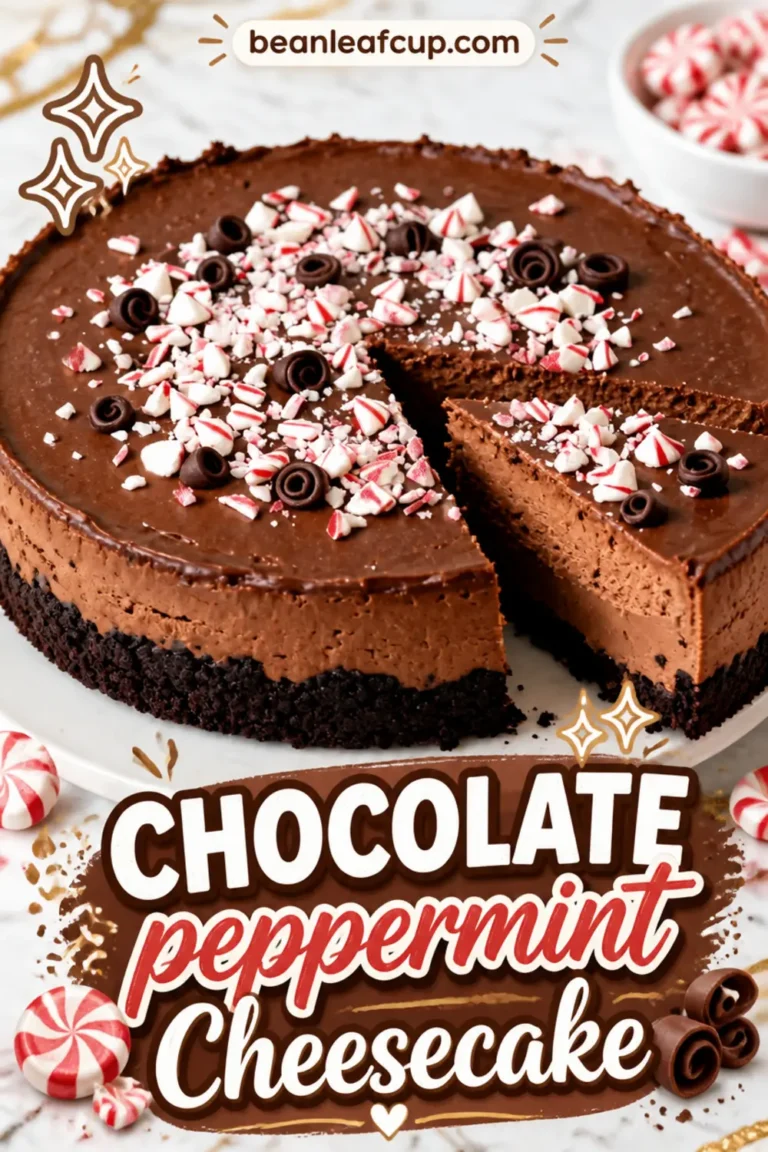
Chocolate Peppermint Cheesecake
Chocolate Peppermint Cheesecake This one’s for you if you love a dessert that makes people gasp when you carry it to the table. This Chocolate Peppermint Cheesecake is rich, creamy, and completely indulgent, yet it is way easier to pull off than it looks.
- Total Time: 0 min
- Yield: 12 servings 1x
Ingredients
Crust
24 chocolate sandwich cookies (like Oreos)
1/4 cup unsalted butter, melted
Filling
3 (8 oz) cream cheese, softened
1 cup granulated sugar
1 cup sour cream
1/2 teaspoon peppermint extract
1 teaspoon vanilla extract
1/4 cup unsweetened cocoa powder
8 oz semi-sweet chocolate, melted and cooled slightly
3 large eggs
Topping
1/3 cup crushed peppermint candies
mini chocolate curls
Instructions
Make the Crust
1-Crush 24 chocolate sandwich cookies into fine: Crush 24 chocolate sandwich cookies into fine crumbs. Mix with 1/4 cup melted unsalted butter. Press into the bottom of a 9-inch springform pan. Bake at 325°F for 10 minutes.
Melt the Chocolate
2-Melt 8 oz semi-sweet chocolate in a: Melt 8 oz semi-sweet chocolate in a small saucepan over low heat, stirring until smooth. Set aside to cool slightly.
Make the Filling
3-In a large bowl, beat 3 blocks: In a large bowl, beat 3 blocks of softened cream cheese with 1 cup granulated sugar until light and fluffy.
4-Add 1 cup sour cream, 1/4 cup: Add 1 cup sour cream, 1/4 cup unsweetened cocoa powder, 1/2 teaspoon peppermint extract, and 1 teaspoon vanilla extract to the cream cheese mixture. Beat until smooth.
5-Pour in the cooled melted chocolate and: Pour in the cooled melted chocolate and mix until fully combined.
6-Add 3 large eggs, one at a: Add 3 large eggs, one at a time, mixing on low speed just until blended. Don’t overmix.
Assemble and Bake
7-Pour the batter into the cooled crust: Pour the batter into the cooled crust. Wrap the springform pan in foil and place in a roasting pan. Fill halfway up the sides with hot water. Bake at 325°F for 55-65 minutes until the center is just set.
Cool and Chill
8-Let cheesecake cool completely on a wire: Let cheesecake cool completely on a wire rack, then chill in the fridge for at least 6 hours or overnight.
Add Toppings and Serve
9-Top the chilled cheesecake with 1/3 cup: Top the chilled cheesecake with 1/3 cup crushed peppermint candies and optional mini chocolate curls. Slice and serve.
Last Step:
Please leave a rating and comment letting us know how you liked this recipe! This helps our business to thrive and continue providing free, high-quality recipes for you.- Prep Time: 30 min
- Cook Time: 60 min
- Method: bake
Nutrition
- Calories: 480
- Sugar: 28g
- Fat: 34g
- Carbohydrates: 38g
- Fiber: 2g
- Protein: 7g