Why You Will Love This Crunchy Dill Pickle Recipe
You will be surprised at how easy it is to turn summer cucumbers into crisp, tangy dill pickles that sit ready in your pantry. This is a beginner friendly water bath canning recipe, and it is a great way to use up a garden surplus or a big cucumber haul from the farmers market.
I used to feel nervous about canning. The idea of boiling jars and waiting for seals made the whole process seem too complicated. Once I followed these steps, I realized the actual work is simple. You wash, slice, pack, pour, and process. The rest is just waiting for those lids to pop.

Homemade pickles also give you control. You can make hamburger slices, spears, or keep small cucumbers whole. You can add heat with red pepper flakes or stick with the classic dill and garlic flavor.
Expert Tip: Pickling cucumbers give you the firmest texture. Persian and Kirby cucumbers are excellent choices for crunchy homemade pickles.
Jump to:
- Why You Will Love This Crunchy Dill Pickle Recipe
- Here Are the Ingredients Needed
- Essential Canning Tools
- How to Make Crunchy Dill Pickles Step by Step
- How to Sterilize Canning Jars
- Storage Instructions
- Recipe Variations
- Expert Tips for Crunchy Dill Pickles
- Frequently Asked Questions
- How do you keep homemade dill pickles crunchy when canning?
- What type of vinegar is best for canning dill pickles?
- How long should I process pint jars of dill pickles in a water bath canner?
- How long do canned dill pickles need to sit before they taste best?
- Crunchy Dill Pickle Recipe
- Ingredients
- Instructions
- Last Step:
- Nutrition
- Did you make this recipe?
Here Are the Ingredients Needed
This recipe makes about 14 pint jars or 7 quart jars, depending on the size of the cucumbers and how tightly you pack each jar.
- 8 to 10 pickling cucumbers
- 5 cups water
- 3 1/2 cups white distilled vinegar
- 5 teaspoons dill seed
- 4 teaspoons mustard seeds
- 7 to 14 cloves garlic, 1 clove per jar
- 32 black peppercorns
- 4 tablespoons pickling salt
- 2 tablespoons granulated sugar
White distilled vinegar is preferred for a clean, sharp brine. Pickling salt dissolves well and keeps the liquid clear. Fresh garlic works better than jarred minced garlic, and mustard seed adds a gentle tang. You can use fresh dill or freeze dried dill if you want, but dill seed is easy to measure and reliable in the jar.
Essential Canning Tools
Before you start, gather a few basic tools. They make the process safer and much easier.
- Canning kit with a jar lifter
- Magnet for lifting seals and lids
- Canning funnel
- Quality mason jars with new lids and bands
- Water bath canner with a fitted rack
- Small scoop or ladle for pouring brine
A water bath canner keeps the jars fully submerged and evenly heated. The rack is important because it prevents the jars from sitting directly on the bottom of the pot.
| Prep Time | Cook Time | Total Time | Yield |
|---|---|---|---|
| 40 minutes | 30 minutes | 13 hours 10 minutes | 14 pint jars or 7 quarts |
Pint jars process for 10 minutes, and quart jars process for 20 minutes. The total time includes the sealing and cooling period, which is why the recipe takes about 13 hours from start to pantry ready jars.
How to Make Crunchy Dill Pickles Step by Step
Follow these water bath canning directions in order. Keep the jars warm while you work so they do not crack when the hot brine is added.
- Sterilize your mason jars and lids. Clean them well with soap and water, then place them in a large pot with water. Bring the water to a boil for 5 to 10 minutes, then lower the heat and let the jars simmer while you prepare the pickles.
- Wash and rinse all the cucumbers. Trim off both ends, then slice them into spears, hamburger slices, or any shape you prefer.
- Add 1 clove of garlic to each jar. Divide the dill seed, mustard seeds, and peppercorns evenly among all the jars.
- Pack the prepared cucumbers into the jars as tightly as you can. A tight pack helps the pickles keep their crunch and prevents floating.
- Make the brine. Add the water, vinegar, pickling salt, and sugar to a pan over medium high heat. Bring the mixture to a boil while stirring so the salt and sugar fully dissolve.
- Pour the hot brine into the prepared jars. Leave 1/2 inch of headspace at the top. Place the seals on and twist the bands until hand tight. Do not tighten them too much.
- Prepare the water bath canner. Place the fitted rack inside and fill the canner with water. Bring the water to a full boil, lift the rack out, place the jars on the rack, and lower them into the water.
- Make sure all jars are fully submerged. Boil pint jars for 10 minutes and quart jars for 20 minutes. Altitude may affect processing time, so check the recommended adjustment for your area.
- Carefully remove the jars and set them on a towel lined cooling rack. Do not tilt or dry the jars right away.
- Let the jars cool. The seals will pop as they lock tight, usually within 12 to 24 hours.
- Store the sealed jars in a pantry or cool, dry place for up to 1 year. For the best flavor, let the pickles sit for at least 3 weeks before opening.
How to Sterilize Canning Jars
Clean jars are essential for safe, shelf stable pickles. Wash each jar and lid in warm soapy water, then rinse well. Place a canning rack in the bottom of a large pot, add the jars, and cover them with water.
Boil for 10 to 15 minutes. The rack keeps the jars from touching the bottom of the pot, which helps prevent cracking. Keep the jars in the hot water or on a clean towel until you are ready to fill them.
Storage Instructions
After the jars cool and the seals pop, label them with the date and store them in a cool, dry place away from direct sunlight. Properly sealed jars can stay at their best for up to 1 year.
If a jar does not seal, do not store it at room temperature. Place that jar in the refrigerator and eat the pickles within 7 days. Canned pickles taste best after at least 3 weeks, and they continue to develop flavor the longer they sit.
Recipe Variations
- Add red pepper flakes to the jars if you want a little heat.
- Cut the cucumbers into hamburger slices, spears, or leave small baby cucumbers whole.
- Use fresh dill or freeze dried dill instead of dill seed for a different dill flavor. Dried dill may have a less pronounced fresh taste, so adjust to your liking.
- Use pickling mix according to the package directions if you prefer a preblended seasoning.
Expert Tips for Crunchy Dill Pickles
- Keep the jars hot until you fill them. A hot jar is less likely to crack when the boiling brine is poured inside.
- Trim the cucumber ends. Trimming releases enzymes that help the pickles stay crunchy.
- Pack the jars tightly so the slices stay firm instead of floating and softening.
- Do not close the bands too tightly before processing. Hand tight is enough. Air needs to escape during canning.
- Adjust the processing time for altitude if you live above sea level. Check a reliable canning guide for your elevation.
- Expect the seals to pop within 12 to 24 hours. If a lid does not pop, refrigerate that jar.
Frequently Asked Questions
How do you keep homemade dill pickles crunchy when canning?
What type of vinegar is best for canning dill pickles?
How long should I process pint jars of dill pickles in a water bath canner?
How long do canned dill pickles need to sit before they taste best?
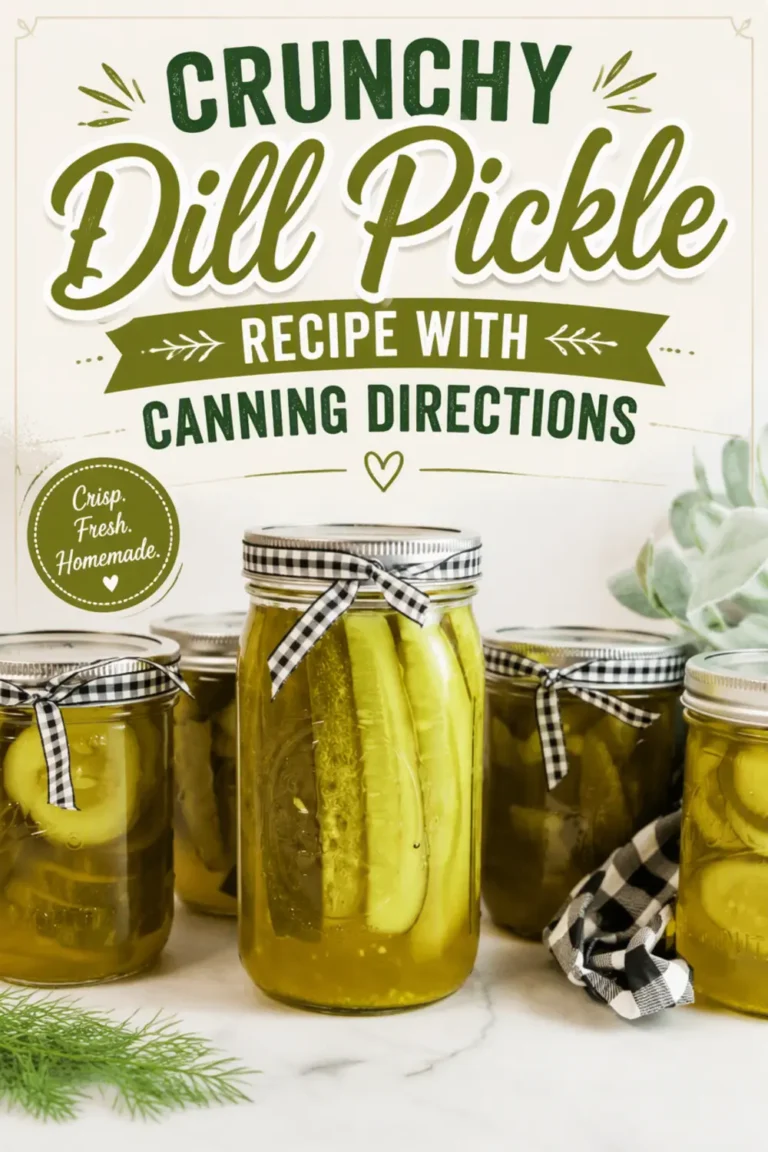
Crunchy Dill Pickle Recipe
Why You Will Love This Crunchy Dill Pickle Recipe You will be surprised at how easy it is to turn summer cucumbers into crisp, tangy dill pickles that sit ready in your pantry. This is a beginner friendly water bath canning recipe, and it is a great way to use up a garden surplus or a big cucumber haul from the farmers market.
- Total Time: 790 min
- Yield: 14 pints (or 7 quarts) 1x
Ingredients
Ingredients
8–10 cucumbers pickling cucumbers
5 cups water
3 1/2 cups white distilled vinegar
5 teaspoons dill seed
4 teaspoons mustard seeds
7–14 cloves garlic, 1 per jar
32 black peppercorns
4 tablespoons pickling salt
2 tablespoon sugar
Instructions
Instructions
1-Start by sterilizing your mason jars and: Start by sterilizing your mason jars and lids. Clean well with soap and water, then place in a large pot with water, and let the water boil, then after 5-10 minutes, lower to let the jars simmer while you work on the pickles.
2-Wash and rinse all your cucumbers: Wash and rinse all your cucumbers. Trim off the ends, and then slice into spears, hamburger slices, or any style you want.
3-Add 1 clove of garlic into each: Add 1 clove of garlic into each jar, and then with the rest of the dill seed, mustard seed, and peppercorn, split between all the jars.
4-Add in the pickles, packing the jars: Add in the pickles, packing the jars as tight as you can.
5-Add your water, vinegar, pickling salt and: Add your water, vinegar, pickling salt and sugar in a pan over medium-high heat. bring mixture to a boil stirring, to make sure the salt and the sugar fully dissolve.
6-Pour the pickle brine into the prepared: Pour the pickle brine into the prepared jars. Leave 1/2″ of space at the top. Then place seals on and lightly seal hand tight. Don’t do too tight.
7-In your water canning pot, place your: In your water canning pot, place your fitted rack in. Fill with water and bring to a full boil. Lift the rack out and place jars on the rack and lower into the water.
8-Make sure all the jars are fully: Make sure all the jars are fully submerged and boil for 10 minutes if pint size, and 20 minutes if quart size jars.
9-Once done, remove the jars carefully and: Once done, remove the jars carefully and place on a towel lined cooling rack.
10-The seals will pop as they lock: The seals will pop as they lock tight. You should expect them to all seal within 12-24 hours of being canned.
11-Store your canned dill pickles in a: Store your canned dill pickles in a pantry or cool dry place for up to 1 year. Best to allow the pickles to sit at least 3 weeks, the longer they sit the more flavor.
Last Step:
Please leave a rating and comment letting us know how you liked this recipe! This helps our business to thrive and continue providing free, high-quality recipes for you.- Prep Time: 40 min
- Cook Time: 30 min
- Method: Water Bath Canning
Nutrition
- Calories: 17
- Sugar: 1g
- Sodium: 14mg
- Carbohydrates: 3g
- Fiber: 1g