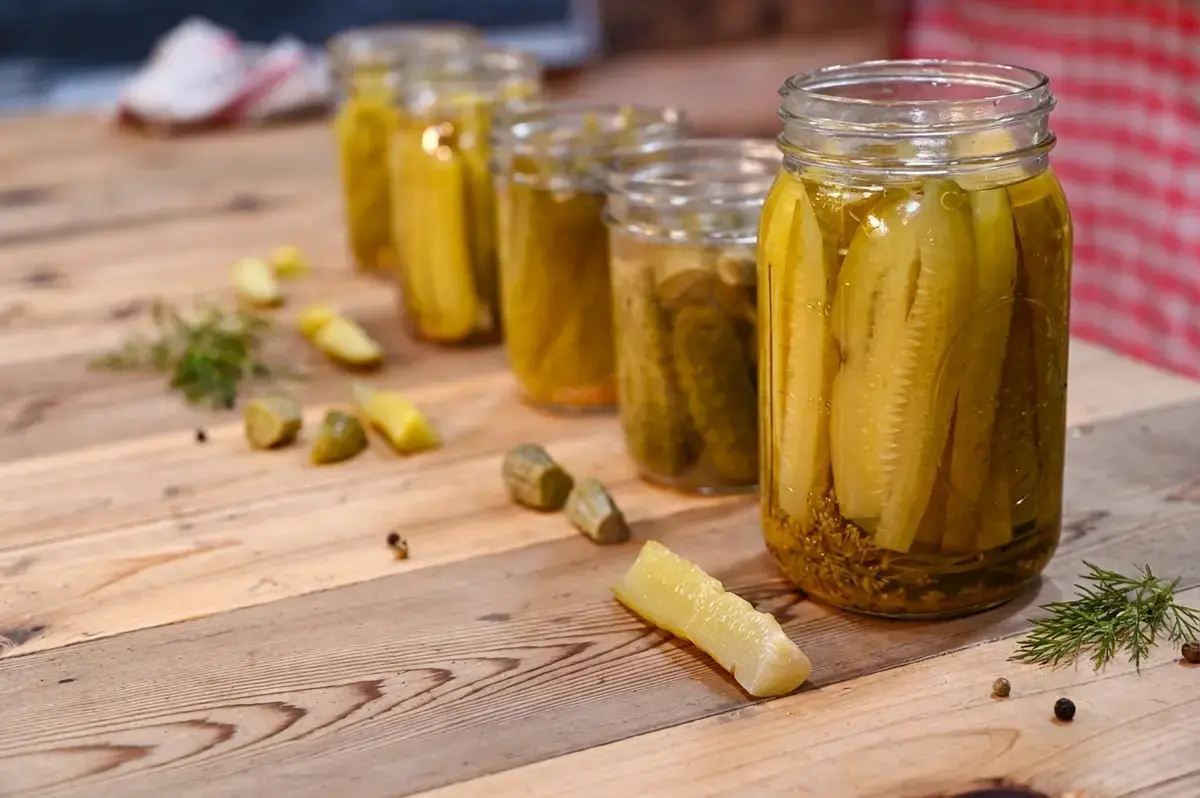
There is something deeply satisfying about opening a jar of homemade pickles in the middle of winter and tasting the bright, garlicky snap of summer. This easy garlic dill pickle recipe uses a low temperature pasteurization canning method that keeps cucumbers crunchy, flavorful, and shelf stable for months without cooking them to mush.
The secret comes down to temperature control. Traditional water bath canning brings jars to a full boil, which softens the cucumbers considerably.
Low temperature pasteurization keeps the water between 180 and 185 degrees Fahrenheit, hot enough to safely seal the jars but gentle enough to preserve that satisfying crunch.
When you combine this method with a saltwater brine soak for up to three days, the results are truly remarkable.
After testing five different canning methods side by side and comparing them a full year later, this approach was the definitive winner for both flavor and texture. This recipe yields 8 pint jars and takes about 13 hours total, including a 12 hour soak and 30 minutes of active cooking time.
Making your own pickles at home saves money compared to buying premium jars at the store, and the flavor difference is striking. Store bought pickles often sit on shelves for months, losing their snap and tasting flat. When you can your own, you control every ingredient and every step of the process.
This recipe is especially beginner friendly. The low temperature pasteurization method does not require pressure canning or complicated equipment. An electric canner makes temperature control effortless, but even a stovetop setup with a reliable thermometer works well once you get the hang of it.
The gentle processing temperature is what makes all the difference. Because the water never reaches a full boil, the cucumbers do not cook as much as they would in a standard boiling water bath. That means the texture stays firm and the flavor stays fresh.
You end up with a pickle that tastes closer to something you would pull from a refrigerator crock than something that has been cooked to submission.
Pickle Canning Methods
Not all canning methods produce the same results. Five methods were tested side by side and compared after one full year of storage to see which held up best:
Canned Kosher Dill Pickles
Long Fermented then Canned Pickles
Fermented and Soaked Canned Pickles
Long Brine Pickles
Low Temperature Pasteurization
The long brine method did produce very crisp pickles with a decent flavor, but the low temperature pasteurization method came out on top for both overall flavor and crunch. It was the simplest to execute and yielded the most consistent results across every jar.
The other four methods each had drawbacks. Some involved lengthy fermentation that required daily attention. Others produced pickles that were too soft or too tangy after a year of storage. The low temperature method was the clear winner because it balanced safety, simplicity, and texture in a way no other method could match.
Ingredients Needed
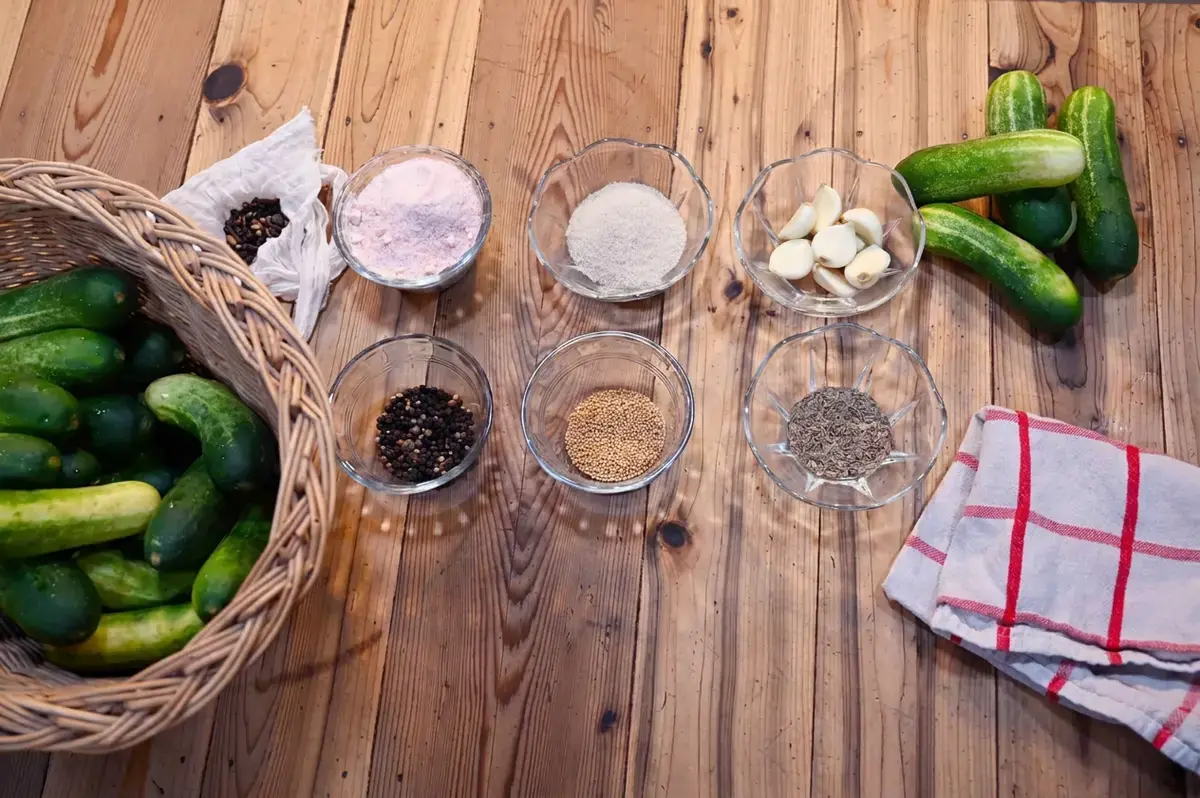
One of the best things about this recipe is that the ingredient list is short and straightforward. You likely already have most of these items in your kitchen or can find them at any grocery store.
Ingredient
Quantity
Cucumbers (pickling variety)
8 pounds
Water (filtered or distilled)
8 cups
Vinegar (5% acidity, pasteurized)
6 cups
Sugar
1/4 cup
Salt
1/2 cup
Pickling spices
1 tablespoon
Garlic cloves
8 cloves
Mustard seed
8 teaspoons
Dill seed
8 teaspoons
Use only firm, blemish free cucumbers for pickling. A pickling variety works best because they have thinner skins and fewer seeds. The vinegar must be commercial grade with 5% acidity and should not be homemade, as acidity levels are critical for safe water bath canning.
The three basic pickling ingredients are water, vinegar, and salt, but this recipe adds garlic, dill seed, and mustard seed for a bold flavor profile.
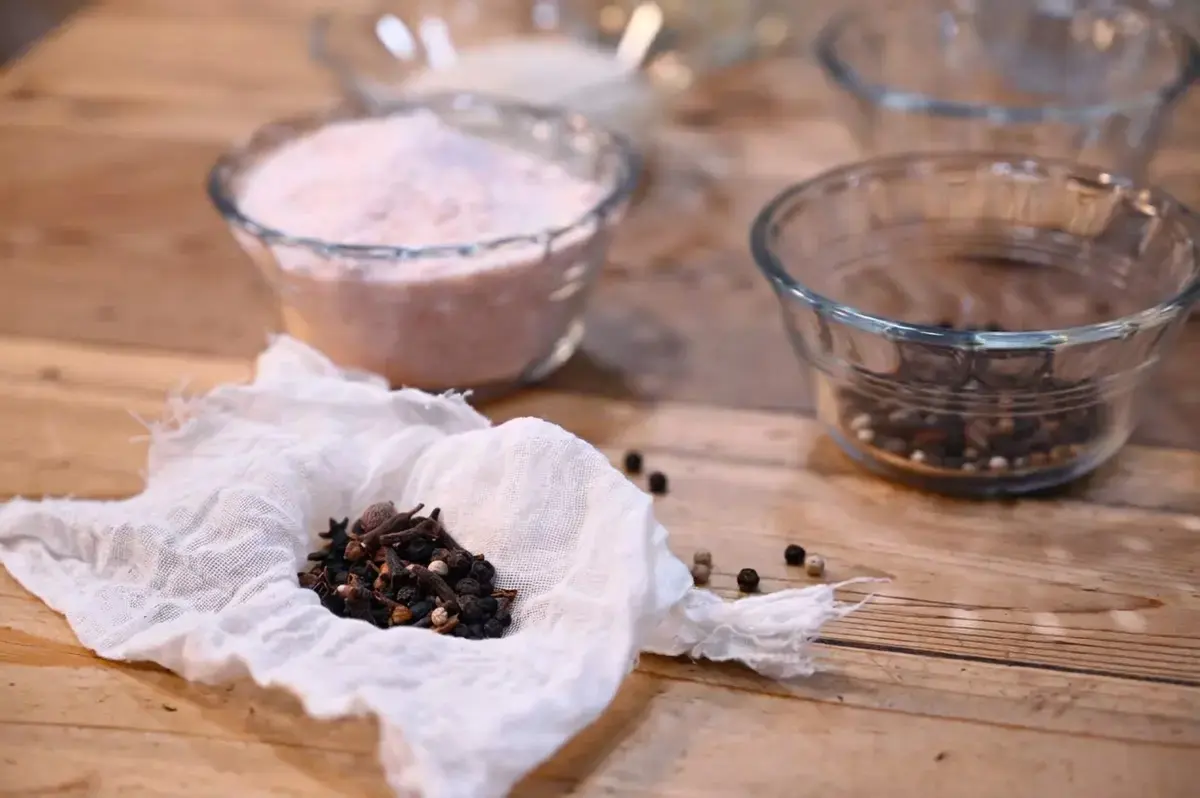
For the pickling spice blend, you can use a pre mixed blend from the store or make your own with peppercorns, mustard seed, coriander, dill seed, chili flakes, and bay leaf.
Note that the 3 to 2 to 1 rule (three parts water, two parts vinegar, one part sugar) is not recommended for canning because it does not provide enough acidity for shelf stable food safety.
How to Make Pickles Step by Step
Follow these steps in order for the best results. Each step builds on the one before it, so take your time and do not skip any part of the process.
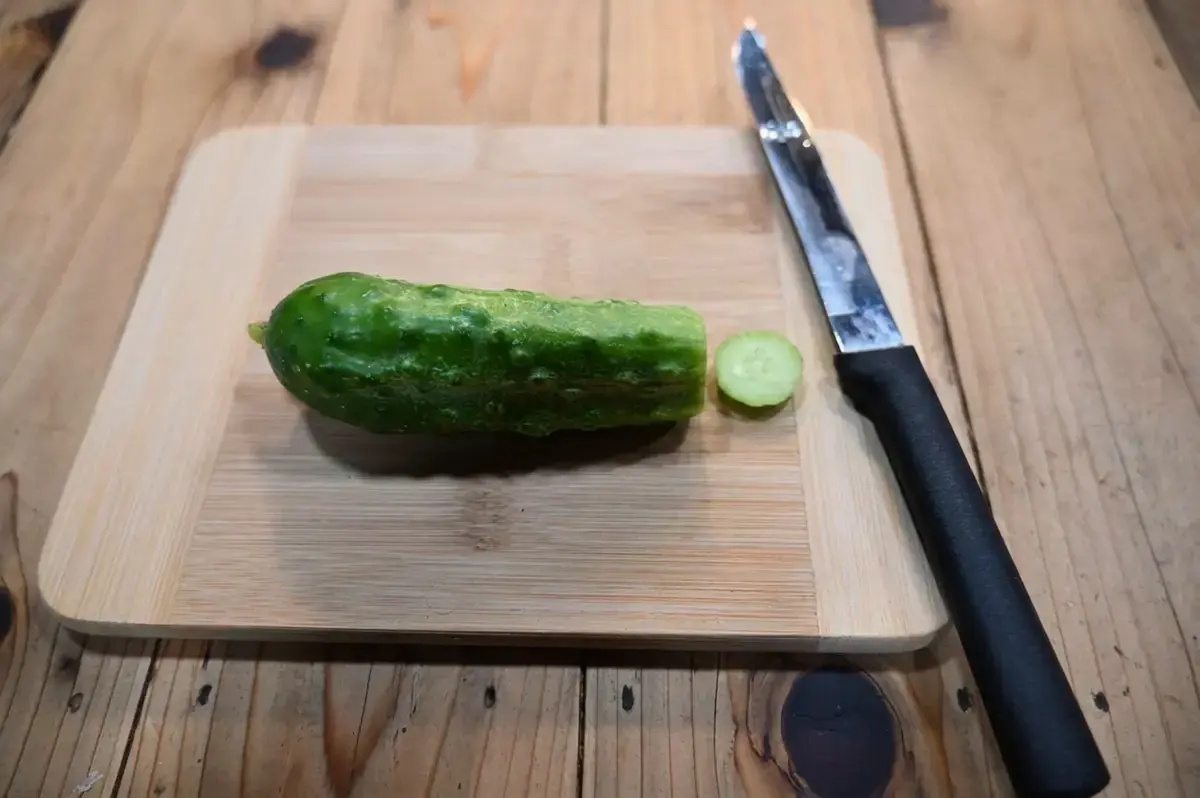
Step 1: Prepare the cucumbers. Cut off the blossom end of each cucumber, about a quarter inch piece. This removes an enzyme that can make pickles mushy during storage. Set aside any cucumbers with soft spots or blemishes for fresh eating, and save only the firm, blemish free ones for pickling.
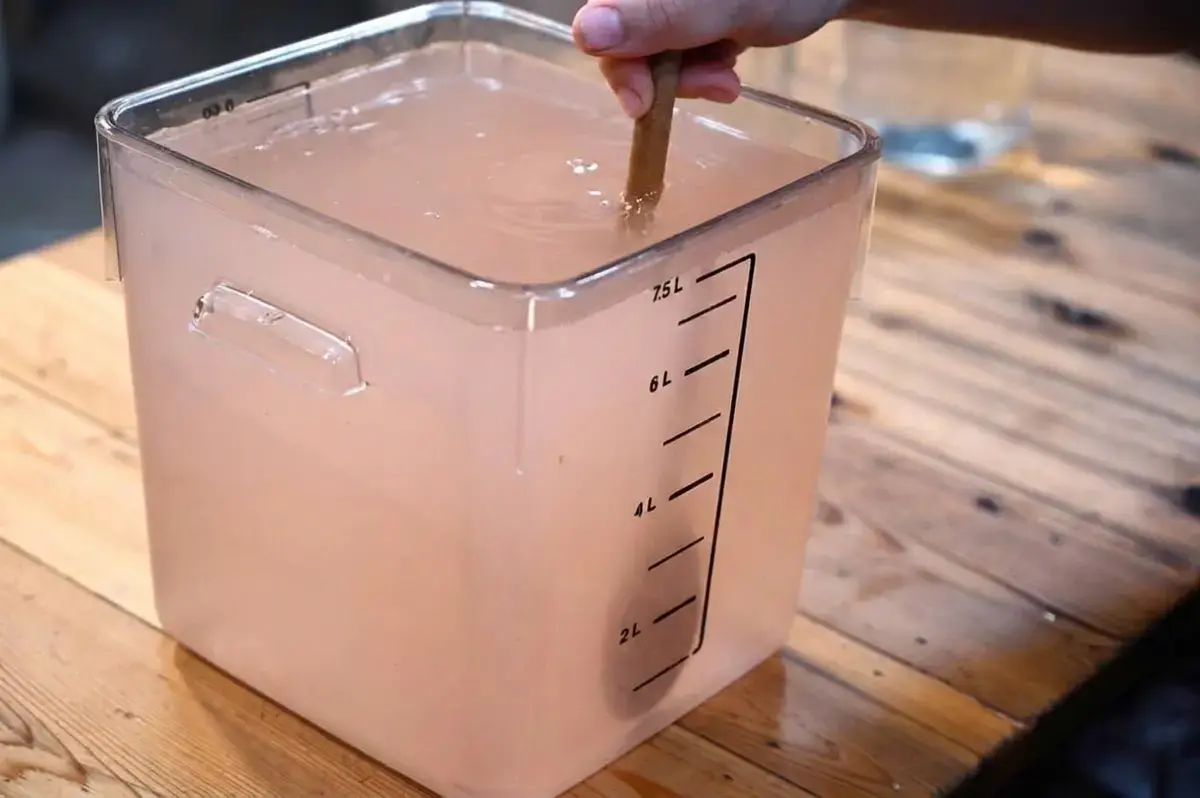
Step 2: Make the saltwater brine. Mix together 1 quart of warm water and 3/4 cup of salt in a large two gallon vessel. Stir well until the salt dissolves, then add enough cold water to fill the vessel to the two gallon mark.
Step 3: Soak the cucumbers. Place your prepared cucumbers into a food grade bucket, pour in the brine, and submerge the cucumbers with a plate or weight. Refrigerate for 12 hours up to 7 days. For the crispiest results, move on to the next step within 3 days.
Step 4: Prepare the canning brine. Tie your pickling spices in a piece of cheesecloth or a loose leaf tea bag. Add the spice pouch, 8 cups of filtered or distilled water, 6 cups of 5% vinegar, 1/4 cup sugar, and 1/2 cup salt to a large stockpot. Bring the brine to a boil on the stovetop.
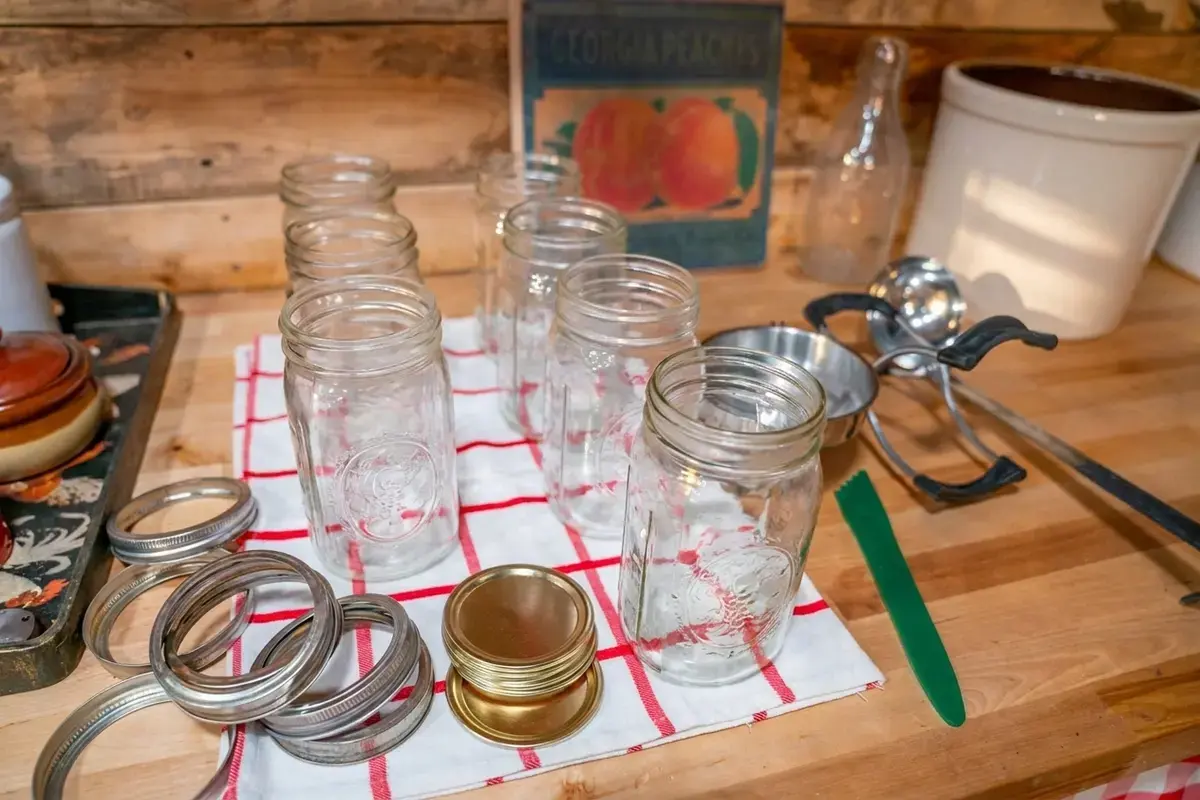
Step 5: Prepare the jars. Get your canning pot ready and heat the water to 140 degrees Fahrenheit. Wash your canning jars in hot, soapy water and rinse them well. While still warm, place them on a kitchen towel on the counter.
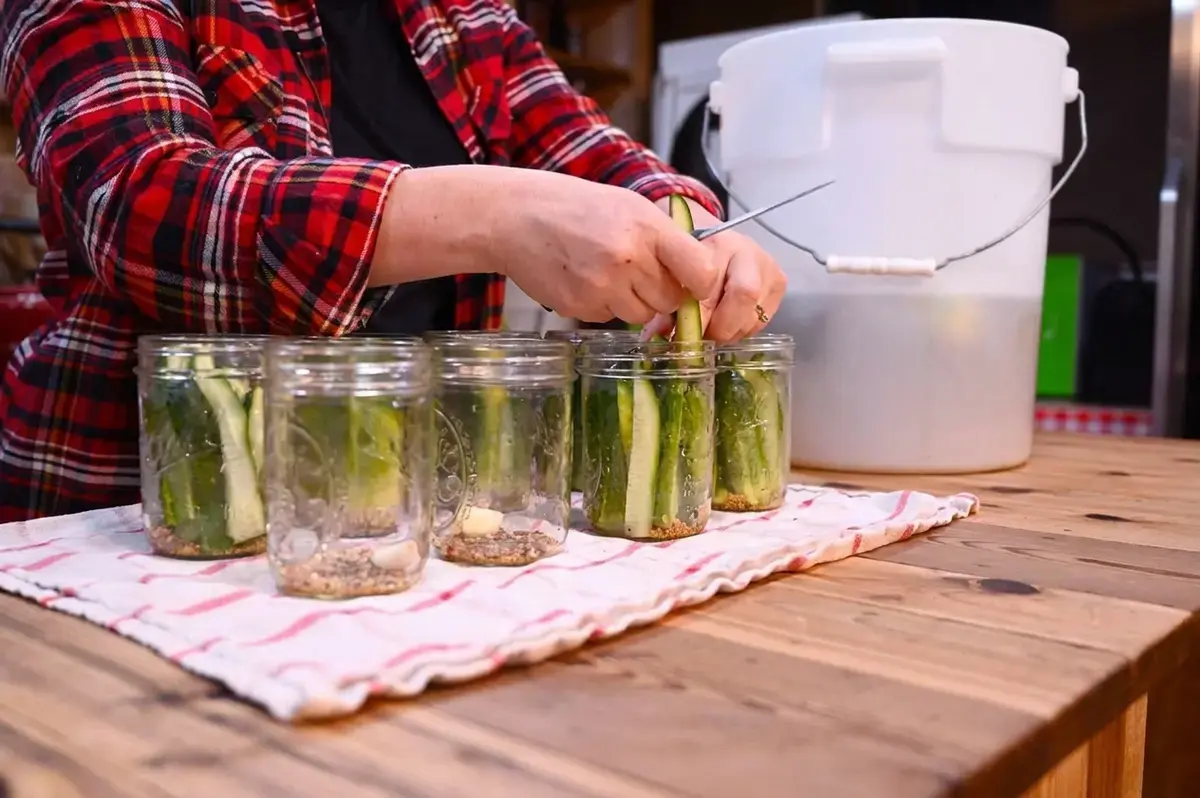
Step 6: Fill the jars. Fill each jar with 1 clove of garlic, 1 teaspoon of mustard seed, and 1 teaspoon of dill seed. Slice your cucumbers into spears or leave them whole, and pack the jars as full as possible.
Once the brine reaches a boil, remove it from the heat and fill the jars immediately, leaving 1/2 inch of headspace. Use a bubble remover to slide around the edges and release any trapped air.
Adjust headspace if needed and apply your two part canning lids, tightening to fingertip tight.
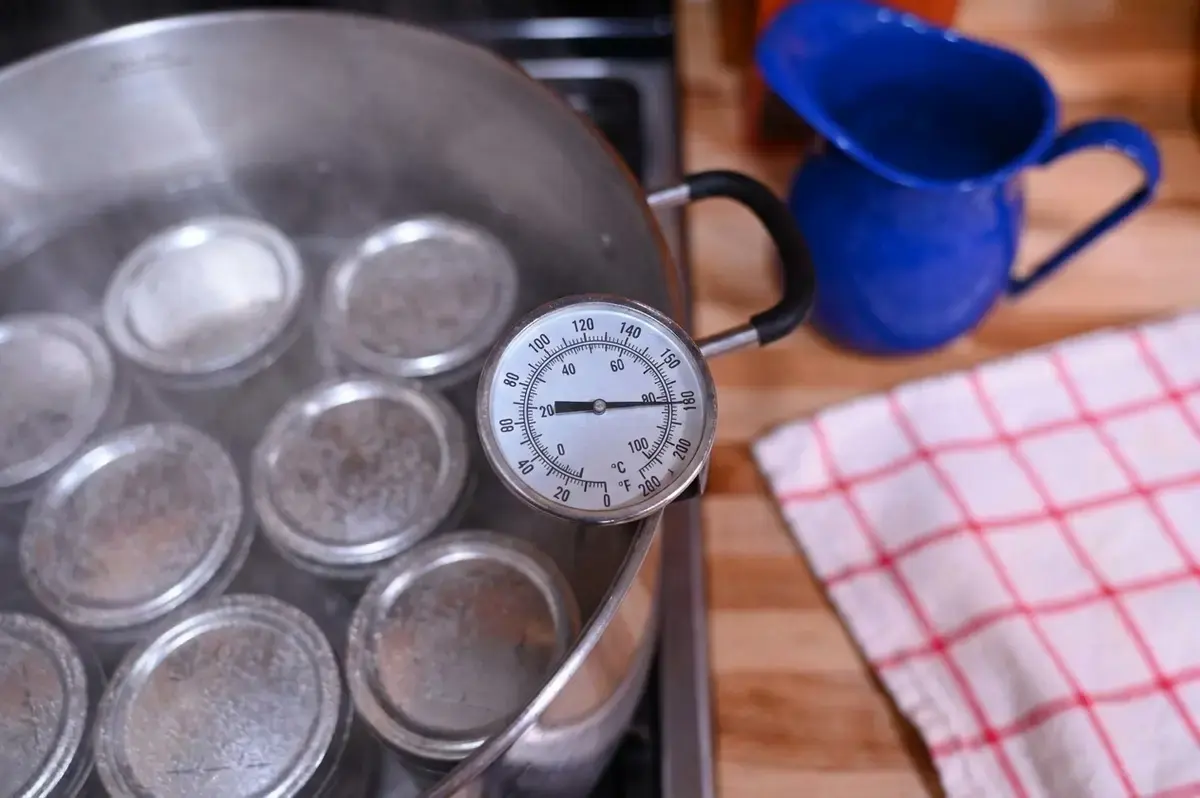
Step 7: Process the jars. Transfer your jars to the water bath or electric canner and adjust the water level so the jars are covered with 1 to 2 inches of water. Bring the water temperature up to 180 degrees Fahrenheit using a thermometer.
Once the water reaches temperature, set your timer and maintain the temperature between 180 and 185 degrees Fahrenheit for a full 30 minutes. If the temperature drops below 180 degrees at any point, you must start the timer over.
An electric canner makes this step much easier by maintaining a consistent temperature automatically.
Step 8: Cool and check seals. After 30 minutes, carefully remove the jars using a jar lifter and set them on a towel lined counter. Let the jars sit undisturbed for 12 hours or overnight.
Check the seals, label the jars, and move them to the pantry. Any jars that did not seal properly should go straight to the refrigerator and be enjoyed immediately.
Refrigerator pickles can be ready in as little as 24 hours if you skip the canning step entirely.
Tips for Crunchy Pickles
Getting crunchy pickles is the goal of every home canner. These tips, combined with the low temperature pasteurization method, will help you achieve that perfect snap every time.
Use the freshest cucumbers you can find. Farmers market cucumbers picked that morning are ideal.
Only use firm, blemish free cucumbers. Set aside any with soft spots for fresh eating.
Always cut off the blossom end to remove the enzyme that causes mushiness.
Add tannins to your jars. Grape leaves or horseradish leaves contain natural tannins that help keep pickles crisp.
Keep your cucumbers cold before canning. Soaking them in ice water for a few hours before packing helps maintain their structure.
Do not skip the saltwater brine soak. Soaking for up to three days draws out excess moisture and firms up the cucumber flesh.
The combination of a saltwater brine soak and low temperature processing is what sets this recipe apart. The brine firms up the cucumbers before they ever touch the canning jar, and the gentle heat preserves that structure all the way to your pantry shelf.
When you follow all of these tips alongside the low temperature processing method, you get pickles that are noticeably crunchier than anything you can buy at the store. The gentle heat preserves the cellular structure of the cucumber, and the brine soak sets the stage for a firm texture that holds up beautifully in the jar for months to come.
FAQs
What is the best type of cucumber to use for crunchy garlic dill pickles?
Firm pickling cucumbers, such as Kirby or Boston pickling varieties, are best for making crunchy canned pickles. They have denser flesh and fewer seeds than common slicing cucumbers, which helps them stay crisp during processing. Use only fresh, blemish-free cucumbers and cut off the blossom end to remove an enzyme that causes mushiness.
How do you keep homemade pickles crunchy when canning?
For the crunchiest pickles, use the low-temperature pasteurization method instead of a full boil. The recipe directs you to process the sealed jars in a 180-185°F water bath for exactly 30 minutes. Also ensure you use the freshest cucumbers, cut off the blossom end, and soak them in a saltwater brine in the refrigerator for at least 12 hours before canning.
What is the low temperature pasteurization method for canning pickles?
The low-temperature pasteurization method involves processing pickle jars in a water bath canner at a steady temperature between 180°F and 185°F for 30 minutes. This temperature is high enough to safely seal the jars but low enough to avoid fully cooking the cucumbers, preserving their crisp crunch. An electric canner is recommended for the most reliable temperature control.
How long do homemade canned garlic dill pickles need to sit before they are ready to eat?
After processing, the jars must sit undisturbed on the counter for a full 12 hours so the seals can set properly. Once sealed, the pickles can be stored in a cool, dark pantry for up to one year. For the best flavor, it is ideal to let them cure for a few weeks before opening, though properly sealed jars are shelf-stable immediately after cooling.
How to Make Pickles (Easy Garlic Dill Recipe) There is something deeply satisfying about opening a jar of homemade pickles in the middle of winter and tasting the bright, garlicky snap of summer. This easy garlic dill pickle recipe uses a low temperature pasteurization canning method that keeps cucumbers crunchy, flavorful, and shelf stable for months without cooking them to mush.
Total Time:780 min
Yield:8 pint jars 1x
Ingredients
Scale
8 Pounds Cucumbers 8 Cups Water, filtered or distilled 6 Cups Vinegar, 5% acidity and pasteurized ¼ Cup Sugar ½ Cup Salt, Redmond Real Salt 1 Tablespoon Pickling Spices 8 Cloves Garlic 8 Teaspoon Mustard Seed 8 Teaspoon Dill Seed
Instructions
1-Cut off the blossom end of the: Cut off the blossom end of the cucumber (about ¼ inch piece). This removes the enzyme that’s in the blossom that can tend to make pickles mushy. If you have any cucumbers that have soft spots or blemishes, set those aside for fresh eating and save the firm and blemish-free cucumbers for pickling. 2-Mix together 1 quart of warm water: Mix together 1 quart of warm water and ¾ cup of salt into a large two-gallon vessel. Stir well until the salt is dissolved, then add enough cold water to fill the vessel up to the two-gallon mark. 3-Place your prepared cucumbers into a 5-gallon: Place your prepared cucumbers into a 5-gallon food-grade bucket, pour in the brine, and submerge the cucumbers under the brine with a plate or weight. Allow cucumbers to sit in the brine, in the refrigerator, anywhere from 12 hours up to 7 days, but for the crispest pickles, move on to the next step within 3 days. 4-Tie your pickling spices in a piece: Tie your pickling spices in a piece of cheesecloth, butter muslin, or a loose-leaf tea bag. Add the pickling spices, 8 cups of water (filtered or distilled), 6 cups of 5% vinegar, ¼ cup sugar, and ½ cup salt to a large stockpot. Bring the brine up to a boil on the stovetop. 5-Meanwhile, get your canning pot ready and: Meanwhile, get your canning pot ready and the water heating up to 140°F. Prepare your canning jars by washing them in hot, soapy water and rinsing them well. Then, while still warm, place them on a kitchen towel on the counter. 6-Fill each canning jar with one clove: Fill each canning jar with one clove of garlic, one teaspoon of mustard seed, and one teaspoon of dill seed. Slice your cucumbers into spears (or leave them whole, or slice them into coins) and pack your jars as full as possible. Once your brine has come up to a boil, remove it from the heat and immediately fill your jars with brine, leaving ½ inch headspace. Using a bubble remover, slide it down around the edges of the jar to allow any bubbles to escape. If needed, adjust headspace by adding more brine. Add your two-part canning lids and tighten to fingertip tight. 7-Transfer your jars to your water bath: Transfer your jars to your water bath or electric canner and adjust the water level, if needed, so the jars are covered with 1-2 inches of water. Using your thermometer, bring the water temperature up to 180°F. Once your water is up to temperature, set your timer and keep the water temperature between 180°F-185°F for a full 30 minutes. If you’re using a stovetop, this can be a bit tricky, and if the temperature drops below 180°F, you need to start your time all over again. This is why I really prefer using my electric canner for this method. 8-Once 30 minutes have passed, carefully remove: Once 30 minutes have passed, carefully remove the jars from the canner using a jar lifter and set them on a towel-lined counter. Let your jars sit for a full 12 hours (or overnight) before checking the seals, labeling the jars, and moving them to the pantry. Any jars that did not seal correctly can be moved to the refrigerator and enjoyed immediately.
Last Step:
Please leave a rating and comment letting us know how you liked this recipe! This helps our business to thrive and continue providing free, high-quality recipes for you.
Prep Time:30 min
Cook Time:30 min
Method:Low-temperature pasteurization water bath canning