Discover Famous Dave’s Sweet and Spicy Pickles Today!

There is something about a jar of sweet and spicy pickles that just feels like summer, isn’t there? I remember standing at our local farmers market last August, watching a vendor hand out samples of these brilliant, glistening pickle chips.
They had that perfect crunch and a little kiss of heat that made your lips tingle. I knew right then I had to bring that magic into my own kitchen.
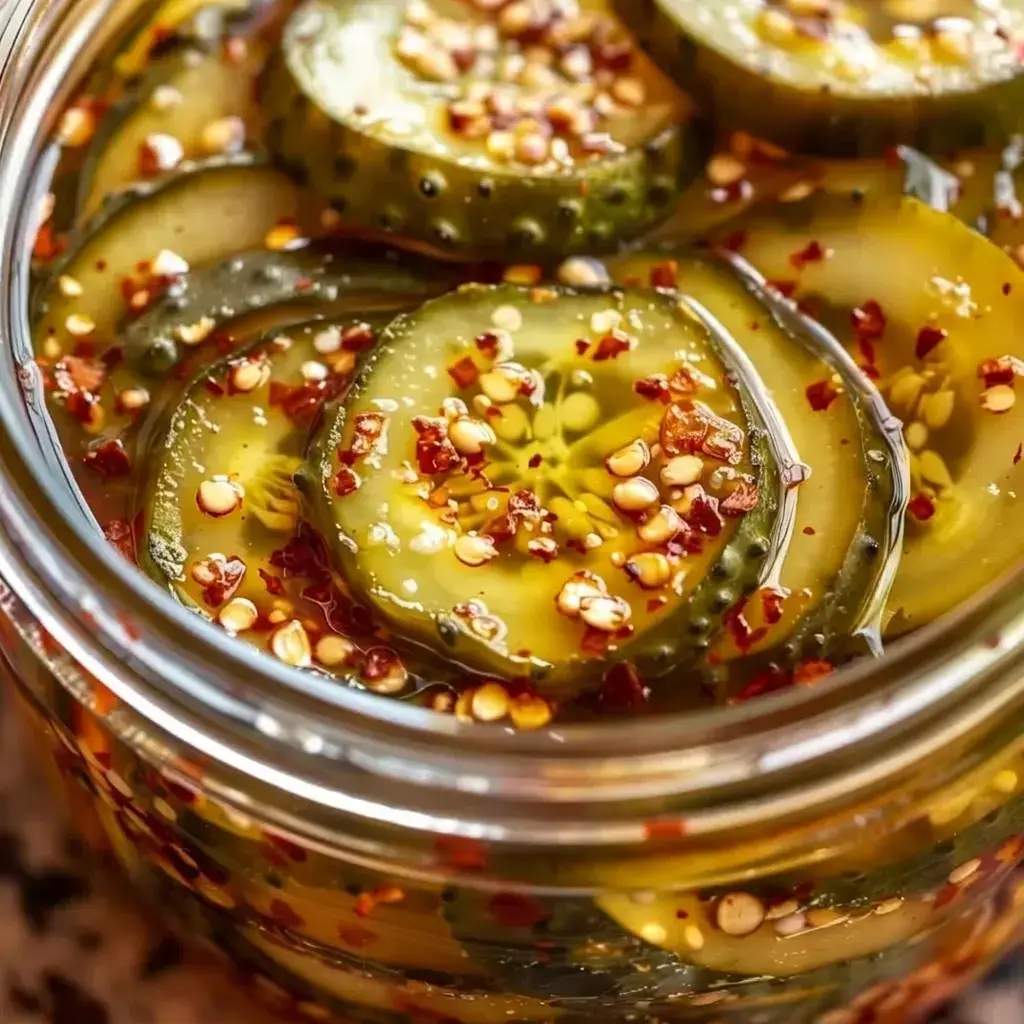
After a few attempts, I found that sweet spot between sugar and spice, and now these homemade pickles have become a staple in our house. They turn an ordinary burger into a backyard celebration and make a simple sandwich feel like a weekend treat.
Trust me, once you make a batch, you will always want a jar of these in your fridge.
Jump to:
- Discover Famous Dave’s Sweet and Spicy Pickles Today!
- Why You’ll Love This Recipe
- What It Tastes Like
- Ingredients You’ll Need
- Optional Additions
- Special Garnishes
- Step by Step Instructions
- Recipe Variations
- Serving & Storage Tips
- Helpful Tips
- Special Equipment
- FAQs
- How do you make Famous Dave's sweet and spicy pickles?
- Can I use regular cucumbers for pickling?
- How long do homemade sweet and spicy pickles last?
- What is the difference between sweet and spicy pickles and bread and butter pickles?
- How do you make Famous Dave's sweet and spicy pickles?
- Conclusion
- Famous Dave’s Sweet and Spicy Pickles
- Ingredients
- Instructions
- Last Step:
- Nutrition
- Did you make this recipe?
Why You’ll Love This Recipe
Making pickles from scratch might sound like a big project, but this recipe is wonderfully simple and the results are so much better than anything you can grab from the store. The real magic here is the balance. You get that warm, sweet note from the sugar, followed by a gentle kick of heat that never overwhelms.
What I love most is how flexible it is. You can slice your cucumbers thick for a crunchy spear or thin for a stackable chip, and you have total control over the spice level.
Whether you pile them on a grilled burger, tuck them into a deli sandwich, or just snack on them straight from the jar, they always hit the spot. They even make a gorgeous addition to a charcuterie board when friends come over.
This recipe gives you that homemade pride with very little fuss, and the flavor only gets better as the days go by.
What It Tastes Like
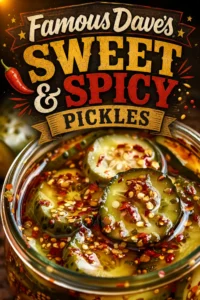
Close your eyes and imagine a pickle that crunches loud and clear with every bite, then releases a wave of sweet brine that coats your tongue before a whisper of spicy warmth sneaks up on you. That is exactly what you get here.
The apple cider vinegar brings a sharp, fruity tang that feels brighter than plain white vinegar, while the mustard and dill seeds add a subtle, earthy aroma that reminds me of a classic deli pickle with a twist.
It is not a fiery, aggressive heat, just a playful little nudge that keeps you reaching for another slice. If a summer barbecue had a signature flavor, I think this would be it.
Ingredients You’ll Need
The beauty of this pickle recipe is that it relies on simple, everyday ingredients that come together in a surprising way. For the best crunch, look for small pickling cucumbers, they naturally hold their texture better, but regular cucumbers will work in a pinch.
Here is your shopping list:
- 2 cups cucumbers, ideally small pickling cucumbers
- 1 cup apple cider vinegar
- 1/2 cup sugar
- 2 teaspoons kosher salt
- 1 teaspoon crushed red pepper flakes, adjustable to taste
- 1 teaspoon mustard seeds
- 1 teaspoon dill seeds
Each ingredient plays a role. The apple cider vinegar gives you that mellow tang, the sugar balances the sharpness, and the kosher salt pulls moisture from the cucumbers while seasoning them deeply.
The red pepper flakes are your heat lever, start small and build up next time if you want more fire. The mustard seeds and dill seeds round everything out with a warm, aromatic note that makes these pickles taste layered and complete.
Optional Additions
If you want to add another layer of flavor, toss in a couple of whole garlic cloves or tuck a few slices of onion between the cucumber layers inside the jar. The garlic gives you a mellow, savory depth, and the onion softens into these sweet, tangy bites that are almost as good as the pickles themselves.
Special Garnishes
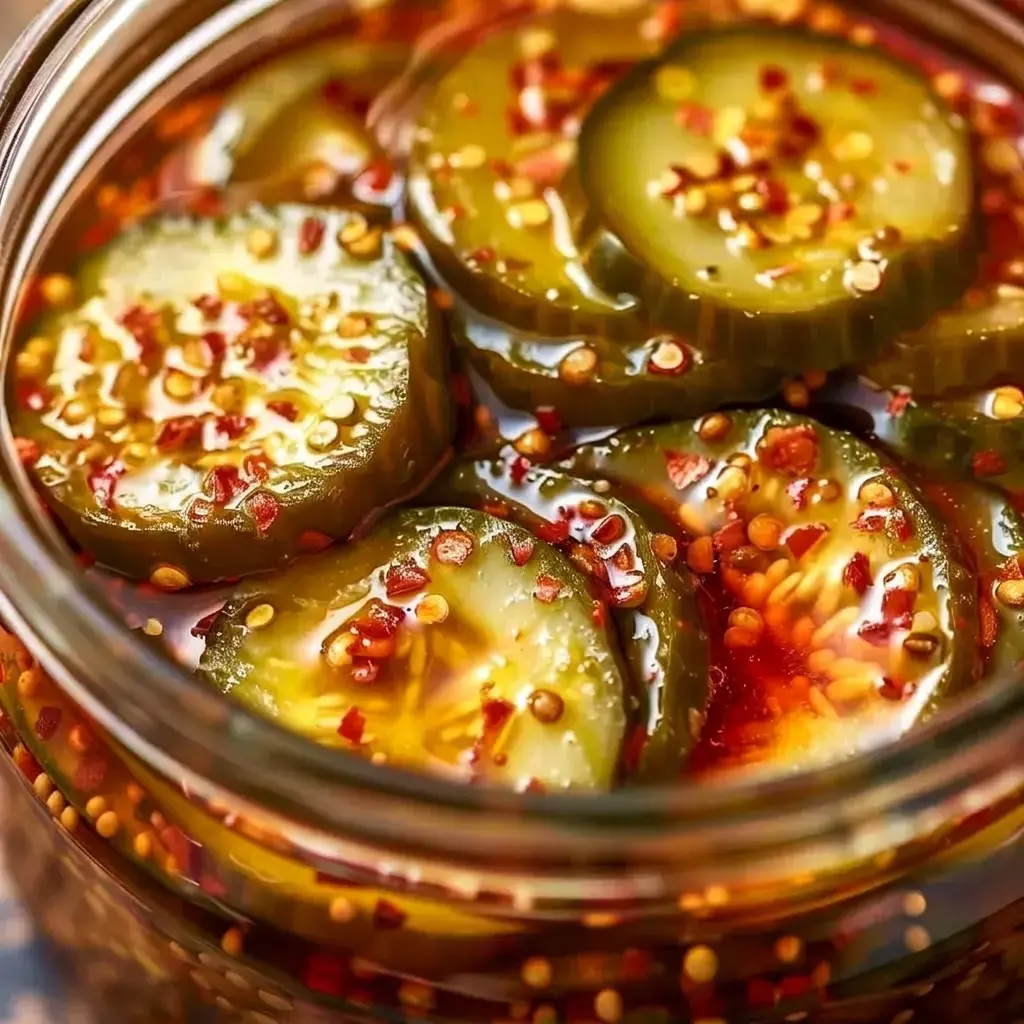
When you are ready to serve them, a few fresh dill sprigs tucked beside the pickles on a plate add a pop of green that looks so inviting.
If you want to signal that these have some heat before anyone takes a bite, lay a few thin chili slices across the top. It is a simple touch that makes the jar feel special.
Step by Step Instructions
I always find that the rhythm of pickling is almost meditative, you slice, you stir, you pour, and then you wait. Here is how to do it in six straightforward steps.
- Prepare your cucumbers. Wash and cut your cucumbers into slices or spears. Keeping them uniformly cut is important so they all pickle at the same rate. I like to aim for about a quarter inch thickness for nice, sturdy chips.
- Make the brine. In a medium saucepan, combine the apple cider vinegar, sugar, salt, red pepper flakes, mustard seeds, and dill seeds. Place the pan over medium heat and stir gently until the sugar dissolves completely. You do not need to boil it hard, just let the liquid warm enough to wake up those spices.
- Pack the jars. Place your sliced cucumbers into clean, sterilized jars. If you are using the optional garlic cloves or onion slices, layer them in now so they are tucked snugly between the cucumber pieces.
- Pour in the mixture. Carefully pour the hot brine over the cucumbers, making sure they are completely submerged. Use a spoon to press them down gently if needed; any cucumber poking above the brine will not pickle properly.
- Seal and cool. Seal the jars with tight fitting lids and let them cool to room temperature right on your counter. Once they are no longer warm, transfer them to the refrigerator.
- Wait and savor. Allow the pickles to rest for at least 24 hours to develop their flavors. I know the waiting is hard, but it is worth it. The flavors deepen and mingle over those first few days, so if you can hold out for 48 or 72 hours, they will taste even better.
Recipe Variations
One of the best things about having a go to pickle brine is how easy it is to play around with different vegetables and add ins.
I have tried this same method with crunchy carrot sticks, fresh green beans, and even cauliflower florets, and each one turned out wonderfully. Just keep your pieces roughly the same size so they absorb the brine evenly.
If you are feeding a crowd that loves serious heat, toss a few slices of fresh jalapeño into the jar.
On the flip side, if you are making these for kids or someone who prefers things mild, simply cut the red pepper flakes back to half a teaspoon.
For a surprising twist that I discovered last fall, layer in a few thin slices of ripe peach or pear. The fruit softens and picks up the spicy sweet brine beautifully, and it is an unexpected treat on a cheese board.
Serving & Storage Tips
Keep your jar of pickles sealed tight and stored in the refrigerator, and they will stay crunchy and fresh for about two months. That is if they last that long, in my house, we are usually scraping the bottom of the jar well before then.
These pickles are a natural partner for juicy burgers and stacked sandwiches, but do not stop there. Chop a few into a creamy potato salad for a punch of flavor, or just serve them alongside grilled chicken.
And here is a tip I love: do not toss that leftover brine. Whisk a splash of it into a vinaigrette for your salads, or drop some sliced red onions into the jar and let them pickle overnight. It is like getting a whole second recipe for free.
Helpful Tips
I have learned a few things over the years that make the difference between good pickles and great pickles. First, be patient and give those pickles at least one full day to rest before you taste them.
The flavor right after you pour the brine is sharp and one note, but after 24 hours, it transforms into something balanced and complex.
Do not skip sterilizing your jars. It only takes a few minutes to run them through the dishwasher or dip them in boiling water, and it keeps any sneaky bacteria from ruining your beautiful batch.
Finally, if you are not sure about the heat level, start small. You can always add more crushed red pepper or a jalapeño next time, but you cannot take the heat out once it is in there. Build up gradually until you find your family’s perfect sweet spot.
Special Equipment
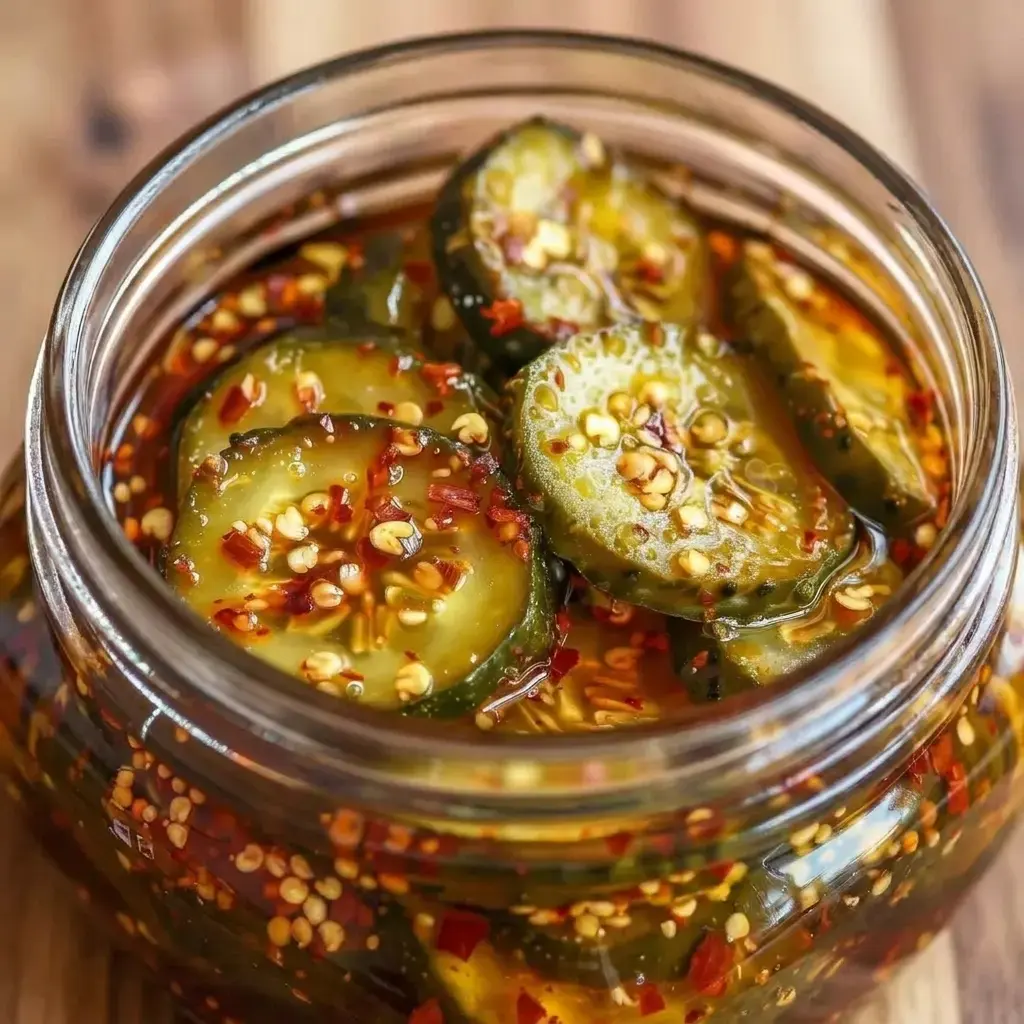
You do not need any fancy gear to make these pickles, but a few basics will make the process smoother. Glass canning jars with tight sealing lids are a must, they keep the brine sealed and the pickles fresh for weeks.
A medium saucepan with a sturdy handle gives you control when you pour the hot brine, so you are not fumbling with a heavy, awkward pot.
Accurate measuring cups and spoons matter more than you might think. The balance of sweet, salty, and spicy hinges on getting those proportions right, so a little precision goes a long way. With these simple tools, you are all set.
FAQs
How do you make Famous Dave's sweet and spicy pickles?
Can I use regular cucumbers for pickling?
How long do homemade sweet and spicy pickles last?
What is the difference between sweet and spicy pickles and bread and butter pickles?
How do you make Famous Dave's sweet and spicy pickles?
To make them, slice 2 cups of cucumbers and set aside. In a saucepan, combine 1 cup apple cider vinegar, 1/2 cup sugar, 2 teaspoons kosher salt, 1 teaspoon crushed red pepper flakes, 1 teaspoon mustard seeds, and 1 teaspoon dill seeds over medium heat until the sugar dissolves. Pack the cucumbers into sterilized jars, pour the hot brine over them to submerge completely, seal, cool to room temperature, and refrigerate for at least 24 hours before serving.
Conclusion
There is so much joy in pulling a jar of your own homemade pickles out of the fridge, and this Famous Dave’s inspired sweet and spicy version makes it easy to do. The crunch, the glossy amber brine, the way the heat warms your mouth just enough, it all adds up to something truly special.
I hope you give this recipe a try at your next cookout or quiet weeknight dinner, and that it becomes a favorite in your kitchen the way it has in mine.
Cooking is about sharing, learning, and tasting something new together, and these pickles bring all of that to the table. If you make a batch, I would love to hear how they turned out and what you served them with.
Until then, happy pickling, and may your fridge always have a jar of something crunchy and delicious waiting for you.
Print
Famous Dave’s Sweet and Spicy Pickles
Discover Famous Dave’s Sweet and Spicy Pickles Today! There is something about a jar of sweet and spicy pickles that just feels like summer, isn’t there?
- Total Time: 25 min
- Yield: 4 1x
Ingredients
Main Ingredients
2 cups cucumbers
1 cup apple cider vinegar
1/2 cup sugar
2 teaspoons kosher salt
1 teaspoon crushed red pepper flakes
1 teaspoon mustard seeds
1 teaspoon dill seeds
Optional Additions
garlic cloves
onion, slices
Instructions
Instructions
1-Prepare your cucumbers: Prepare your cucumbers: Wash and cut your cucumbers into slices or spears-keeping them uniformly cut is important.
2-Make the brine: Make the brine: In a medium saucepan, combine the apple cider vinegar, sugar, salt, red pepper flakes, mustard seeds, and dill seeds. Stir over medium heat until the sugar dissolves.
3-Pack the jars: Pack the jars: Place your sliced cucumbers into clean, sterilized jars. Optionally layer in garlic cloves or onion slices.
4-Pour in the mixture: Pour in the mixture: Carefully pour the hot brine over the cucumbers, ensuring they are completely submerged.
5-Seal and cool: Seal and cool: Seal the jars with tight-fitting lids and let them cool to room temperature before refrigerating.
6-Wait and savor: Wait and savor: Allow the pickles to sit for at least 24 hours to develop flavors.
Last Step:
Please leave a rating and comment letting us know how you liked this recipe! This helps our business to thrive and continue providing free, high-quality recipes for you.- Prep Time: 15 min
- Cook Time: 10 min
- Method: stovetop
Nutrition
- Calories: 50
- Sugar: 10 grams
- Fat: 0 grams
- Carbohydrates: 12 grams
- Fiber: 1 gram
- Protein: 0.5 grams