Ingredients
Instructions
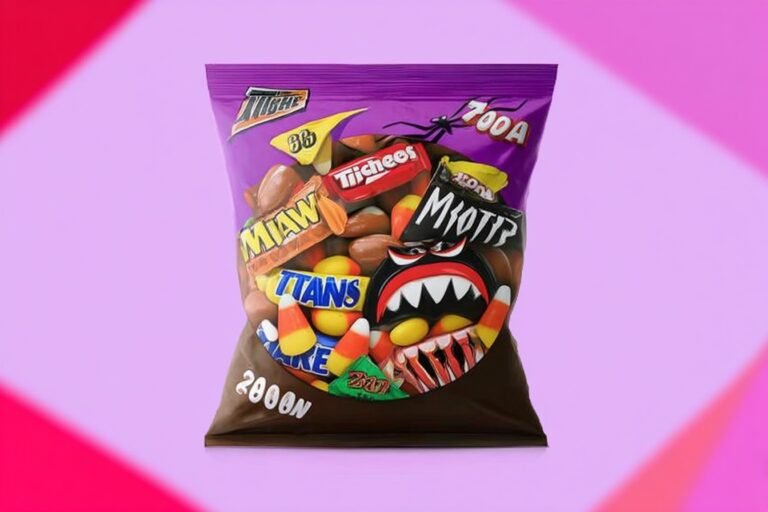
1-First Step: Gather your candy and serving pieces Start by choosing your candy based on the event. For a kids’ party, use bright gummies, chocolate minis, jelly beans, and hard candies. For a buffet or adult gathering, add more themed chocolate pieces and neat color mixes like orange, black, and purple. Set out your bowls, trays, or buffet containers before you begin so the setup stays smooth. Check the package dates and pick fresh stock items whenever possible. This matters most if you are buying in bulk for a school event, office party, or neighborhood gathering. Fresh candy holds its texture better and looks better on the table.
2-Second Step: Sort by color, type, or theme Separate the candy into groups. One simple way is to sort by type: chocolate in one bowl, gummies in another, jelly beans in one, and hard candies in another. Another easy option is to sort by color. Orange, black, and purple candies make a strong Halloween look and help the display feel coordinated. If you are serving a mixed crowd, make a few mini sections. This helps guests find what they want without digging through everything. It also keeps the display cleaner and more organized.
3-Third Step: Arrange in bowls or buffet trays Place the candy into bowls, jars, or buffet trays. Use larger pieces in the back and smaller candies in front so everything is easy to reach. If you are making a trick-or-treat station, place the bowls close together so people can grab a few pieces fast. For events, a buffet-style layout works well. Put the candy in a straight line or a half circle on the table. Leave some space between the bowls so the colors stand out. If you want a fuller look, fill each container almost to the top.
4-Fourth Step: Add custom details Now add stickers, labels, or logos if you want a custom touch. This works well for birthday parties, school events, office celebrations, or branded giveaways. A small sign with a spooky message or themed name can make even a simple candy display feel special. You can also pair the candy with autumn leaves, paper bats, mini pumpkins, or spooky table decor. The candy itself already brings the color, but the extras help tie the table together.
5-Fifth Step: Check portions and serving style Before serving, think about how much candy each guest should take. For trick-or-treaters, a small handful or 1 to 2 pieces is usually enough. For a party buffet, guests may take a little more, so plan your total supply with that in mind. Chocolate bars and kisses may contain around 200 to 300 calories per serving, while gummy and chewy candies often have high sugar content. If you are serving people with allergies or special diets, read labels for nuts, dairy, and other common allergens.
6-Final Step: Serve immediately or store for later Serve the display right away if your guests are arriving soon. If you are making it ahead, store the candy in a cool, dry place to keep it fresh. Keep it away from heat and sunlight so chocolate does not melt and gummies do not get sticky. The full setup usually takes 10 to 30 minutes. Smaller candy bowls take less time, while larger party tables with decorations take a bit longer. Either way, it is a quick setup with a big visual payoff.
Last Step:
Please leave a rating and comment letting us know how you liked this recipe! This helps our business to thrive and continue providing free, high-quality recipes for you.Notes
💰 Buy in bulk to save costs for large events or parties.
🎨 Mix colors like orange, black, and purple for maximum visual spooky appeal.
🕒 Sort and assemble display in just 10-30 minutes depending on quantity.
- Prep Time: 15 minutes
- Cook Time: 0 minutes
- Category: Snacks
- Method: No Cook
- Cuisine: American
Nutrition
- Serving Size: 1 handful (1 oz)
- Calories: 200 calories
- Sugar: 25 grams
- Sodium: 50 mg
- Fat: 10 grams
- Saturated Fat: 6 grams
- Unsaturated Fat: 3 grams
- Trans Fat: 0 grams
- Carbohydrates: 30 grams
- Fiber: 1 gram
- Protein: 2 grams
- Cholesterol: 10 mg