Tools You’ll Need
Before you dive into making and freezing garlic scape butter, gather a handful of everyday kitchen tools. You do not need any special equipment, just the basics that most home cooks already have on hand. I like to keep things simple, so this is my go to setup whenever garlic scape season rolls around in late spring.
A large kitchen knife and a wooden cutting board are essential for chopping those curly scapes. A sturdy mixing bowl gives you plenty of room to combine the butter and minced scapes without splashing over the sides. I reach for a wooden spoon to mix everything together; it gives me good control and a nice even blend. Parchment paper is a must for lining the cutting board or baking sheet when you shape the butter pats for the freezer. Cotton cooking twine comes in handy if you decide to wrap the frozen butter log for gifting or long term storage. That is really all you need to capture that fleeting garlic scape flavor for the year ahead.
Jump to:
- Tools You’ll Need
- Ingredients
- Step 1: Let Butter Warm to Room Temperature
- Step 2: Harvest Fresh Garlic Scapes
- Step 3: Rinse and Remove Tough Ends
- Step 4: Mince Curly Scapes of Garlic
- Step 5: Mix Scapes into Softened Butter
- Step 6: Mold Butter for Freezing
- Step 7: Flash Freeze Pats of Butter
- Best Fresh Herbs for Garlic Scape Butter
- How to Use Garlic Scape Compound Butter
- Frequently Asked Questions
- What is garlic scape butter?
- How do you make garlic scape butter for freezing?
- Can you freeze garlic scape butter?
- How long does garlic scape butter last in the freezer?
- What herbs go well with garlic scape butter?
- How do you use garlic scape compound butter?
- Garlic Scape Butter
- Ingredients
- Instructions
- Last Step:
- Notes
- Nutrition
- Did you make this recipe?
Ingredients
This homemade garlic scape butter recipe relies on just a few simple ingredients. The real star is fresh garlic scapes, those whimsical curly green stalks that appear on hardneck garlic plants. You will need about a handful of scapes for every cup of butter, though exact measurements are forgiving.
For the butter, I prefer using unsalted butter so I can control the salt level later. If you use salted butter, that is perfectly fine; just remember to reduce or skip any extra salt you might add. Quality matters, so pick a butter you love the taste of, whether it is store bought or a batch you churned yourself. Finally, a handful of fresh herbs like chives, parsley, or thyme can take the flavor up a notch, but they are completely optional. That is the beauty of this recipe: you can keep it pure and simple or dress it up to match your mood.
Step 1: Let Butter Warm to Room Temperature
The night before you plan to make your garlic scape butter, pull the butter from the refrigerator or freezer and let it sit on the counter. I like to set it out right before I head to bed, so by morning it is beautifully soft and ready to work with. Room temperature butter blends much more easily with the chopped scapes, giving you a smooth and spreadable compound butter without any stubborn lumps.
If you forget this step, do not panic. You can cut the cold butter into small cubes and let them warm up faster on a plate while you prepare the scapes. Just avoid microwaving it, because melted butter will change the texture of the finished product. Softened butter is the key to effortless mixing, and this little bit of planning makes the whole process feel like a relaxing morning in the kitchen.
Step 2: Harvest Fresh Garlic Scapes
If you grow hardneck garlic, you know the excitement of spotting those first tight curls poking up from the center of the leaves. Garlic scapes, the flower stalks that the plant sends up in late spring to early summer, are at their best when harvested in the morning before the sun gets too warm. I slip out to the garden with a harvest basket and snap each round stem right where it naturally breaks, usually a few inches below the curl. Removing the scapes encourages the garlic bulb underground to grow larger, so you are helping your future harvest while gathering today’s ingredient.

No garden? No problem. Farmers markets and farm stands in the United States are overflowing with garlic scapes from May through June. Look for bright green, firm stalks that snap cleanly. If you plan to add fresh herbs to your butter, now is the perfect time to harvest a handful of chives, dill, or whatever is thriving in your garden.
Step 3: Rinse and Remove Tough Ends
Garlic scapes are typically clean, especially if you pick them yourself on a dry morning. A quick rinse under cool water is usually enough to remove any tiny bits of soil or garden hitchhikers. After rinsing, give the scapes a gentle pat dry with a clean kitchen towel.
Next, inspect each scape and trim away any tough or woody ends, especially the cut end at the base where you snapped it from the plant. Some scapes have a slightly fibrous tip as well. To test the tenderness, I often nibble the very end. If it feels chewy or stringy, cut a little higher. You want only the tender, crisp parts for your butter, so that every bite melts into the dish without a trace of toughness. This small step makes a big difference in the final texture.
Step 4: Mince Curly Scapes of Garlic
Now comes the part that requires a bit of patience. Those beautiful curls that make garlic scapes so charming also make them a little tricky to chop evenly. I lay a few scapes flat on the cutting board and rock my knife back and forth, working slowly to mince them as finely as I can. The finer the mince, the faster the scapes will cook when you drop a frozen pat into a hot skillet later.
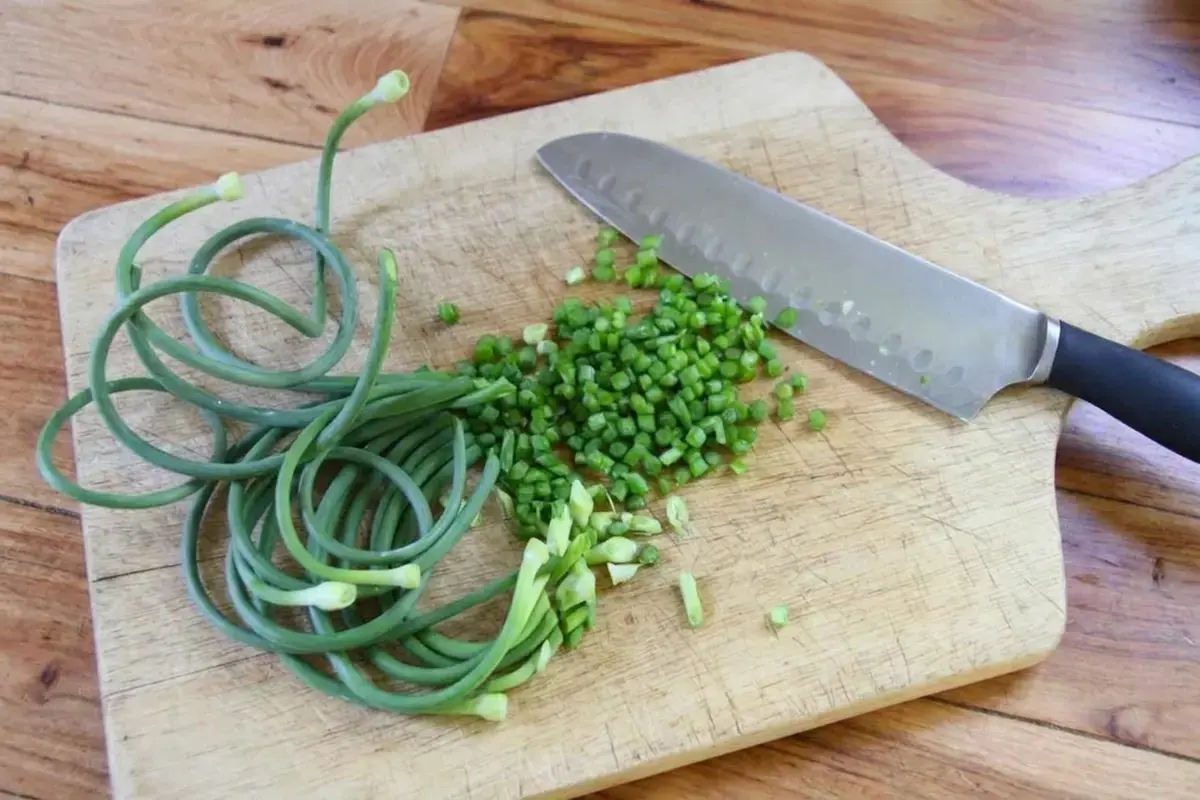
If you want an extra smooth garlic scape butter, a food processor is your best friend. Just pulse the scapes until they are broken down into tiny flecks. This method also saves time when you are making a double batch. Either way, the goal is to get the scapes into a consistency that will distribute evenly throughout the butter. Unlike freezing scapes on their own, you do not need to blanch them for compound butter. The butter itself protects the flavor and texture during freezing. The light green color comes from the chlorophyll in the scapes, and you will see it ribbon beautifully through the butter once you start mixing.
Step 5: Mix Scapes into Softened Butter
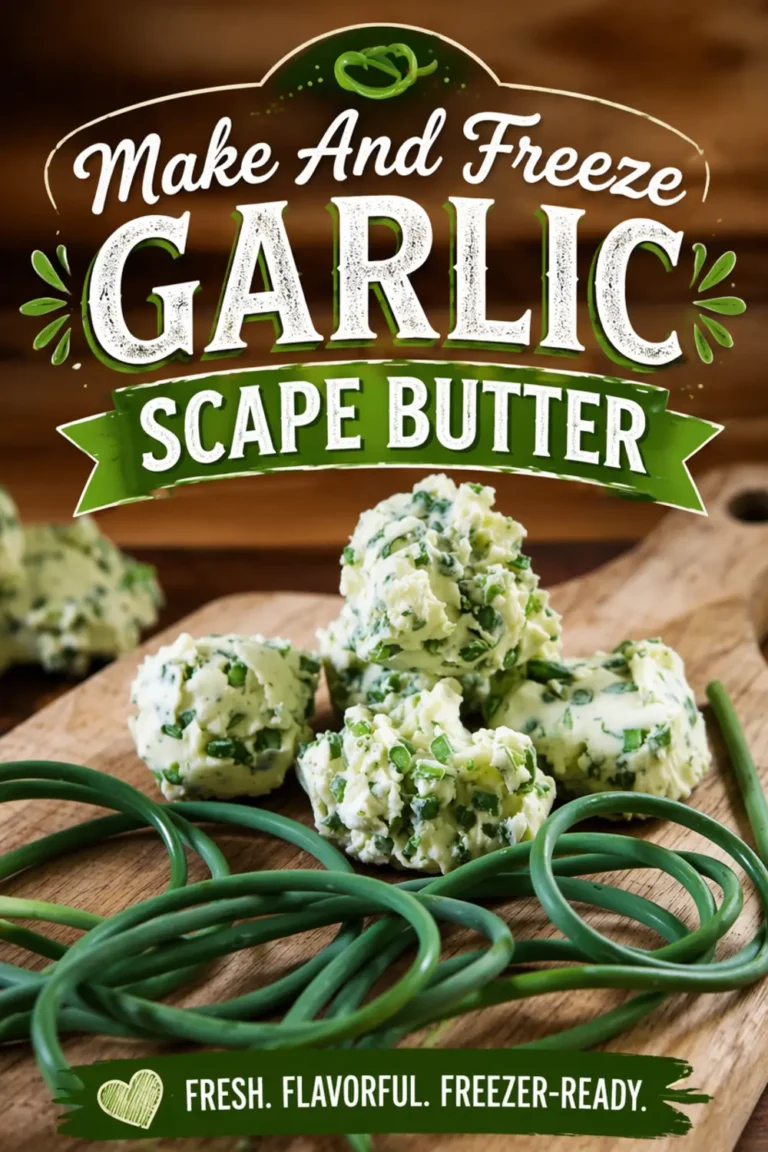
Place your softened butter into a large mixing bowl. Add the minced garlic scapes, and if you are using any fresh herbs, toss them in now as well. Grab a wooden spoon and begin stirring, folding the scapes into the butter until everything is evenly combined. I love watching the pale yellow butter transform into a creamy, pale green spread as the scapes release their subtle color.
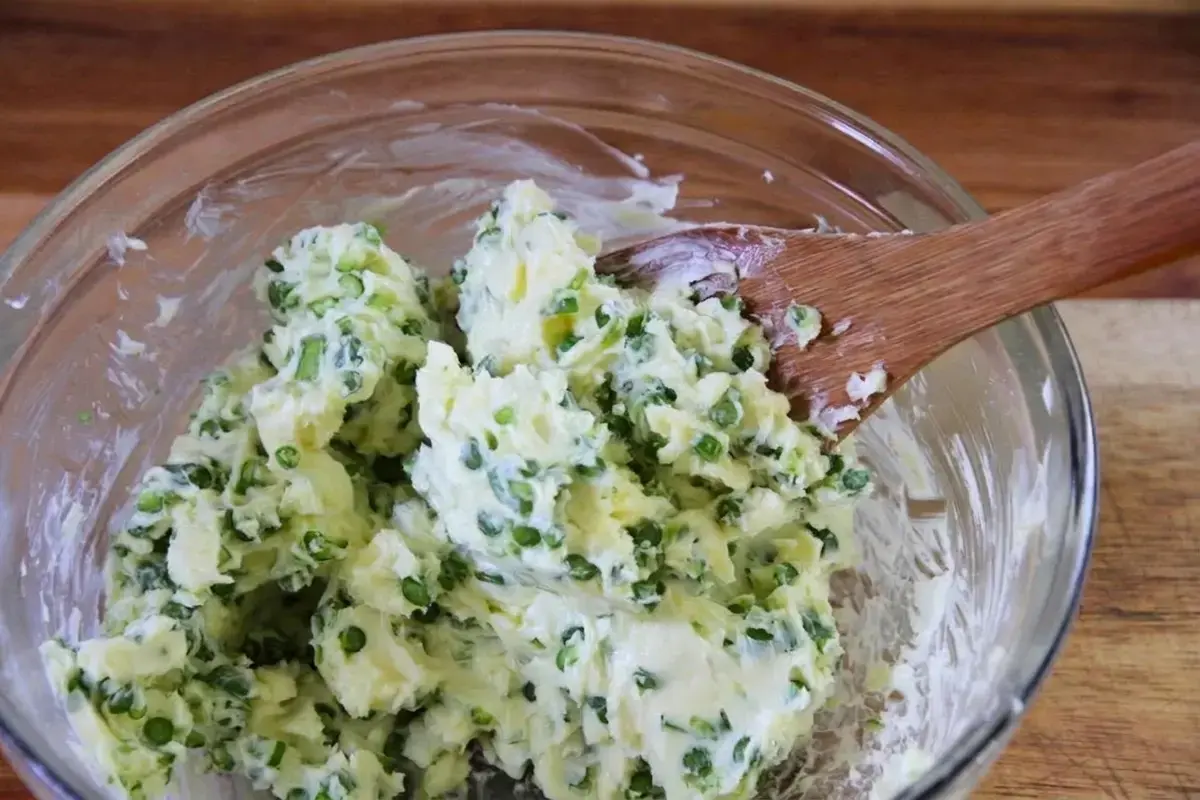
If you are working with unsalted butter, this is the moment to add a pinch of salt. For salted butter, taste a tiny dab first and decide if you need more. A pinch of red pepper flakes can add a gentle warmth if you like a little kick. The texture should be creamy and spreadable. Once everything is mixed to your liking, your garlic scape compound butter is ready to be shaped for the freezer. For another method, Garlic Scape Butter recipe from Allrecipes offers a slightly different take.
Step 6: Mold Butter for Freezing
Now for the fun part: shaping your butter into convenient portions for the freezer. My favorite method is to form individual pats. Line a cutting board or baking sheet with a piece of parchment paper. Using two spoons, scoop up mounds of the butter mixture and drop them onto the parchment like you are dropping cookie dough. With about 2 cups of butter, you will get roughly 15 to 16 generous pats.
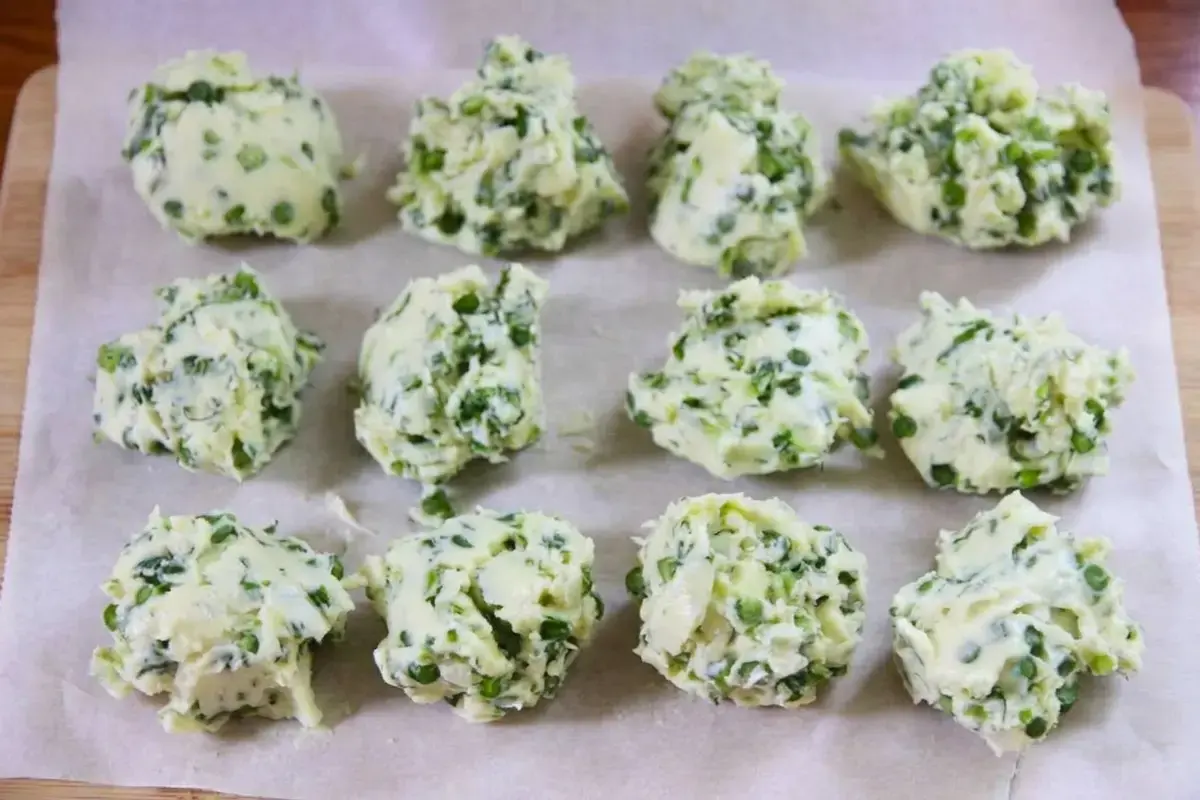
Alternatively, you can scoop the butter onto a sheet of plastic wrap or parchment paper and roll it into a tight log, twisting the ends like a piece of candy. This makes it easy to slice off neat coins later. Ice cube trays or silicone molds work wonderfully for single serving portions. Whichever shape you choose, the next step is a quick trip to the freezer to set everything in place.
Step 7: Flash Freeze Pats of Butter
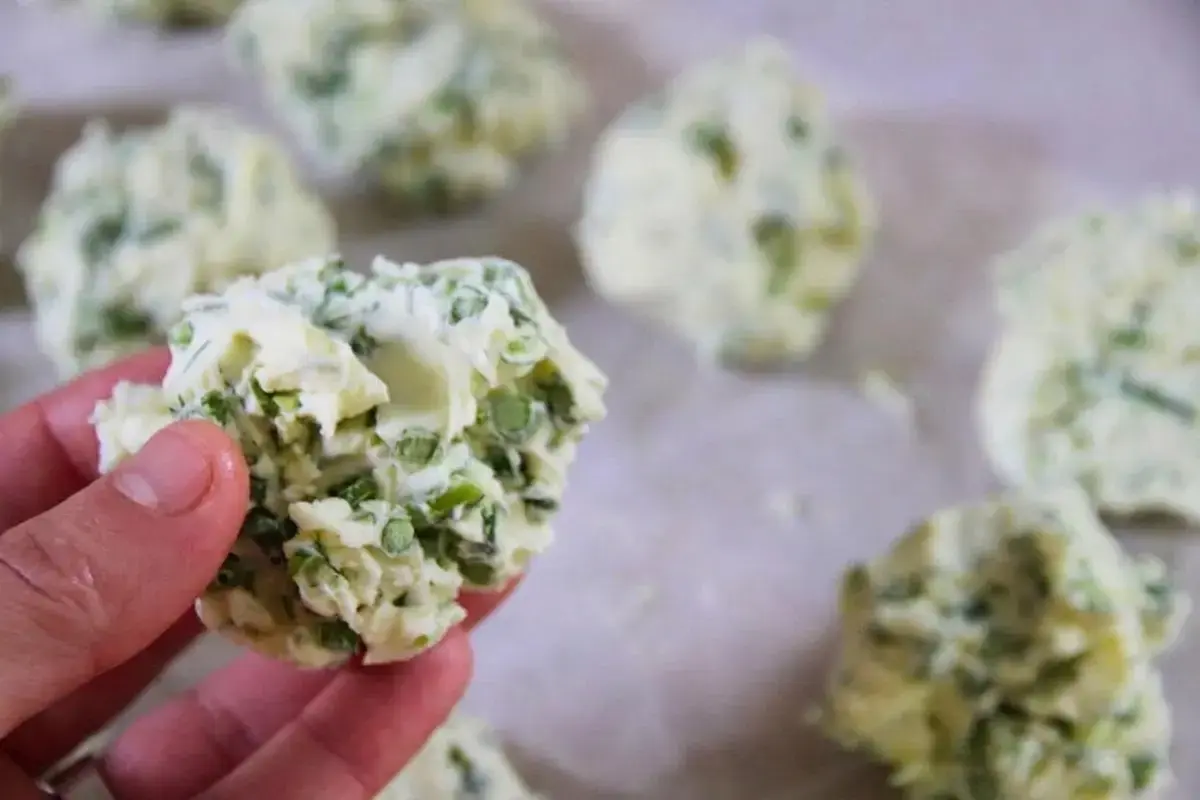
Slide the tray of butter pats into the freezer, making sure it sits level. Let them freeze until they are completely solid, which usually takes a couple of hours. Once frozen, pop the pats off the parchment and transfer them to a freezer safe bag or an airtight container. I like to press out as much air as possible to prevent freezer burn; vacuum sealed bags are even better if you have one.
Do not forget to label the bag with the date. Garlic scape butter stays fresh for up to 6 months in the freezer, and often longer if packed well. The real joy comes when you are cooking in the middle of winter and can reach into the freezer, pull out a pat, and drop it straight into a skillet or soup pot. That little pat holds the taste of a spring garden, ready whenever you need it.
Best Fresh Herbs for Garlic Scape Butter
Adding a few sprigs of fresh herbs to your garlic scape butter can create a whole new layer of flavor. Almost any tender herb works beautifully, and they freeze just as well as the scapes do. I have experimented quite a bit and here are the ones I reach for most often.
| Herb | Flavor Contribution |
|---|---|
| Chives | Mild onion notes, a classic pairing |
| Dill | Bright and fresh, great with fish |
| English Thyme | Earthy and savory, perfect for roasts |
| Lemon Basil | Light citrus and sweet basil blend |
| Onion Greens | Subtle allium punch |
| Oregano | Peppery and slightly bitter |
| Parsley | Clean, grassy freshness |
| Rosemary | Piney and bold, use sparingly |
| Sweet Basil | Sweet and aromatic |
| Tarragon | Delicate anise notes |
One herb to approach with caution is sage. While I love sage in other dishes, it has a tendency to turn bitter when preserved in frozen butter. If you really want to try it, test a tiny batch first before committing to a full log. For the best results, stick with the herbs above, and your garlic scape butter will stay vibrant and delicious in the freezer for months.
How to Use Garlic Scape Compound Butter
Once you have a stash of frozen garlic scape butter, you will find dozens of ways to use it. The raw scapes are at their best when cooked, so this compound butter shines in pan frying, oven roasting, and simmered soups. You can take a frozen pat straight from the freezer and drop it into a hot cast iron skillet to sizzle and melt around whatever you are cooking.
Here are some of my favorite applications:
- Pan fried trout: melt a pat in the skillet before adding the fish for a delicate garlic flavor.
- Fried venison steaks: the butter adds richness to lean game meat.
- Beef steaks or stew meat: a pat on top of a grilled steak melts into a glossy, savory sauce.
- Pork chops: pan fry or roast with a pat on each chop.
- Oven roasted vegetables: toss carrots, potatoes, or asparagus with a softened pat before roasting.
- Ham and corn chowder: stir in a pat at the end for a silky, garlicky finish.
- Chicken soup: a frozen pat dropped into a pot of soup adds instant depth.
Beyond cooking, let a slice soften slightly and spread it on warm crusty bread or melt it over a bowl of hot popcorn. The light green butter also makes a beautiful finishing touch on grilled seafood. For another flavor variation, check out my make garlic scape compound butter recipe.
Frequently Asked Questions
What is garlic scape butter?
How do you make garlic scape butter for freezing?
Can you freeze garlic scape butter?
How long does garlic scape butter last in the freezer?
What herbs go well with garlic scape butter?
How do you use garlic scape compound butter?
Garlic Scape Butter
🧄 Capture the fleeting flavor of spring garlic scapes in a rich, creamy compound butter that freezes beautifully.
🧈 A simple make-ahead staple that adds instant garlicky brightness to bread, steak, pasta, and roasted vegetables all year long.
- Total Time: 2 hours 15 minutes
- Yield: 1 cup (about 16 servings)
Ingredients
garlic scapes
butter (preferably unsalted)
fresh herbs (chives, parsley, thyme, optional)
Instructions
1-Soften the butter: Let butter sit at room temperature overnight or cut into cubes to speed up; do not microwave.
2-Harvest garlic scapes: Snap fresh scapes from garden in the morning or buy firm, bright green scapes at farmers market from May–June.
3-Rinse and trim scapes: Rinse under cool water, pat dry, then remove tough ends and fibrous tips so only tender parts remain.
4-Mince the garlic scapes: Finely mince scapes with a knife, working slowly around the curls, or pulse in a food processor until tiny, even flecks.
5-Mix scapes into softened butter: Place softened butter in a bowl, add minced scapes and any fresh herbs; stir with a wooden spoon until evenly combined; add salt to taste if using unsalted butter.
6-Shape butter for freezing: Scoop mixture onto parchment paper, shape into individual pats or roll into a tight log, wrapping securely.
7-Flash freeze the butter: Freeze shaped butter on a tray until solid, then transfer to a freezer bag, pressing out air; label and freeze for up to 6 months.
Last Step:
Please leave a rating and comment letting us know how you liked this recipe! This helps our business to thrive and continue providing free, high-quality recipes for you.Notes
💡 Use the butter straight from frozen—no need to thaw—just slice off a pat and drop it into a hot pan or onto warm bread.
🌿 For a flavor twist, mix in fresh herbs like chives, parsley, dill, or thyme along with the scapes before freezing.
❄️ Wrap the butter log tightly in parchment paper, then add a layer of plastic wrap for extra protection; it keeps well in the freezer for up to 6 months.
- Prep Time: 15 minutes
- Freeze Time: 2 hours
- Cook Time: 0 minutes
- Category: Condiment
- Method: No-Cook
- Cuisine: American
- Diet: Vegetarian, Gluten-Free
Nutrition
- Serving Size: 1 tablespoon
- Calories: 102
- Sugar: 0g
- Sodium: 37mg
- Fat: 11.5g
- Saturated Fat: 7.2g
- Unsaturated Fat: 3.5g
- Trans Fat: 0g
- Carbohydrates: 0.5g
- Fiber: 0.1g
- Protein: 0.2g
- Cholesterol: 30mg