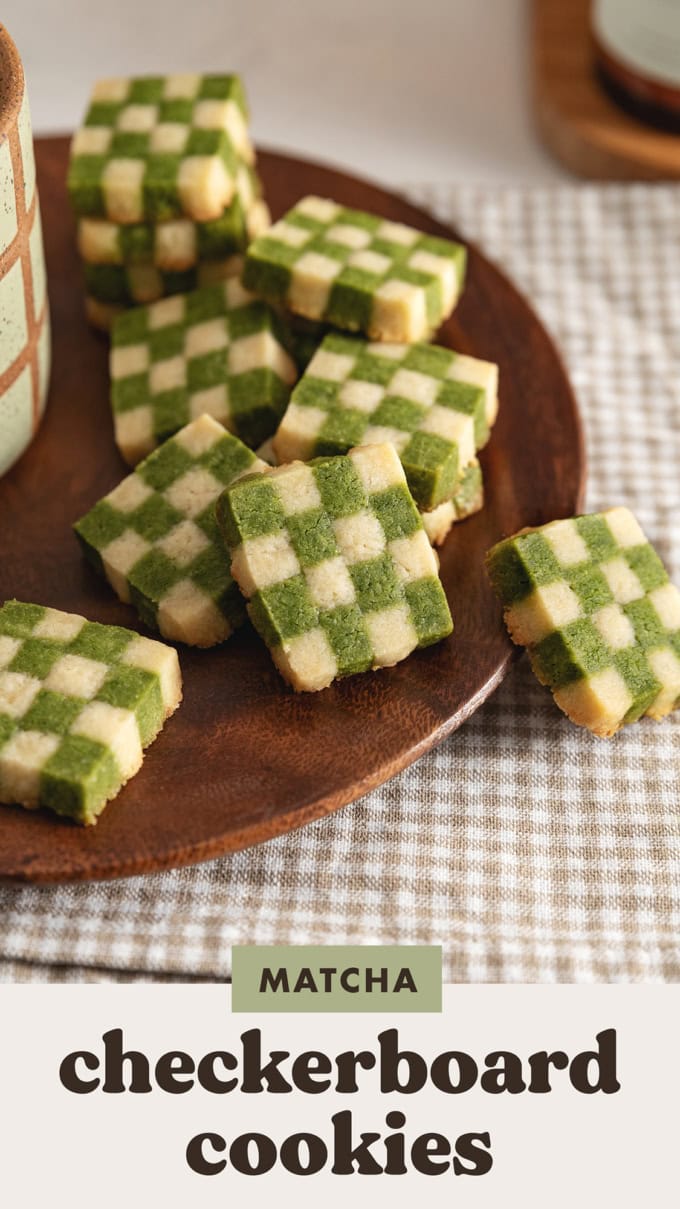
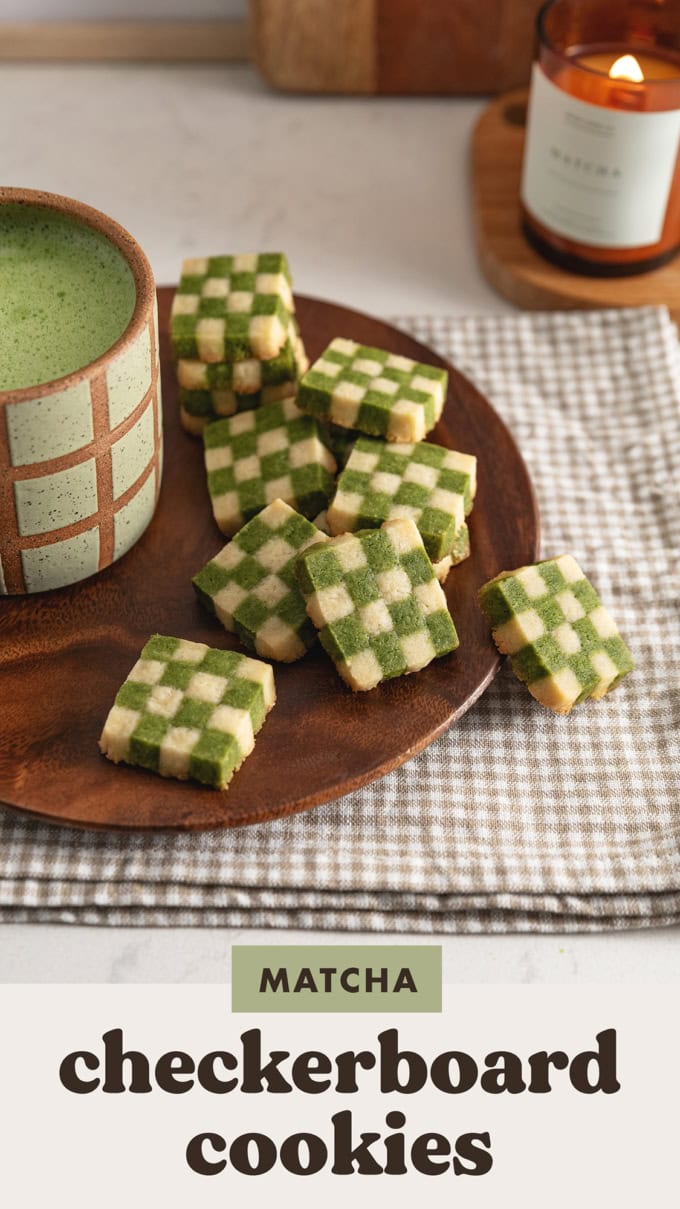
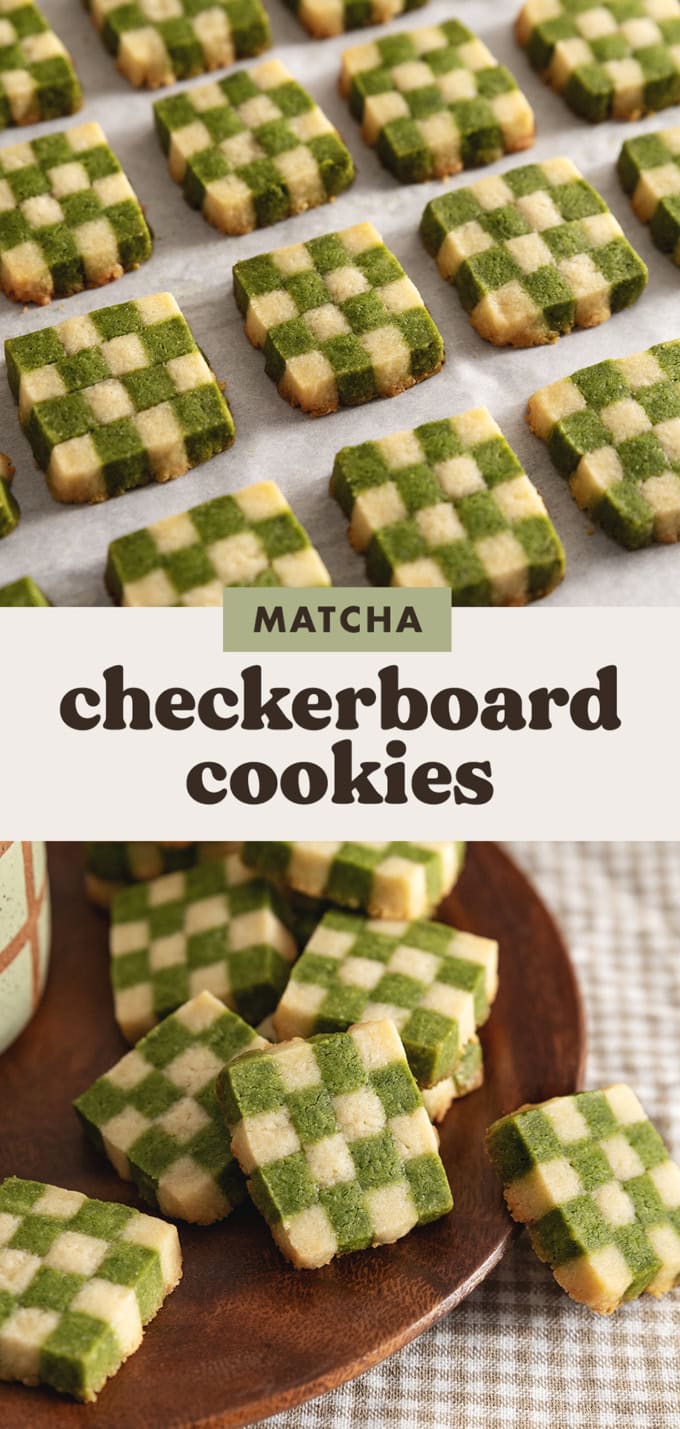
The very first time I spotted a checkerboard cookie, it was in the window of a tiny bakery in Seattle. I stood there, nose pressed against the glass, completely mesmerized. Each perfect little square held alternating patches of soft vanilla and vibrant green.
I remember thinking, This looks like magic. I could never make these. Then I came home, did a little research, and realized that the checkerboard pattern is actually a lot less intimidating than it seems.
It’s really just a gentle puzzle, made of buttery dough and calm patience. Once I understood the rhythm of stacking and slicing, I felt a giddy sort of confidence. Now these cookies are my own quiet kitchen superpower.
Matcha checkerboard cookies are essentially two soft, buttery shortbread doughs, one plain and one infused with matcha powder, layered to create a striking grid.
The taste is a lovely balance: the classic richness of butter and vanilla dances with the earthy, slightly grassy note of good quality matcha.
The texture lands right in that dreamy sweet spot, tender enough to crumble delicately, yet firm enough to hold that crisp, sandy edge. And while the finished cookie looks like it belongs in a patisserie case, the technique is wonderfully forgiving.
The source that first guided me broke it all down with reassuring clarity: roll, chill, stack, slice. There’s no complicated piping, no terrifying caramel work. Just steady hands and a little fridge time.
Whether you’re preparing a holiday cookie box or simply want to surprise your family on a quiet Sunday, this is the kind of bake that makes people pause and say, Wait, you made these?
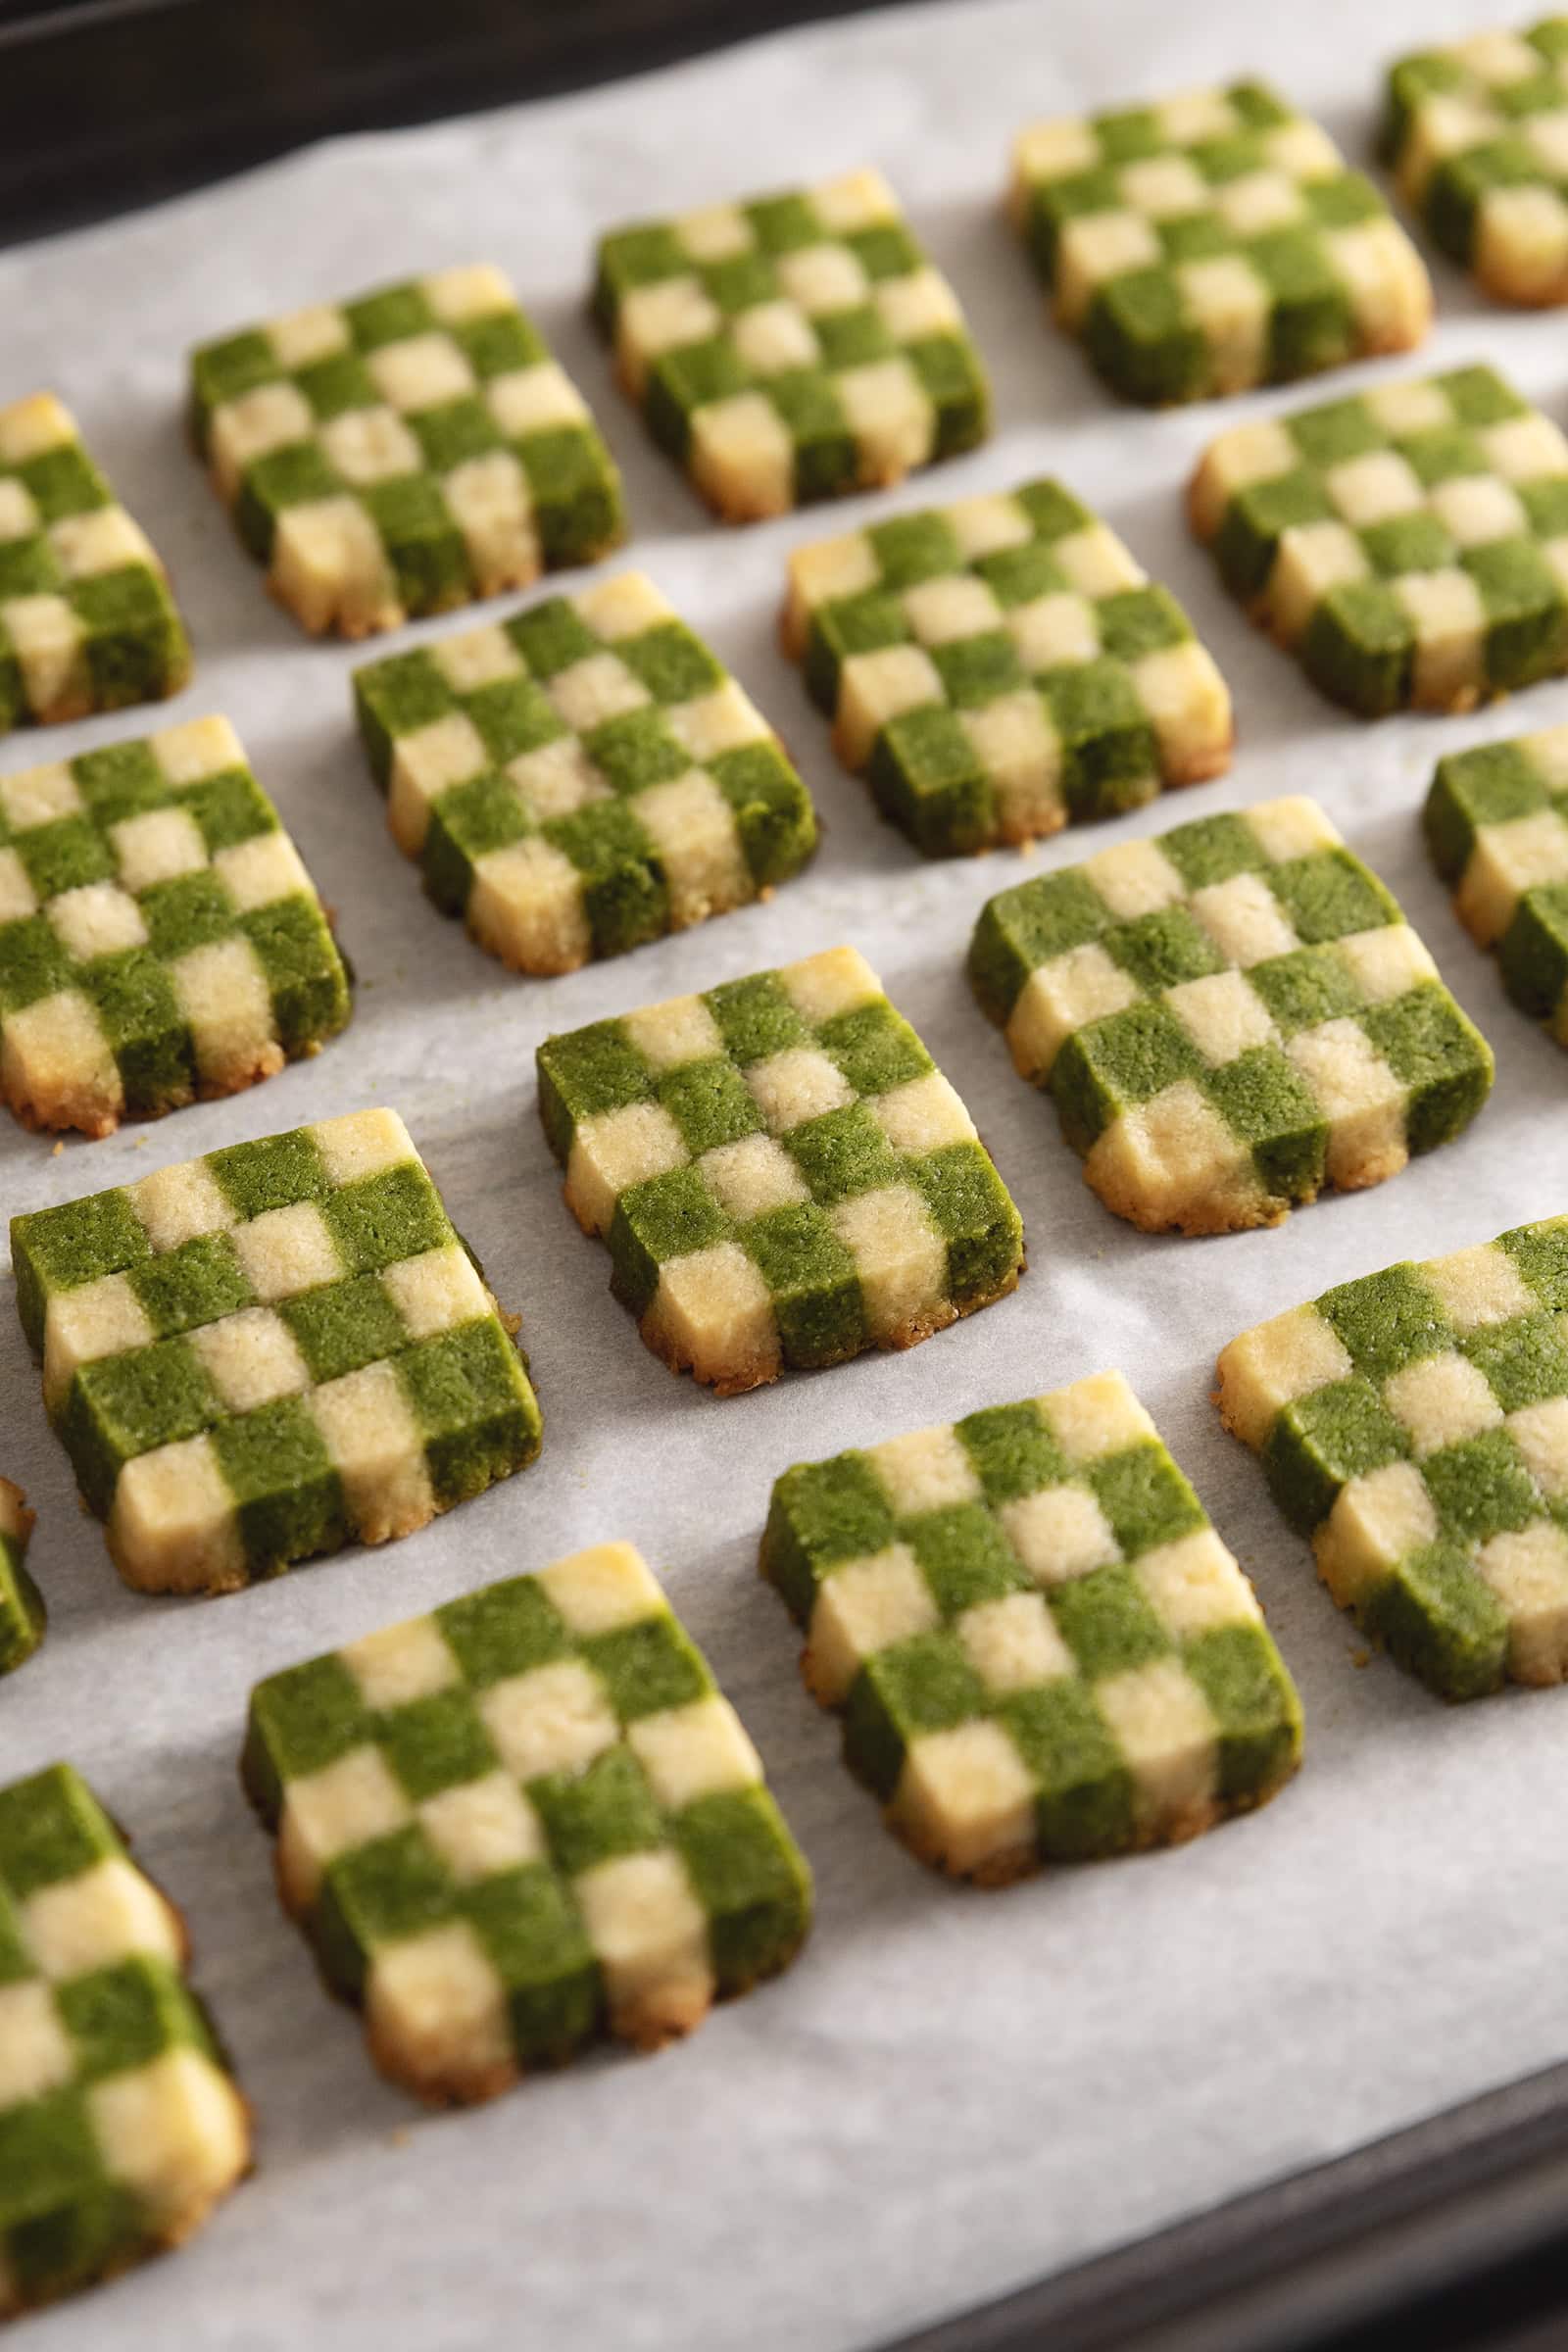
The recipe yields 26 cookies, each delivering a gentle matcha aroma that doesn’t overwhelm. Because the dough is rolled to an even thickness and cut cleanly, every cookie bakes up with a neat, lace trimmed edge.
I love watching the green turn a deeper forest shade in the oven while the vanilla stays pale and golden at the rims. It’s proof that a few simple steps, taken carefully, can produce something that feels genuinely special.
Let’s be honest: we all want that bakery level moment of glory, but we also have laundry to fold and no desire to wrestle with a finicky dough. That’s exactly why this recipe has become a staple in my kitchen. It walks that rare line between impressive and approachable.
Just seven main ingredients. Flour, butter, sugar, an egg, vanilla, matcha, and salt. That’s it. No strange powders or hard to find extracts.
Make ahead friendly. Both dough slabs freeze beautifully. I often roll them out on a lazy Sunday, chill them, and then finish assembling on a busy weeknight. The dough is patient; it won’t fuss.
Gorgeous visual payoff. The checkerboard pattern is a silent showstopper. Even a slightly imperfect stack still creates that satisfying criss cross effect. No one will notice if your third row is a smidge uneven.
Flavor harmony. The vanilla and matcha aren’t fighting for attention. They complement each other like a calm duet. The butter carries both notes, making each bite rich and balanced.
Perfect for cookie exchanges. These cookies hold their shape beautifully and travel well, making them a guaranteed conversation starter at any gathering.
Think of this dough as your creative canvas. Once you master the checkerboard, you might find yourself dreaming up other color combinations, like cocoa vanilla or even a pink beet version.
Notes from the Baker
Over the years, I’ve packed these into countless tins and watched friends’ faces light up. There’s something deeply satisfying about handing someone a cookie that looks like a tiny, edible chess board. For me, these little squares carry the spirit of hospitality.
When a neighbor dropped by with sad news last winter, I had a batch in the freezer. Twenty minutes later, a warm plate of checkerboard cookies sat between us on the porch, offering comfort without many words.
The alternating squares do all the heavy lifting. Because the base dough is essentially a rich, European style butter cookie, even people who aren’t sure about green tea flavor will grab a second one.
The matcha is present but gentle, more like a perfumed whisper than a bold statement. In holiday baking, where everything is either chocolate or peppermint, these bring a peaceful, elegant surprise. I hope you’ll add them to your own tradition.
They’re proof that the most memorable bakes are often the ones that look complicated, but are really built on simple, reliable steps.
Ingredient Notes
Every ingredient earns its place in this dough, and small details make a big difference. Here’s a quick look at what you’ll need and why it matters.
Ingredient
Role in the Cookies
All purpose flour
Provides structure without making the cookies tough. The dough handles beautifully when you avoid overmixing.
Salt
Just half a teaspoon lifts the buttery notes and balances the sweetness. Don’t skip it.
Unsalted butter
Softened to room temperature, good quality butter is the backbone. It gives that melt in the mouth, sandy crumb.
Granulated sugar
Keeps the sweetness clean and light without overwhelming the matcha.
Egg yolk
Adds richness and helps bind the dough. The egg white is saved for gluing the layers together.
Vanilla extract
A full tablespoon ensures the vanilla dough stands up to the matcha with warm, fragrant depth.
Matcha powder
Ceremonial grade is best here, it yields a vibrant green color and smooth, non bitter flavor. Sift it in to avoid lumps.
When I first attempted checkerboard cookies, I used a lower grade culinary matcha and the color turned a sad olive brown. Lesson learned. Spend a little more on the matcha; your eyes and taste buds will thank you.
Also, treat the egg white with care: it’s your edible glue. A thin, even layer brushed on with a pastry brush holds the strips together without making the dough slippery.
Tips for Making the Best Matcha Checkerboard Cookies
I’ve made every mistake so you don’t have to. The first test batch came out a little lopsided because I rushed the chilling step. Once I learned to trust the fridge, everything clicked. Here are my top pointers for picture perfect checkerboards every time.
Keep it cool. Chilling the dough for at least an hour, and then again between stacking stages, is non negotiable. Firm, cold dough slices cleanly. Warm dough turns into a smeary mess.
Don’t overmix. Stop the mixer while you still see a few faint flour streaks. Overworking the dough develops gluten and can make the cookies tough instead of tender.
Measure and square. Use a bench scraper or ruler to straighten the edges of each dough rectangle. Matching dimensions means the checkerboard pattern lines up neatly.
Slice with confidence. A sharp knife and a ruler are your best friends. Aim for strips about a quarter inch thick. Taking your time here pays off in crisp, even squares.
Egg white, not flood. Brush just a whisper thin layer of egg white between strips. Too much liquid will cause the layers to slide apart.
Watch the oven. Bake at 350°F for 12 to 15 minutes. Pull the cookies as soon as the bottom edges show a faint golden blush. They’ll continue firming up as they cool.
Pro tip: If the dough softens while you’re cutting or stacking, pop it back into the fridge for 10 minutes. A little extra chill time restores order and keeps those tiny squares crisp.
Storage
One of the reasons these cookies have become a fixture in my holiday rotation is how well they keep. After all the careful stacking and slicing, you deserve a bake that doesn’t go stale overnight.
Store your completely cooled cookies in an airtight container at room temperature. They’ll stay fresh and buttery for up to five days, if they last that long. My family usually eliminates them within 48 hours, but it’s nice to know the option exists.
For longer storage, the freezer is your ally. You can freeze the baked cookies for up to one month. I like to layer them between sheets of parchment paper in a sturdy container.
Thaw them at room temperature, and they’ll taste nearly as lovely as the day you baked them. You can also freeze the raw assembled blocks: wrap them tightly and slice off a few cookies whenever a craving strikes. Just add a minute or two to the baking time.
Matcha Checkerboard Cookies Recipe
Here’s the step by step guide, straight from the kitchen counter where I learned it. Precise measurements and clear steps will keep you on track.
Ingredients
Quantity
Ingredient
300 g
all purpose flour
½ teaspoon
salt
230 g
unsalted butter, softened to room temperature
100 g
granulated sugar
1
large egg yolk
1 tablespoon
vanilla extract
1 tablespoon
ceremonial grade matcha powder
1
large egg white (for assembly)
Method
In a medium bowl, stir together the flour and salt. Set aside.
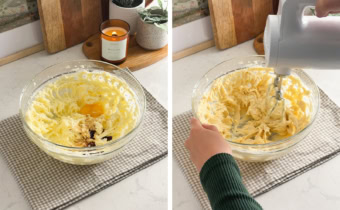
In a large mixing bowl, use an electric hand mixer to beat the softened butter until very creamy. Add the sugar and beat until creamy and fluffy. Add the egg yolk and vanilla extract, and beat on low speed until combined.
Add the flour mixture to the butter mixture and beat on low speed until just barely combined, with some flour patches still remaining.
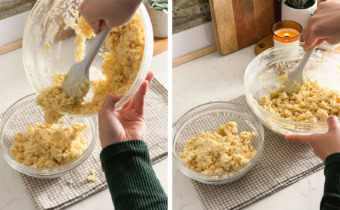
Divide the dough in half. Transfer one half to a separate bowl. Finish mixing that portion just until there are no more flour patches; this is your plain vanilla dough. Set it aside.
To the other half of dough, sift in the matcha powder. Mix on low speed until the matcha is evenly distributed.
Lay a sheet of parchment paper on the counter. Turn out the matcha dough and press it into a rectangular shape. Use a bench scraper to square off the sides. Lay another sheet of parchment on top, then roll the dough out to about ¼ inch thick, keeping the rectangle as even as possible.
Repeat the previous step with the vanilla dough, making both sheets roughly the same size. Transfer both dough sheets to the fridge and chill for at least 1 hour, or until firm.
Once chilled, peel one sheet of dough and lay it directly on top of the other sheet.
Cut the stack in half widthwise. Brush a thin layer of egg white over the top of one half, then place the other half on top so the colors alternate. Return the stack to the fridge for 15 minutes to firm up.
Use a sharp knife to cut ¼ inch thick strips. Each strip should have 4 alternating stripes; you’ll get about 12 strips.
Place one strip flat. Brush the top lightly with egg white, then take another strip, flip it so the colors oppose the layer below, and place it on top. Repeat until you have a stack of 4 strips. Repeat with the remaining strips to form 3 checkerboard blocks. Chill the blocks for another 15 minutes.
Preheat the oven to 350°F and line a baking sheet with parchment paper.
Slice each block into ¼ inch thick cookies. Place them on the baking sheet, leaving about ½ inch between cookies.
Bake for 12 to 15 minutes, until the bottom edges just begin to lightly brown.
Let the cookies cool on the baking sheet for 5 minutes, then transfer to a wire rack to cool completely.
Now step back and admire your handiwork. You’ve just created a batch of elegant, bakery worthy cookies from simple ingredients and a little mindful effort. Share them widely or keep a few hidden for a quiet cup of tea, you’ve earned it.
FAQs
What kind of matcha is best for matcha checkerboard cookies?
Use ceremonial-grade matcha powder for the best flavor and bright jade color. It has a smooth, less astringent taste that keeps the vanilla and matcha contrast vivid. Culinary-grade matcha can work, but it may taste more bitter and appear dull brownish-green.
How do you get clean checkerboard lines when making matcha checkerboard cookies?
Keep the dough chilled and firm at all times. Roll the vanilla and matcha sheets to the same size and thickness, chill them for at least 1 hour, then use whisked egg white as glue between layers before cutting 1/4 inch strips and stacking alternating colors. If the dough softens, chill it for 15 minutes before slicing.
Why are my matcha checkerboard cookies turning brown?
Matcha can brown when overbaked, so bake at 350°F for 12 to 15 minutes only until the bottom edges just begin to lightly brown. Use a light-colored aluminum baking sheet to reduce excess browning on the bottoms. Ceremonial-grade matcha also helps keep the green color more vivid.
How should I store matcha checkerboard cookies and can I freeze the dough?
Store baked cookies in an airtight container at room temperature for up to 5 days. You can also freeze them and thaw at room temperature before serving. The assembled checkerboard cookie dough freezes well for make-ahead baking, so you can slice and bake it straight from the freezer.
What Is Matcha Checkerboard Cookies? The very first time I spotted a checkerboard cookie, it was in the window of a tiny bakery in Seattle.
Total Time:172 min
Yield:26 cookies 1x
Ingredients
Scale
Cookies 300 g all-purpose flour ½ teaspoon salt 230 g unsalted butter, softened to room temperature 100 g granulated sugar 1 large egg yolk 1 tablespoon vanilla extract 1 tablespoon matcha powder, ceremonial-grade
For assembling 1 large egg white
Instructions
1-In a medium bowl, stir together the: In a medium bowl, stir together the flour and salt. Set aside. 2-In a large mixing bowl, use an: In a large mixing bowl, use an electric hand mixer to beat the softened butter until very creamy. Add the granulated sugar and beat until creamy and fluffy. Add the egg yolk and vanilla extract and beat again on low speed until combined. 3-Add the flour mixture to the butter: Add the flour mixture to the butter mixture and beat on low speed until just barely combined with some flour patches still remaining. 4-Divide the dough in half and transfer: Divide the dough in half and transfer one half to a separate mixing bowl (use the bowl you used for the flour mixture). Finish mixing the dough in one of the bowls just until there are no more flour patches. This will be your plain/vanilla dough. Set aside. 5-To the other dough, sift in matcha: To the other dough, sift in matcha powder. Use the hand mixer to mix on low speed until the matcha is evenly distributed throughout the dough. 6-On your kitchen counter, lay down a: On your kitchen counter, lay down a sheet of parchment paper. Turn out the matcha dough onto the parchment paper. Use your hands to press it into a rectangular shape. Use a bench scraper or something with a straight edge to square off the sides of the rectangle as best you can. 7-Lay another sheet of parchment paper on: Lay another sheet of parchment paper on top. Use a rolling pin to roll the dough out to about ¼” thick, keeping it in a rectangle shape as best you can. Occasionally, use a bench scraper to straighten the sides. 8-On a separate sheet of parchment paper,: On a separate sheet of parchment paper, repeat the previous two steps with the plain dough, making both sheets of dough roughly the same size and shape. Transfer both sheets of dough to the fridge to chill for at least 1 hour or until firm. 9-Once chilled, peel one sheet of dough: Once chilled, peel one sheet of dough off the parchment paper and lay it directly on top of the other sheet of dough. 10-Use a knife to cut the stack: Use a knife to cut the stack of dough in half widthwise. Use a pastry brush to brush the top of one half with a thin layer of egg white. Pick up the other half of dough and lay it on top of the egg white layer so that the colours of dough are alternating. Pop this back in the fridge for 15 minutes to firm up again. 11-Use a sharp knife to cut strips: Use a sharp knife to cut strips of dough that are about ¼” thick. Each long strip should have 4 stripes of alternating colours and you should end up with 12 strips. 12-Place one strip flat on your surface: Place one strip flat on your surface. Brush the top with a thin layer of egg white. Take another strip and flip it over so that the colours are the opposite of the ones below it. Place the strip down on top of the first strip, lining it up down the length of the strip, and gently press it down to seal together. Repeat until you have a stack of 4 strips. Repeat with the remaining strips. You should end up with 3 “blocks” with 4 strips each. Chill the blocks in the fridge for another 15 minutes to firm up again. 13-Preheat the oven to 350°F: Preheat the oven to 350°F. Line a baking sheet with parchment paper. Set aside. 14-Use a sharp knife to slice each: Use a sharp knife to slice each block into ¼” thick cookies. Place the cookies on your lined baking sheet, leaving about ½” in between each cookie. They won’t spread much so they can be fairly close together. 15-Bake cookies for 12-15 minutes or until: Bake cookies for 12-15 minutes or until the bottom edges of the cookies start to lightly brown. 16-Let the cookies cool on the baking: Let the cookies cool on the baking sheet for about 5 minutes before transferring them to a wire rack to cool completely.
Last Step:
Please leave a rating and comment letting us know how you liked this recipe! This helps our business to thrive and continue providing free, high-quality recipes for you.