Best Pâte Sablée, Sweet Shortcrust Pastry Tart Shells
Pâte sablée is the sweet shortcrust pastry that gives French tarts their delicate, crisp structure. This recipe is the professional style version adapted for home kitchens.
Unlike a flaky American pie crust, it bakes into a cookie like shell with a buttery, gently sweet, melt in the mouth texture.

The dough is not meant to be puffy or bread like, and it does not need blind baking when you use the recommended perforated tart rings and air baking mat.
One batch makes about 8 mini tartlets that are 3.14 inches or 8 cm in diameter. You can also make 1 larger tart that is about 9 inches or 23 cm wide.
The total time is around 2 hours 15 minutes, but most of that is hands off chilling and freezing. Active mixing takes only a few minutes, while freezing gives the butter a chance to rest so the walls keep their shape in the oven.
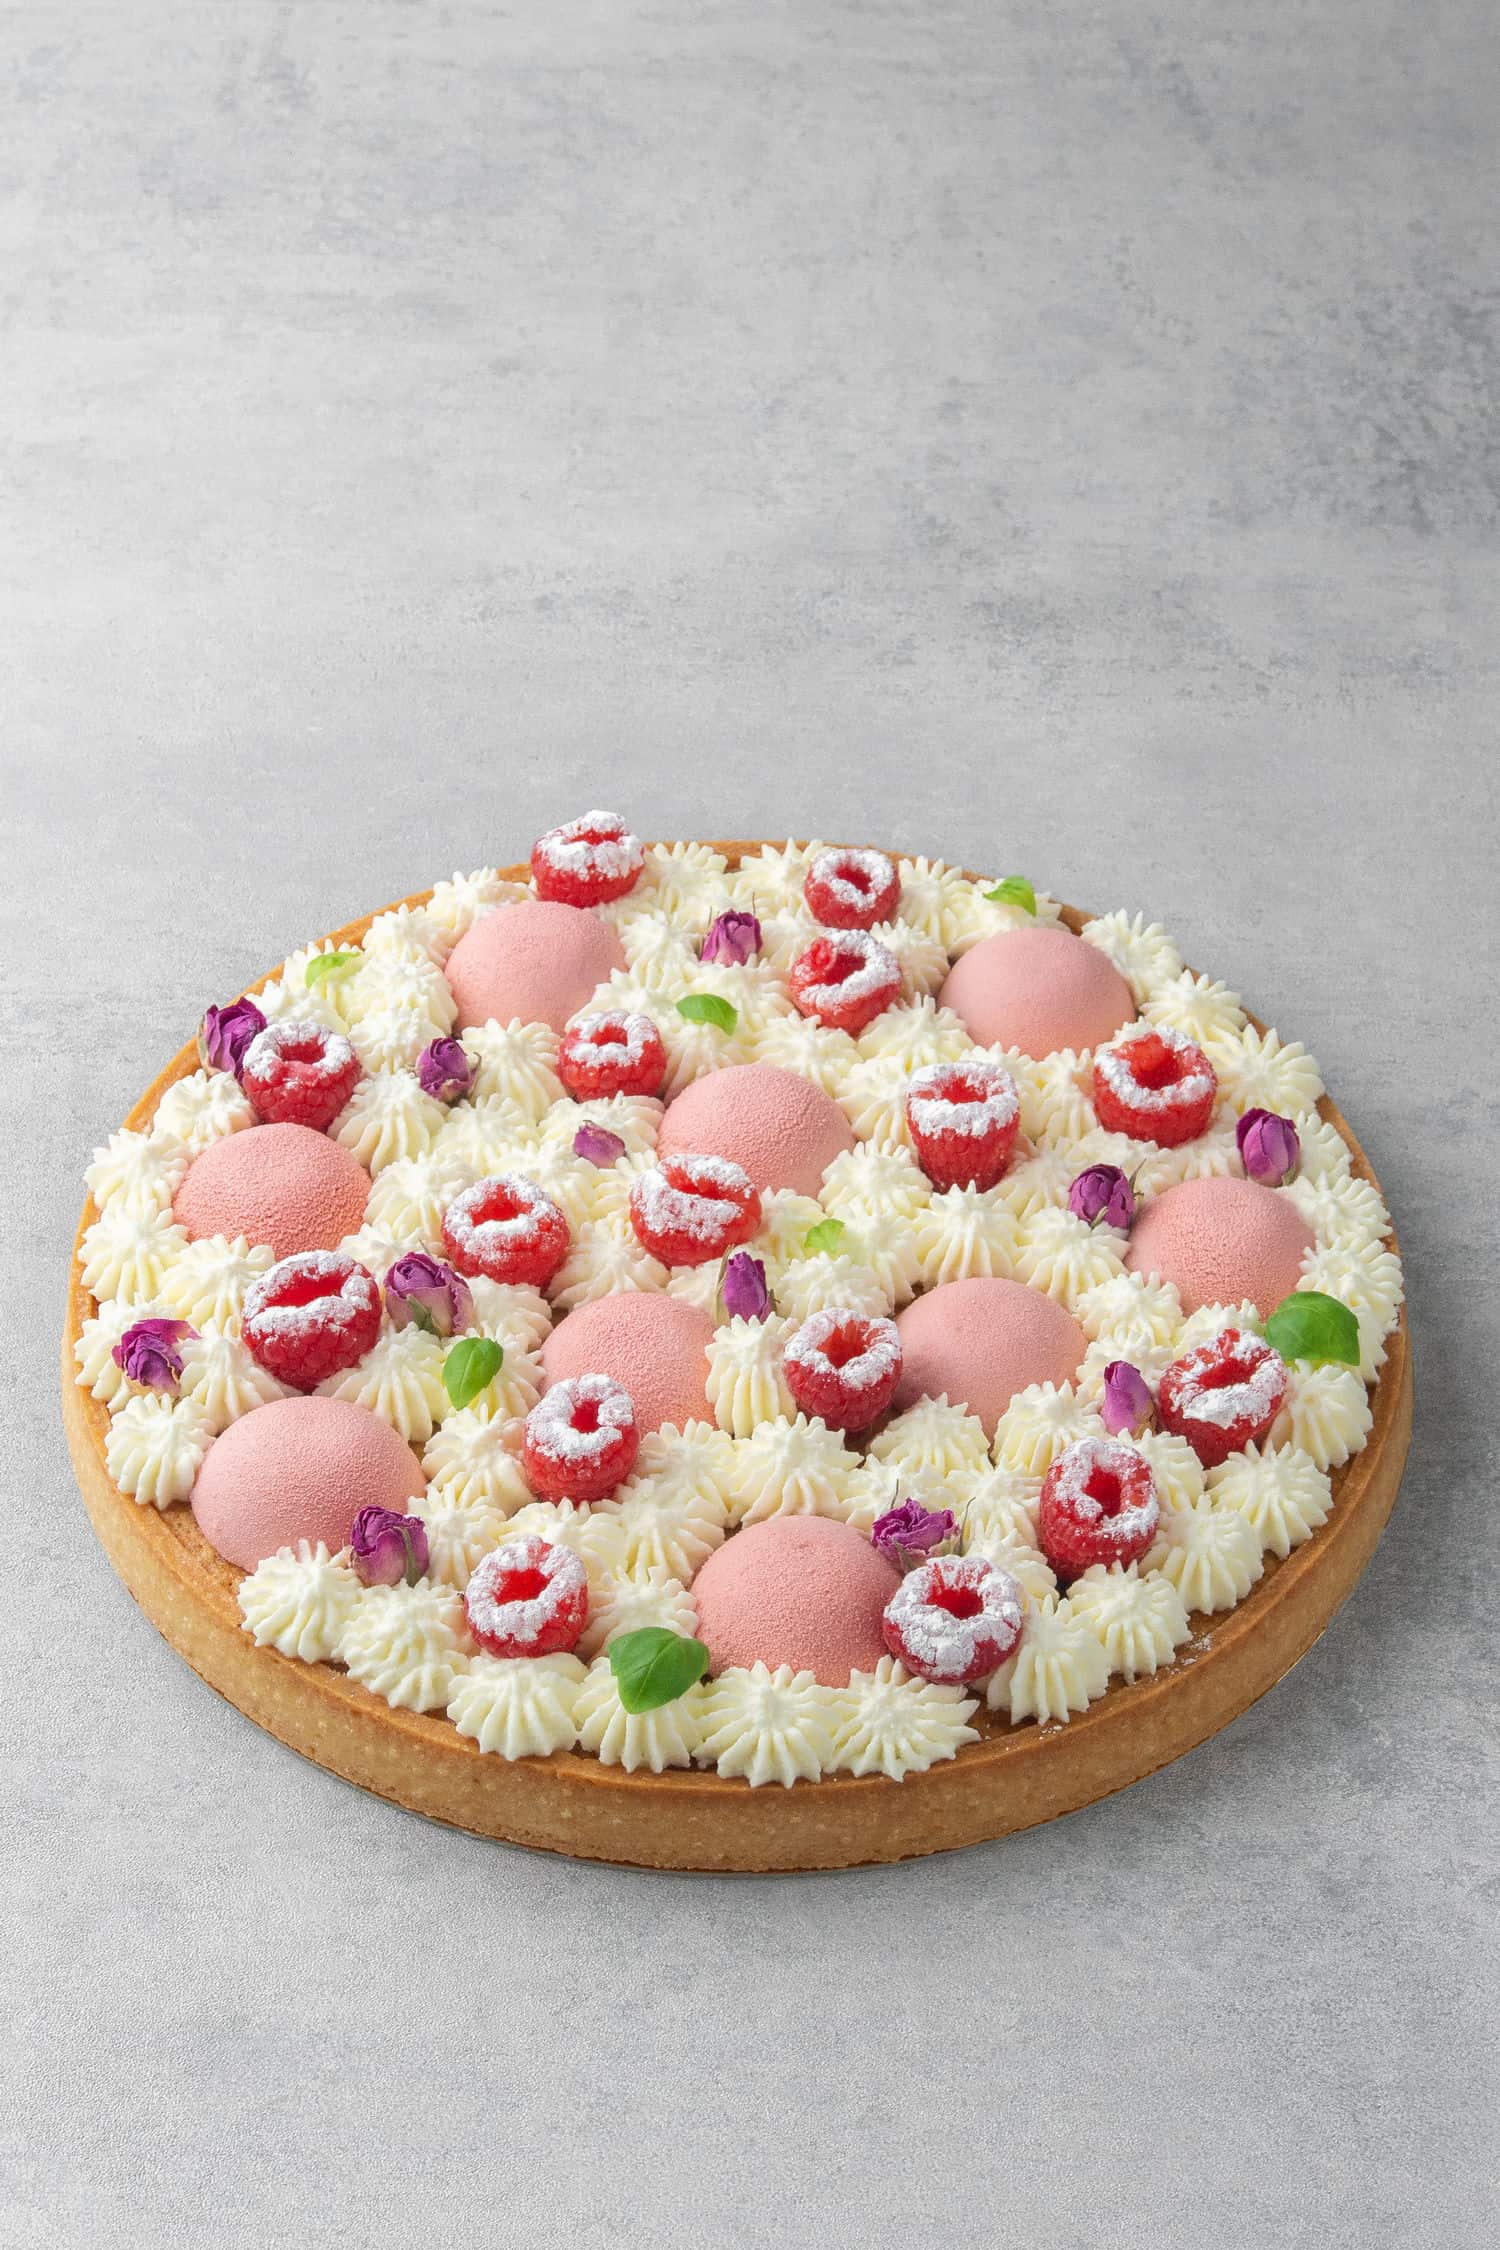
I keep coming back to this shell because it stays crisp under pastry cream, curd, ganache, and fresh fruit fillings. It is rich without being heavy, and the almond flour gives a subtle nutty backbone. For the full step by step method, you can see the detailed pâte sablée tutorial.
Think of pâte sablée as a crisp cookie shell that protects your filling while staying tender enough to cut cleanly.
Jump to:
- Best Pâte Sablée, Sweet Shortcrust Pastry Tart Shells
- Katalin’s Key Take on How Hard It Is to Make Homemade Pâte Sablée
- My Best Advice on the Ingredients
- My 5 Minute Crumbling Method to Mix the Shortcrust Pastry Dough
- Steal My Favorite Rolling Secret
- Now Time to Assemble the Tart Shells
- Baking Is the Grand Finale
- Do Not Substitute the Ingredients
- Try Some Flavor Variations
- Need to Bake Ahead? Store and Freeze Like a Pro
- Helpful Equipment
- My Final Expert Tips
- Troubleshooting
- FAQs
- What is pâte sablée, and how is it different from pâte sucrée?
- What ingredients do I need for a classic pâte sablée tart crust?
- How long do you bake pâte sablée tart shells?
- Can you freeze pâte sablée tart shells?
- Pâte Sablée, Sweet Shortcrust Pastry Tart Shells
- Ingredients
- Instructions
- Last Step:
- Nutrition
- Did you make this recipe?
Katalin’s Key Take on How Hard It Is to Make Homemade Pâte Sablée
Katalin’s source notes are honest: homemade tart cases are achievable, but neat results demand practice and precision. The process itself is not difficult, but temperature control is the skill that matters most. You are managing butter, not developing a bread dough.
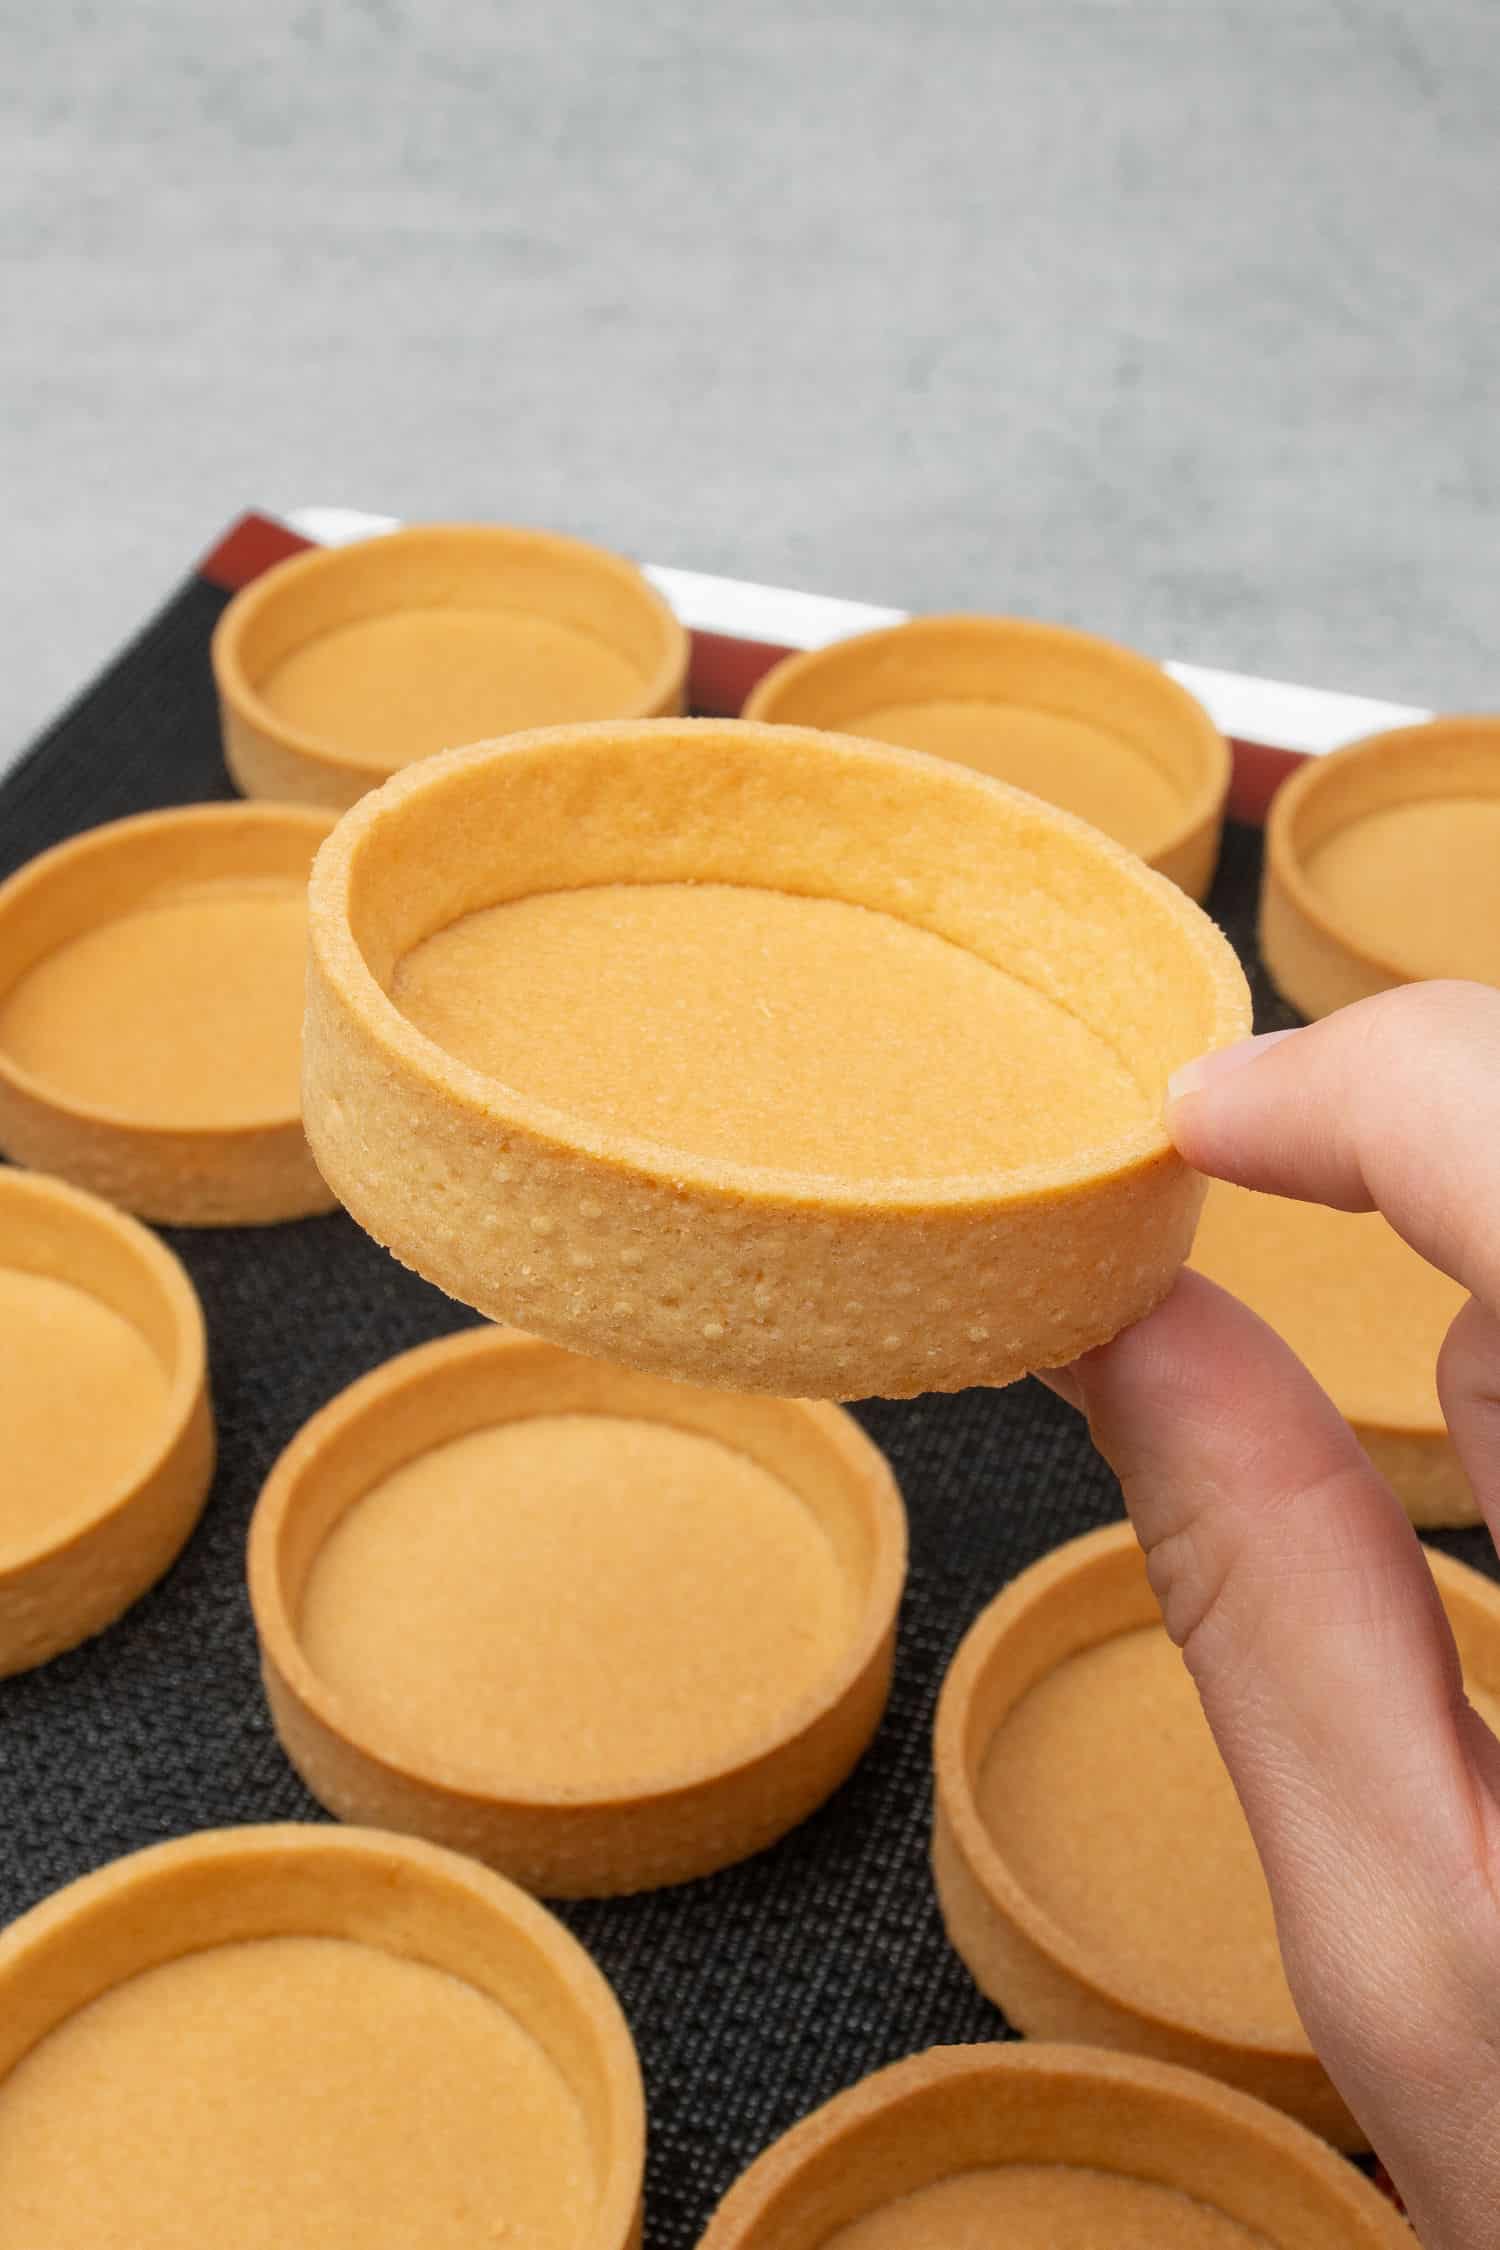
Overly cold dough becomes brittle and breaks as you shape it. Warm dough turns sticky because the butter starts to soften and coat the flour.
I learned this the first summer I made this shell. My kitchen was warm, and I rushed the rolling step. The dough stuck to the mat, the strips stretched, and the rings looked more like rustic cups than French tart shells. Once I slowed down and returned the dough to the freezer whenever it felt soft, the sides stayed clean.

- Too cold: the dough cracks and resists rolling.
- Too warm: the dough becomes sticky and loses structure.
- Just right: pliable but not tacky, and cool to the touch.
Even rolling, suitable equipment, and a cold work surface all work together. Do not expect perfection on the first attempt, but know that each batch teaches you how the dough should feel.
My Best Advice on the Ingredients
Precision is more valuable than special techniques here. The ingredient list is short, but each item has a job. Weigh the main ingredients with a digital scale because cup measures can compress flour and change the dough.
| Ingredient | Amount | Why it matters |
|---|---|---|
| Powdered sugar | 90 g (3/4 cup) | Sweetness and a fine, tender texture |
| Pastry flour | 230 g (2 cups) | Delicate crumb; all purpose flour can replace it |
| Almond flour | 30 g (1/3 cup) | Extra crispness and nutty flavor |
| Salt | Pinch | Balances sweetness |
| Unsalted butter | 110 g (1/2 cup) | 82 percent fat, very cold, cut into chunks |
| Egg | 50 g (about 1 egg) | Room temperature, binds the dough |
Use chilled, high quality European style unsalted butter with at least 82 percent fat. The lower water content improves flavor and structure, and the cold butter is essential for the crumbly texture.
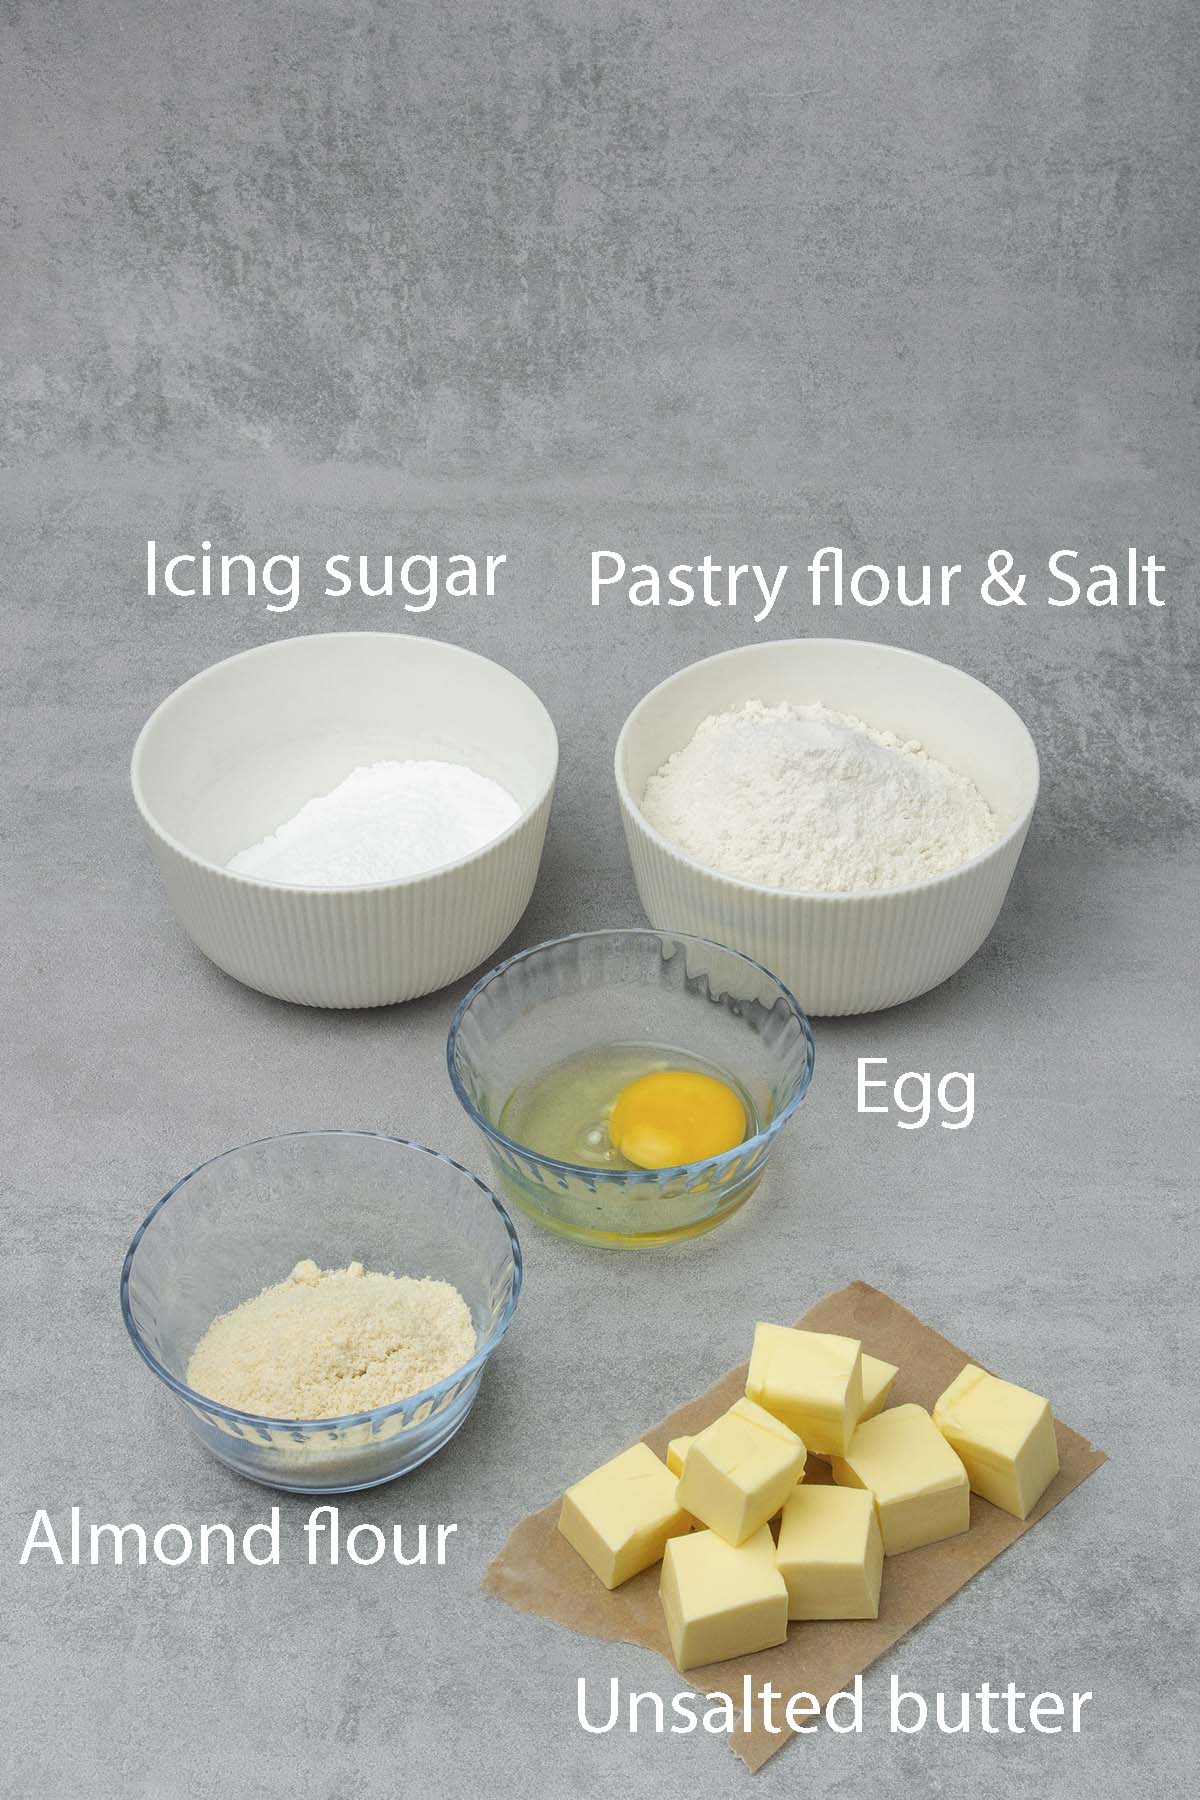
Pastry flour gives a delicate result, while almond flour adds a gentle marzipan note and helps create crispness. The room temperature egg, powdered sugar, and salt bring the dough together without making it overly sweet.
Do not use a mixer or food processor for mixing. The control of your hands produces the right sandy texture without overheating the butter.
My 5 Minute Crumbling Method to Mix the Shortcrust Pastry Dough
The crumbling method keeps the butter and dough cold. It is my favorite way to make this shortcrust because it creates tiny butter pockets that bake into a crisp, tender shell.

- Cut the butter into chunks and place them in the freezer for a few minutes.
- Sift the dry ingredients together: flour, powdered sugar, almond flour, and salt.
- Add the cold butter chunks to the dry ingredients.
- Rub the mixture between your hands until it reaches a sand like texture.
- Add the egg and combine with your hands until the dough comes together.
- Knead with the palm of your hand for one to two minutes, just until smooth. Avoid over kneading and do not use a mixer or food processor.
- If the dough is too warm and sticky, refrigerate it for 10 to 15 minutes. Otherwise, shape it into a rectangle and move to rolling.
The total mixing time is short, but it is not rushed. Stop as soon as the dough looks smooth. Overworking develops gluten and makes the baked shell tough or prone to shrinking.
Steal My Favorite Rolling Secret
Roll the cooled dough between two silicone baking mats to an even 2 mm thickness. The mats stop you from adding too much dusting flour, which can dry the surface and change the color of the baked shell. Apply even pressure and rotate the dough after each pass so it does not grip one spot.
Do not peel the mats right away. Place the rolled sheet, still between the two mats, in the freezer for 15 minutes. This short freeze makes cutting and lifting the dough much easier. The freezer time is part of the structure, so do not skip it even if the dough feels firm.
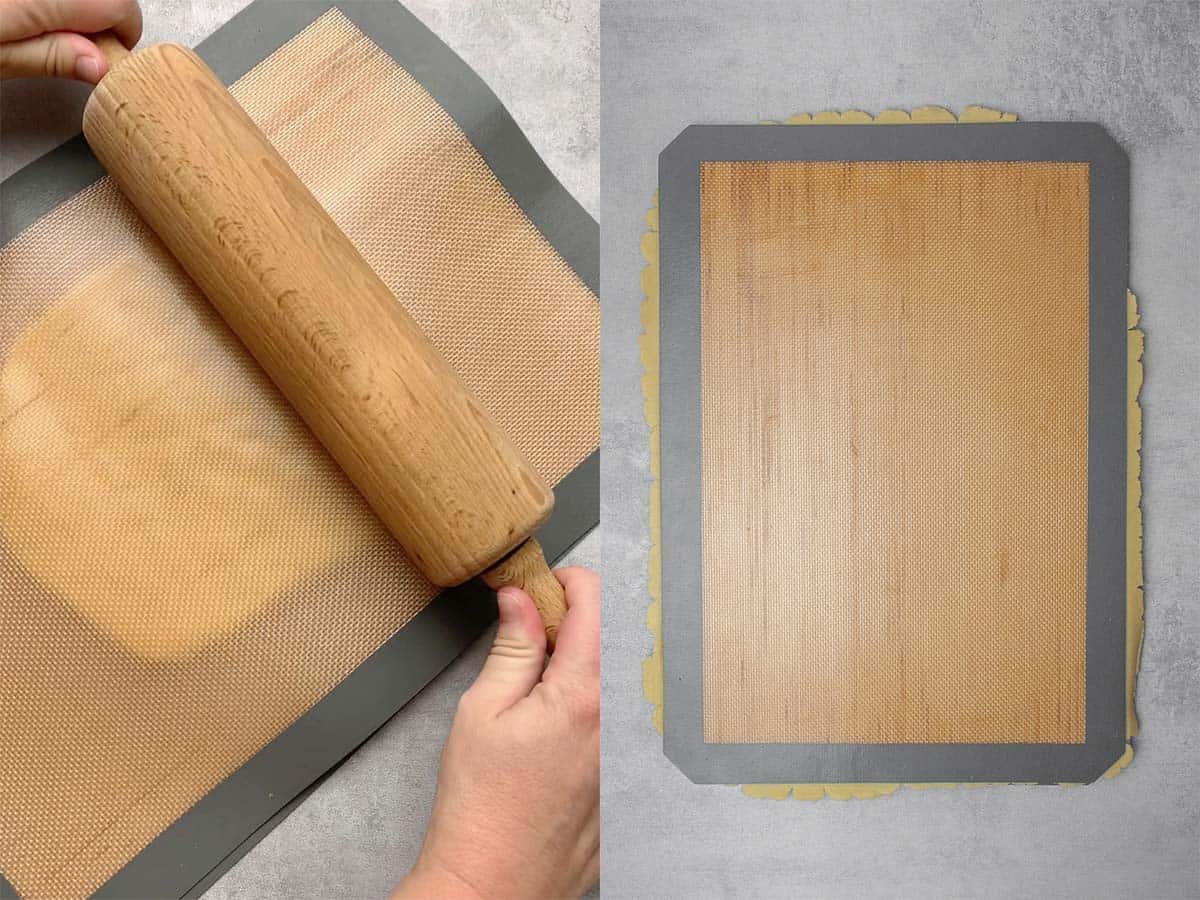
I treat this as my set and forget step. Once the sheet is flat and chilled, I can line up the perforated rings and bakeware without rushing.
Now Time to Assemble the Tart Shells
Work with dough that is pliable but not sticky. Cold enough to handle, but not so cold that it breaks. If the dough softens at any point, return it to the freezer for 5 minutes.

- Cut 8 long strips from the dough to form the tart sides.
- Use a perforated tart ring to cut 8 circles for the bottoms.
- Carefully lift each dough circle with an offset spatula and place it into a ring.
- Place each strip inside a ring, pressing it onto the ring and against the bottom so it sticks.
- Set the rings on a perforated air baking mat. There is no need to grease the rings because the pastry contracts as it bakes.
- Freeze the assembled shells for 1 hour.
During assembly, repeat the gentle touch: lift, place, press, and smooth. The goal is neat joins with no thick patches. Use the offset spatula to avoid stretching the dough against the metal.

Baking Is the Grand Finale
Toward the end of the freezing time, preheat the oven to 160°C or 320°F without the fan setting. Remove the tart rings from the freezer and use a sharp knife to trim the top of the dough before each shell goes into the oven.
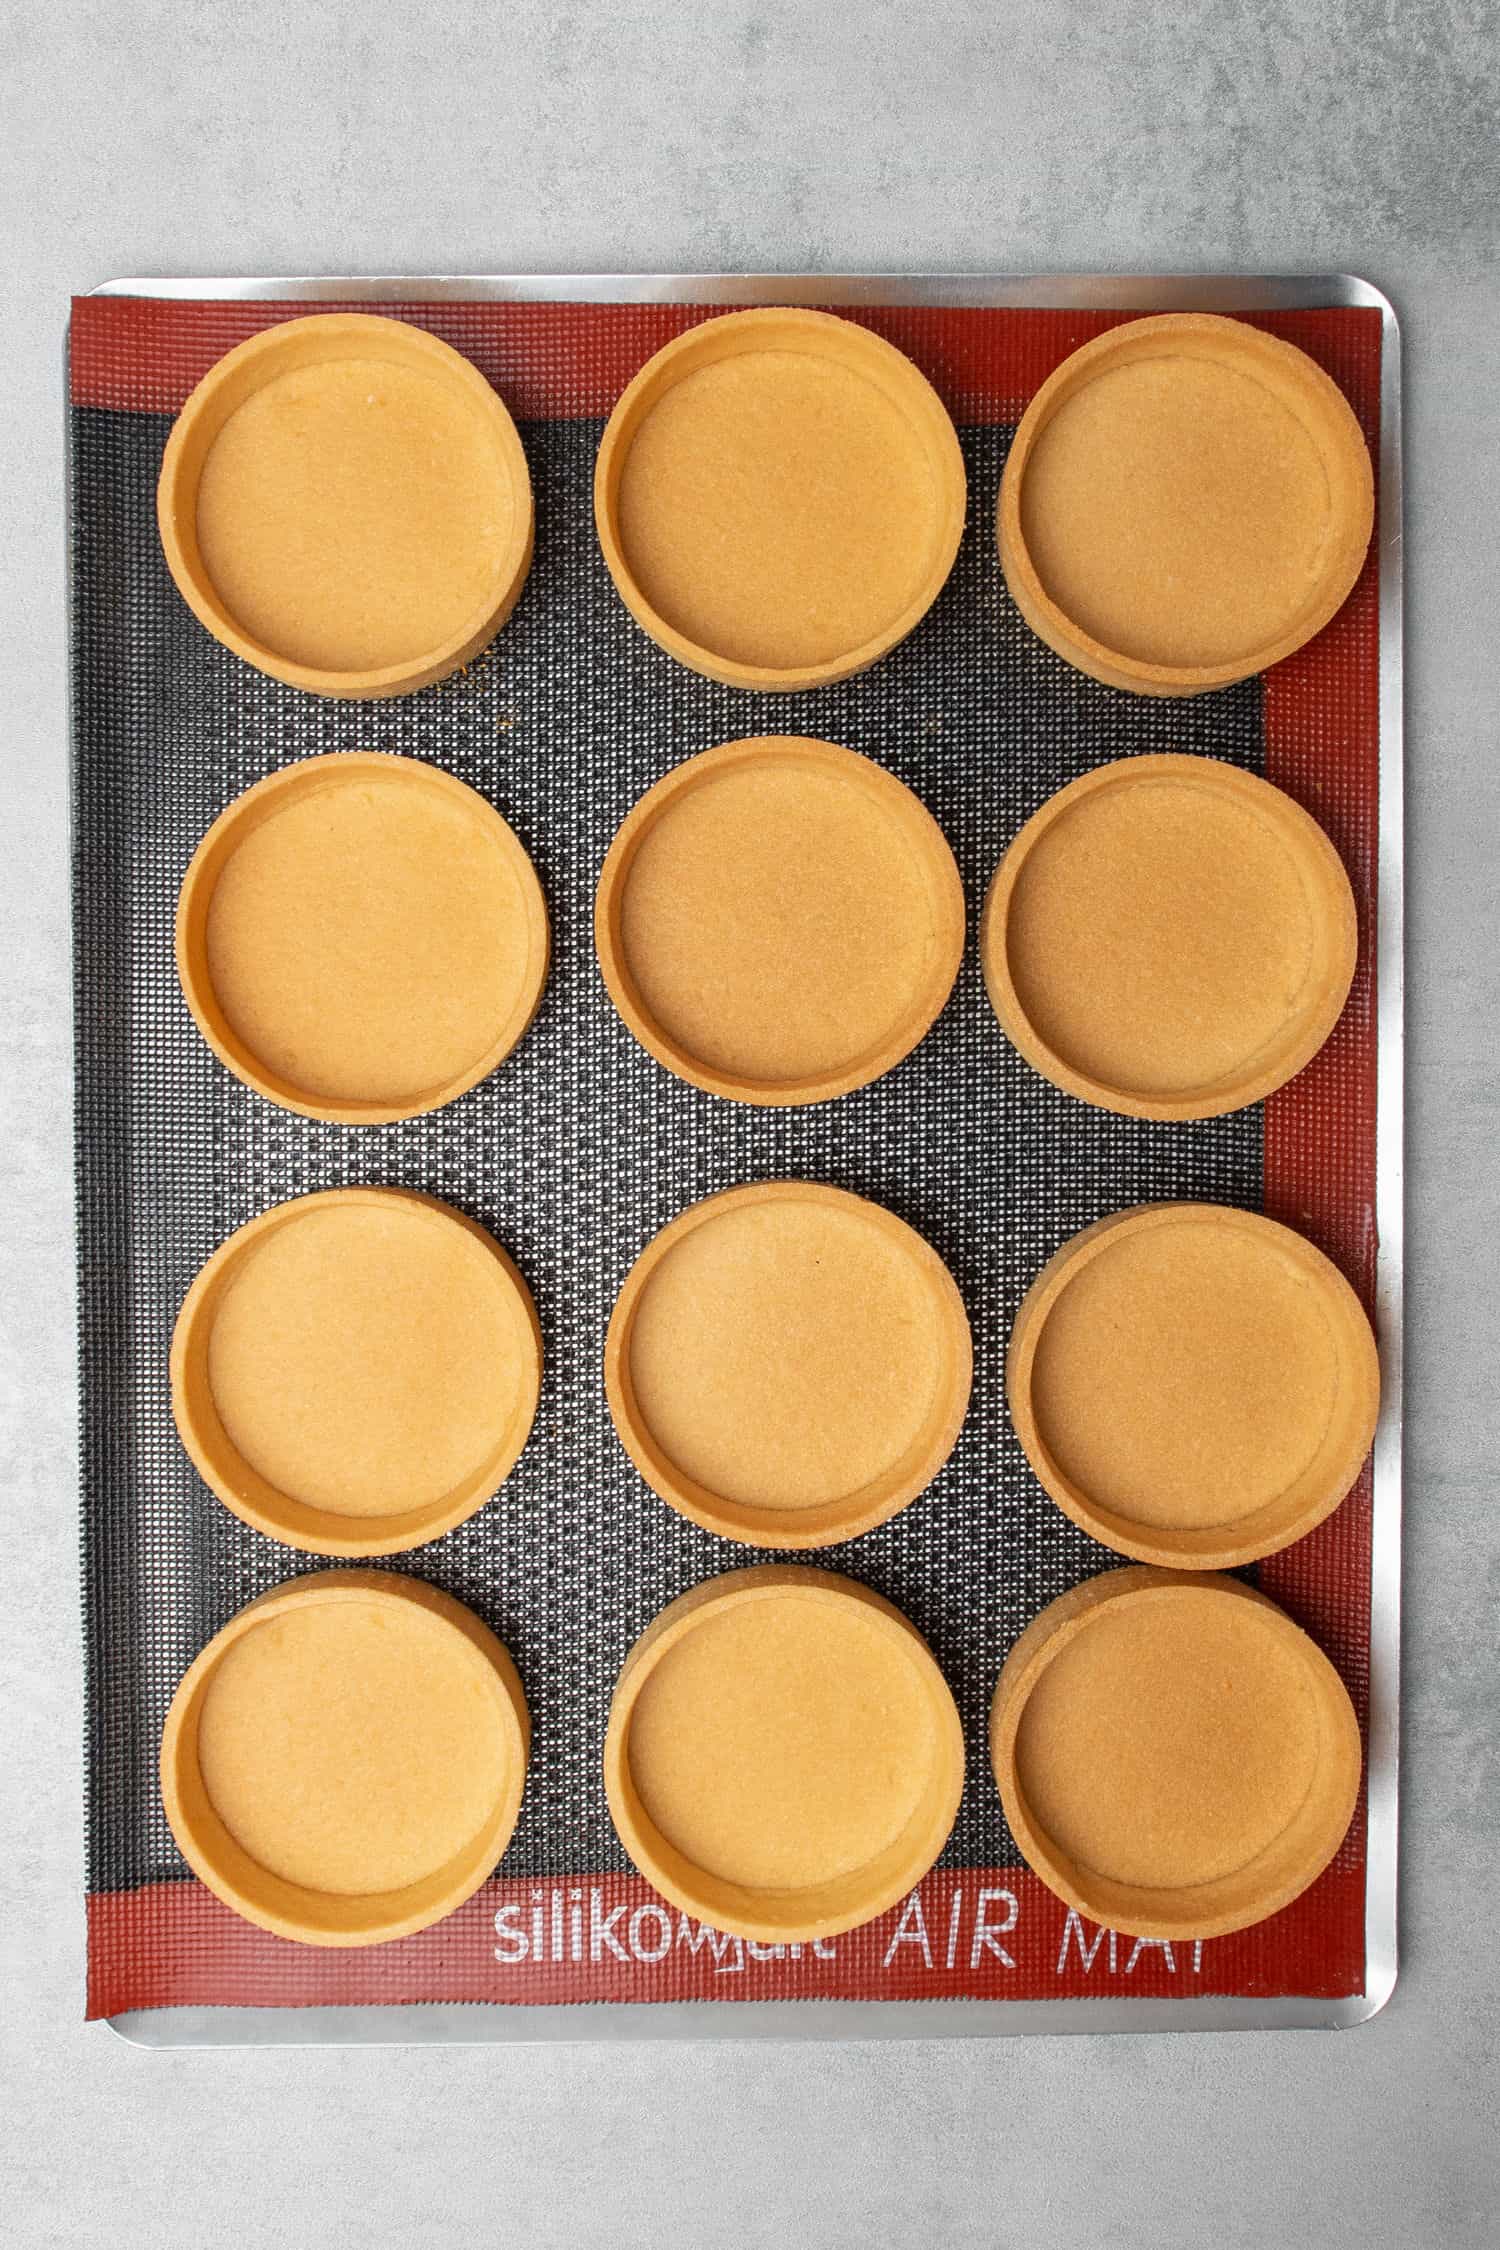
- Bake the tarts at 160°C for 20 minutes.
- Wait a minute or two for the pastry to contract.
- Carefully remove the rings. Gently press the opposite upper edges of each ring rather than pulling the base.
- Bake for another 5 to 10 minutes until golden brown.
- Cool the shells completely on the perforated air baking mat before filling.
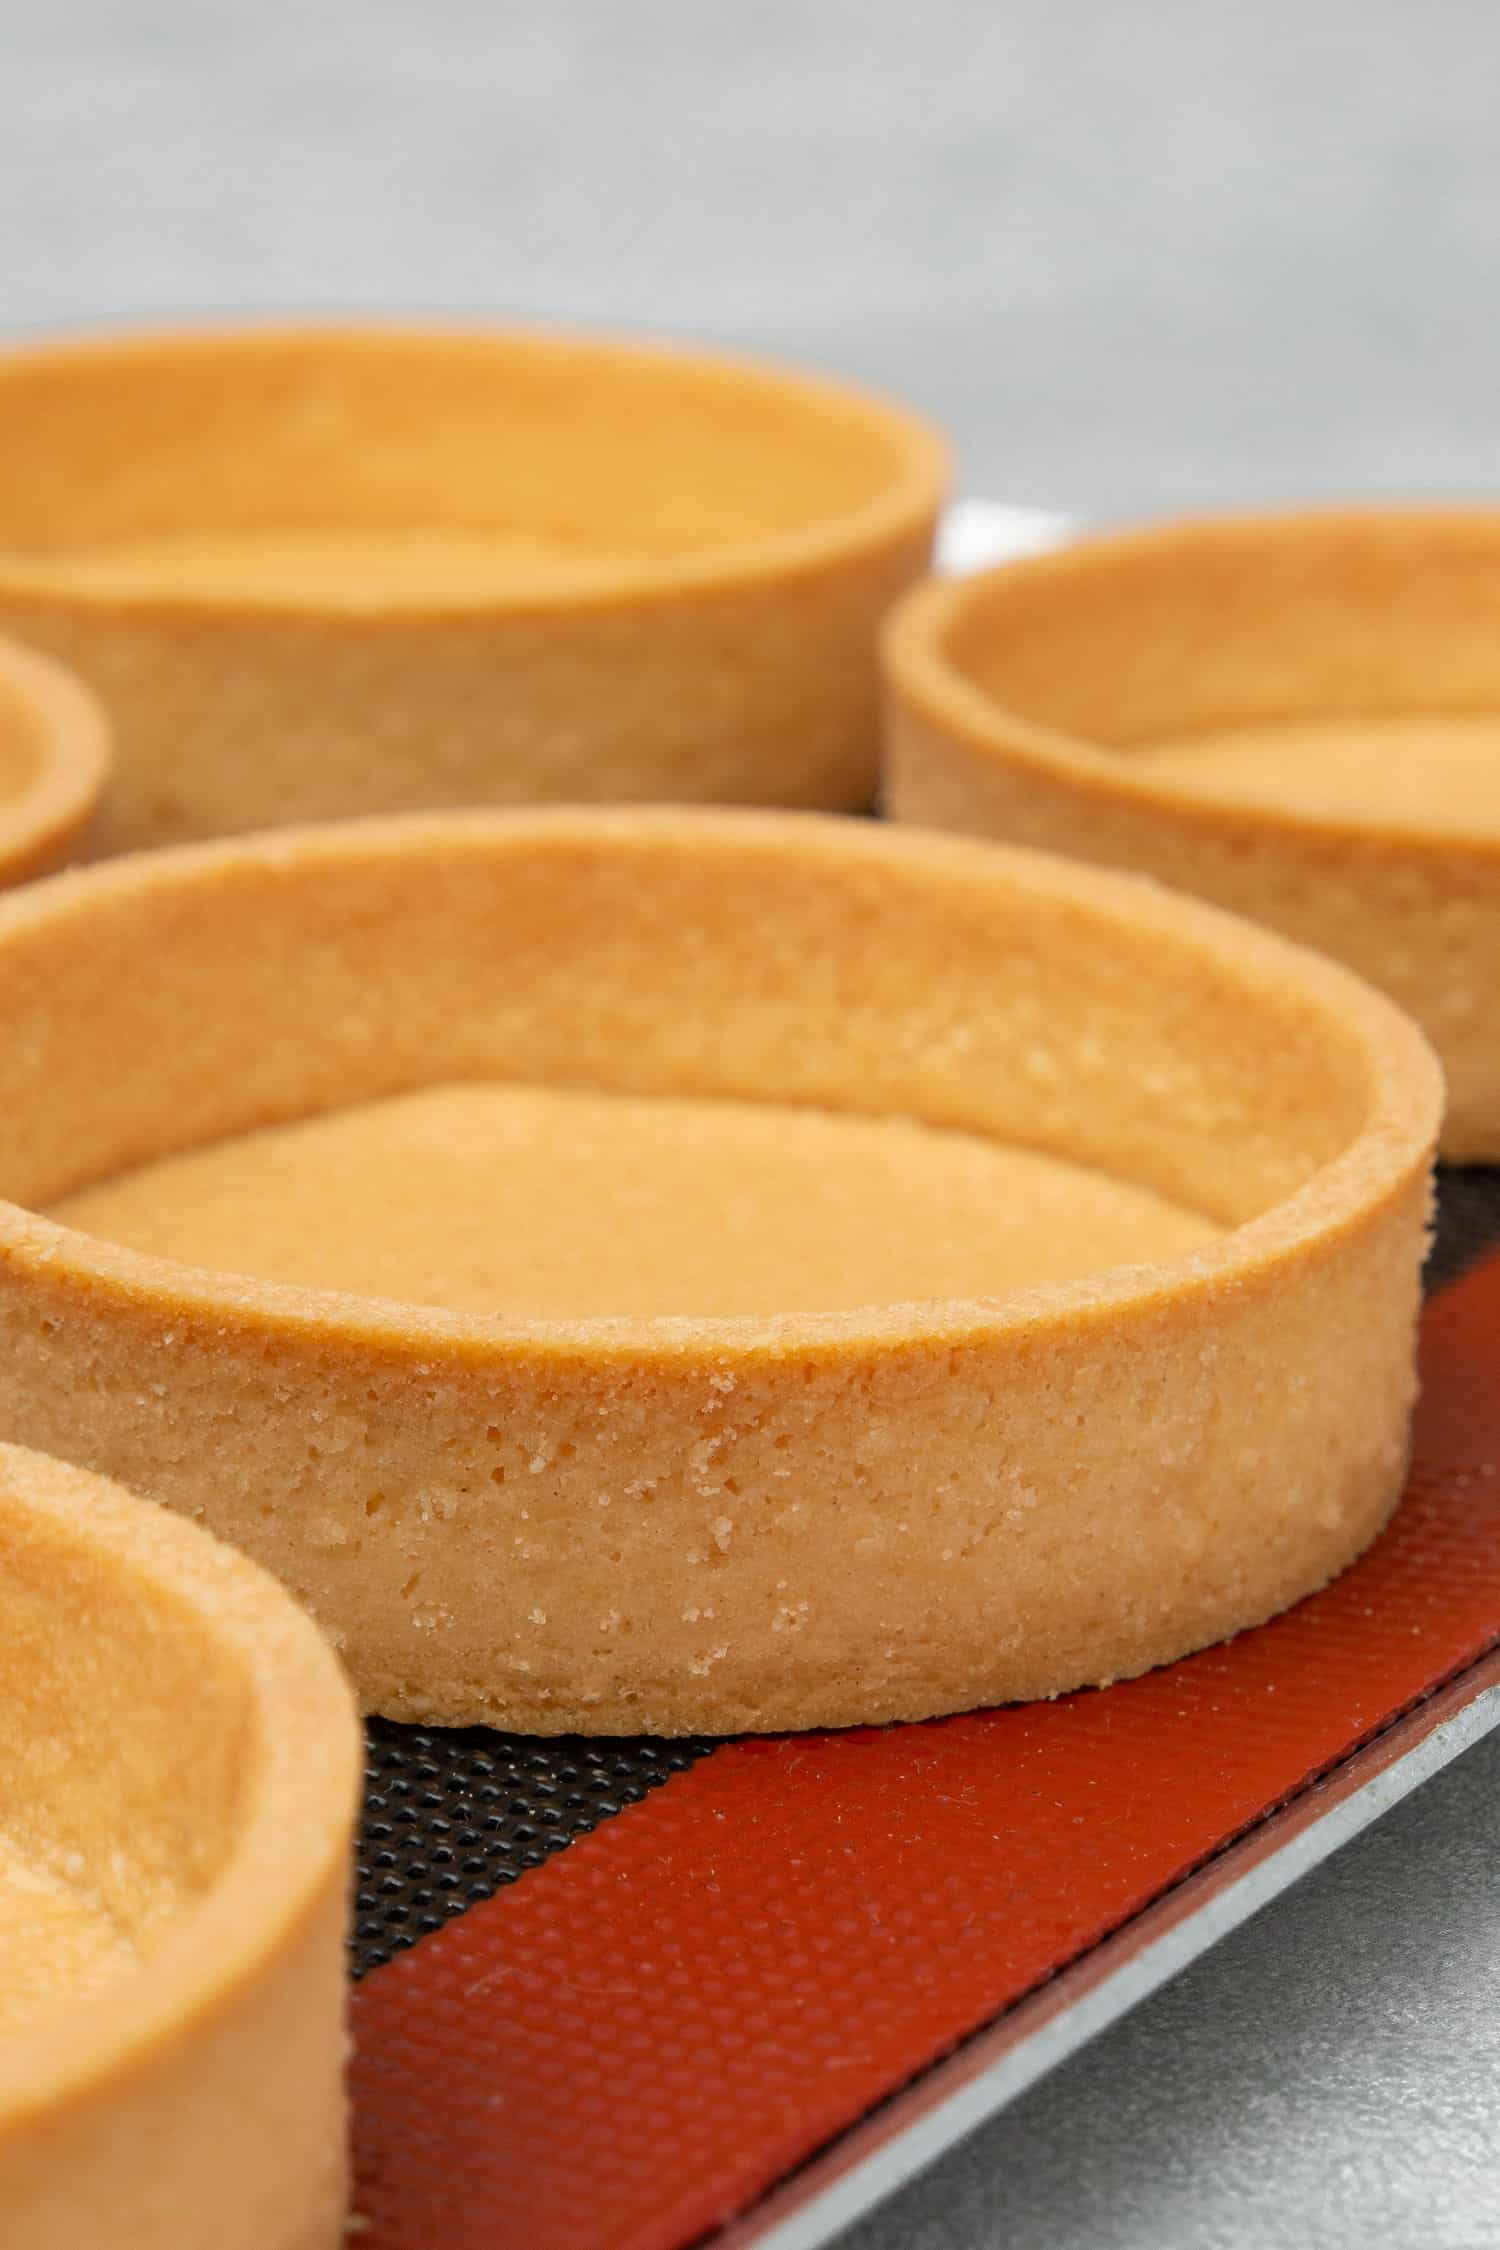
By the 20 minute mark, the pastry should be partially baked and may contract within the ring. If a shell feels stuck, bake it for an extra 1 to 2 minutes instead of forcing it free. The color should be even golden brown, not pale and not deep brown.
Do Not Substitute the Ingredients
Ingredient changes can alter both texture and flavor, so the butter and egg should not be replaced casually. European style butter with 82 percent fat is part of the structure. Egg substitutes can change hydration and binding, making the dough harder to handle and more likely to shrink. The recipe depends on a small number of precise ingredients working together.
For a nut free version, you may replace the almond flour with the same amount of pastry flour or all purpose flour. The shells will still work, but they will be less crisp and lose the subtle marzipan note that almond flour provides.
Nut free is an accommodation, not a direct swap for the same texture. Expect a slightly softer snap.
Try Some Flavor Variations
Once the base technique feels automatic, small additions change the shell without disturbing the ratios.
- Replace part of the almond flour with hazelnut flour or another nut flour.
- Add finely grated citrus zest, such as lemon or orange, to the dry ingredients.
- Add black sesame seeds for a toasty visual and flavor contrast.
- Use Dutch process cocoa to make a chocolate shell.
You can also cut the same dough into simple cookies and bake them until set and lightly golden. Watch them closely because the thin edges color quickly.
Need to Bake Ahead? Store and Freeze Like a Pro
These shells are perfect to make ahead, which is why they fit busy home bakers so well.
- Baked shells at room temperature: store tightly sealed in an airtight container for several days.
- Baked shells in the fridge: refrigerate for up to one week, then let them come to room temperature before filling.
- Unbaked shells in the freezer: keep them in their rings for up to 3 months and bake from frozen.
- Baked shells in the freezer: cool completely, wrap tightly in plastic wrap, and store in an airtight container or freezer bag.
- Filled tarts: do not freeze, since the filling texture can change.
Freezing the raw shells on a flat baking sheet first keeps them from sticking together. Once solid, you can transfer them to a container or freezer bag without damaging the edges.
Helpful Equipment
You do not need a wall full of specialty tools, but a few items make precision easier.
- Digital scale: The fastest way to keep ratios exact.
- Oven thermometer: Real oven temperature matters, especially when baking without the fan.
- Rolling pin: Choose a smooth pin without deep ridges.
- Silicone baking mats: Two mats create a nonstick rolling surface and make it easier to freeze the sheet.
- Perforated tart rings: Promote even air circulation and clean sides.
- Perforated air baking mat: Supports uniform baking and easy release without greasing.
- Offset spatula: Lifts the cut circles without stretching or tearing the dough.
Use these tools together, and the method becomes far more predictable than trying to improvise with a solid sheet pan and a fragile dough scraper.
My Final Expert Tips
Keep control of dough temperature throughout the process. Chill the rolled sheet, freeze the assembled rings, and return any soft dough to the freezer for 5 minutes. Use perforated equipment whenever possible, because it is preferred to blind baking and it helps the base stay crisp.
Preheat the oven without the fan setting, and avoid opening the door more than necessary early in the bake. When releasing a shell, wait a minute or two for the pastry to contract.
Then gently press opposite upper edges around the ring rather than pushing the fragile centre. If the shell does not release, bake it 1 to 2 minutes longer.
Make one plan before you begin: cut the butter, prepare the baking mat and rings, and set a clear freezing timer. The process is not hard, but small details add up to clean, professional looking tart shells.
Troubleshooting
Use this quick guide if the shells do not look the way you expected.
| Problem | Likely cause | What to do |
|---|---|---|
| Shrinking | Excess liquid or overworked dough | Mix gently, avoid extra flour or liquid, and keep the dough cool. |
| Collapsed or lost shape | Not enough freezing or low oven heat | Freeze for the full hour and check the oven temperature. |
| Puffing base or sides | Thick dough or solid bakeware trapping steam | Roll to 2 mm and use perforated equipment. |
| Stuck ring | Underbaked shell or ring removed too soon | Bake 1 to 2 extra minutes, wait for contraction, then press the edges. |
Most issues come down to temperature, thickness, or patience. Fix those three things first before changing the recipe.
FAQs
What is pâte sablée, and how is it different from pâte sucrée?
What ingredients do I need for a classic pâte sablée tart crust?
How long do you bake pâte sablée tart shells?
Can you freeze pâte sablée tart shells?
Pâte Sablée, Sweet Shortcrust Pastry Tart Shells
Best Pâte Sablée, Sweet Shortcrust Pastry Tart Shells Pâte sablée is the sweet shortcrust pastry that gives French tarts their delicate, crisp structure. This recipe is the professional style version adapted for home kitchens.
- Total Time: 135 min
- Yield: approx. 8 mini tartlets (3.14 inch / 8cm in diameter) or 1 larger tart (9 inch / 23 cm in diameter)
Ingredients
Ingredients
90 g Powdered sugar
230 g Pastry flour, can be replaced with All purpose flour
30 g Almond flour
Pinch salt
110 g Unsalted butter, 82% fat content, use it very cold, cut into chunks
50 g Egg, approx. 1 egg at room temperature
Instructions
Assemble the dough
1-Cut the butter into chunks and place: Cut the butter into chunks and place them in the freezer for a few minutes.
2-Sift the dry ingredients together: Sift the dry ingredients together: flour, powdered sugar, almond, and salt.
3-Add the cold butter chunks to the: Add the cold butter chunks to the dry ingredients and rub the mixture between your hands until it reaches a sand-like texture.
4-Add the egg to the mixture and: Add the egg to the mixture and combine with your hands until the dough comes together.
5-Knead the dough with the palm of: Knead the dough with the palm of your hand for one to two minutes, just until it becomes smooth. Avoid over-kneading and do not use a mixer or food processor.
6-If the dough is too warm and: If the dough is too warm and sticky, refrigerate it for 10-15 minutes. Otherwise, roll the dough out to a 2mm thickness between two silicone baking mats.
7-Place the dough, still between the two: Place the dough, still between the two silicone baking mats, into the freezer for 15 minutes. Do not remove the mats at this stage.
8-Set up your oven rack with a: Set up your oven rack with a perforated “air” baking mat and place the perforated tart rings on top. There is no need to grease the ring; the pastry will contract as it bakes, making it easy to remove the ring.
9-Remove the dough from the freezer and: Remove the dough from the freezer and peel off the top silicone mat.
Assemble the tart shells
10-Cut 8 long strips from the dough: Cut 8 long strips from the dough to form the sides of the tart.
11-Using a perforated tart ring, cut out: Using a perforated tart ring, cut out 8 circles to form the bottoms of your tarts. Carefully lift each dough circle with an offset spatula and place them into the rings one by one.
12-If the dough becomes too warm to: If the dough becomes too warm to handle at any point, return it to the freezer for 5 minutes. Depending on the temperature of your kitchen, you may need to repeat this process several times. It’s crucial to work with dough that is cold enough to be manageable (not sticky), but not so cold that it becomes brittle and breaks.
13-Carefully place each strip into the ring: Carefully place each strip into the ring one by one, pressing each one onto the ring as well as to the bottom to ensure it sticks. Again, the dough should be at the right temperature-pliable enough that it doesn’t stick (not too warm) but still flexible enough that it won’t break (not too cold).
14-Place the perforated tart rings with the: Place the perforated tart rings with the pastry dough into the freezer for 1 hour. Toward the end of the freezing time, preheat the oven to 160°C (320°F).
15-Remove the tart rings from the freezer: Remove the tart rings from the freezer and use a sharp knife to trim the top of the dough before baking each tart individually.
Bake
16-Bake the tarts at 160°C (320°F) for: Bake the tarts at 160°C (320°F) for 20 minutes. Then, carefully remove the rings and bake for an additional 5-10 minutes, or until golden brown. By the 20-minute mark, the pastry should be partially baked and may contract within the ring. If the pastry feels stuck to the ring, bake for an extra 1-2 minutes.
17-Allow the tart shells to cool on: Allow the tart shells to cool on the perforated “air” baking mat before filling.
18-Tart shells can be frozen for up: Tart shells can be frozen for up to 3 months. To freeze them, place the unbaked tart shells on a baking sheet and freeze until solid. Once frozen, transfer them to an airtight container or freezer bag (leave the ring on them). When the time comes, simply bake from frozen, as explained above. If freezing after baking, allow the shells to cool completely, then wrap them tightly in plastic wrap and place them in an airtight container or freezer bag.
19-To store tart shells that are not: To store tart shells that are not frozen, place them in an airtight container at room temperature. They should stay fresh for several days. Make sure the container is sealed tightly to prevent them from becoming stale. If you need to store them for a longer period, you can refrigerate them for up to a week. Just make sure to let them come to room temperature before filling or serving.
Last Step:
Please leave a rating and comment letting us know how you liked this recipe! This helps our business to thrive and continue providing free, high-quality recipes for you.- Prep Time: 30 min
- Cook Time: 30 min
- Method: bake
Nutrition
- Calories: 226
- Sugar: 0.3
- Sodium: 11
- Fat: 14
- Saturated Fat: 8
- Carbohydrates: 33
- Fiber: 3
- Protein: 5
- Cholesterol: 53