Ingredients
90 g Powdered sugar
230 g Pastry flour
30 g Almond flour
Pinch Salt
110 g Unsalted butter, 82% fat content, very cold, cut into chunks
50 g Egg, approx. 1 egg, at room temperature
Instructions
Assemble the dough
1-Cut the butter into chunks and place: Cut the butter into chunks and place them in the freezer for a few minutes.
2-Sift the dry ingredients together: Sift the dry ingredients together: flour, powdered sugar, almond, and salt.
3-Add the cold butter chunks to the: Add the cold butter chunks to the dry ingredients and rub the mixture between your hands until it reaches a sand-like texture.
4-Add the egg to the mixture and: Add the egg to the mixture and combine with your hands until the dough comes together.
5-Knead the dough with the palm of: Knead the dough with the palm of your hand for one to two minutes, just until it becomes smooth. Avoid over-kneading and do not use a mixer or food processor.
6-If the dough is too warm and: If the dough is too warm and sticky, refrigerate it for 10-15 minutes. Otherwise, roll the dough out to a 2mm thickness between two silicone baking mats.
7-Place the dough, still between the two: Place the dough, still between the two silicone baking mats, into the freezer for 15 minutes. Do not remove the mats at this stage.
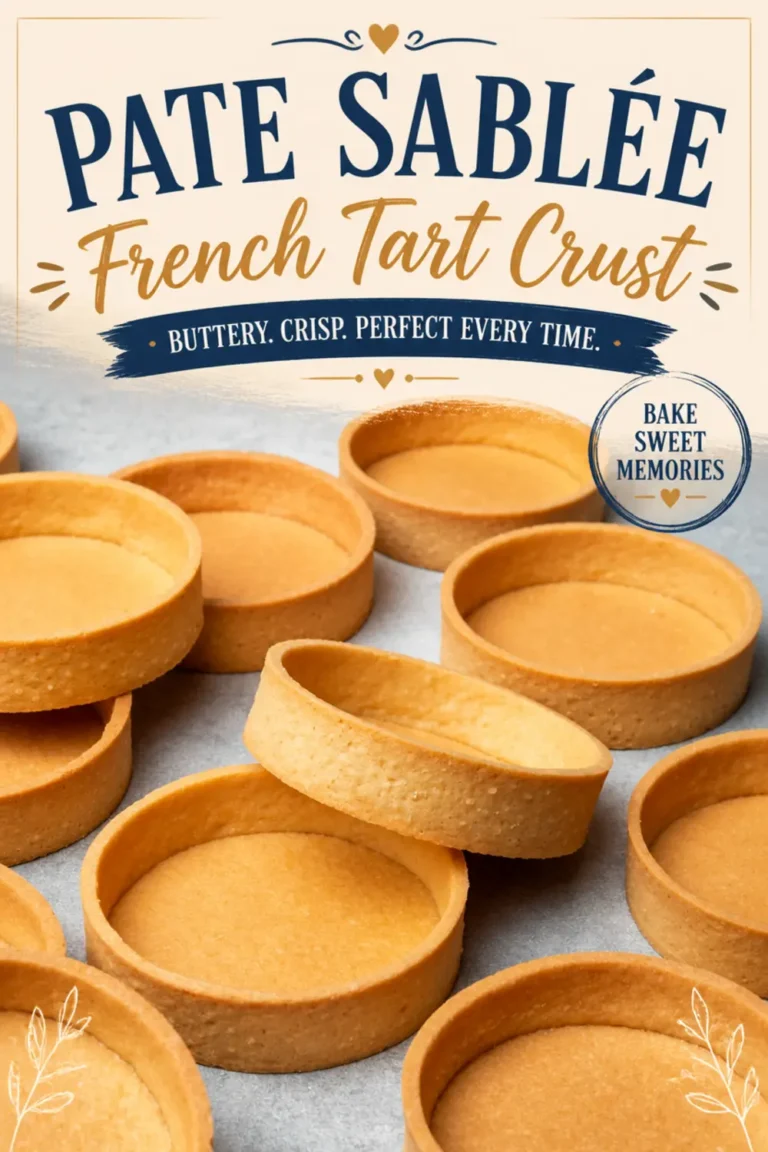
8-Set up your oven rack with a: Set up your oven rack with a perforated “air” baking mat and place the perforated tart rings on top. There is no need to grease the ring; the pastry will contract as it bakes, making it easy to remove the ring.
9-Remove the dough from the freezer and: Remove the dough from the freezer and peel off the top silicone mat.
Assemble the tart shells
10-Cut 8 long strips from the dough: Cut 8 long strips from the dough to form the sides of the tart.
11-Using a perforated tart ring, cut out: Using a perforated tart ring, cut out 8 circles to form the bottoms of your tarts. Carefully lift each dough circle with an offset spatula and place them into the rings one by one.
12-If the dough becomes too warm to: If the dough becomes too warm to handle at any point, return it to the freezer for 5 minutes. Depending on the temperature of your kitchen, you may need to repeat this process several times. It’s crucial to work with dough that is cold enough to be manageable (not sticky), but not so cold that it becomes brittle and breaks.
13-Carefully place each strip into the ring: Carefully place each strip into the ring one by one, pressing each one onto the ring as well as to the bottom to ensure it sticks. Again, the dough should be at the right temperature-pliable enough that it doesn’t stick (not too warm) but still flexible enough that it won’t break (not too cold).
14-Place the perforated tart rings with the: Place the perforated tart rings with the pastry dough into the freezer for 1 hour. Toward the end of the freezing time, preheat the oven to 160°C (320°F).
15-Remove the tart rings from the freezer: Remove the tart rings from the freezer and use a sharp knife to trim the top of the dough before baking each tart individually.
Bake
16-Bake the tarts at 160°C (320°F) for: Bake the tarts at 160°C (320°F) for 20 minutes. Then, carefully remove the rings and bake for an additional 5-10 minutes, or until golden brown. By the 20-minute mark, the pastry should be partially baked and may contract within the ring. If the pastry feels stuck to the ring, bake for an extra 1-2 minutes.
17-Allow the tart shells to cool on: Allow the tart shells to cool on the perforated “air” baking mat before filling.
18-Tart shells can be frozen for up: Tart shells can be frozen for up to 3 months. To freeze them, place the unbaked tart shells on a baking sheet and freeze until solid. Once frozen, transfer them to an airtight container or freezer bag (leave the ring on them). When the time comes, simply bake from frozen, as explained above. If freezing after baking, allow the shells to cool completely, then wrap them tightly in plastic wrap and place them in an airtight container or freezer bag.
19-To store tart shells that are not: To store tart shells that are not frozen, place them in an airtight container at room temperature. They should stay fresh for several days. Make sure the container is sealed tightly to prevent them from becoming stale. If you need to store them for a longer period, you can refrigerate them for up to a week. Just make sure to let them come to room temperature before filling or serving.
Last Step:
Please leave a rating and comment letting us know how you liked this recipe! This helps our business to thrive and continue providing free, high-quality recipes for you.- Prep Time: 30 min
- Cook Time: 30 min
- Method: bake
Nutrition
- Calories: 226kcal
- Sugar: 0.3g
- Sodium: 11mg
- Fat: 14g
- Saturated Fat: 8g
- Carbohydrates: 33g
- Fiber: 3g
- Protein: 5g
- Cholesterol: 53mg