Exploring the Pungent Delight: Pickled Garlic and a Delectable Recipe
If you have ever found yourself with a surplus of garlic from the garden or a great deal at the farmers market, you know the feeling. You want to use every clove, but raw garlic only stays fresh for so long. That is where a good pickled garlic recipe comes in.
Pickled garlic is one of those pantry staples that surprises people the first time they try it. The sharp, biting heat of raw garlic mellows into something tangy, slightly sweet, and deeply savory. You can toss these tangy cloves into salads, smear them on sandwiches, or eat them straight from the jar for a quick burst of flavor.
I started pickling garlic a few years ago when my garden produced more than I could use fresh. I had already been pickling cucumbers, eggs, and jalapenos, so garlic felt like the natural next step. What I discovered is that pickled garlic is not just a preservation method. It is a flavor booster that transforms everyday meals.

This article walks through the history of pickled garlic, the health benefits associated with garlic in general, and a complete recipe you can make at home. I will also share a simple Pickled Garlic Aioli that takes your jar from condiment to centerpiece. Whether you are a seasoned home cook or just starting out, this is a project worth tackling.
The process is straightforward. You do not need special equipment or hard to find ingredients. A clean jar, a basic brine, and a little patience are all it takes to turn a bowl of garlic cloves into something that will elevate your cooking for weeks.
Pickled garlic keeps the flavor you love from fresh garlic but trades the harsh bite for a smooth, tangy kick that pairs with almost anything.
Jump to:
- Exploring the Pungent Delight: Pickled Garlic and a Delectable Recipe
- The History of Pickled Garlic
- Health Benefits of Pickled Garlic
- Making Pickled Garlic at Home
- Ingredients
- Step by Step Guide
- Enjoying Pickled Garlic: A Recipe
- FAQs
- Why does my pickled garlic turn blue or green?
- How long does pickled garlic last in the refrigerator?
- Can I use apple cider vinegar instead of white vinegar for pickling garlic?
- How long should I wait before eating homemade pickled garlic?
- Pickled Garlic + Pickled Garlic Aioli
- Ingredients
- Instructions
- Last Step:
- Did you make this recipe?
The History of Pickled Garlic
Pickling garlic is not a new trend. The practice dates back centuries, rooted in both culinary tradition and medicinal necessity. In ancient times, garlic was prized for its strong flavor and its reputation as a natural remedy. People turned to pickling as a way to extend its shelf life long before refrigeration existed.
Garlic itself has been cultivated for thousands of years. Ancient Egyptians, Greeks, and Romans all valued it. Egyptian laborers who built the pyramids were reportedly given garlic rations to sustain their strength. Greek physicians prescribed it for various ailments, and Roman soldiers carried it on campaigns for endurance and protection against infection.
The challenge with garlic, however, was storage. Fresh garlic bulbs eventually sprout, soften, or dry out. Pickling solved that problem by submerging the cloves in an acidic brine, which preserved them for months. The vinegar acted as a natural preservative, while salt and sugar balanced the flavor.
Different cultures developed their own versions of pickled garlic. In some Asian traditions, garlic is pickled in soy sauce or rice vinegar for a sweet and savory result. In Eastern European kitchens, whole cloves are often preserved in simple vinegar brines with dill or peppercorns. Middle Eastern variations sometimes include lemon juice and warm spices like cumin or coriander.
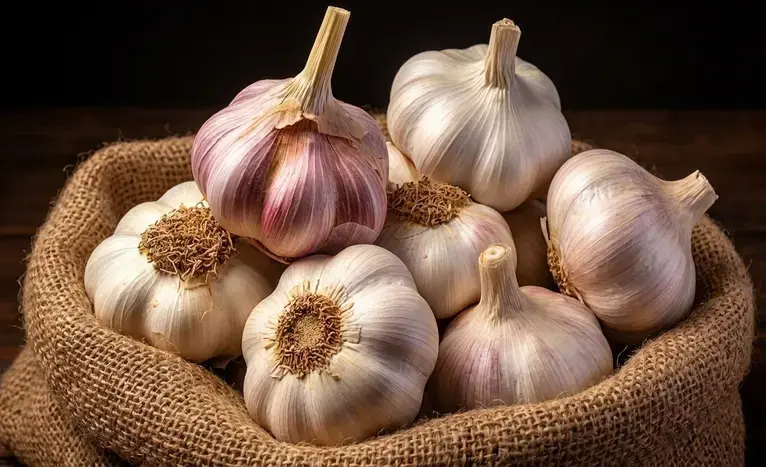
What all these traditions share is an understanding that pickled garlic is more than a preserved food. It is a condiment, a side dish, and a medicinal preparation rolled into one. People ate pickled garlic to support digestion, ward off illness, and add depth to simple meals.
Today, the basic principle remains the same even if our reasons have shifted. Most of us no longer need to pickle garlic to prevent spoilage, but we do it because the flavor is irresistible. The tangy, mellow cloves bring something to the table that raw garlic simply cannot. They are softer, gentler, and more versatile.
When you make pickled garlic at home, you are participating in a culinary tradition that spans cultures and centuries. It is a small act of self sufficiency that connects your kitchen to generations of cooks who found clever ways to make good food last.
Health Benefits of Pickled Garlic
Garlic has long been regarded as a natural medicinal wonder. While pickling alters the flavor and texture of garlic, many of the properties that make garlic beneficial are still present in the pickled version. The cloves retain their characteristic compounds, though the acidic brine may change the concentration slightly.
Here are the health benefits commonly associated with garlic:
- Antibacterial and antiviral properties. Garlic contains compounds like allicin that have been studied for their ability to fight certain bacteria and viruses. This is one reason garlic has been used historically to help the body combat infections.
- Anti inflammatory compounds. Garlic contains sulfur compounds that may help reduce inflammation. Some people with inflammatory conditions such as arthritis have explored garlic as part of a dietary approach to managing symptoms.
- Antioxidants. Garlic is rich in antioxidants that help combat oxidative stress in the body. Oxidative stress is linked to aging and various chronic diseases, and antioxidants play a role in protecting cells from damage.
- Cardiovascular support. Garlic has been studied for its potential to help lower blood pressure and improve cholesterol levels. These effects are associated with regular consumption over time, not a single serving.
- Immune system support. Garlic is often recommended during cold and flu season because of its potential to support immune function. The compounds in garlic may help stimulate certain immune cells.
- Digestive aid. Garlic may promote the production of digestive enzymes, which can support healthy digestion. Pickled garlic, with its acidic brine, may be especially gentle on the stomach compared to raw garlic.
- Detoxifying effects. Garlic has been associated with supporting liver function and the body’s natural detoxification processes. The sulfur compounds in garlic are thought to play a role in how the liver processes toxins.
It is important to note that while garlic is widely regarded as a healthy food, it is not a substitute for medical treatment.
If you have underlying health conditions, take medications, or have sensitivities to garlic, talk with your healthcare provider before adding large amounts to your diet. Pickled garlic should be enjoyed in moderation as part of a balanced approach to eating.
The good news is that pickled garlic makes it easy to incorporate a little garlic into your routine without the intense heat of raw cloves. A few tangy cloves on a salad or chopped into a sauce give you the flavor and some of the potential benefits without overwhelming your palate.
Making Pickled Garlic at Home
The beauty of this pickled garlic recipe is its simplicity. You need only a handful of ingredients and a few basic steps. The process takes about twenty minutes of active work, plus a week of patience while the flavors develop in the refrigerator.
I always recommend using fresh, firm garlic cloves. If you grow your own, this is the perfect use for a bumper harvest. If you are buying from the store, look for bulbs that are tight and firm with no green sprouts. The quality of your garlic directly affects the quality of your finished pickles.
One important note: use clean, sterilized glass jars. This is not complicated. Wash your jars in hot soapy water, rinse thoroughly, and either boil them for ten minutes or run them through a hot dishwasher cycle. Properly cleaned jars help ensure your pickled garlic stays safe and delicious for as long as possible.
Ingredients
Here is what you need to make pickled garlic at home:
| Ingredient | Quantity | Notes |
|---|---|---|
| Peeled garlic cloves | 1 cup | Fresh and firm; peel yourself or use pre peeled |
| White vinegar | 1 cup | Standard white vinegar works well |
| Water | 1/2 cup | Filtered or tap is fine |
| Sugar | 2 tablespoons | White granulated sugar |
| Salt | 1 teaspoon | Table salt or kosher salt |
| Herbs and spices | Optional | Rosemary, thyme, or red pepper flakes for extra flavor |
The ingredient list is intentionally short. The vinegar provides the acidity that preserves the garlic and gives it that signature tang. Sugar balances the sharpness of the vinegar, and salt enhances the overall flavor. The optional herbs and spices let you customize each batch.
I like to add a sprig of fresh rosemary and a pinch of red pepper flakes for a batch that has a subtle herbal warmth. Thyme is another favorite, especially when I plan to use the pickled garlic in Mediterranean dishes. You can experiment with different combinations to find what you enjoy most.
Step by Step Guide
Follow these steps to make your pickled garlic:
- Prepare the garlic. Start by peeling the garlic cloves. You can either buy pre peeled cloves or peel them yourself. Peeling them yourself gives you better quality control, but pre peeled is an option if you are short on time. To peel garlic quickly, separate the cloves, press each one gently with the flat side of a knife to loosen the skin, and peel it away.
- Create the brine. In a saucepan, combine the white vinegar, water, sugar, and salt. Bring the mixture to a boil over medium heat, stirring until the sugar and salt dissolve completely. This usually takes just a few minutes. Once the brine is clear and everything is dissolved, remove it from the heat.
- Pack the jars. Place the peeled garlic cloves in a clean, sterilized glass jar. Add any optional herbs or spices for flavor. Pack the cloves in snugly but do not crush them. Leave about half an inch of space at the top of the jar for the brine.
- Pour the brine. Carefully pour the hot brine mixture over the garlic cloves in the jar, ensuring they are completely submerged. Every clove should be covered by the liquid. If any cloves float to the top, press them down gently. You can place a clean weight or a small piece of folded parchment paper on top to keep them submerged.
- Cool and seal. Allow the jar to cool to room temperature. This may take thirty to forty minutes. Once cool, seal the jar with an airtight lid. Do not seal the jar while it is still hot, as condensation can affect the quality of the brine.
- Refrigerate and wait. Store the sealed jar in the refrigerator for at least one week to allow the flavors to develop. The longer you wait, the more intense the flavor will become. After a week, the cloves will have a pleasant tang. After two or three weeks, the flavor deepens further and the cloves become even more mellow.
That is the entire process. No canning equipment, no pressure cooker, no complicated steps. Just a jar, a brine, and a little time.
Keep the garlic fully submerged in the brine at all times. Cloves exposed to air can spoil, even in the refrigerator.
Enjoying Pickled Garlic: A Recipe
Once your pickled garlic has spent a week in the refrigerator, it is ready to enjoy. The cloves will have transformed from sharp and pungent to tangy and mellow. The texture softens just enough to make them pleasant to bite into, but they still have a satisfying firmness.
There are countless ways to use pickled garlic. Here are a few of my favorites:
- In salads. Toss whole or sliced pickled garlic cloves into green salads, potato salads, or grain bowls for a tangy twist.
- On sandwiches. Layer a few cloves on a sandwich or wrap in place of raw garlic for a softer, less aggressive flavor.
- On charcuterie boards. Pickled garlic makes a beautiful and unexpected addition to cheese and meat boards.
- In marinades. Chop pickled garlic and add it to marinades for chicken, pork, or tofu along with a splash of the brine.
- Straight from the jar. Sometimes the best way to enjoy them is simply as a snack.
To take things a step further, I want to share a quick recipe for Pickled Garlic Aioli. This creamy, tangy sauce uses your homemade pickled garlic and comes together in minutes with no cooking required.
Pickled Garlic Aioli Ingredients:
- 1/2 cup mayonnaise
- 2 tablespoons finely chopped pickled garlic
- 1 teaspoon lemon juice
- Salt and pepper to taste
Instructions:
- In a bowl, combine the mayonnaise, finely chopped pickled garlic, and lemon juice.
- Mix well until all the ingredients are thoroughly combined.
- Season with salt and pepper to taste. Adjust the seasoning according to your preference.
- Serve this Pickled Garlic Aioli as a dipping sauce for roasted vegetables, seafood, or as a flavorful spread for sandwiches.
This aioli is one of those sauces that tastes like it took much more effort than it did. The pickled garlic brings a complexity that plain garlic or garlic powder cannot match. The lemon juice brightens everything, and the mayonnaise provides a creamy base that ties it together.
I like to make a batch of this aioli whenever I have roasted vegetables on the menu. It is also excellent with grilled shrimp, fried fish, or simply spread on a piece of crusty bread. Once you start making it, you will find yourself looking for excuses to use it.
Homemade pickled garlic can last for several months when stored in an airtight container in the refrigerator. As long as the cloves remain submerged in the brine and you use a clean fork each time you reach into the jar, the quality will hold up beautifully.
The flavor will continue to develop and deepen over time, so do not be afraid to let a jar sit for a while before diving in.
One of the best things about this recipe is how customizable it is. You can change the herbs and spices with each batch and create different flavor profiles. Try black peppercorns and bay leaf for a classic taste, or coriander seeds and mustard seeds for something a little different. The possibilities are wide open.
Remember to consume pickled garlic in moderation, especially if you have underlying health conditions or sensitivities to garlic. A few cloves here and there will give you plenty of flavor without overdoing it.
Enjoy the process, share the results, and keep experimenting. That is what good home cooking is all about.
FAQs
Why does my pickled garlic turn blue or green?
How long does pickled garlic last in the refrigerator?
Can I use apple cider vinegar instead of white vinegar for pickling garlic?
How long should I wait before eating homemade pickled garlic?
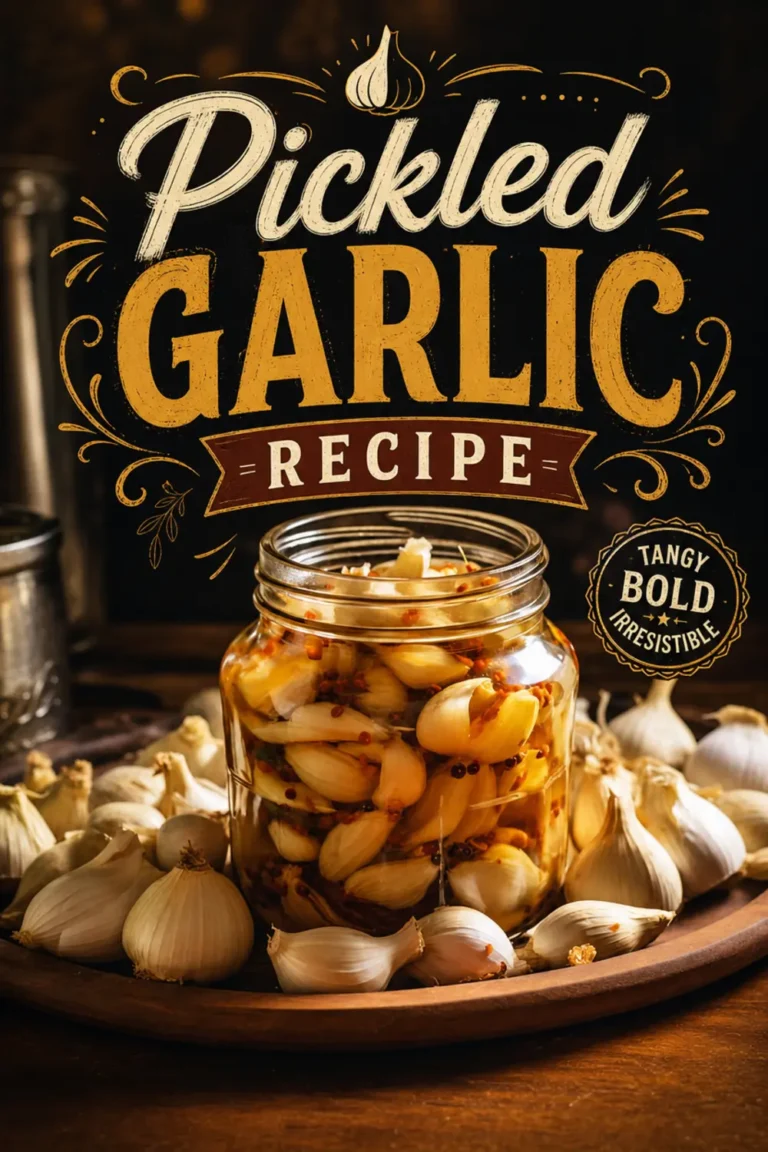
Pickled Garlic + Pickled Garlic Aioli
Exploring the Pungent Delight: Pickled Garlic and a Delectable Recipe If you have ever found yourself with a surplus of garlic from the garden or a great deal at the farmers market, you know the feeling. You want to use every clove, but raw garlic only stays fresh for so long.
Ingredients
Pickled Garlic
1 cup peeled garlic cloves
1 cup white vinegar
1/2 cup water
2 tablespoons sugar
1 teaspoon salt
herbs and spices, like rosemary, thyme, or red pepper flakes
Pickled Garlic Aioli
1/2 cup mayonnaise
2 tbsp finely chopped pickled garlic
1 tsp lemon juice
salt
pepper
Instructions
Pickled Garlic
1-Start by peeling the garlic cloves: Start by peeling the garlic cloves. You can either buy pre-peeled cloves or peel them yourself.
2-In a saucepan, combine the white vinegar,: In a saucepan, combine the white vinegar, water, sugar, and salt. Bring the mixture to a boil, stirring until the sugar and salt dissolve.
3-Place the peeled garlic cloves in a: Place the peeled garlic cloves in a clean, sterilized glass jar. Add any optional herbs or spices for flavor.
4-Carefully pour the hot brine mixture over: Carefully pour the hot brine mixture over the garlic cloves in the jar, ensuring they are completely submerged.
5-Allow the jar to cool to room: Allow the jar to cool to room temperature. Once cool, seal the jar with an airtight lid.
6-Store the sealed jar in the refrigerator: Store the sealed jar in the refrigerator for at least one week to allow the flavors to develop. The longer you wait, the more intense the flavor will become.
Pickled Garlic Aioli
7-In a bowl, combine the mayonnaise, finely: In a bowl, combine the mayonnaise, finely chopped pickled garlic, and lemon juice.
8-Mix well until all the ingredients are: Mix well until all the ingredients are thoroughly combined.
9-Season with salt and pepper to taste: Season with salt and pepper to taste. Adjust the seasoning according to your preference.
10-Serve this Pickled Garlic Aioli as a: Serve this Pickled Garlic Aioli as a dipping sauce for roasted vegetables, seafood, or as a flavorful spread for sandwiches.