What Is Tart Dough Pate Brisee?
When I first started baking tarts at home, I kept hearing the term Tart Dough Pate Brisee tossed around in recipes and cooking forums.
The phrase can be a little misleading because the recipe I am sharing here is actually a Pâte Sablée, which translates to “sandy” or “crumbly” in French.
It is a classic sweet tart pastry that produces a tender, cookie like crust with a melt in your mouth texture.
While a true pâte brisée is a flaky, unsalted pie crust closer to what you would use for a savory quiche or a deep fruit pie, the dough in this article leans toward the sweeter, more delicate side.
This Pâte Sablée or Classic Sweet Tart Pastry is a basic recipe that everyone needs in their repertoire. Making a tart dough in a pâte sablée style is not that easy but it is not hard either.
Once you understand how the butter, sugar, egg, and flour come together, you will be able to whip up a batch in about twenty minutes of active prep time. The rest is simply chilling and baking.
I remember the first time I tried making a sweet tart crust. I struggled with sticky dough and cracked edges, and I almost gave up on homemade tarts altogether.
What changed everything for me was learning to roll the dough between two sheets of parchment paper instead of fighting it on a floured counter. That single technique transformed the whole process.
Think of this dough as the foundation for every sweet tart you will ever make. Master it once, and you open the door to fruit tarts, chocolate ganache tarts, lemon curd tarts, and more.
Jump to:
- What Is Tart Dough Pate Brisee?
- When to use this Pâte Sablée or Classic Sweet Tart Pastry
- Ingredients
- The method for making Pâte Sablée or Classic Sweet Tart Pastry
- Shaping the dough
- Baking the tart crust
- Recipes where you can use Pâte Sablée (Classic Sweet Tart Pastry)
- FAQs
- What is pâte brisée and when should I use it?
- How is pâte brisée different from pâte sablée?
- Why did my pâte brisée tart crust shrink during baking?
- Can I freeze pâte brisée dough?
- Pâte Sablée (Classic Sweet Tart Pastry)
- Ingredients
- Instructions
- Last Step:
- Did you make this recipe?
When to use this Pâte Sablée or Classic Sweet Tart Pastry
This Pâte Sablée or Classic Sweet Tart Pastry is perfect for sweet pastries. It is also a pâte sucrée meaning that it has sugar in it. As I said, this is a buttery dough that results in a cookie like textured tart crust.
Because of that tender, crumbly texture, it shines in desserts where the filling is low in height, gooey, or even no bake.
Here is a quick guide to help you decide when this dough is the right choice:
- Best for: Berry tarts, ganache tarts, lemon curd tarts, lime meringue pies, and pastry cream fruit tarts
- Avoid for: Wet or deep pies such as apple, peach, or plum pies where a sturdier, flakier crust is needed
- Why: The cookie like crust can break under heavy or very wet fillings. For those applications, a flaky pie crust style dough works better.
If you are planning a dessert where the filling is cooked separately and then poured or arranged into a pre baked shell, this is the dough you want. It holds its shape beautifully after baking and has a delicate snap that contrasts wonderfully with creamy or fruity fillings.
Ingredients
The ingredients that you will need to make this Pâte Sablée or Classic Sweet Tart Pastry are really easy to obtain at a grocery store. That is always nice when you want to make it on a daily basis. You only need five items, and most of them are probably already in your kitchen.
| Ingredient | Quantity | Notes |
|---|---|---|
| Unsalted butter | 150 g | Soft, at room temperature |
| Salt | ½ tsp | Enhances flavor |
| Granulated sugar | 50 g | Standard white sugar |
| Egg | 1 | Whole egg |
| All purpose flour | 250 g | Do not substitute with cake flour |
I highly recommend using a digital kitchen scale for this recipe. Measuring flour by volume can lead to inconsistencies, and since this dough is sensitive to the flour to butter ratio, accuracy matters.

Some recipes add almond flour for extra tenderness, but I choose to skip it for cost and everyday practicality. You can also add optional spices or citrus zest at the beginning of the mixing process if you want to customize the flavor.
The method for making Pâte Sablée or Classic Sweet Tart Pastry
Bringing the dough together is the easiest step when making Pâte Sablée or Classic Sweet Tart Pastry. You can make it by hand using a whisk and a bowl or use a stand mixer on medium speed. Either way, the process follows three simple stages.
Step 1: Cream the butter. Whisk together the soft butter with the sugar and salt until it is creamy and homogeneous. This is also the moment to add spices or citrus zest if you like.
Step 2: Add the egg. Pour in the egg and whisk it in. The mixture will look split at first, but keep whisking until it returns to a creamy state.
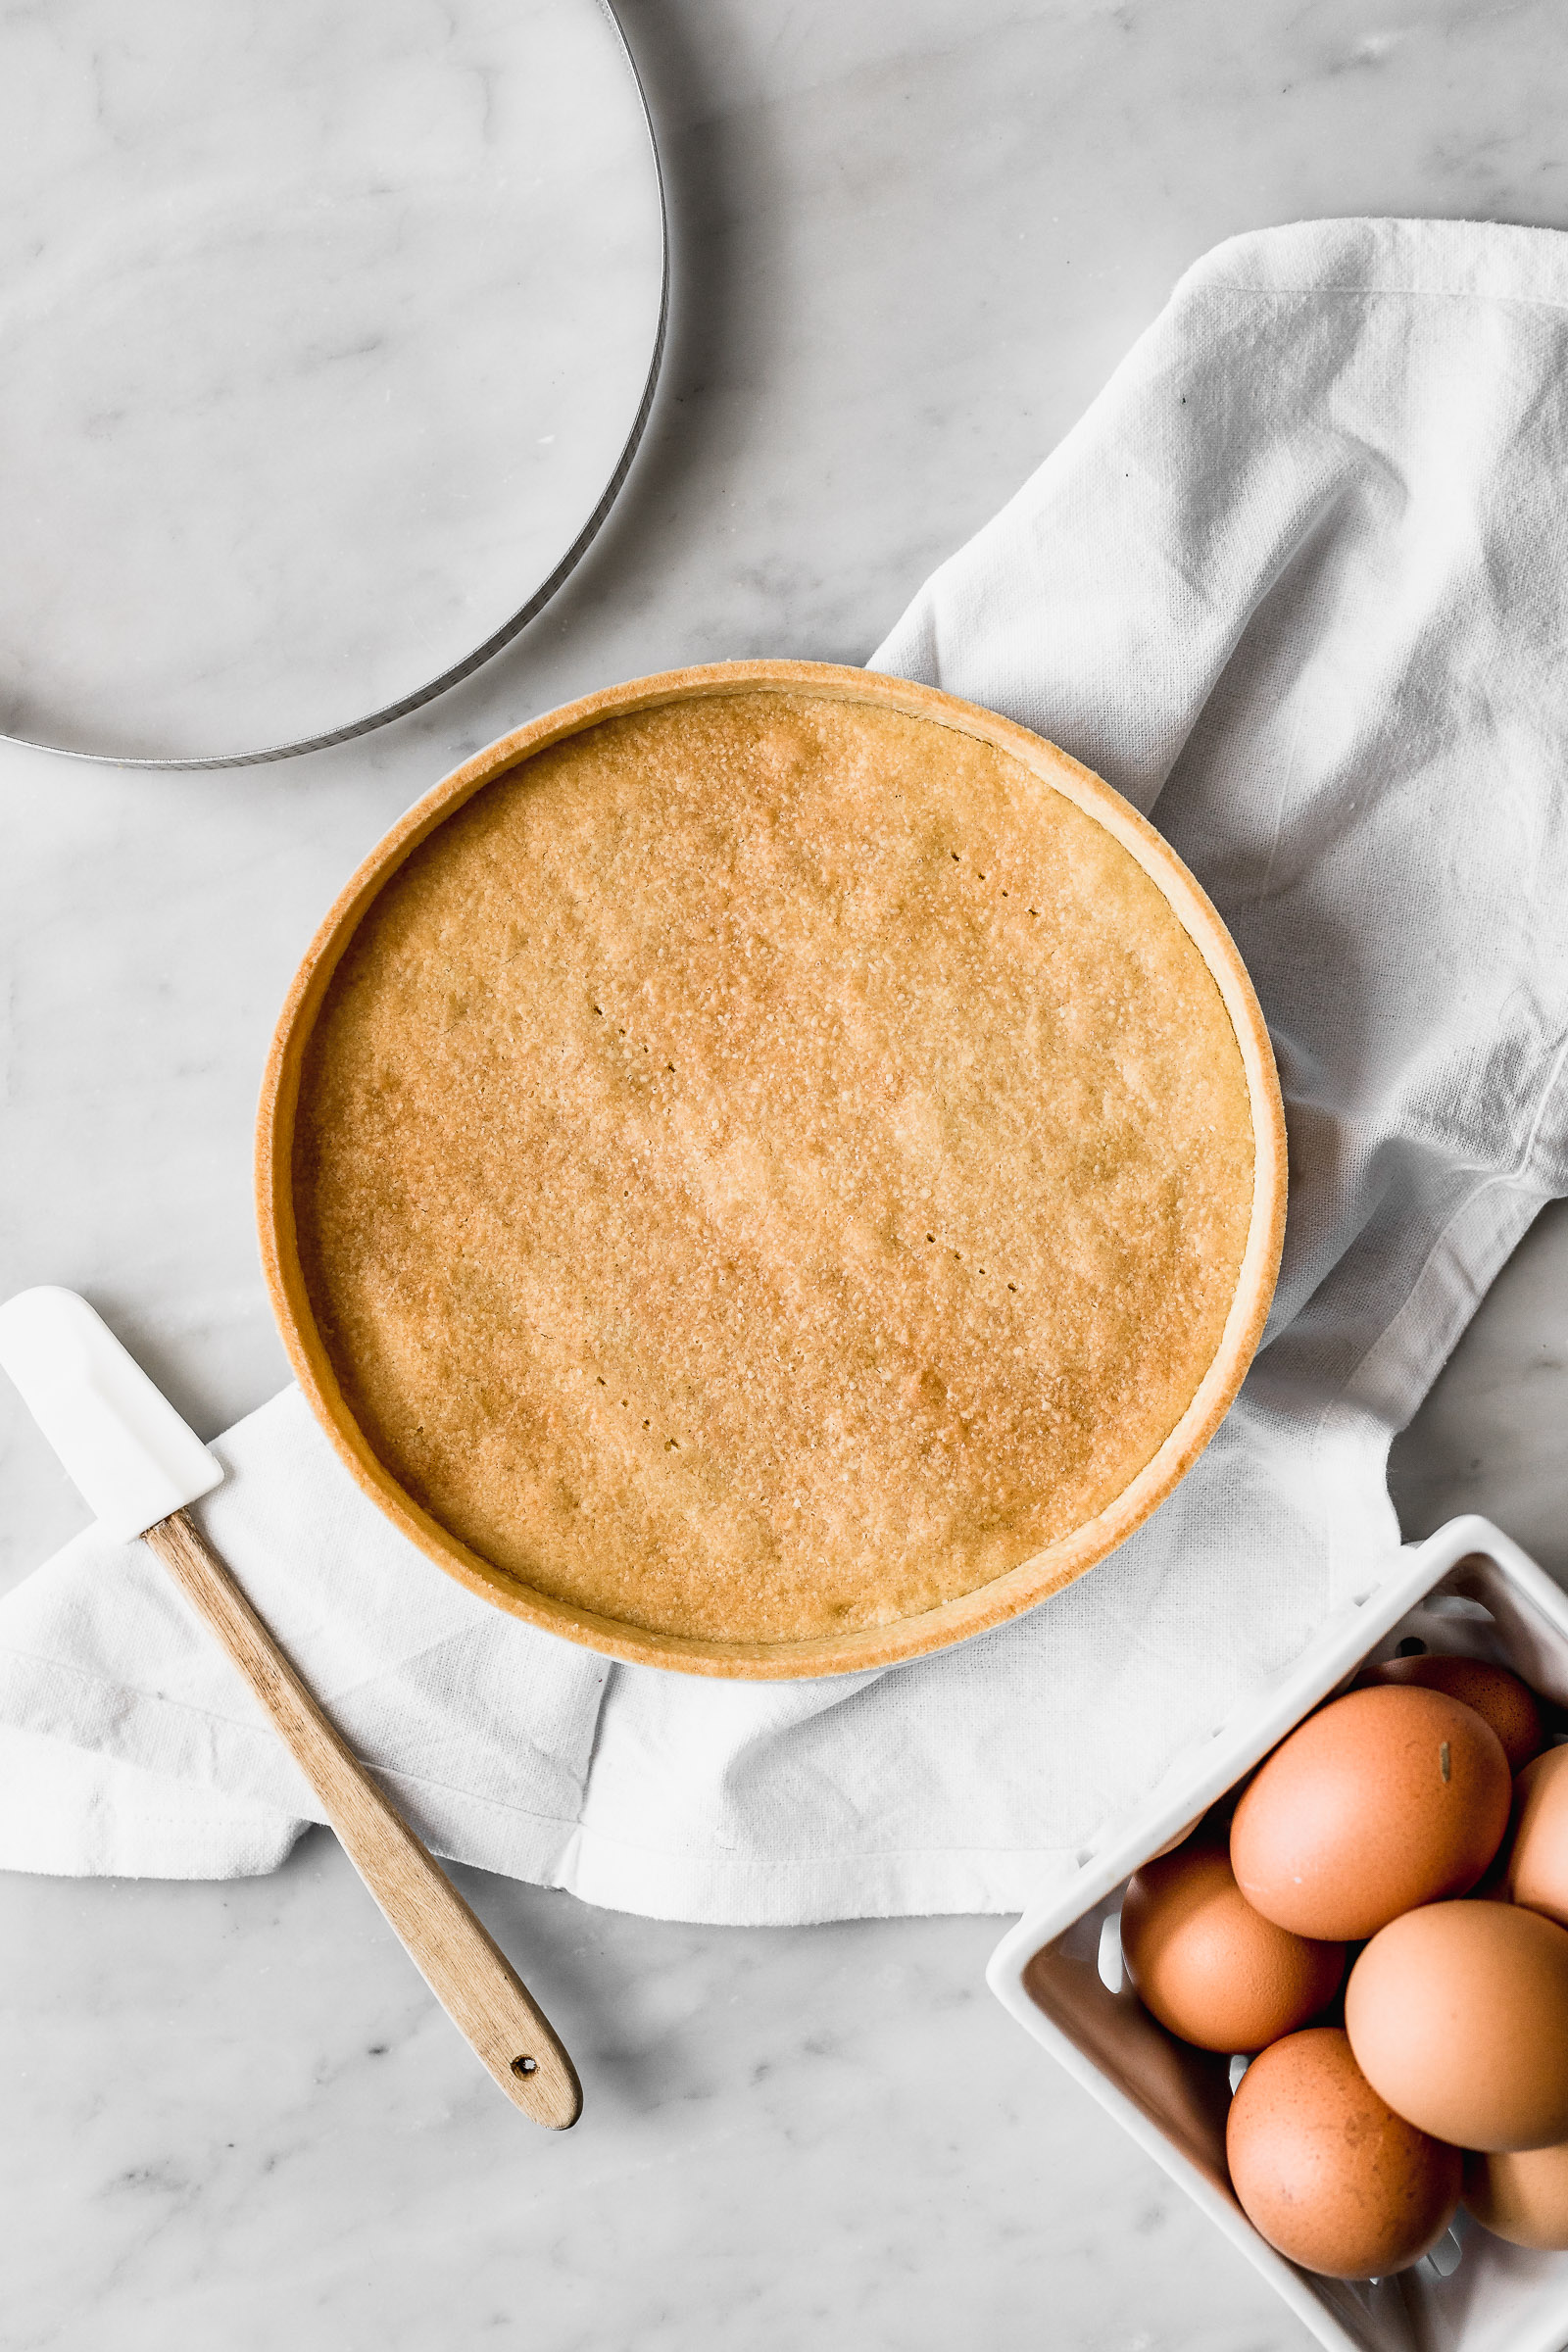
Step 3: Incorporate the flour. Add the flour and mix it in using a spatula. When the spatula no longer helps, finish mixing with your hands.
Place the dough on a clean surface and knead only until it is fully homogeneous and no longer sticking to your hands. Do not knead it more than necessary. Overworking the dough develops gluten and makes the crust tough instead of tender.
Less kneading means a more delicate crust. Stop as soon as the dough comes together cleanly.
Shaping the dough
Once the Pâte Sablée or Classic Sweet Tart Pastry is ready, you will not refrigerate it but rather roll it out while it is at room temperature.
This is because it is extremely buttery and rolling it out, even if it is cold, on a floured work surface would be nearly impossible. Instead, place the dough between two sheets of parchment paper and roll it to a thickness of about 2mm.
This dough is very buttery and soft, so rolling it between parchment paper makes it much easier to handle without adding extra flour. Extra flour would dry out the dough and change its delicate texture.
After rolling, transfer the dough, still between the paper, onto a chopping board and place it flat in the refrigerator. Chill for at least 2 hours or up to 2 days until firm. Once chilled, unstick the paper from both sides but keep one sheet underneath.
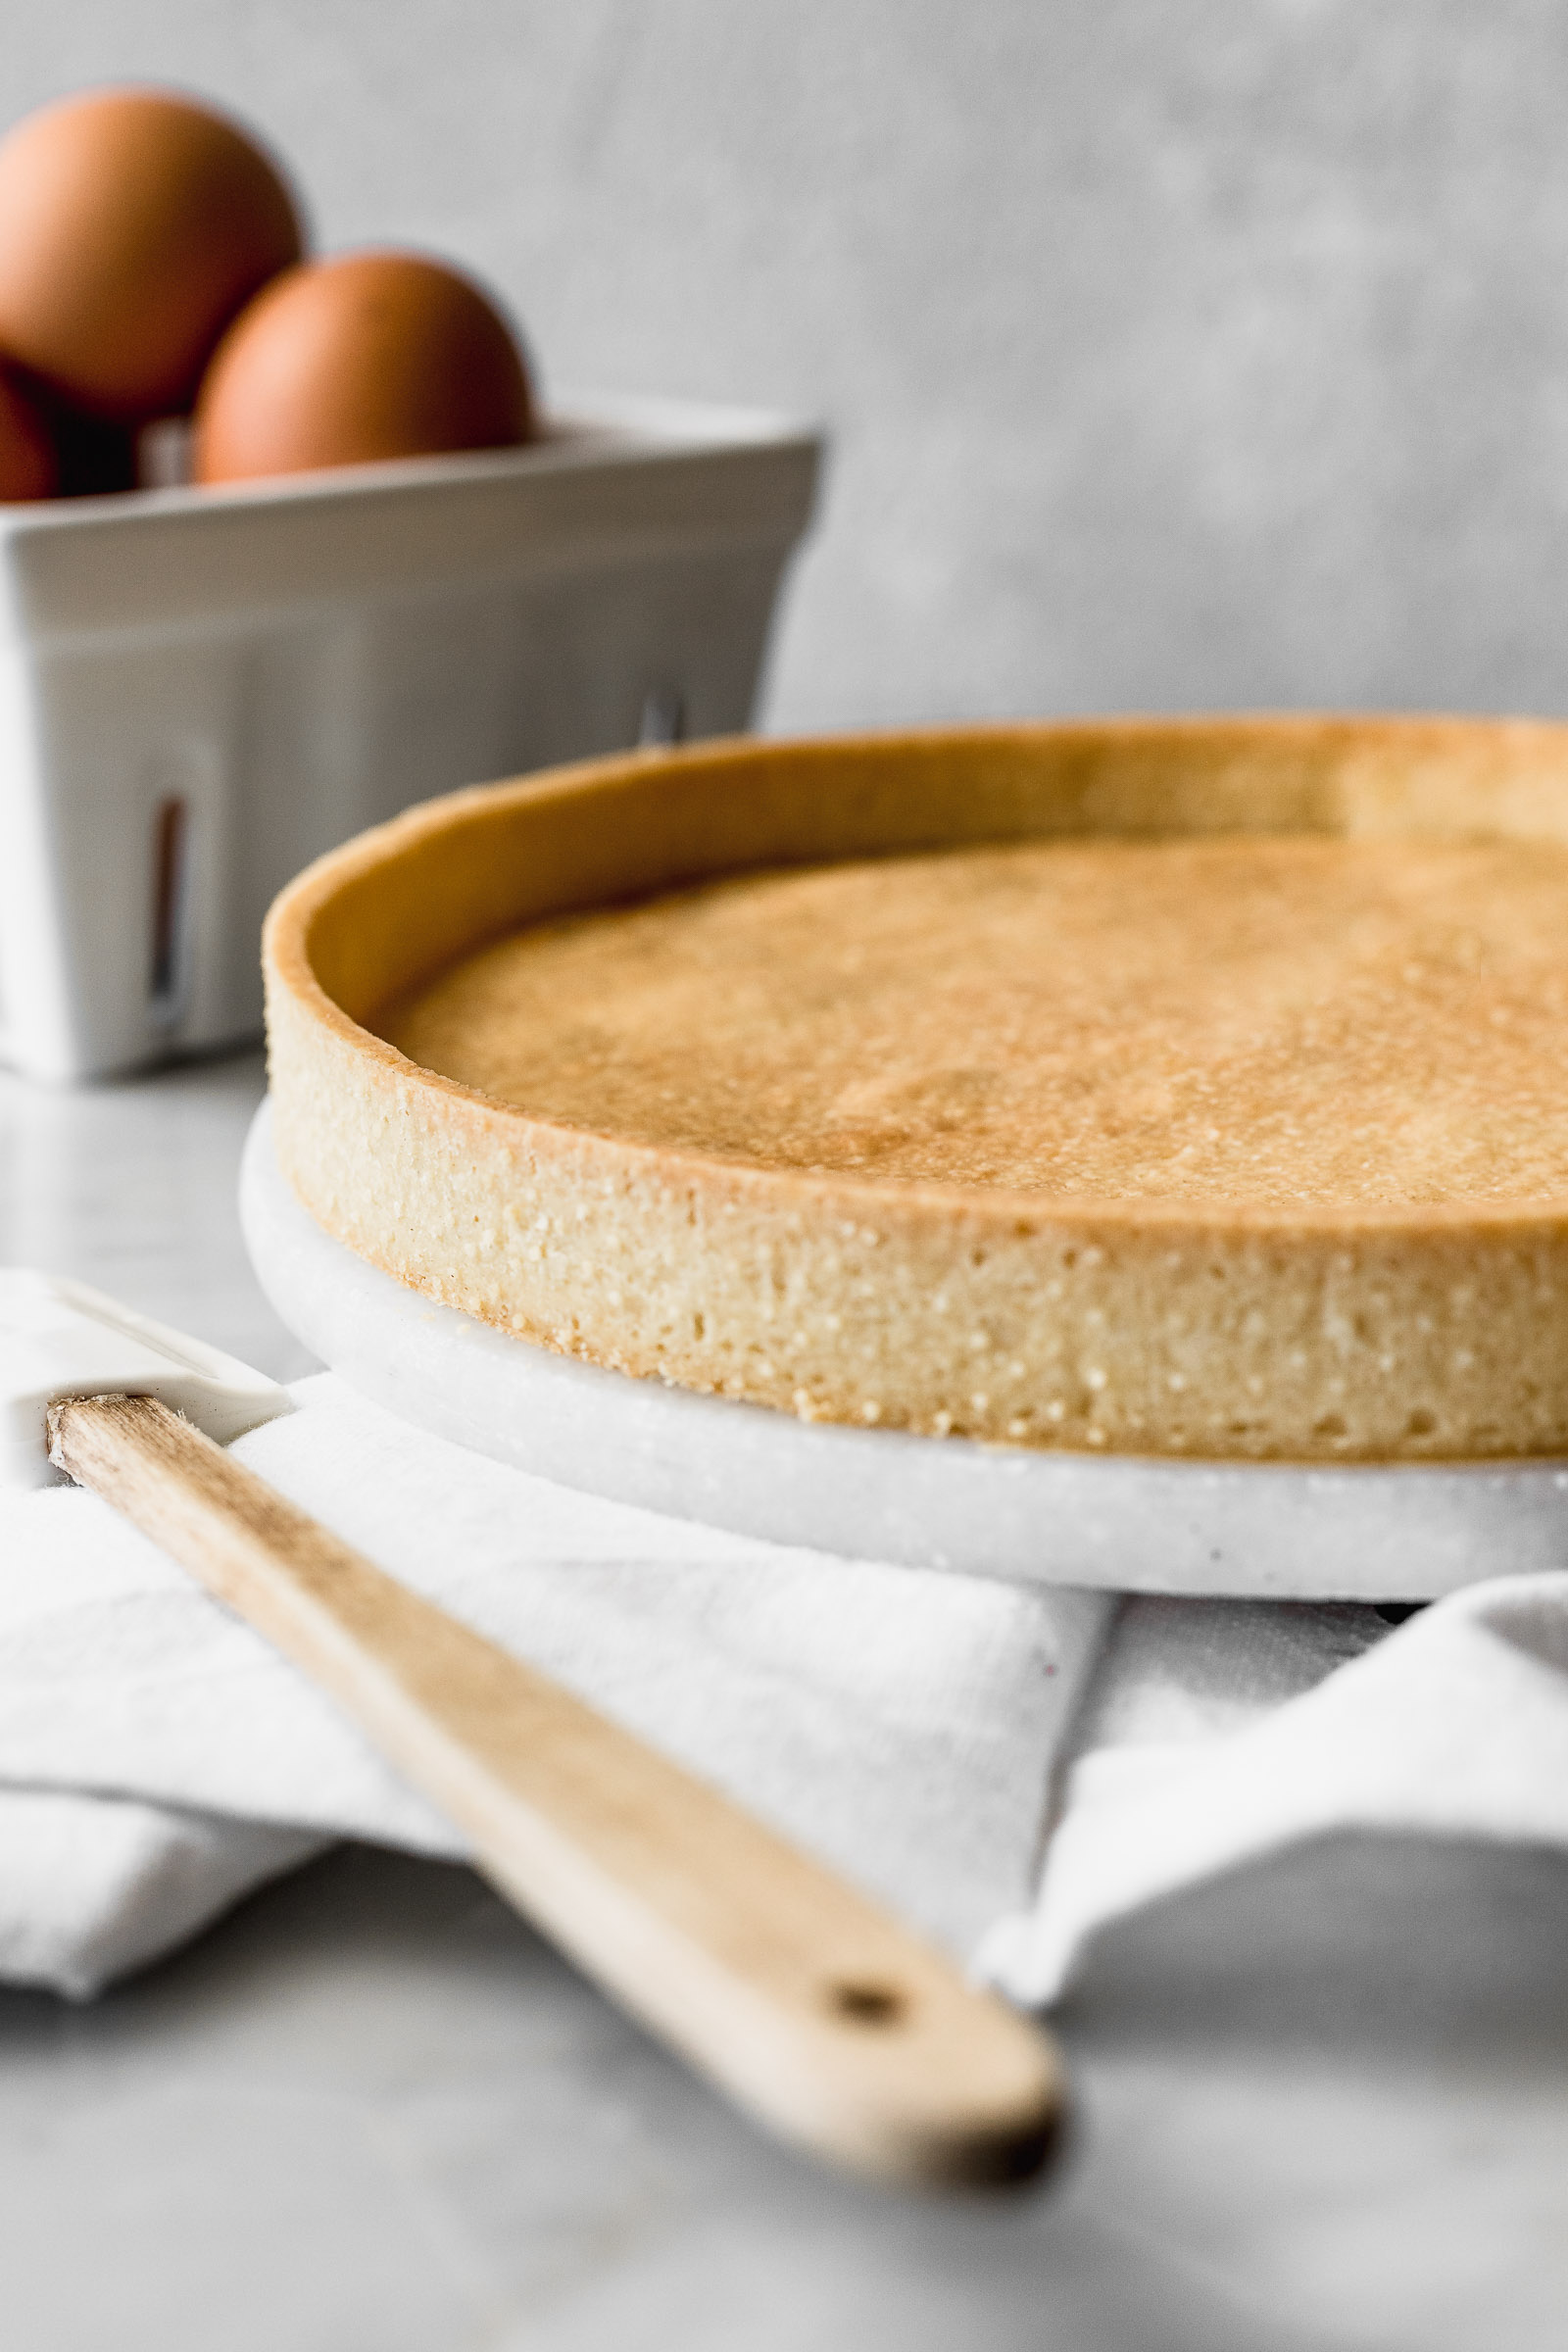
For a tart ring, use the ring to cut a base disc. For a removable bottom pan, trace around the removable base with a small knife.
Cut strips of dough thicker than the tart height for the sides, press them gently against the edge one by one, and trim the final strip to meet the first.
Use a non dented small knife to cut the top edge flush with the pan or ring rim.
Baking the tart crust
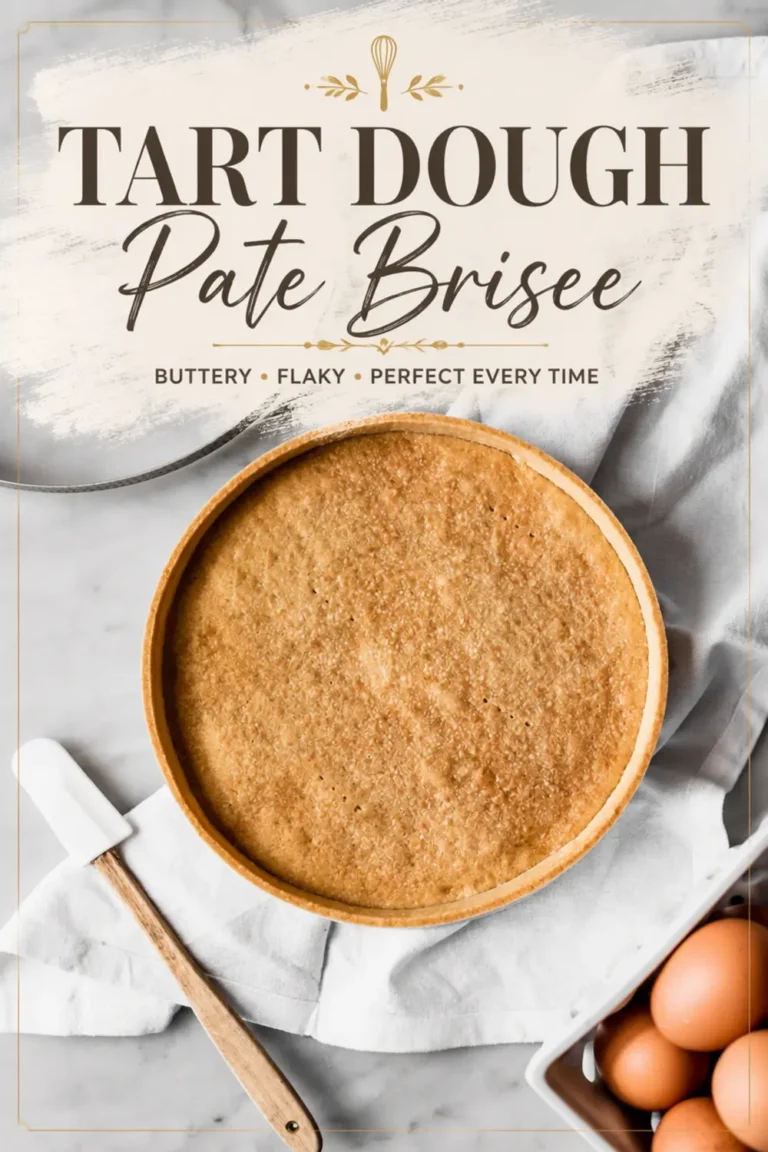
What is great about my method is that you do not need to blind bake Pâte Sablée or Classic Sweet Tart Pastry, which is always a hassle. That avoids using pie weights, decreases baking time, and gets a more even golden brown all around the tart shell.
Before baking, freeze the lined pan or ring for at least 1 hour or up to 2 days. This helps the dough hold its shape in the oven. When you are ready to bake, follow these steps:
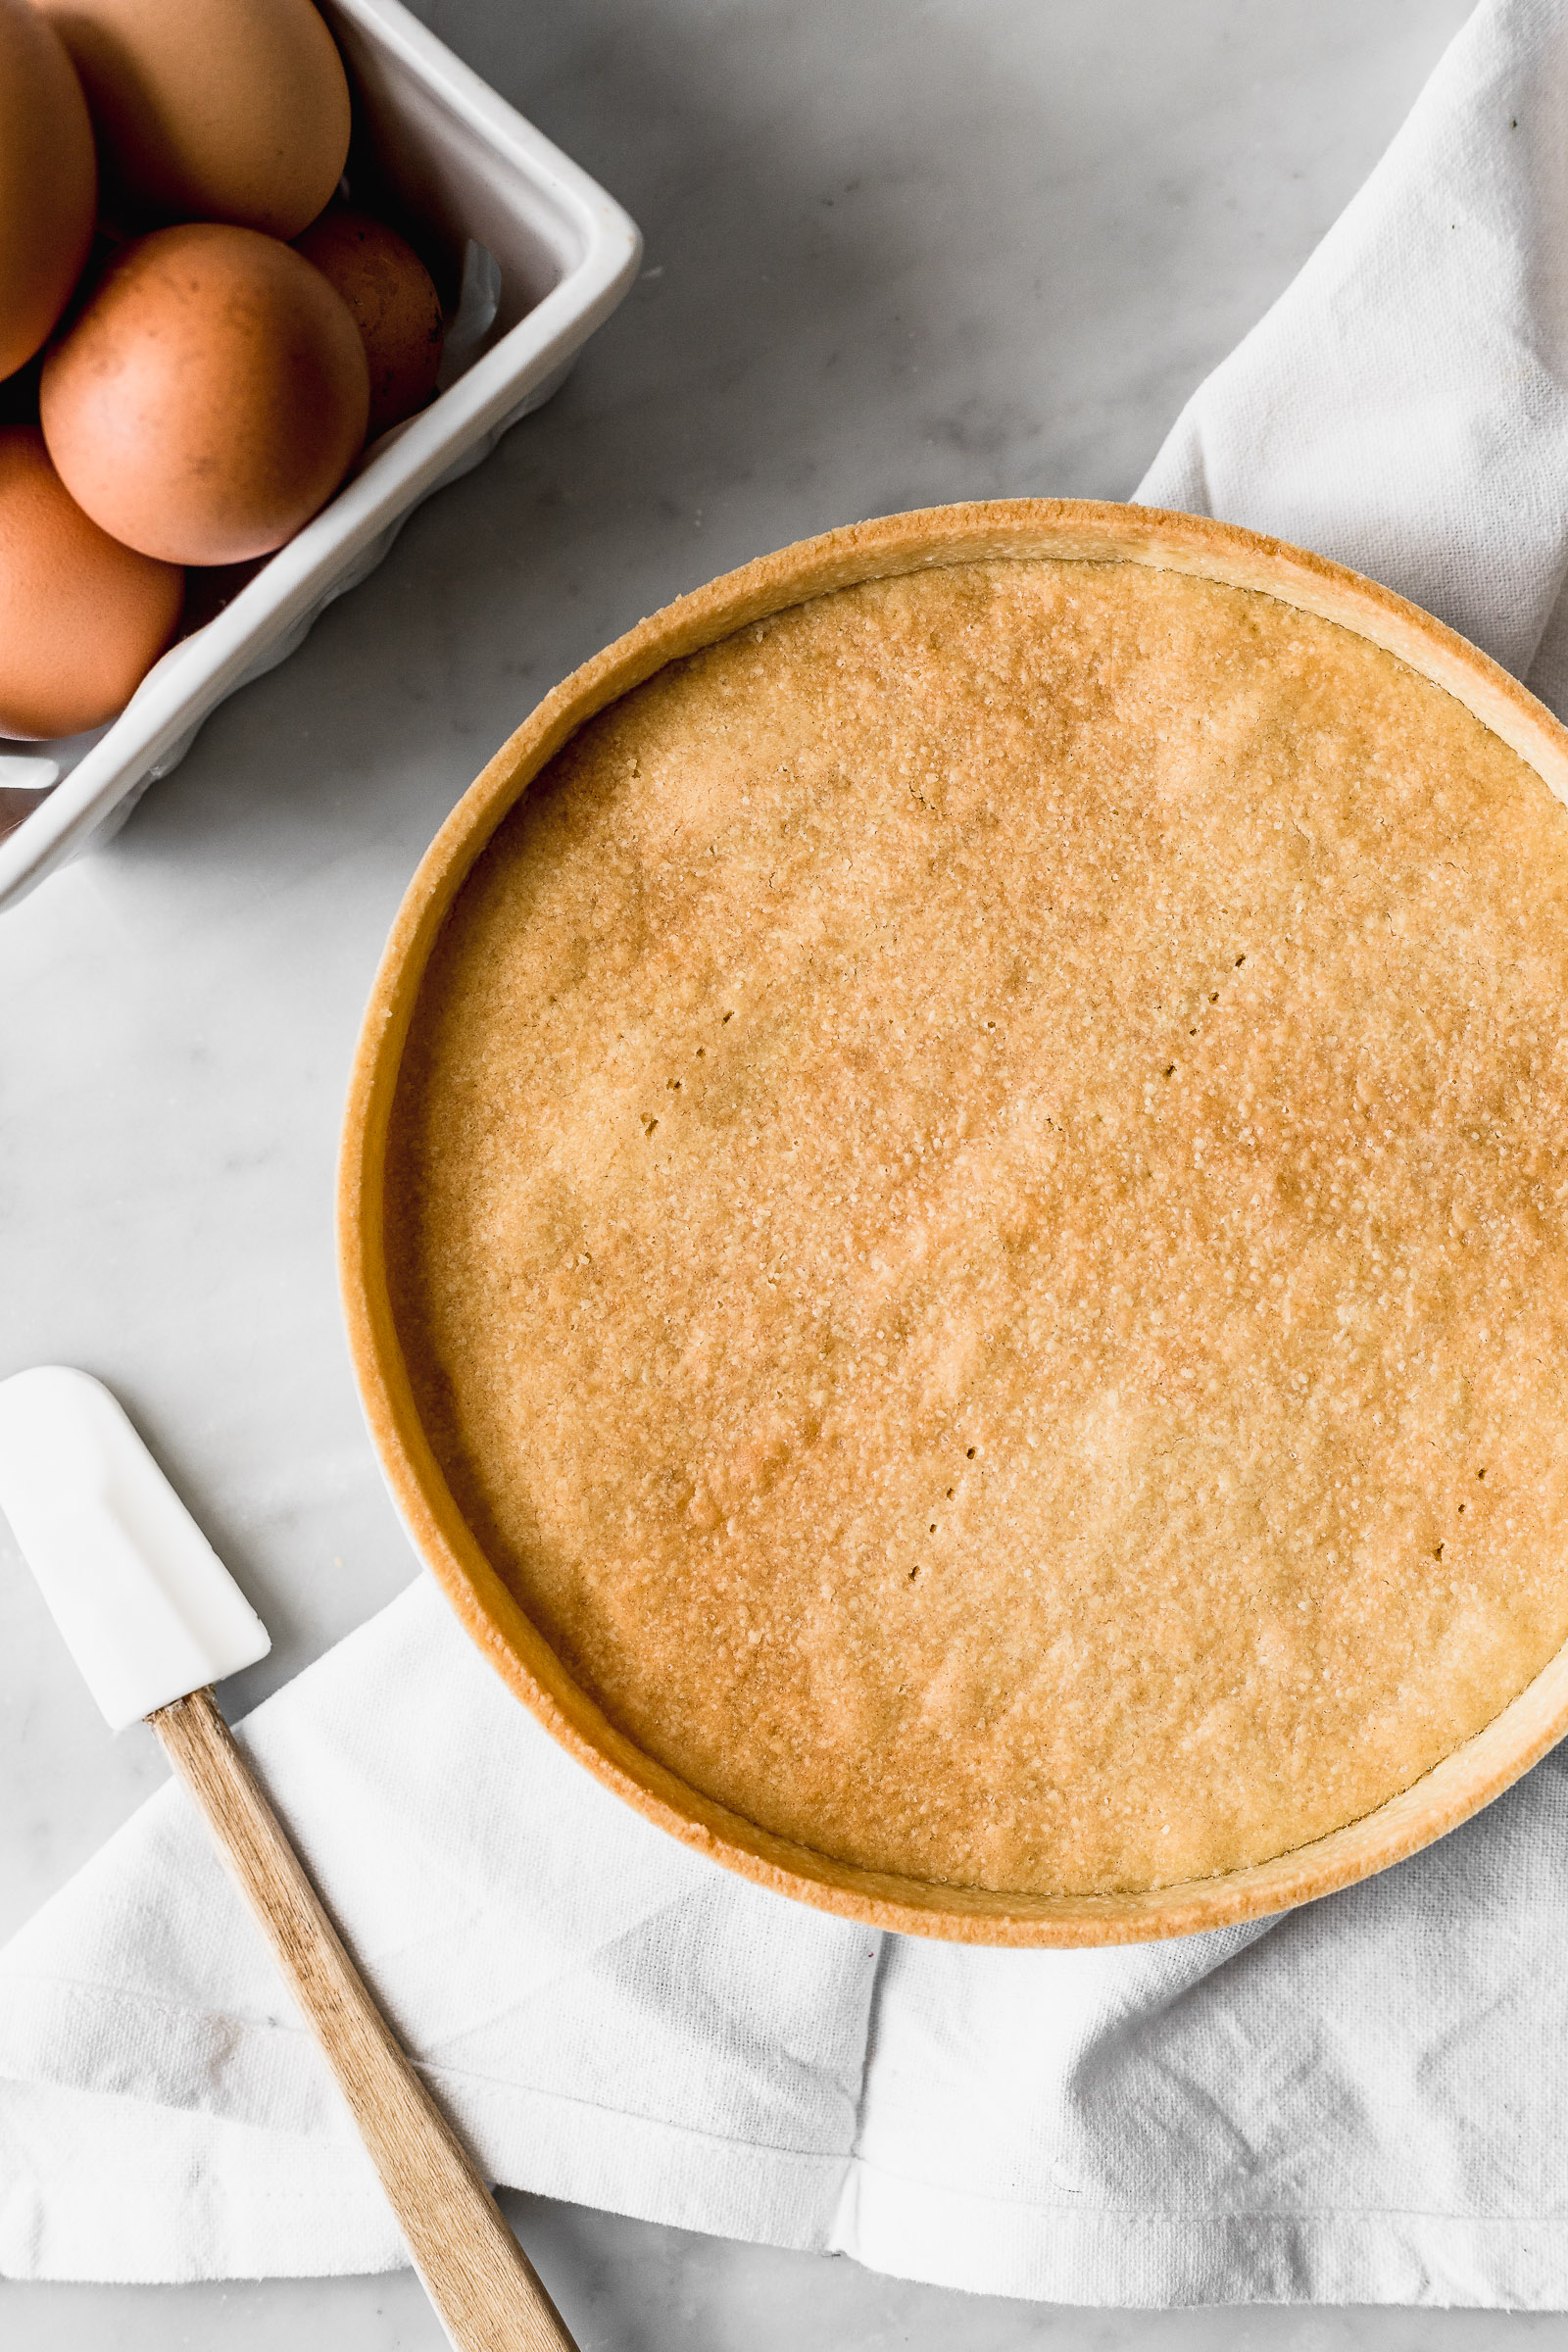
- Preheat your oven to 160°C (320°F).
- Remove the tart shell from the freezer and prick the base 4 to 6 times with a fork to prevent it from inflating.
- Bake immediately while still frozen for 12 to 18 minutes.
- Watch carefully because the crust goes from light golden to dark very quickly.
- Let the tart cool completely before unmolding.
To unmold, the dough shrinks slightly during baking, so for a tart ring you simply lift it off. For a removable bottom pan, place the pan on top of a bowl and let the sides slide down slowly, then lift the shell from the base.
This recipe yields 1 tart ring or pan of 20 to 25 cm (8 to 10 inches). Prep time is about 20 minutes and bake time is approximately 15 minutes, not counting chilling and freezing.
Recipes where you can use Pâte Sablée (Classic Sweet Tart Pastry)
This type of tart case is perfect for many recipes. As I mentioned before, it is my favourite because of its lovely texture. It is ideal for large tarts, mini tarts, small tartlets, and more. Here are a few recipes where you can use this Pâte Sablée or Classic Sweet Tart Pastry:
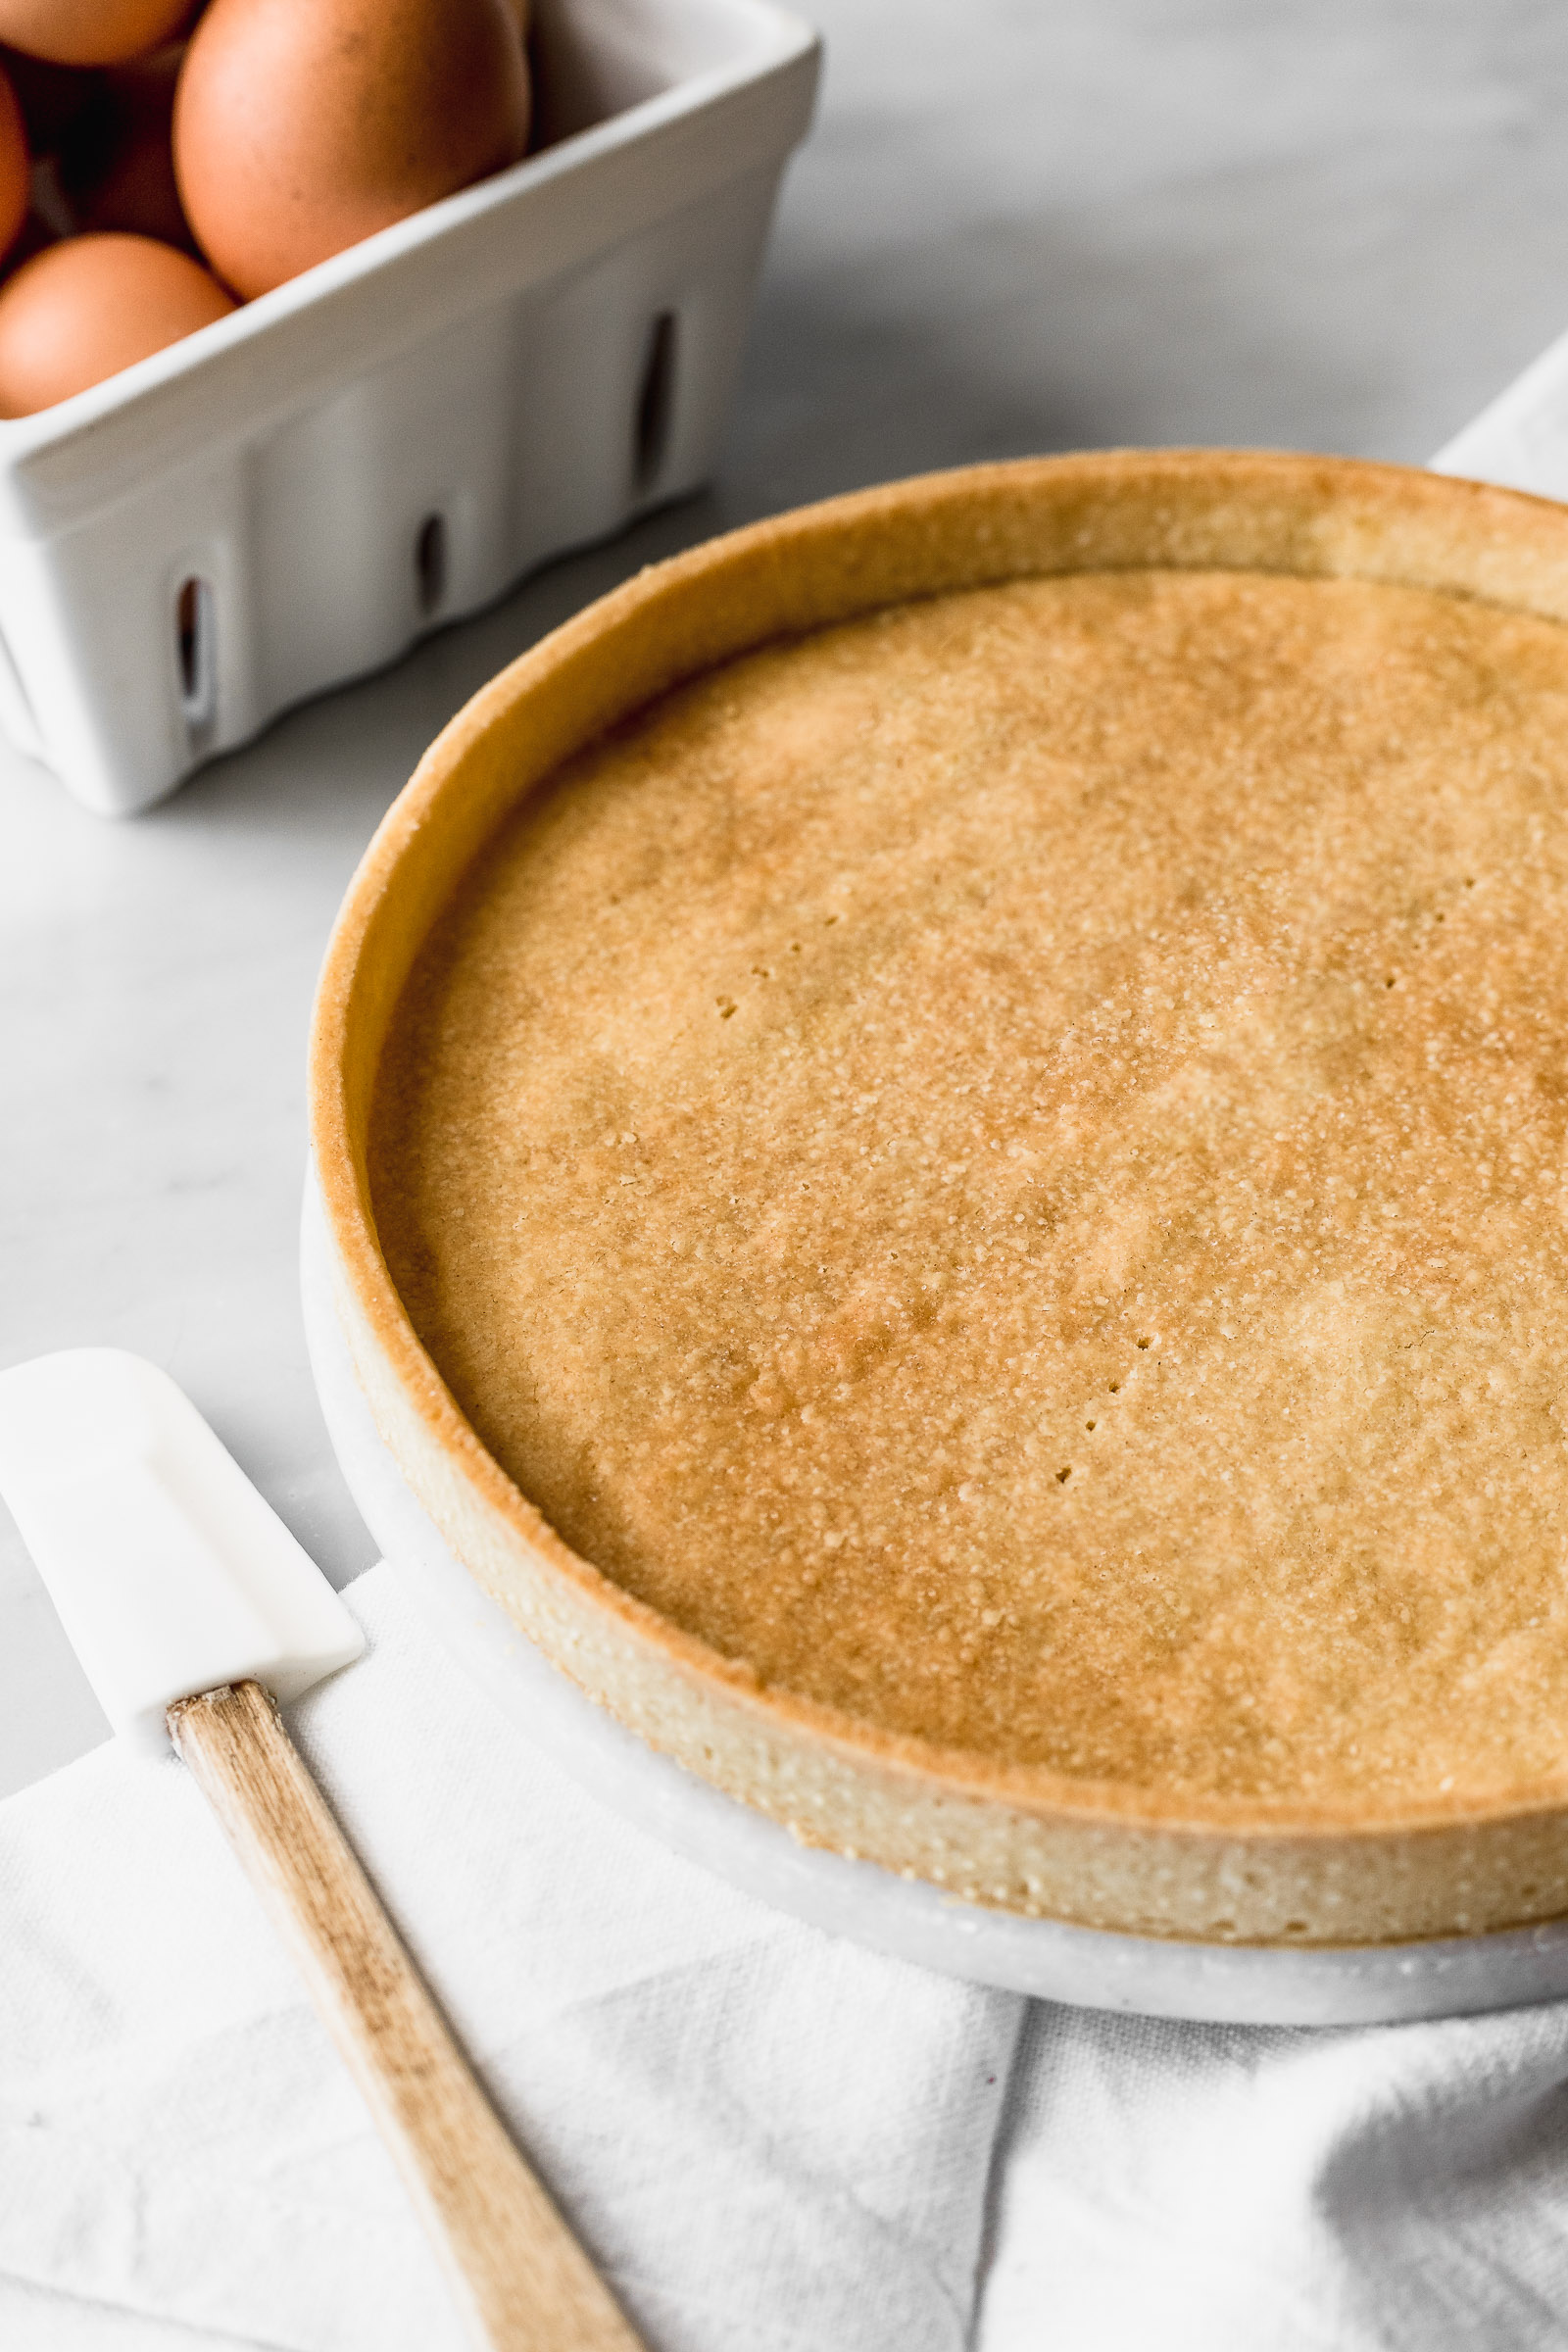
- Berry tarts: Cook the filling first before placing it inside the baked shell.
- Ganache tart: Pour melted chocolate ganache into the cooled crust and let it set.
- Lemon curd tart: Fill the shell with homemade lemon curd and chill until set.
- Lime meringue pie: Fill the shell, top with meringue, and return to the oven to toast the meringue.
- Pastry cream fruit tarts: Fill with pastry cream, refrigerate, then top with fresh fruit.
Each of these desserts benefits from the crisp, buttery, cookie like base that this dough provides. Once you have a batch of Pâte Sablée in your freezer, you are never more than a short baking session away from a beautiful homemade tart.
FAQs
What is pâte brisée and when should I use it?
How is pâte brisée different from pâte sablée?
Why did my pâte brisée tart crust shrink during baking?
Can I freeze pâte brisée dough?
Pâte Sablée (Classic Sweet Tart Pastry)
What Is Tart Dough Pate Brisee? When I first started baking tarts at home, I kept hearing the term Tart Dough Pate Brisee tossed around in recipes and cooking forums.
- Total Time: 35 min
- Yield: 1 tart ring or pan of 20-25cm / 8-10in 1x
Ingredients
150 g unsalted butter, soft, at room temperature
½ tsp salt
50 g granulated sugar
1 egg
250 g all-purpose flour
Instructions
For the dough
1-Whisk together the butter with the sugar: Whisk together the butter with the sugar and salt until it’s creamy and homogeneous. At this point, you could also add spices and citrus fruits’ zest if you like.
2-Add the egg and whisk it in: Add the egg and whisk it in until it’s back to creamy (it will look split at first).
3-Add the flour and mix it in: Add the flour and mix it in using a spatula. When the spatula doesn’t help anymore, finish mixing with your hands. Place the dough on a clean surface and knead only until fully homogeneous and no longer sticking to your hands. Don’t knead it more than what’s necessary; only enough to mix it.
For the tart assembly
4-Roll out the dough in between two: Roll out the dough in between two sheets of baking paper. It needs to be 2mm thick. Once you’ve achieved this, take the dough (with paper and all) into the fridge for 2 hours or until it’s firm and a maximum of 2 days. I first placed it on a chopping board and then put that into the fridge to keep it flat.
5-Remove the dough from the fridge and: Remove the dough from the fridge and unstick the paper from both sides and then only keep the paper that’s under the tart. We’re doing this only so that the dough isn’t completely stuck to the paper. Use the tart ring to cut the base disc. If you’re using a removable bottom tart pan then cut around the removable bottom base with a small knife.
6-In the case of the tart ring,: In the case of the tart ring, cut the paper around the ring using a knife or a pair of scissors. Place the paper, dough and ring onto a dish that can fit your freezer. If you’re using a removable bottom pan, lift the dough carefully and place it inside the pan with the base on. If it breaks in half don’t worry – you can stick it back in place by gently pressing on it.
7-For the sides, cut strips of dough: For the sides, cut strips of dough that are thicker than the height of the tart. Place one strip at a time around the edge, pressing gently to stick them in place. Keep going until you’ve reached the last one. The last strip you arrange it in place and use a knife to cut it to the edge of the start of the first one you laid out. I think it’s easier to understand if you watch the video above.
8-Use a non-dented small knife to cut: Use a non-dented small knife to cut the edge to the rim of the pan or ring.
9-Freeze the dough inside the pan or: Freeze the dough inside the pan or ring for 1 hour or up to 2 days.
For baking and unmolding
10-Preheat your oven to 160°C / 320°F: Preheat your oven to 160°C / 320°F.
11-Remove the dough from the freezer and: Remove the dough from the freezer and poke it at the base 4-6 times with a fork to prevent it from inflating.
12-Bake the tart immediately (yes, while frozen: Bake the tart immediately (yes, while frozen!) for 12-18 minutes. The first time you make it you want to be really careful and take a close look as it cooks because it goes from light golden to dark in very little time.
13-Remove the tart from the oven and: Remove the tart from the oven and let it cool down completely before unmolding.
14-The dough always shrinks a little as: The dough always shrinks a little as it bakes, so to remove the ring you only need to lift it carefully. In the case of the removable bottom pan, you need to place it on top of a bowl and help the sides slide down slowly. At this point, you should be able to lift the tart shell from the base.
15-Don: Don! Now you can fill it up 🙂
Last Step:
Please leave a rating and comment letting us know how you liked this recipe! This helps our business to thrive and continue providing free, high-quality recipes for you.- Prep Time: 20 min
- Cook Time: 15 min
- Method: bake