What Is Tartlet Shells?
I still remember the first time I made these miniature tart shells for a backyard get together with friends. I wanted something that felt a little special but would not keep me trapped in the kitchen all day.
These tartlet shells turned out to be the answer: crisp, buttery, lightly sweetened, and perfectly sized for everyone to grab one (or two) without plates. They have become my secret weapon for picnics, brunches, and holiday dessert tables ever since.

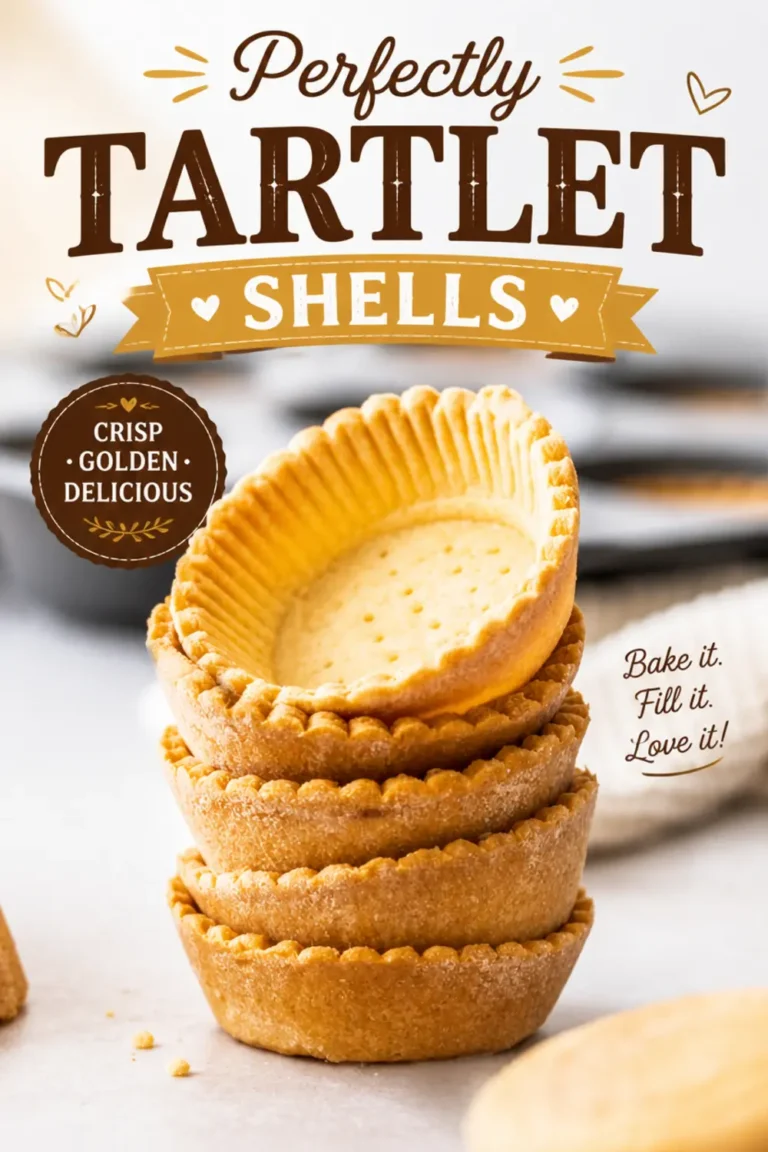
Tartlet shells are simply individual small tart crusts that you can fill with just about anything sweet or savory. They have a tender shortcrust texture that holds its shape beautifully and tastes far more impressive than the effort suggests.
You do not need a fancy tartlet pan either. A regular nonstick 12 hole muffin tin does the job wonderfully.
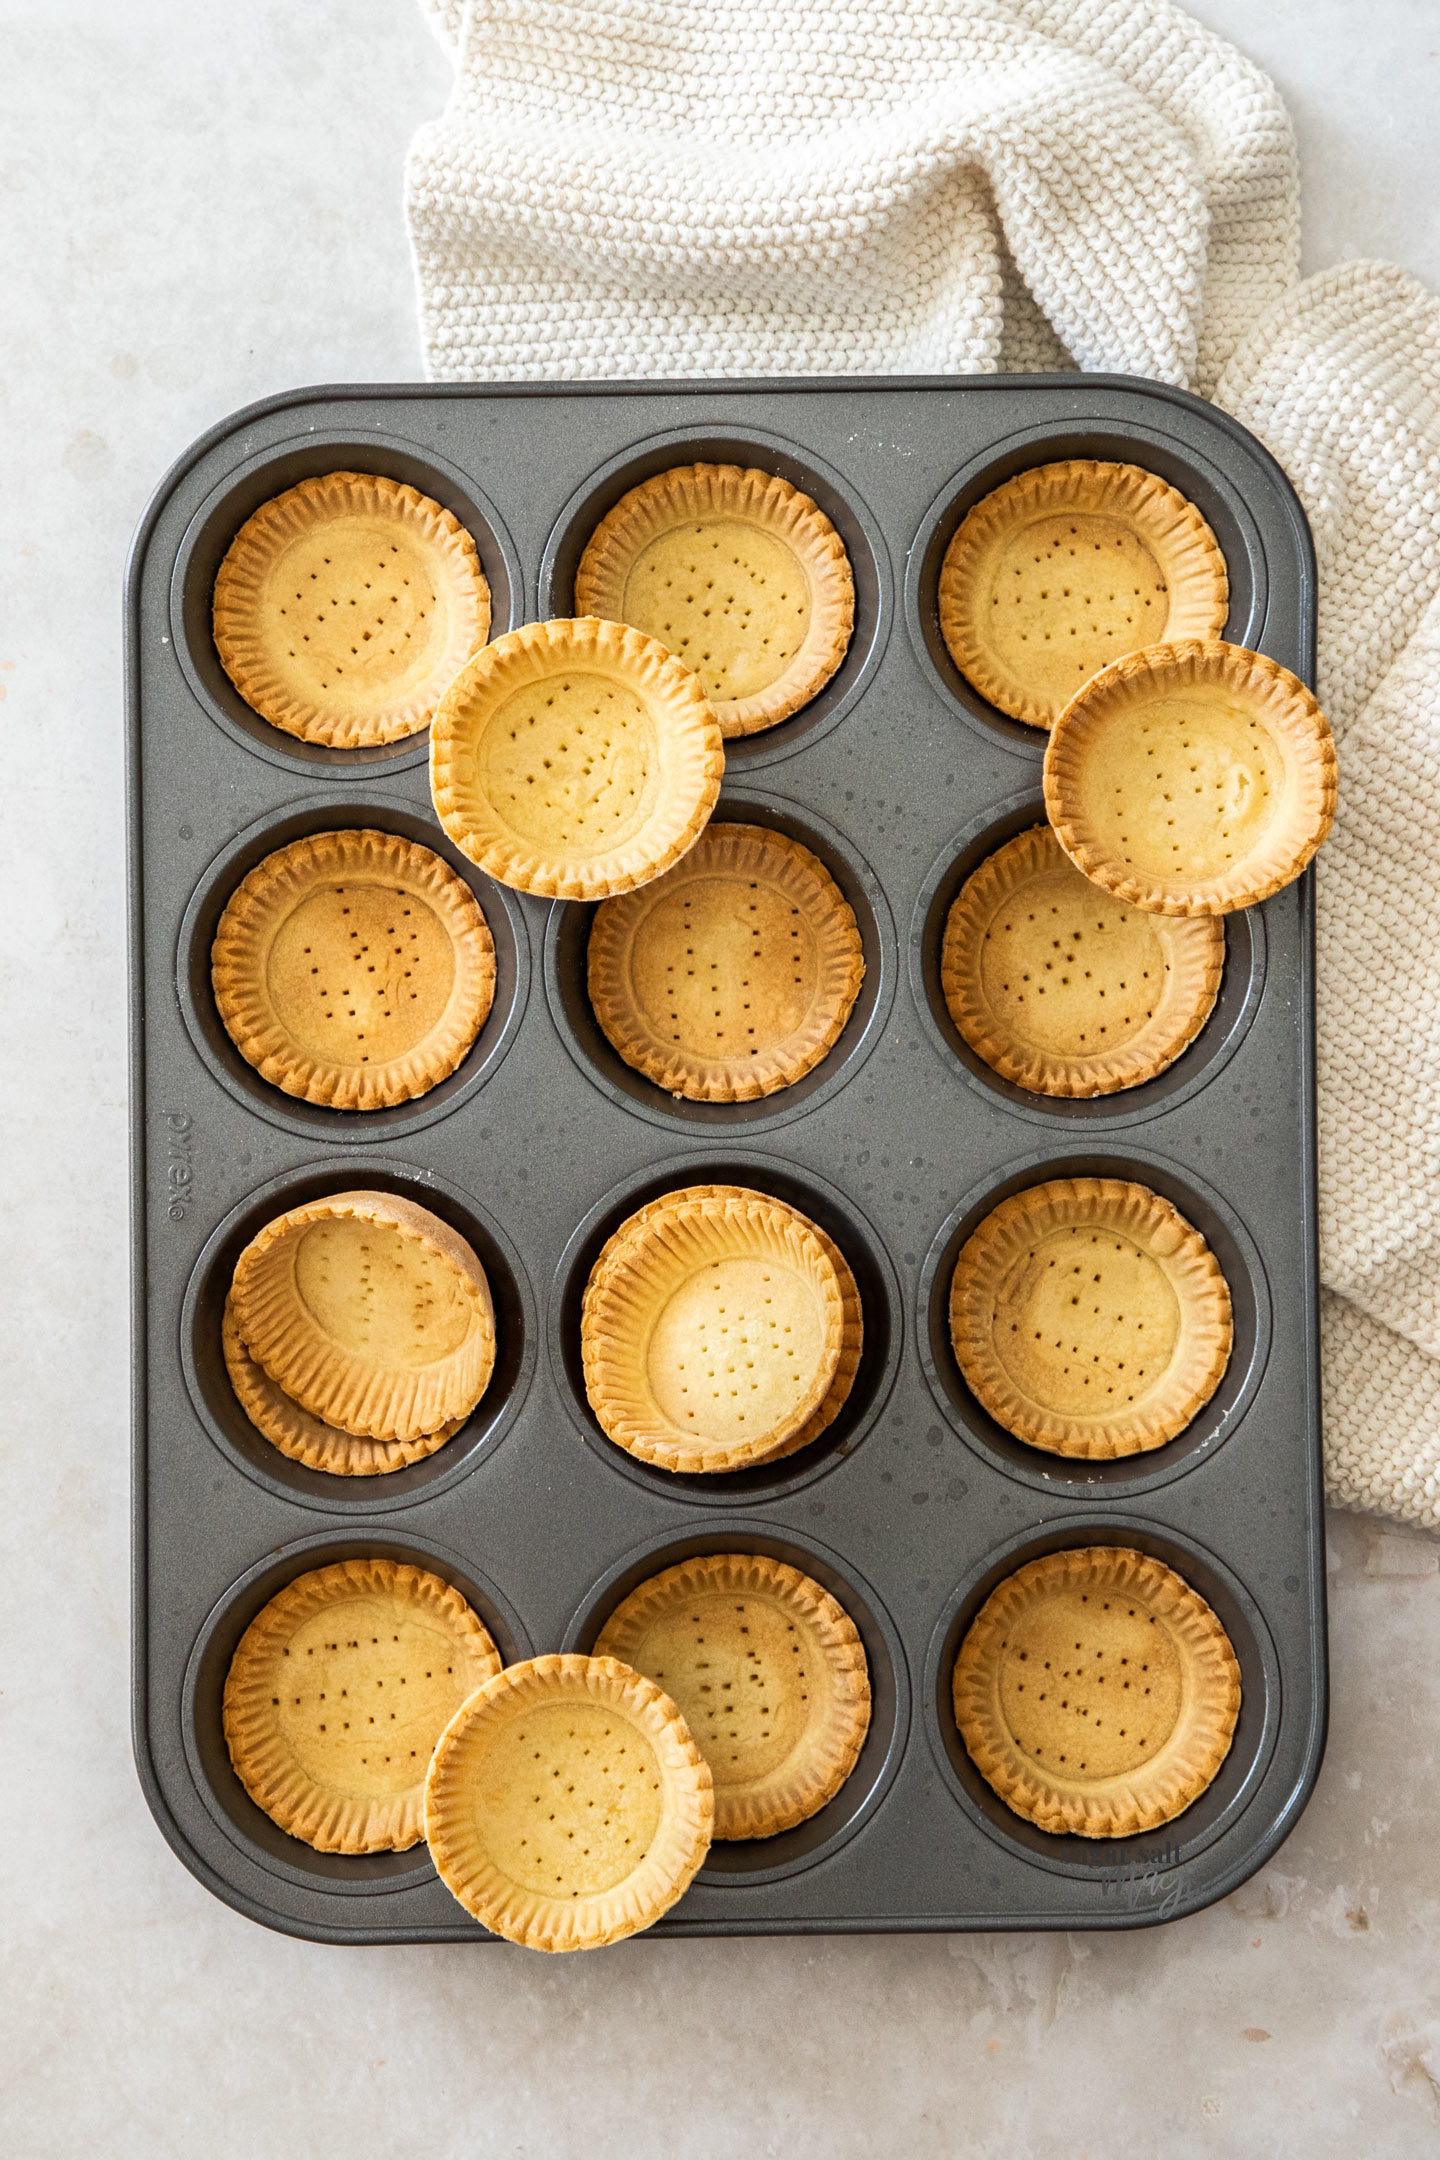
The scalloped edges and pretty lines that make them look store bought come from a fluted cookie cutter and the clever trick of lining the shells with cupcake cases during blind baking.
Whether you plan to fill them with a silky lemon curd and fresh berries or a rich chocolate ganache, these shells are the perfect blank canvas. And because they can be made well ahead and stored in the freezer, you can always be ready for unexpected guests or a last minute dessert craving.
Jump to:
- What Is Tartlet Shells?
- Ingredients you’ll need
- How to make tartlet shells (step by step)
- Tips and tricks
- Tartlet fillings
- Yield and storage
- FAQs
- What is tartlet dough made of?
- How long should tartlet shells chill before baking?
- Can I make savory tartlet shells with this recipe?
- How do I store or make ahead tartlet shells?
- Tartlet Shells
- Ingredients
- Instructions
- Last Step:
- Nutrition
- Did you make this recipe?
Ingredients you’ll need
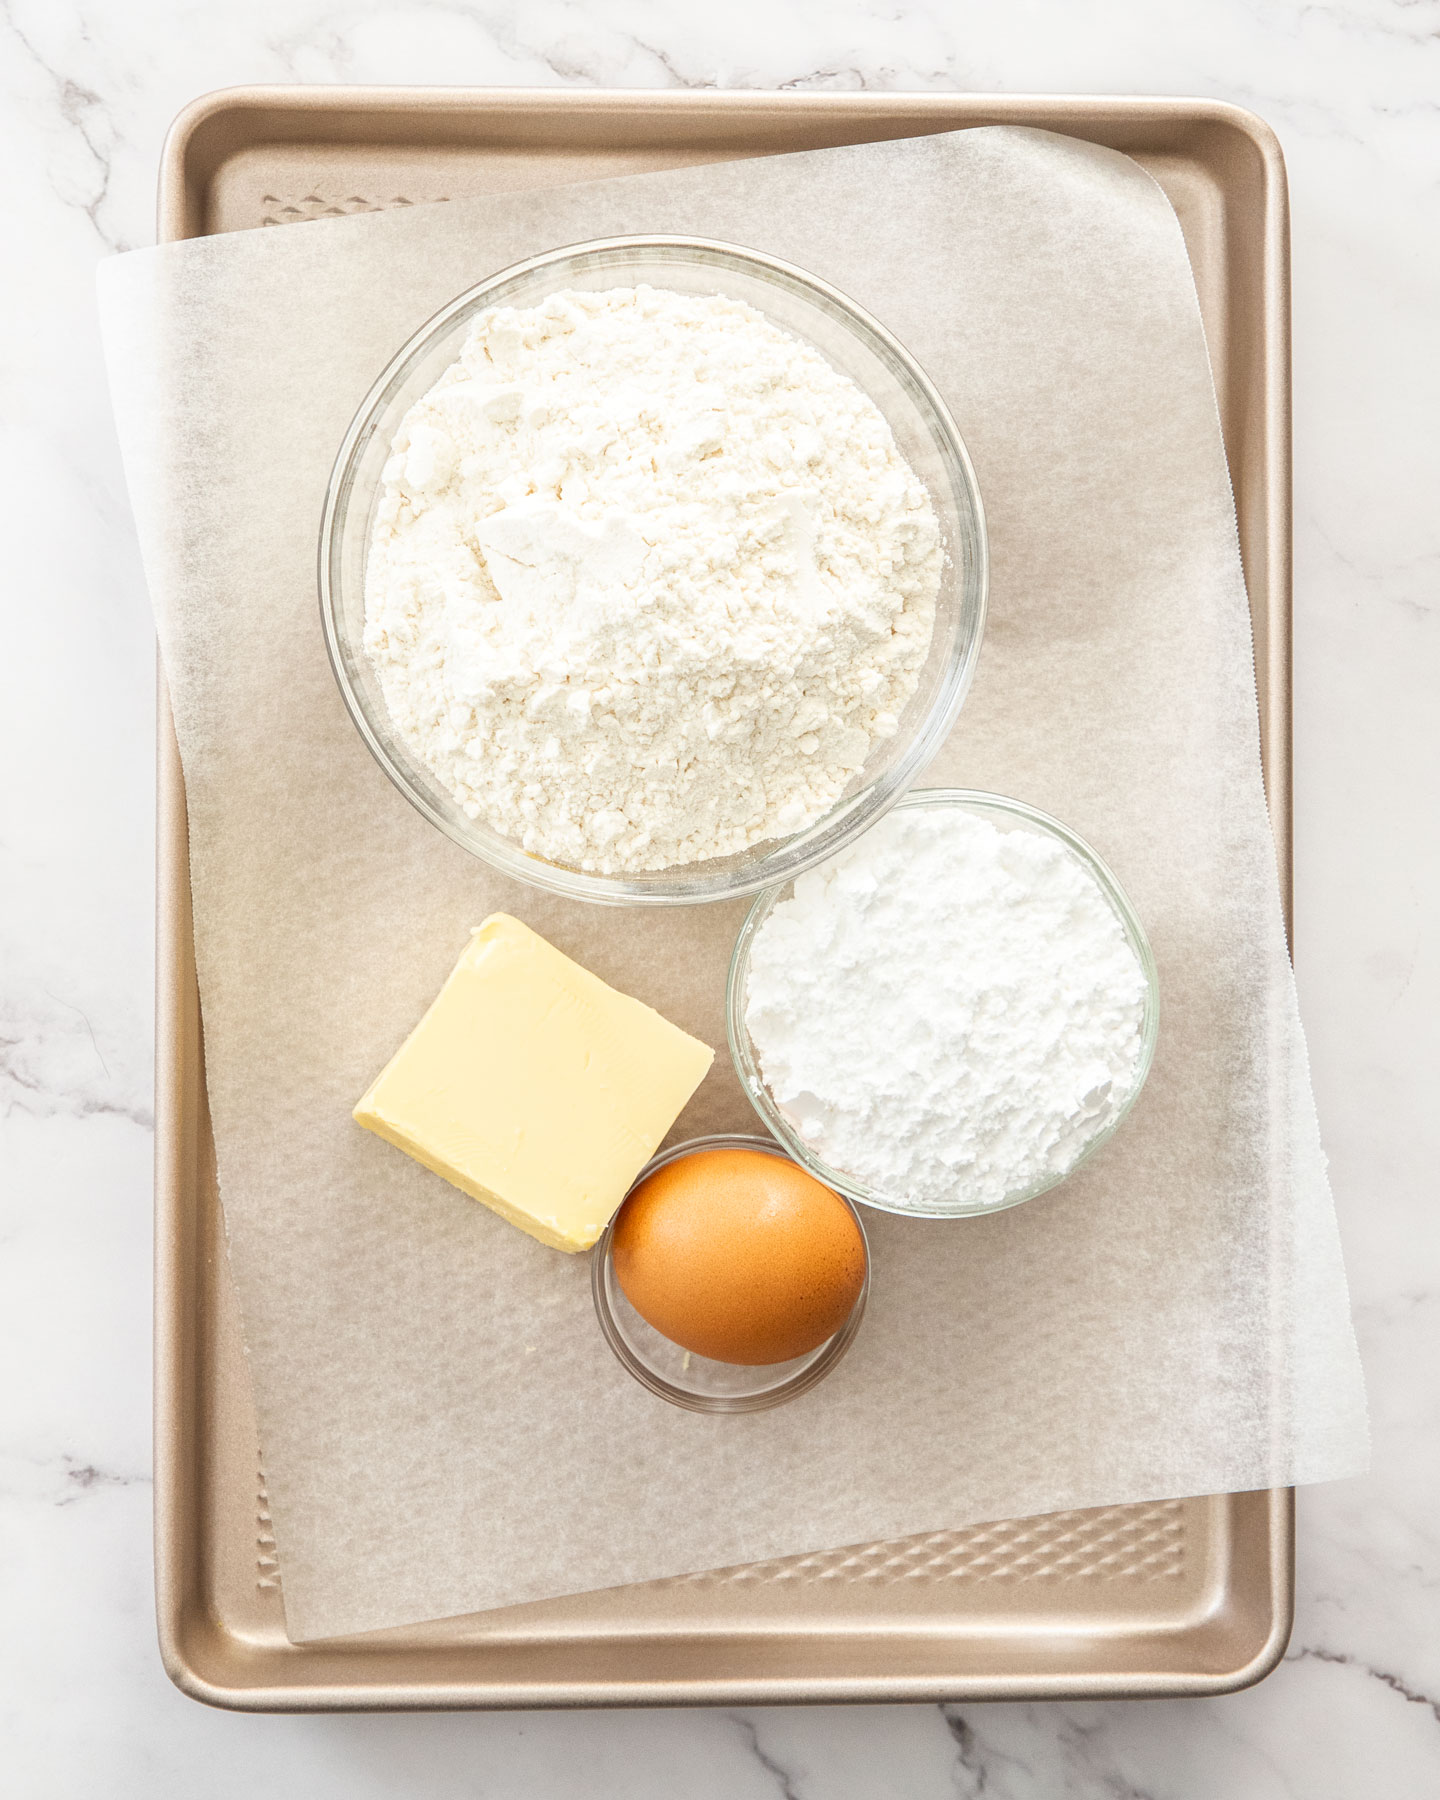
The beauty of this recipe lies in its simplicity. You need only four basic ingredients, and I bet you have them in your kitchen right now. Here is everything that goes into the sweet shortcrust pastry:
- 225 g (1 ¾ cups) plain flour / all purpose flour. The backbone of the dough, providing structure without making the shells tough.
- 60 g (½ cup) icing sugar / powdered sugar / confectioners sugar. It adds just a whisper of sweetness and helps create that delicate, melt in the mouth crumb.
- 100 g (7 tablespoons) unsalted butter, chilled and cubed. Cold butter is non negotiable. Those little pea sized bits create steam pockets in the oven, giving the shells their characteristic flaky crispness.
- 1 large cold egg. It binds everything together without adding extra moisture that would toughen the dough.
You can absolutely make the pastry by hand if you do not have a food processor, but I reach for mine every time because it keeps the butter perfectly cold and the dough comes together in under a minute.
If you are working by hand, rub the butter into the flour and sugar with your fingertips until it resembles coarse sand, then mix in the egg with a fork until clumps form.
How to make tartlet shells (step by step)
The process is wonderfully straightforward, and I will walk you through every step so you feel confident from the very first batch. Let me show you exactly how I make them at home.
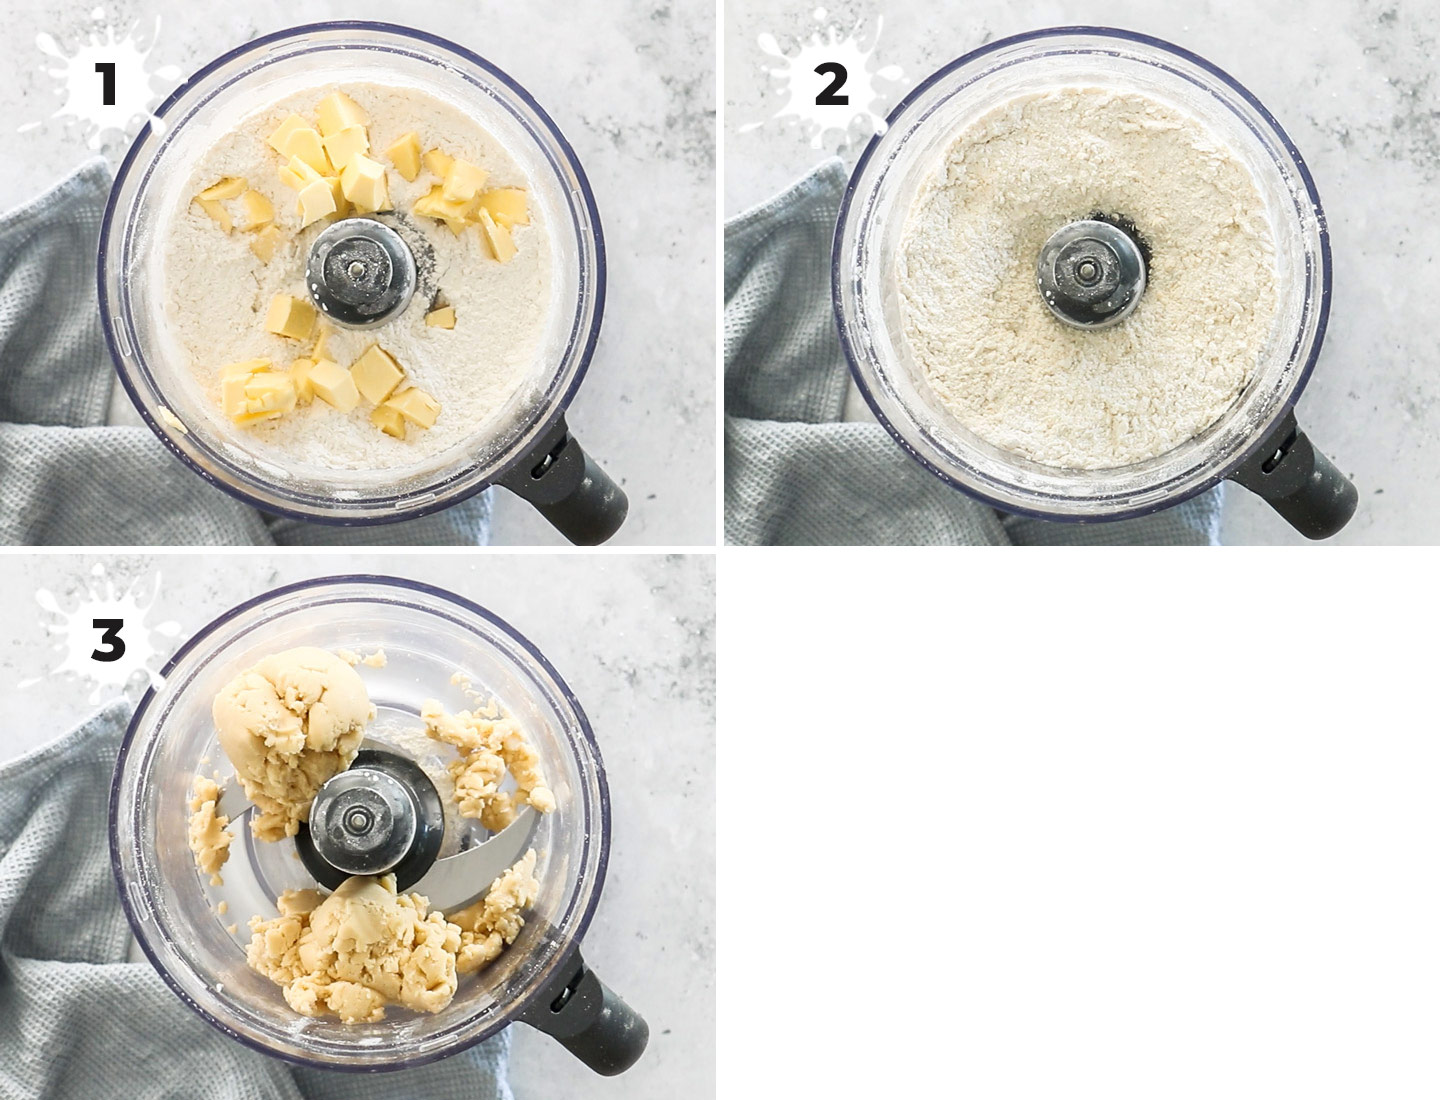
- Place the flour and icing sugar in the bowl of a food processor. Pulse a few seconds just to blend them evenly.
- Add the cold, cubed butter and blitz until the mixture looks like lumpy sand. Do not worry if you still see a few lentil sized pieces of butter; those are little pockets of flakiness waiting to happen.
- Crack in the cold egg and process on low speed only until the dough begins to come together in large, shaggy clumps. Stop the machine as soon as you see them.
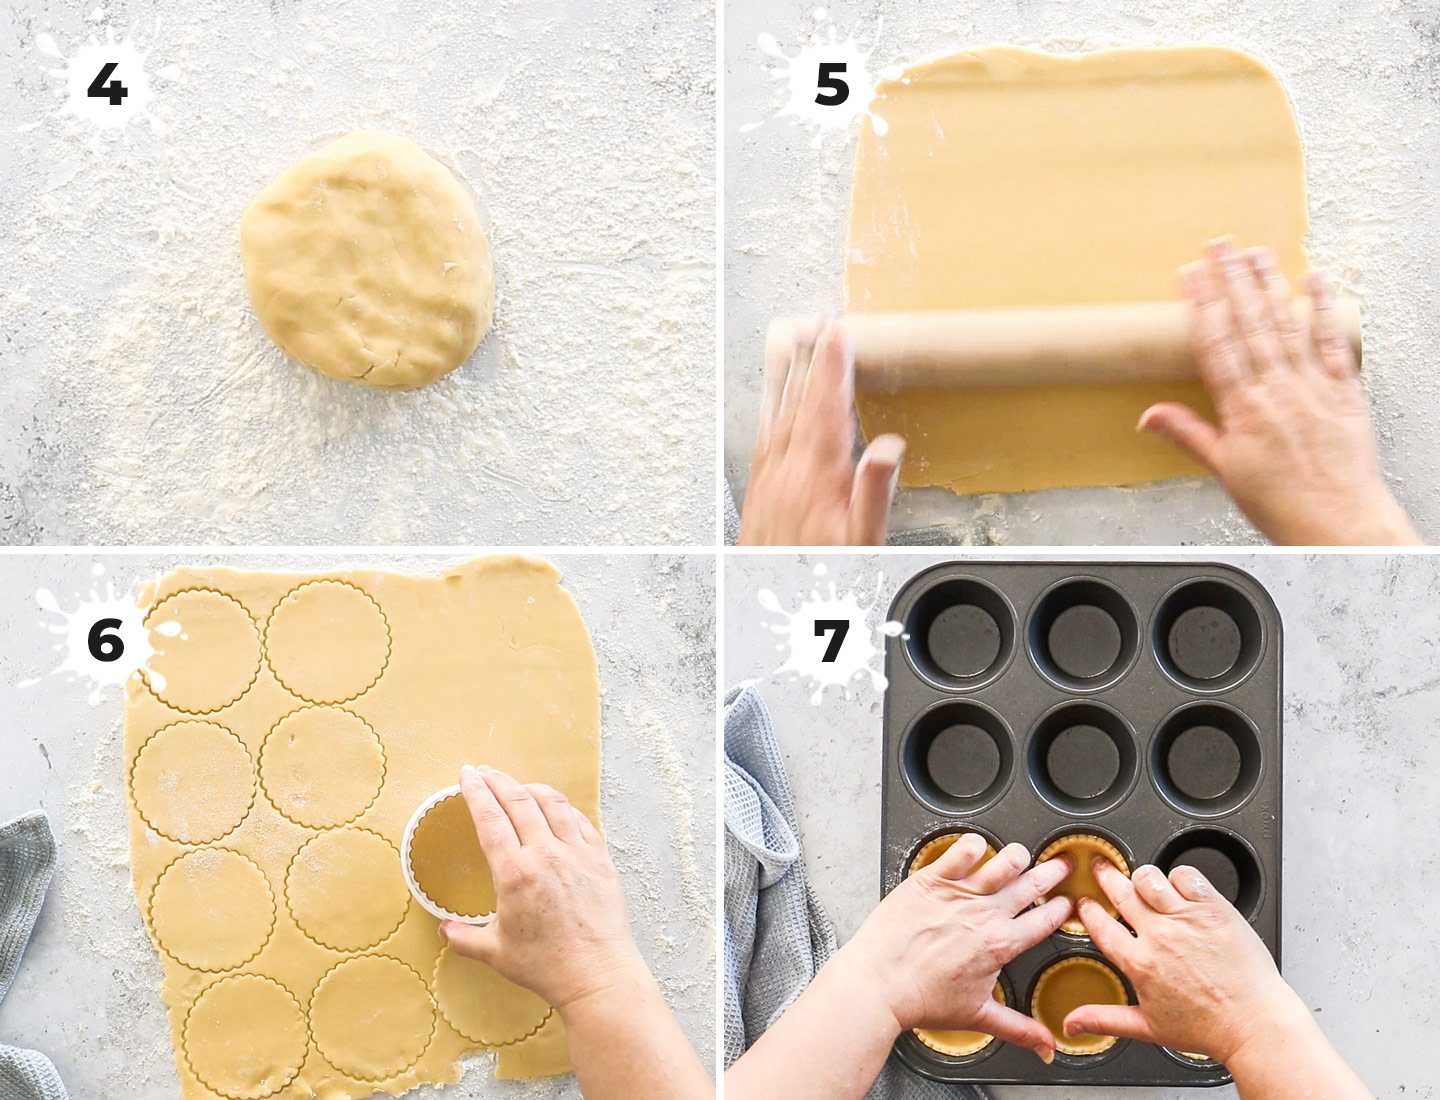
- Tip the dough out onto your work surface and quickly gather it into a smooth ball with your hands. Handle it as little as you can, then press it gently into a flat disk about 1 inch thick.
- Lightly flour your work surface and dust the top of the dough with a little flour too. Roll the pastry out gradually, turning it often to prevent sticking, until it is about 3 mm (⅛ inch) thick. Do not press too hard; let the rolling pin do the work.
- Have your 12 hole nonstick muffin tin close by. No need to grease it if your pan is truly nonstick, but a quick spritz of cooking spray never hurts for peace of mind.
- Using a fluted round cookie cutter about 9 cm (3 ½ inches) wide, cut out as many circles as you can, aiming for 12 from the first roll. Gather the scraps gently, re roll them once, and cut out at least 6 more circles. Remember, the less you work the dough, the more tender your shells will be.
- Slide an offset spatula under each circle so it does not stretch or tear. Press it softly into a muffin cup, then use the flat end of your rolling pin to press the dough evenly into the bottom corners. That flat end is a game changer for sharp, professional looking edges.
- Place the tin in the fridge and chill the shells for at least 2 hours. Overnight is even better because it relaxes the gluten and dramatically reduces shrinkage during baking.
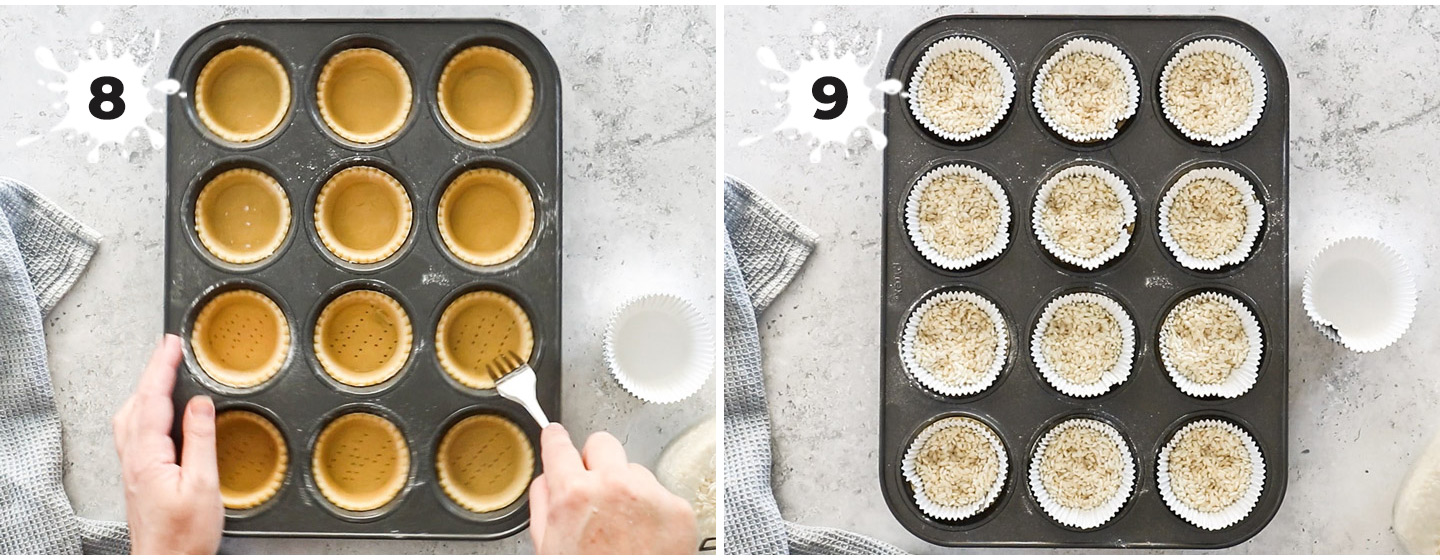
- Preheat your oven to 180 °C / 350 °F / 160 °C fan forced. Prick the base of each chilled shell a few times with a fork to let steam escape.
- Nestle a paper cupcake case into each shell and fill it with uncooked rice, dried beans, or ceramic pie weights. Press down lightly on the rice so the case sits snugly against the dough at the bottom.
- Bake for 15 minutes. Carefully lift out the cupcake cases and weights (I use tongs) and set them aside to cool.
- Now you have a choice: if your filling will be baked again (like a quiche or a custard), return the shells to the oven for another 2 to 3 minutes just until the bases are set and dry. If your filling will not see any oven time, bake the shells for a further 7 to 8 minutes until they turn a light golden brown all over.
- Remove the tin from the oven and let the tartlet shells cool inside for a couple of minutes before transferring them to a wire rack to cool completely. They firm up as they cool, so be gentle until they reach room temperature.
Tips and tricks
After making dozens of batches, I have gathered a few little secrets that make all the difference. Please do not skip the chilling time. Even when I am in a rush, I remind myself that a properly chilled dough will not slump or shrink in the oven. That two hour rest is the single biggest factor for picture perfect shells.
Keep everything cold from the butter to the egg, and even pop your mixing bowl in the fridge for a few minutes on a hot day. When you blind bake, paper cupcake cases and rice work like a charm and are reusable.
I keep a jar of dedicated rice just for baking. The rice does not cook; it simply holds the pastry in place.
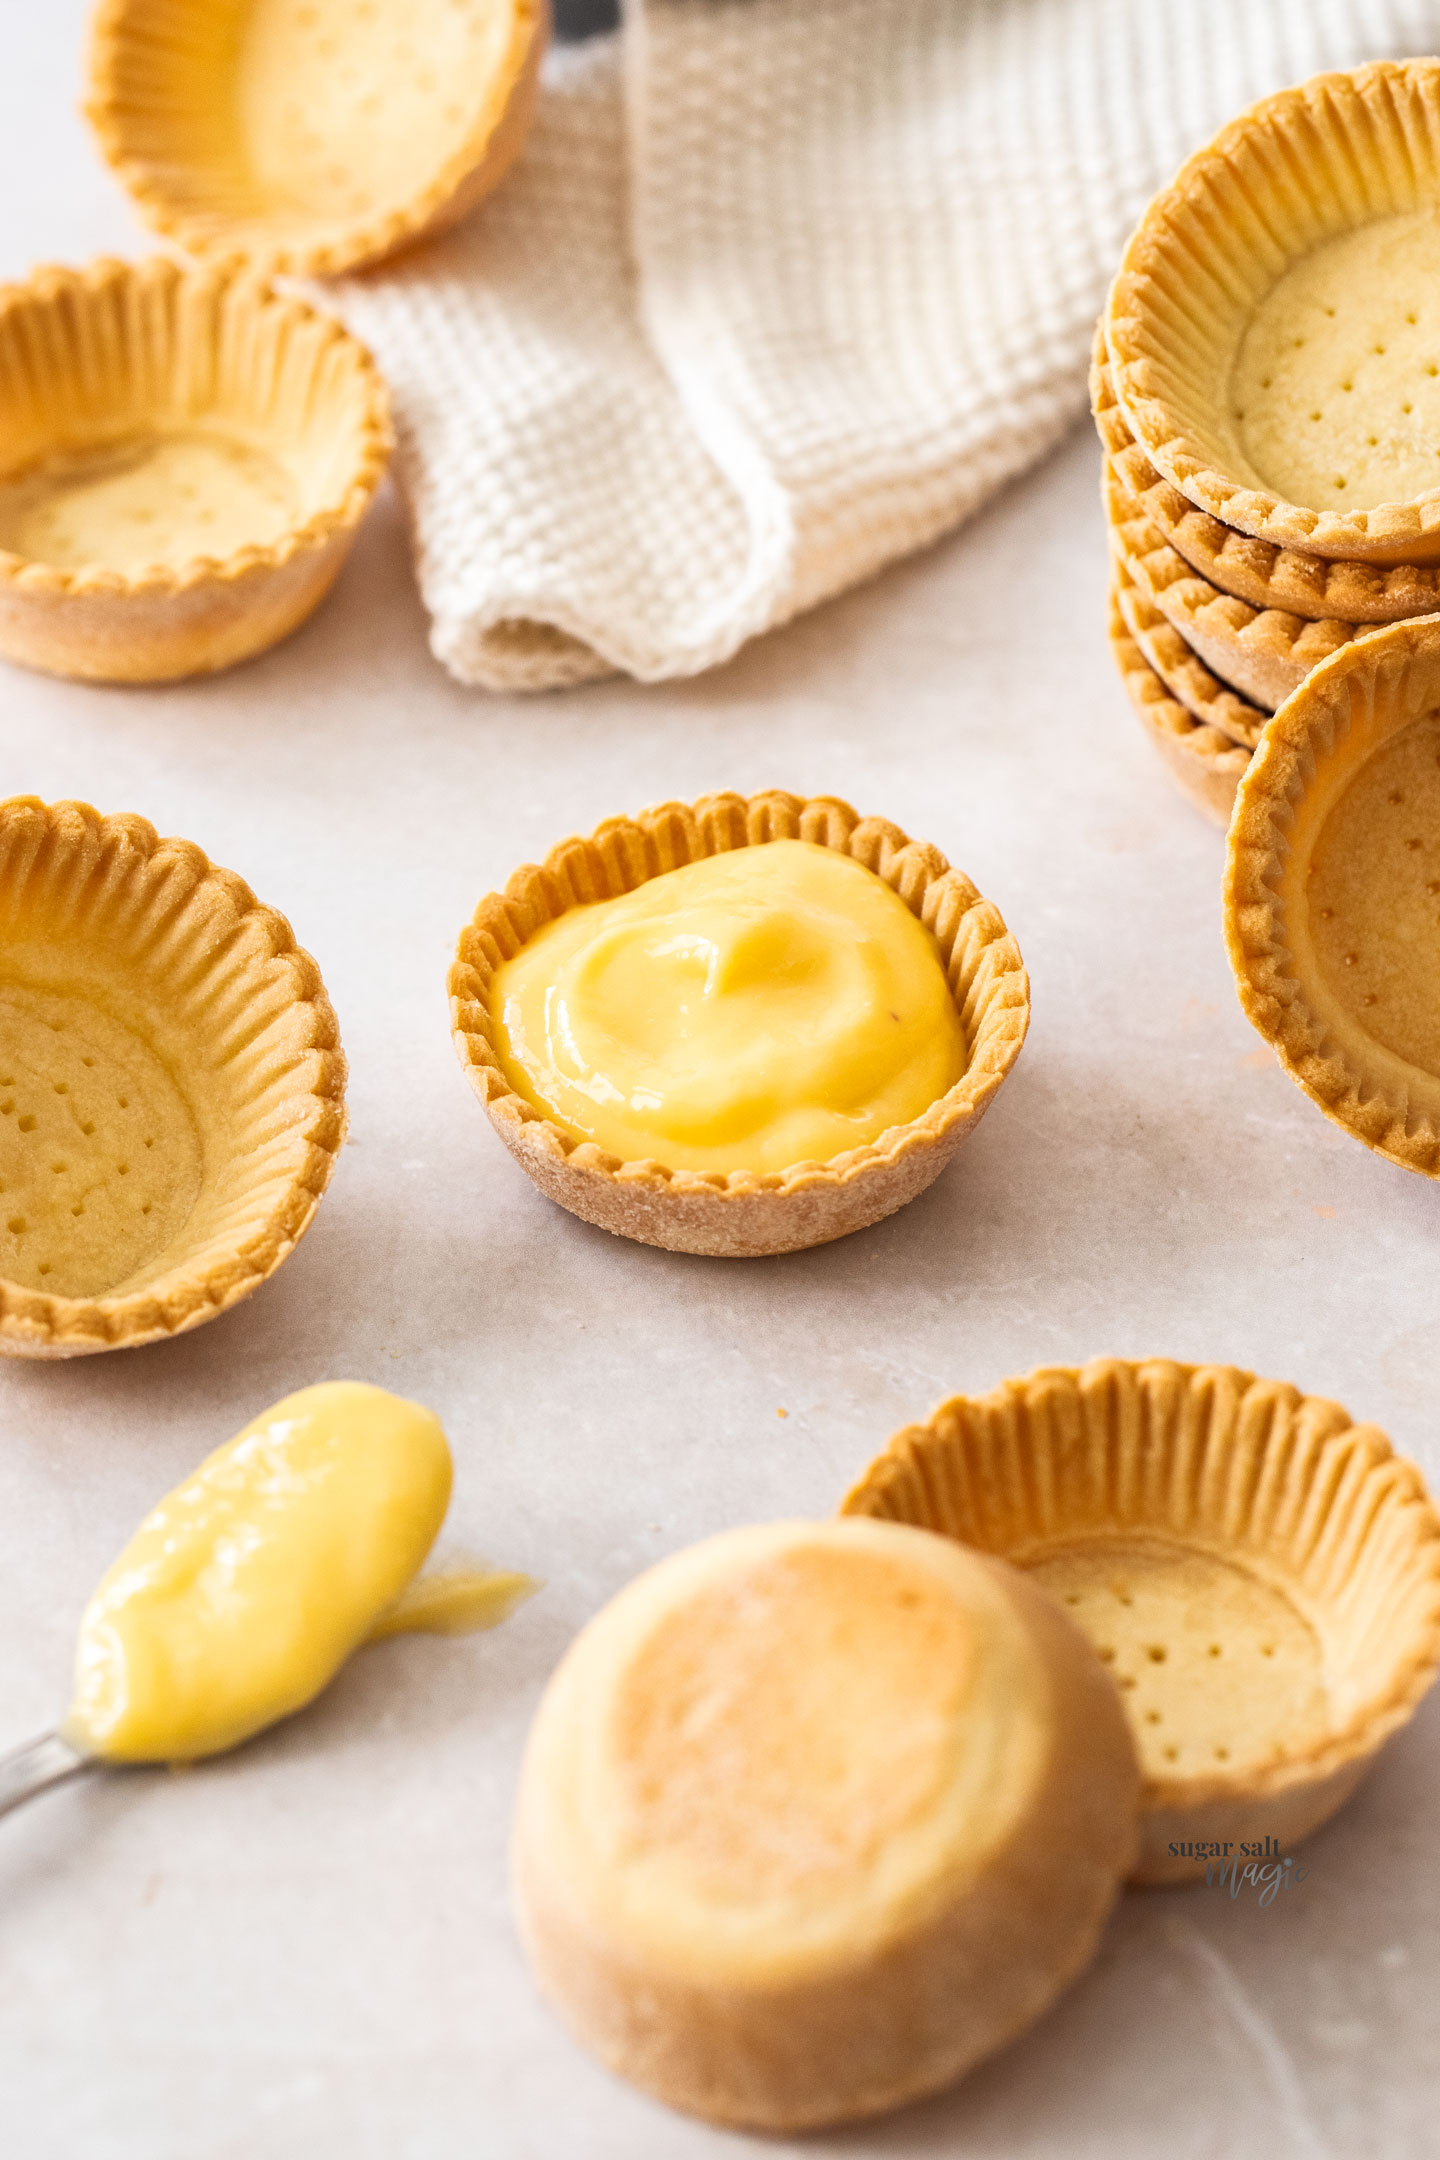
For extra sharp corners and a flat base, use the flat end of your rolling pin to press the dough right into the edge of each muffin cup. It feels almost like stamping, and the result is a neat corner every time.
Finally, lift the cut dough circles with an offset spatula, never your fingers, or they can stretch into ovals and no longer fit the tin properly.
Tartlet fillings
One of the greatest joys of keeping a stash of these shells in the freezer is dreaming up fillings on the spot. When guests are on their way or I simply want a fuss free dessert, I pull out a few frozen shells, let them thaw, and fill them with whatever I have on hand.
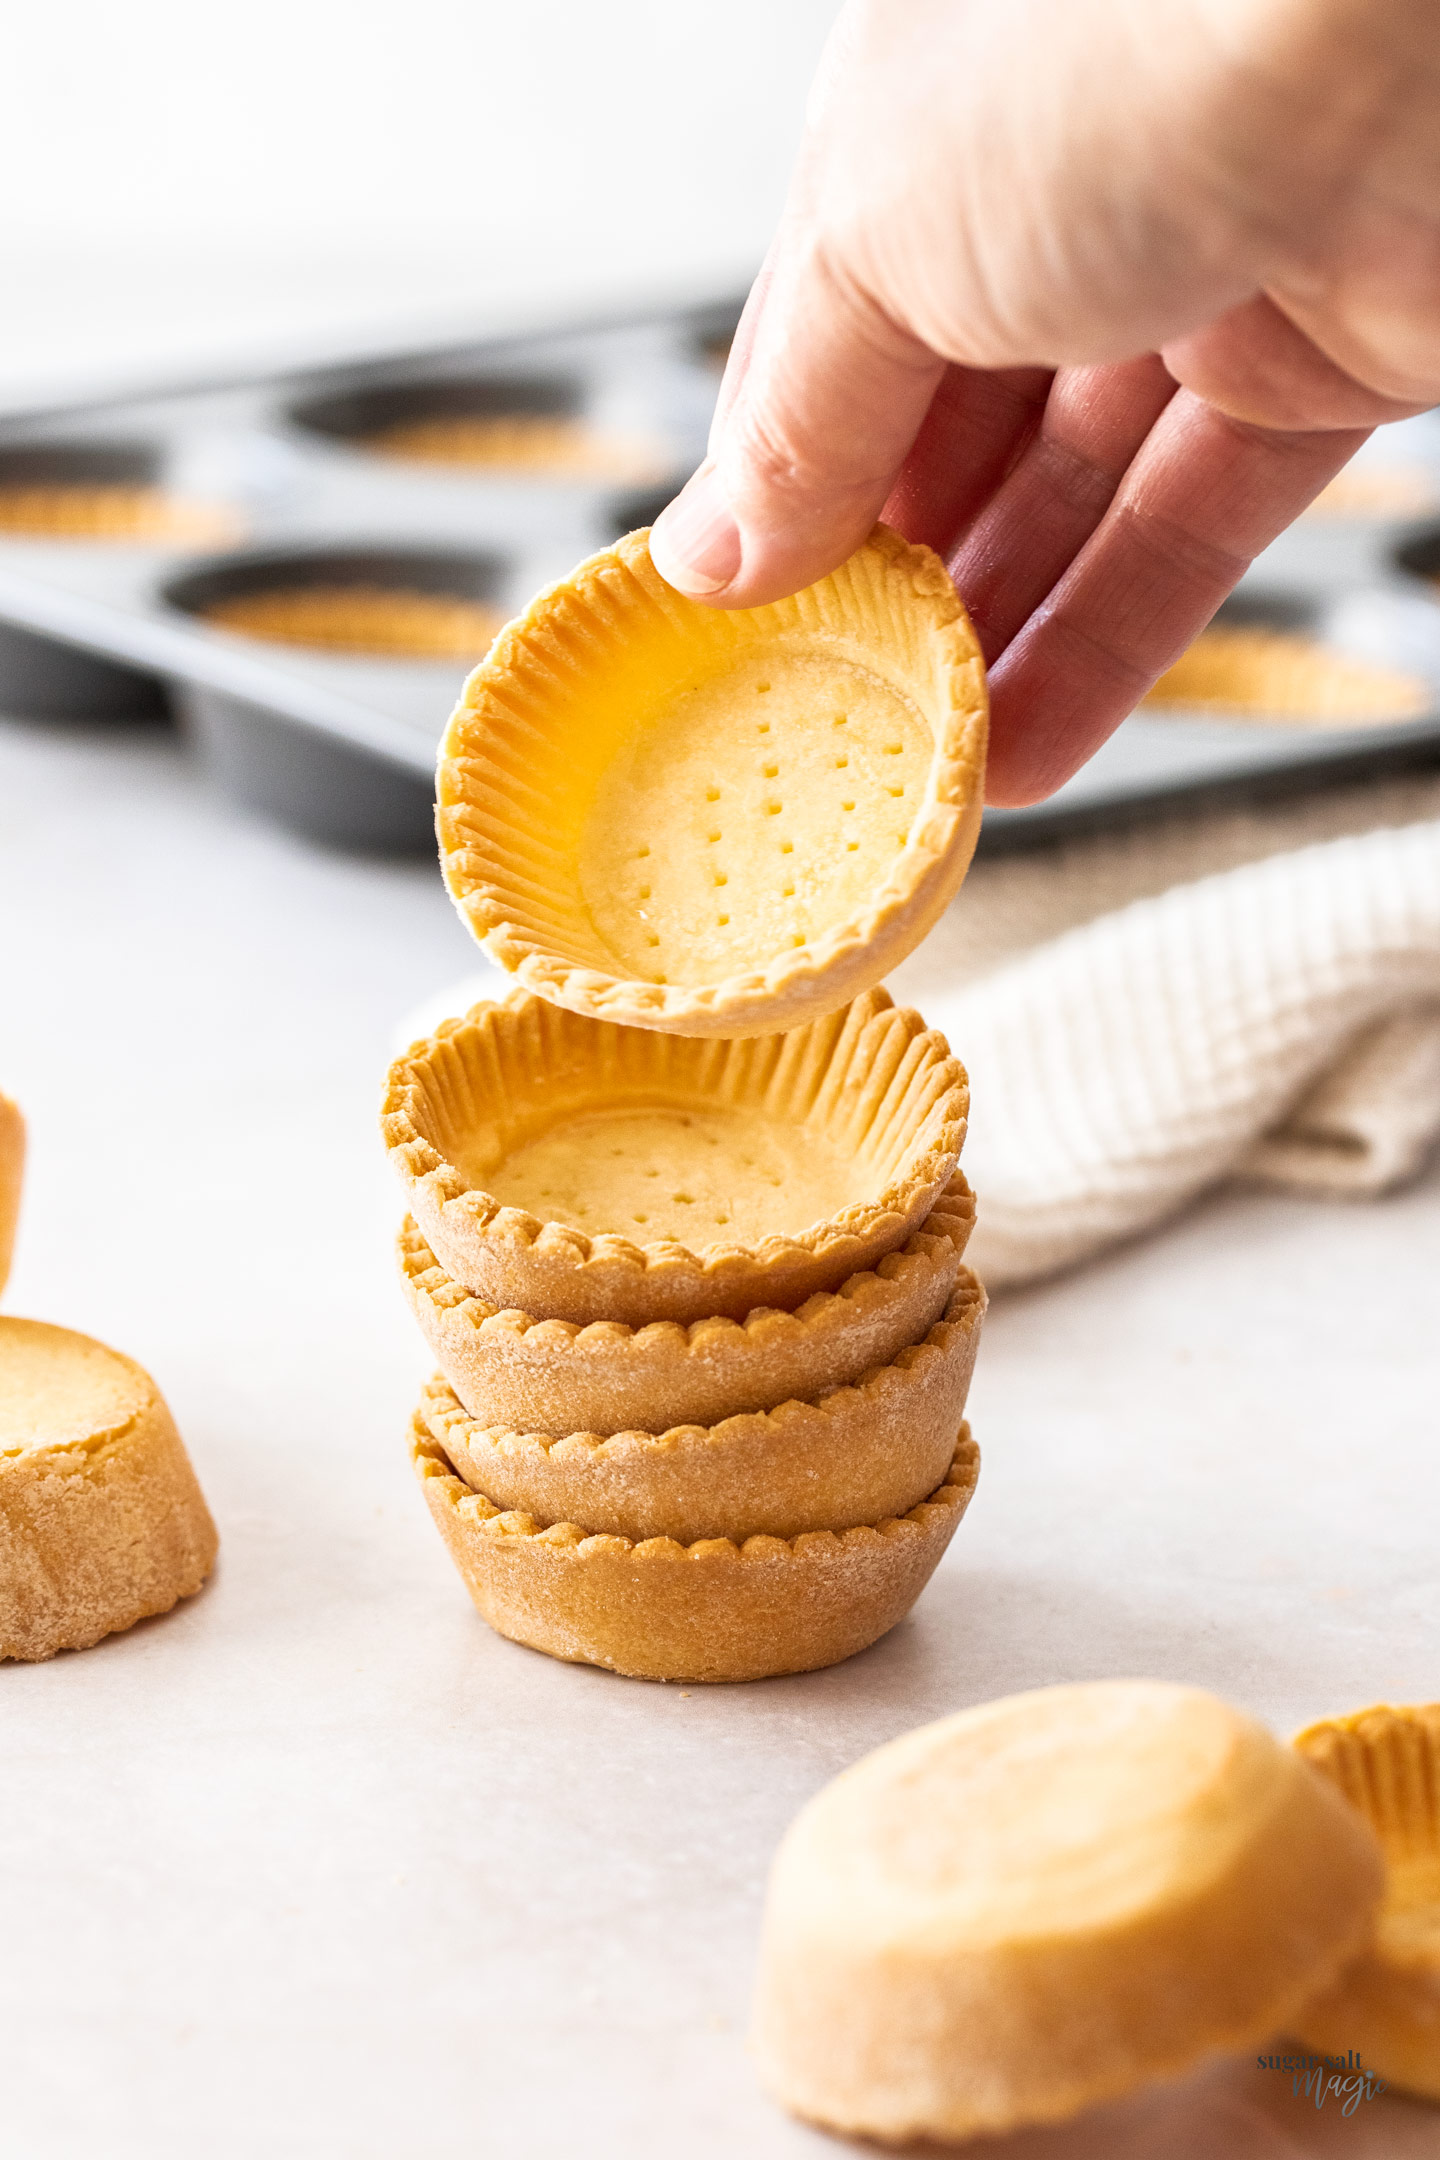
- Fruit curds: lemon curd, passionfruit curd, mango curd, orange curd, lime curd, blackberry curd, or pineapple curd. A small dollop topped with fresh berries looks gorgeous.
- Mousses: chocolate mousse, lemon curd mousse, raspberry mousse, Oreo mousse, or mango mousse. Light, airy, and always a crowd pleaser.
- Pastry creams: vanilla pastry cream or chocolate pastry cream, perhaps finished with a dusting of cocoa or a slice of strawberry.
- Ganache: caramel or chocolate ganache whisked until smooth and glossy, then poured into the cooled shells.
- Other favorites: tiramisu filling spooned into the shells and dusted with cocoa, or a layer of pistachio paste topped with a creamy no bake cheesecake or vanilla panna cotta.
The only limit is your imagination. I often set out a few bowls of different fillings and let everyone assemble their own at the table. It turns dessert into an activity and always sparks happy conversation.
Yield and storage
When you roll the pastry to that delicate 3 mm thickness, you can reliably expect 18 to 19 tartlet shells. That is enough for a small party or several days of treats tucked in the cookie jar.
Unbaked shells can be covered and stored in the refrigerator right in the tin for up to 3 days before baking. For longer storage, pop them in the freezer in a single layer, then transfer to a zip top bag.
They keep perfectly for up to 3 months. Bake them straight from frozen, adding a couple of extra minutes if needed.
Fully baked shells stay crisp in an airtight container at room temperature for about 7 to 10 days. I often bake a double batch on Sunday and enjoy them all week long.
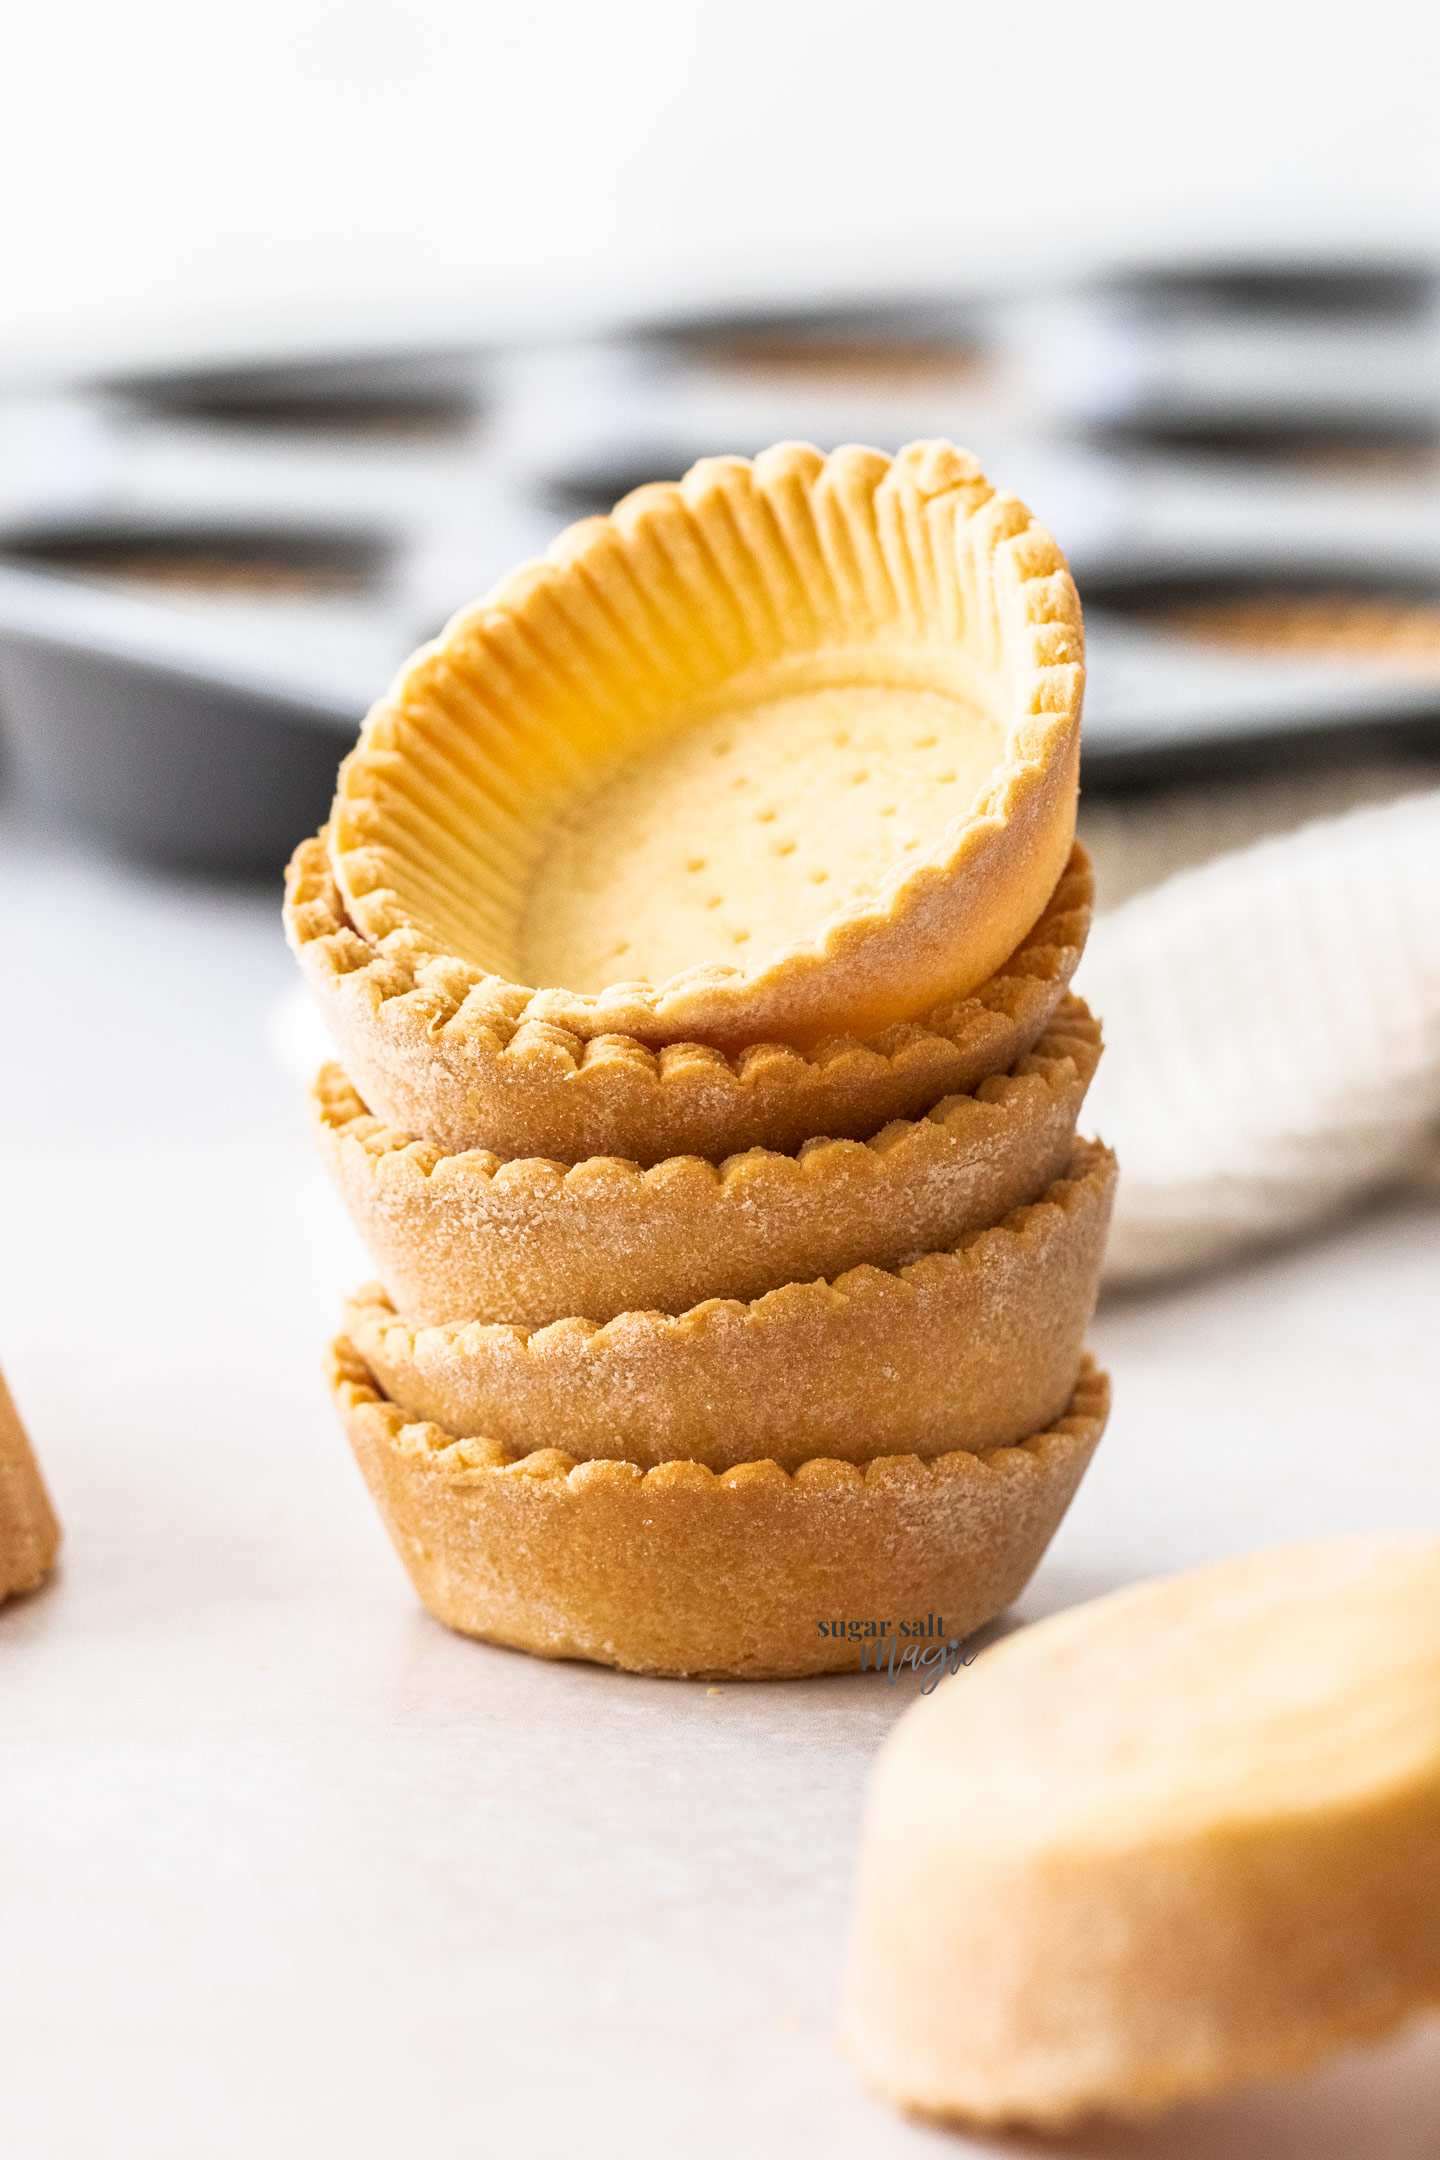
If you plan to fill and bake them later, the par baked shells (the ones baked just until the bases are set) can be refrigerated for 2 to 3 days or frozen for up to 3 months.
No matter how you store them, you are always just a few minutes away from an elegant, homemade dessert.
Inspired by the detailed method shared at Sugar Salt Magic.
FAQs
What is tartlet dough made of?
How long should tartlet shells chill before baking?
Can I make savory tartlet shells with this recipe?
How do I store or make ahead tartlet shells?
Tartlet Shells
What Is Tartlet Shells? I still remember the first time I made these miniature tart shells for a backyard get together with friends.
- Total Time: 160 min
- Yield: 19 tart shells 1x
Ingredients
225 g plain flour, all-purpose flour (1 ¾ cups / 8oz)
60 g icing sugar, powdered sugar / confectioners sugar (½ cup / 2oz)
100 g unsalted butter, chilled & cubed (7 tablespoons / 3.5oz)
1 large egg, cold
Instructions
1-Place the flour and icing sugar in: Place the flour and icing sugar in the bowl of a food processor. Process a few seconds to distribute evenly.
2-Add the cubed cold butter and blitz: Add the cubed cold butter and blitz until the mixture looks a bit like sand – there may be lentil-sized pieces of butter left here and there and that’s perfect.
3-Add the egg and process on low: Add the egg and process on low until the mixture starts forming large clumps.
4-Turn the dough out and pull it: Turn the dough out and pull it together into a smooth ball with your hands (making sure not to handle it too much) then press it out into a 1-inch thick disk.
5-Place it onto a lightly floured work: Place it onto a lightly floured work surface and dust the top with just a little flour too. Gently and gradually roll the pastry out, turning it often, to about 3mm (1/8 inch) thick.
6-Have a non-stick 12 hole muffin tin: Have a non-stick 12 hole muffin tin at the ready.
7-Using a circle cookie cutter 9cm/3 ½: Using a circle cookie cutter 9cm/3 ½ in wide (or just a little larger than the opening of the muffin tin holes), cut out circles of dough. Try to get 12 from the first roll, and at least 6 from a second roll out. Try to handle the dough only enough to bring back into a disk for the second roll.
8-Lift with an offset spatula so they: Lift with an offset spatula so they don’t become misshapen and gently push each down into the muffin tin holes, gently pressing into the corners (if your rolling pin has a flat end like mine, it’s perfect for getting them flat to the bottom with a nice corner). Chill 2 hours or overnight (don’t skip chilling).
9-Preheat oven to 180C / 350F /: Preheat oven to 180C / 350F / 160C fan forced.
10-Prick the bases of the tartlet shells: Prick the bases of the tartlet shells a few times with a fork. Place a cupcake case or piece of baking paper into each, pressing it to the pastry at the bottom, and fill with rice (or pie weights). Press down lightly on the rice to settle the cases into the tart shell.
11-Transfer to the preheated oven and bake: Transfer to the preheated oven and bake for 15 minutes then remove the cupcake cases and bake a further;
12-If the filling will be baked, bake: If the filling will be baked, bake the tartlet shells a further 2-3 minutes, just to set the bases.
13-If the filling won’t be baked, bake: If the filling won’t be baked, bake the tartlet shells a further 7-8 minutes until golden brown.
14-Carefully remove the mini tart shells from: Carefully remove the mini tart shells from the tins and transfer to a wire rack to cool.
Last Step:
Please leave a rating and comment letting us know how you liked this recipe! This helps our business to thrive and continue providing free, high-quality recipes for you.- Prep Time: 20 min
- Cook Time: 20 min
- Method: bake
Nutrition
- Serving Size: 1 tart shell
- Calories: 97
- Sugar: 3
- Sodium: 5
- Fat: 5
- Saturated Fat: 3
- Carbohydrates: 12
- Fiber: 0.3
- Protein: 2
- Cholesterol: 21