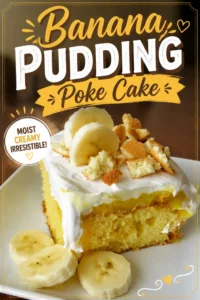
Banana Pudding Poke Cake
If you have ever stood in the kitchen wondering what to bring to a summer cookout, this banana pudding poke cake is the answer I keep coming back to.

It is sweet, rich and cool, and it tastes like the banana pudding so many of us grew up with, only in cake form.
My husband is a banana pudding person through and through, and at our last family cookout he finished his first slice before I even sat down with mine. My family loved this dessert, and it was so simple to throw together.
Here is the part that still makes me smile. It looks fancy when it is finished, with that creamy pudding layer and a soft cloud of whipped topping, but it is honestly one of the easiest desserts I make.
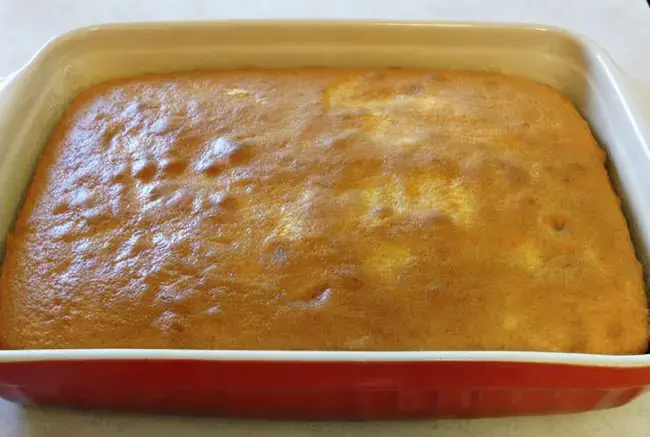
Everything starts with a box of yellow cake mix, so there is no tricky cake technique to worry about. You bake the cake, you poke it, you pour pudding over it, and you chill it. That is really the whole story.
This idea has been all over the internet for years, and I can see why. It is the kind of dessert that fits almost any occasion.
It shows up at church potlucks, birthday tables, Sunday dinners and summer picnics, and it never lasts long once people find it in the fridge. The original recipe calls it sweet, rich and cool, and that is exactly right.
Every bite gives you soft cake soaked with banana pudding, a cool whipped topping, and just enough cookie crunch to keep things interesting.
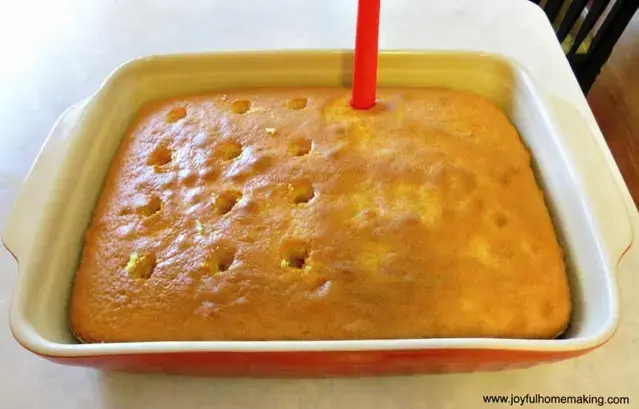
If you have never made a poke cake before, the name tells you almost everything you need to know. After the cake cools, you poke holes all over it down to the bottom, then pour the pudding mixture over the top and let it sink into all those little pockets.
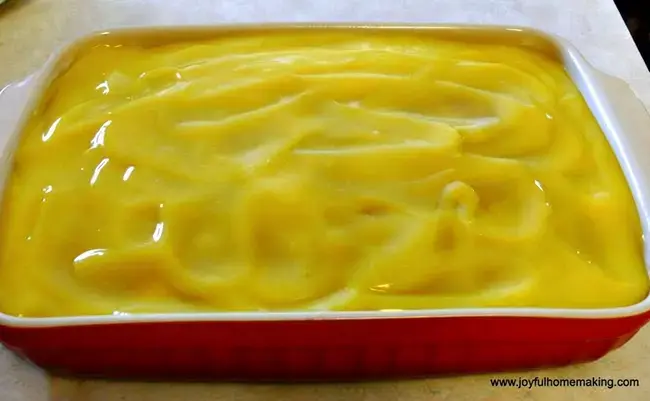
The cake drinks up the pudding, so it stays moist and creamy instead of dry. It is a very forgiving dessert, which is one reason I keep reaching for it when I am short on time and still want something that feels special.
I love it most in the summertime. It is cold, creamy and refreshing, and you can make it earlier in the day so dessert is ready the moment dinner is over.
The original recipe notes that it is especially great for summer, and I agree completely. It also pairs nicely with lighter meals, so a cookout with grilled chicken or burgers and a slice of this cake at the end feels just about perfect.
If you enjoy the banana and vanilla wafer combination as much as my family does, there is another treat worth keeping in mind, a banana and vanilla wafer ice cream trifle. It uses that same beloved flavor pairing in a different form, and it is a lovely option when you want something cold and layered without turning on the oven.
Jump to:
- Banana Pudding Poke Cake
- Need Help Getting Dinner On The Table???
- Ingredients
- Instructions
- Recipe details
- FAQs
- What is the difference between instant pudding and cook-and-serve pudding for this cake?
- How long should banana pudding poke cake chill?
- Why did my banana pudding poke cake turn out soggy?
- Can you use fresh bananas in banana pudding poke cake?
- Banana Pudding Poke Cake
- Ingredients
- Instructions
- Last Step:
- Did you make this recipe?
Need Help Getting Dinner On The Table???
If the late afternoons get busy at your house the way they do at mine, there is a little freebie that may help. It is a set of 30 quick and family friendly dinners, and it comes with a ready made grocery list, so you can plan the week without the guesswork.
Ingredients
Here is everything you need for this cake. It is a short list, which is another reason I love it so much.
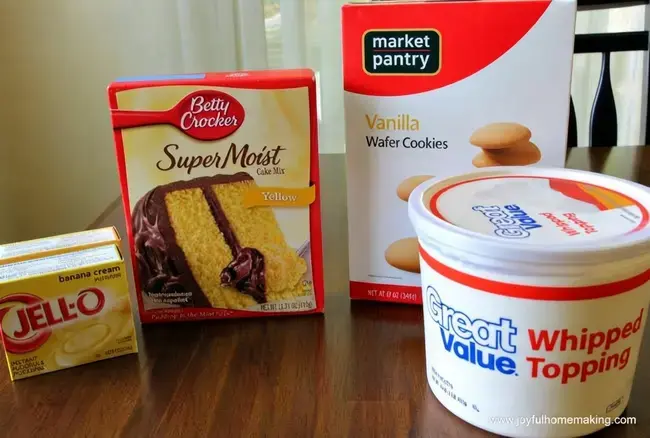
- 1 box yellow cake mix
- 2 boxes instant banana pudding, 3.4 oz. size
- 4 cups milk
- 1 container Cool Whip, 8 oz. size
- 1 to 2 cups vanilla wafers
- Bananas, optional
A few notes from my own kitchen. Reach for instant banana pudding, the kind you whisk together with cold milk, because it sets up the way you want it to over the cake.
The yellow cake mix is the base, and you will bake it according to the directions on the box, so keep whatever that box calls for on hand.
For the vanilla wafers, I usually land closer to 2 cups because my family likes a good cookie crumble on every serving. Start with 1 cup and add more if you want extra crunch.
The bananas are optional, and I will be honest, I treat them that way on purpose. More on that below, because there is a small trick that keeps them from turning brown and unappealing before the cake is gone.
Instructions
This dessert comes together in a few simple stages. Read through them once before you start, and the whole thing will feel easy.
- Bake the cake. Make and bake the cake according to the directions on the box. Let it cool completely before you poke it, because warm cake will tear and crumble.
- Poke the holes. After the cake has cooled, use a wooden spoon handle or another similar size utensil, and poke holes all over the cake down to the bottom. Do not be shy here. The more holes you make, the more pudding sinks in, and that is exactly what you want. I go across the whole pan in rows, then add a few extra pokes in the middle where the cake is thickest.
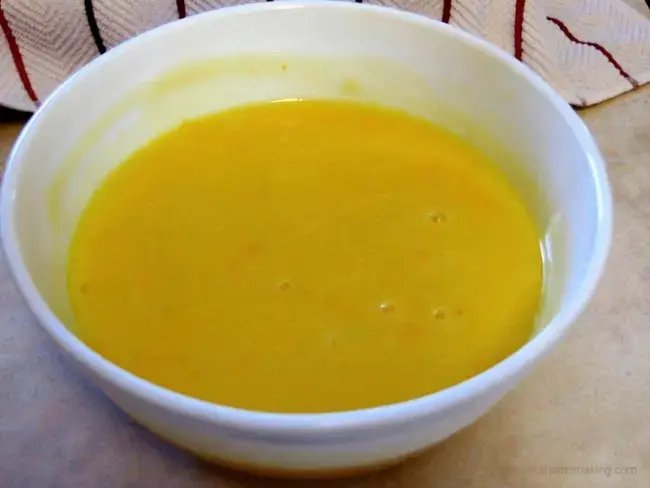
- Pour the pudding over the cake. Mix the pudding powder with the milk, then pour it over the cake. Use a spoon to work it down into the holes. I pour slowly, let it sit for a minute, then gently nudge the pudding toward the holes with the back of a spoon. You are not trying to be neat. You just want that pudding in the pockets.
- Chill the cake. Put the cake in the fridge for at least a couple of hours. This is the step that makes it taste like a real banana pudding dessert instead of cake with pudding on top, so give it the time it needs.
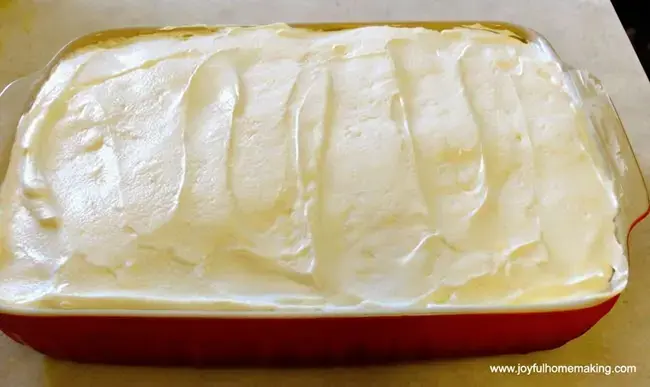
- Add the whipped topping. Spread the whipped topping over the pudding layer, then chill again if desired. I will admit that I skipped this second chill more than once. If you are short on time or your cake is already cold, spreading the topping and serving shortly after works fine for me.
- Crush the vanilla wafers. Crush your vanilla wafers in a ziploc bag. A rolling pin or the bottom of a heavy glass does the job quickly, and the bag keeps the mess contained. I like some pieces small and some a little bigger for texture.
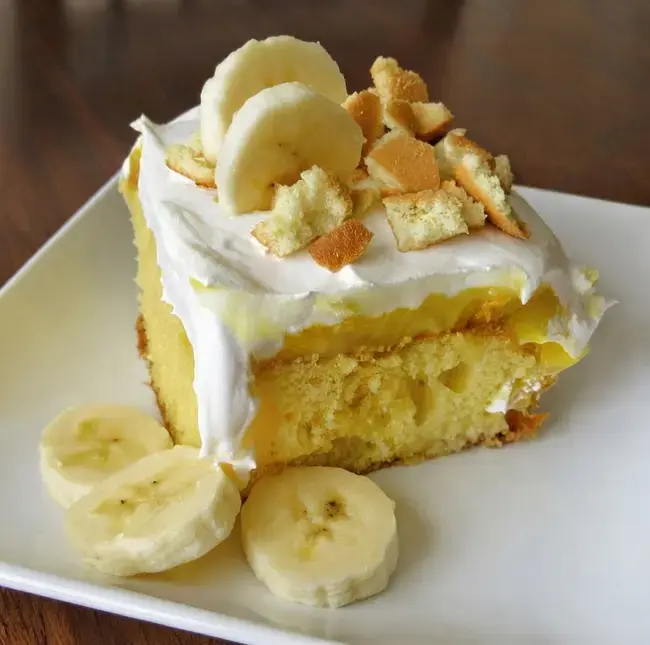
- Top each serving. Some people spread the crumbles all over the whole cake. I do it differently. Since I knew we would not be eating the cake all at once, I did not want the cookie crumbles to get soggy, so I only put them on as I served individual pieces, and I did the same with the banana slices.
That last step is the one people ask me about the most, so let me explain it a little more.
Some people spread the crumbles all over the entire cake, and if you are serving a crowd that will finish the pan in one sitting, that works beautifully.
I knew we would not be eating our cake all at once, so I did not want the cookie crumbles to get soggy. Instead, I only added them as I served individual pieces.
I did the same with the banana slices, because bananas sitting on top of a creamy dessert turn brown and unappealing much faster than anyone wants. Adding them at the moment of serving keeps everything looking and tasting its best.
That small habit changed the way I make this dessert. It takes about a minute at the table, and it means the second and third servings look as good as the first.
If you are packing slices for a potluck or a church supper, keep the crumbles and the banana slices in a small container and add them right before people eat.
Keep the vanilla wafer crumbles and banana slices for individual servings. The cake stays creamy, the wafers stay crisp, and the bananas stay pretty.
Recipe details
Here is the quick rundown so you can plan your day around it.
| Detail | Amount |
|---|---|
| Prep time | 20 minutes |
| Cook time | 30 minutes |
| Total time | 50 minutes |
| Serving size | 6 to 8 |
The total time of 50 minutes covers the prep and the baking, and then the cake still needs at least a couple of hours in the fridge to chill.
I usually bake mine in the morning and let it chill through the afternoon, so it is ready when we sit down for dinner.
Because the pudding layer and the whipped topping need to stay cold, I keep the cake covered in the refrigerator between servings.
This recipe makes 6 to 8 servings, which is a comfortable fit for a family dinner with a few slices left over, or a small gathering where everyone wants a second helping. When you top only the pieces you serve, the rest of the cake stays neat and creamy for the next round.
So why not give this banana pudding poke cake a try at your next cookout, potluck or Sunday dinner? It is simple, it is cool and creamy, and it looks like you spent far more time on it than you did. Hope you enjoy it as much as we do.
FAQs
What is the difference between instant pudding and cook-and-serve pudding for this cake?
How long should banana pudding poke cake chill?
Why did my banana pudding poke cake turn out soggy?
Can you use fresh bananas in banana pudding poke cake?
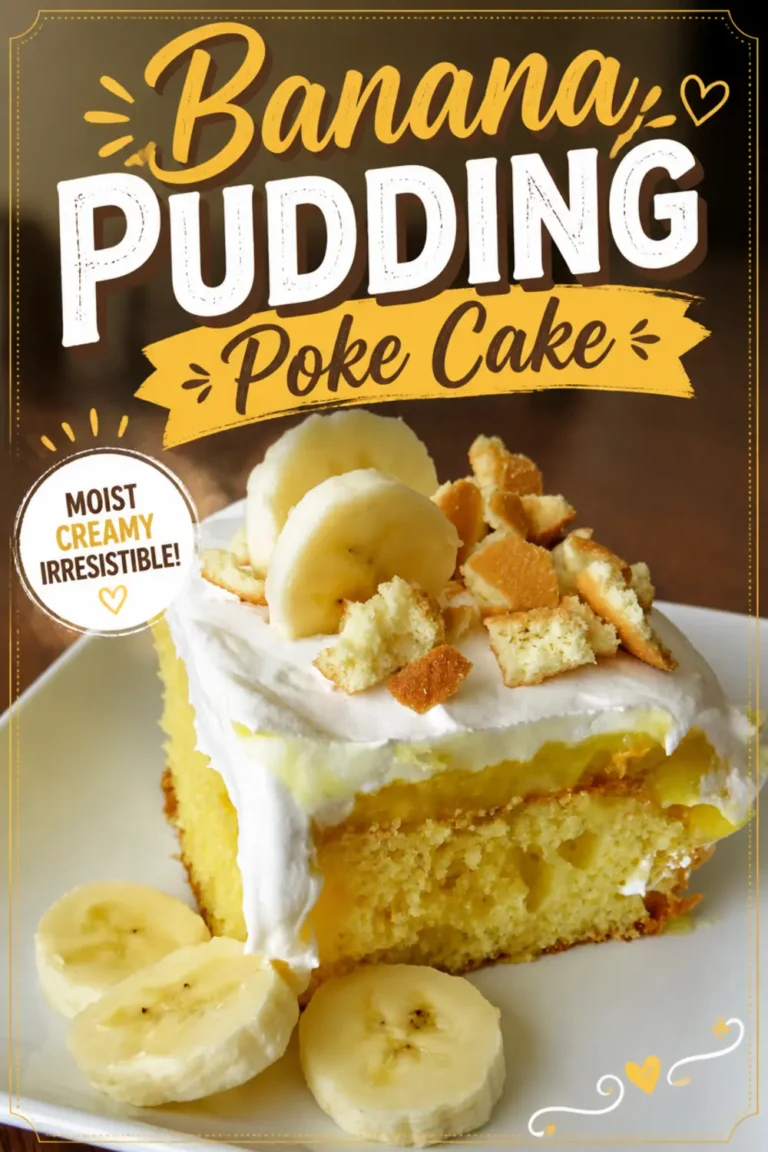
Banana Pudding Poke Cake
Banana Pudding Poke Cake If you have ever stood in the kitchen wondering what to bring to a summer cookout, this banana pudding poke cake is the answer I keep coming back to. It is sweet, rich and cool, and it tastes like the banana pudding so many of us grew up with, only in cake form.
- Total Time: 50 min
- Yield: 6-8 1x
Ingredients
Ingredients
1 box yellow cake mix
2 boxes instant banana pudding, 3.4 oz. size
4 cups milk
1 container cool whip, 8 oz. size
1 to 2 cups vanilla wafers
bananas
Instructions
Instructions
1-Make and bake the cake according to: Make and bake the cake according to the directions on the box.
2-After the cake has cooled, use a: After the cake has cooled, use a wooden spoon handle (or other similar size utensil), and poke holes all over the cake down to the bottom.
3-Then mix the pudding powder with the: Then mix the pudding powder with the milk and pour over the cake, using a spoon to work it down into the holes.
4-Chill in the fridge for at least: Chill in the fridge for at least a couple of hours.
5-Then spread the whipped topping over the: Then spread the whipped topping over the pudding layer and chill again if desired.
6-Crush your vanilla wafers in a ziploc: Crush your vanilla wafers in a ziploc bag.
7-Now some spread the crumbles all over: Now some spread the crumbles all over the cake, but since I knew we wouldn’t be eating the cake all at once, I didn’t want the cookie crumbles to get soggy, so I only put them on as I served individual pieces, and I did the same with the banana slices.
Last Step:
Please leave a rating and comment letting us know how you liked this recipe! This helps our business to thrive and continue providing free, high-quality recipes for you.- Prep Time: 20 min
- Cook Time: 30 min
- Method: bake