What Is Campfire Bread on Stick?
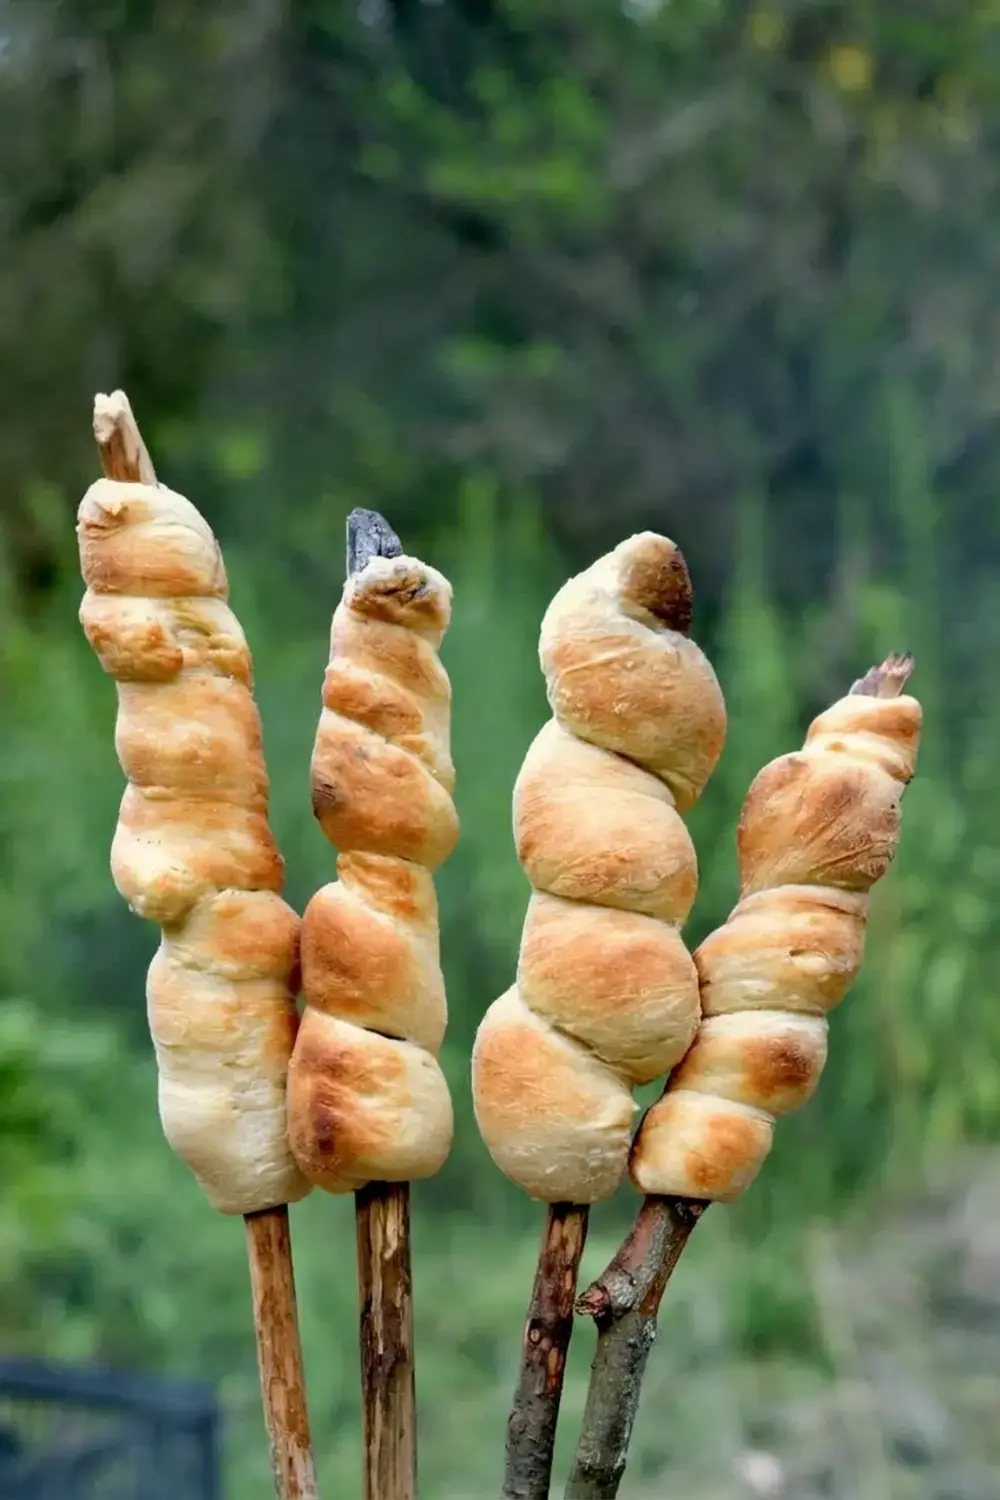
Campfire Bread on Stick is a simple yeast dough twisted around a long skewer and baked slowly over hot embers. The bread is often associated with Scandinavian snobrød and similar outdoor stickbreads. It turns six everyday ingredients into a warm camping snack with a browned crust and a fluffy center.

The recipe is especially approachable because the dough does not need kneading. Mix it, let it rise, divide it, and wrap each portion around a suitable stick or reusable metal roasting fork. Cooking over embers instead of flames gives the center time to bake before the outside burns.
Jump to:
- What Is Campfire Bread on Stick?
- Campfire Bread on Stick Ingredients
- How to Make Campfire Bread on Stick
- Safe Sticks and Better Embers
- Choose a safe support
- Cook with steady heat
- Tips, Serving, and Make-Ahead Prep
- Campfire Bread on Stick FAQs
- Does Campfire Bread on Stick need kneading?
- What part of the fire is best for stickbread?
- What kind of stick is safe for campfire bread?
- Can the dry ingredients be mixed before camping?
Campfire Bread on Stick Ingredients
- 1 teaspoon dried yeast
- 1 teaspoon sugar
- 2 1/2 cups flour
- 7/8 cup warm water
- 2 tablespoons olive oil
- 1 teaspoon salt
The warm water supports the yeast, while the small amount of sugar helps begin the rise. Olive oil keeps the dough supple enough to stretch into long strips. Flour and salt provide the basic bread structure and flavor.
Measure the ingredients before leaving home when possible. You can combine the dry ingredients for same-day use, but the source suggests keeping the yeast separate for longer storage. Do not taste raw dough. The FDA notes that flour is a raw food and should be cooked before eating.
How to Make Campfire Bread on Stick
- Mix the dough. Put all six ingredients in a large bowl and mix until a moist dough forms. No kneading is required.
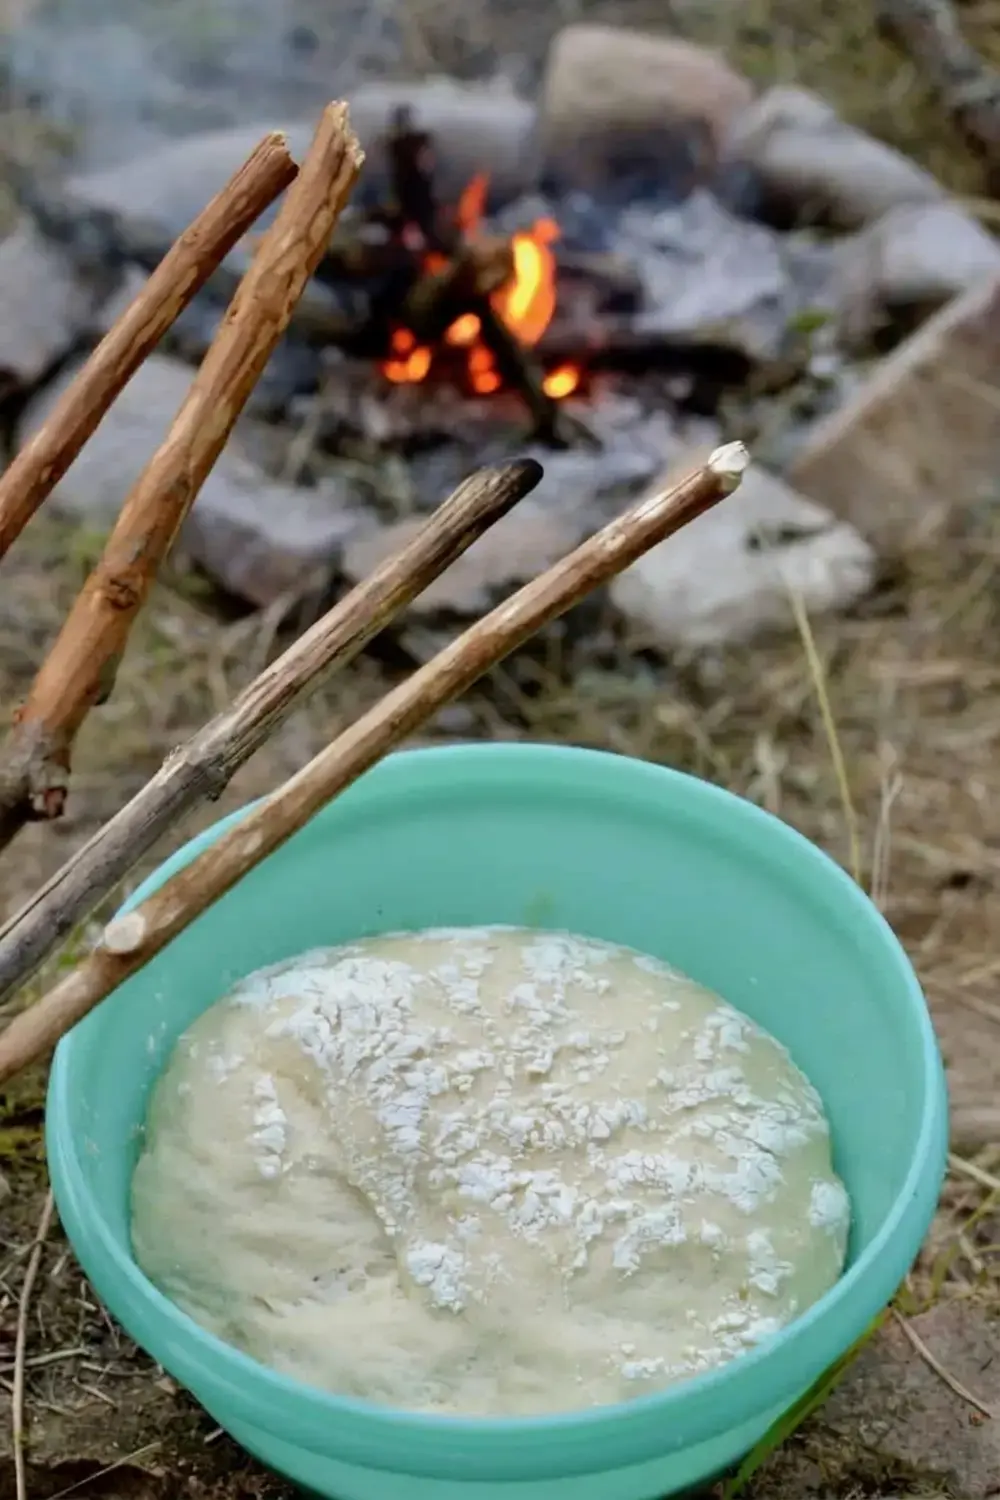
- Let it rise. Cover the bowl and place it somewhere warm. Wait until the dough has doubled in size, which takes about 1 hour.
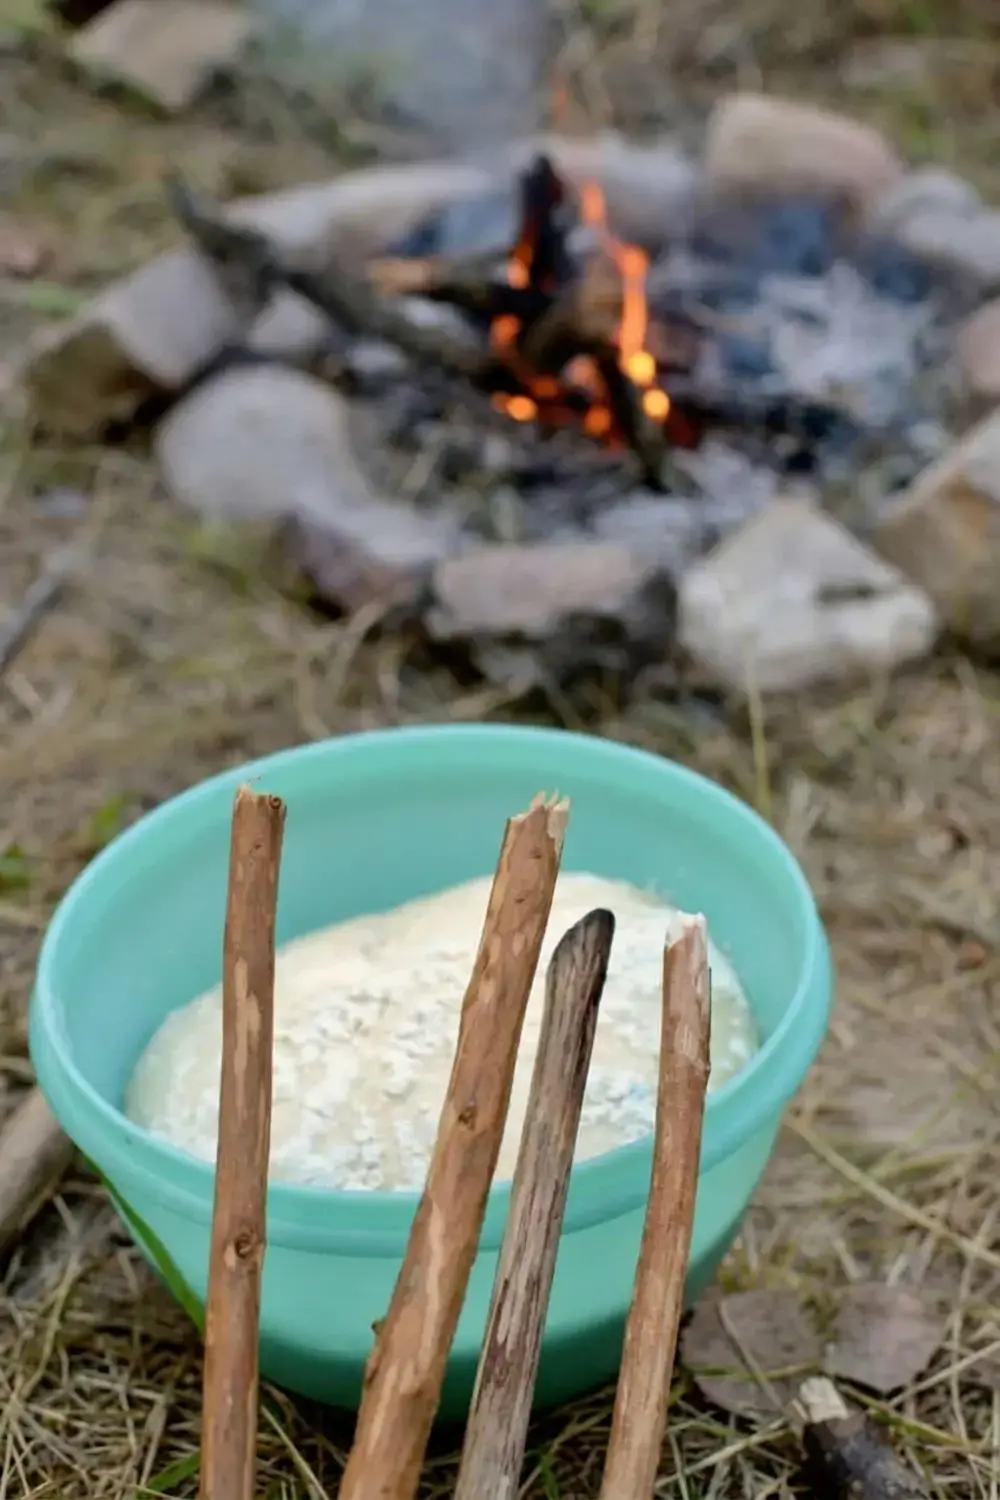
- Knock it back. Flour your hands and briefly form the risen dough into a ball. This gently releases some of the accumulated gas.
- Divide the dough. Tip it onto a floured surface and separate it into 8 similar pieces.
- Form long strips. Stretch one portion, then roll it into a long sausage shape. Keep the thickness reasonably even so it cooks at a similar rate from end to end.
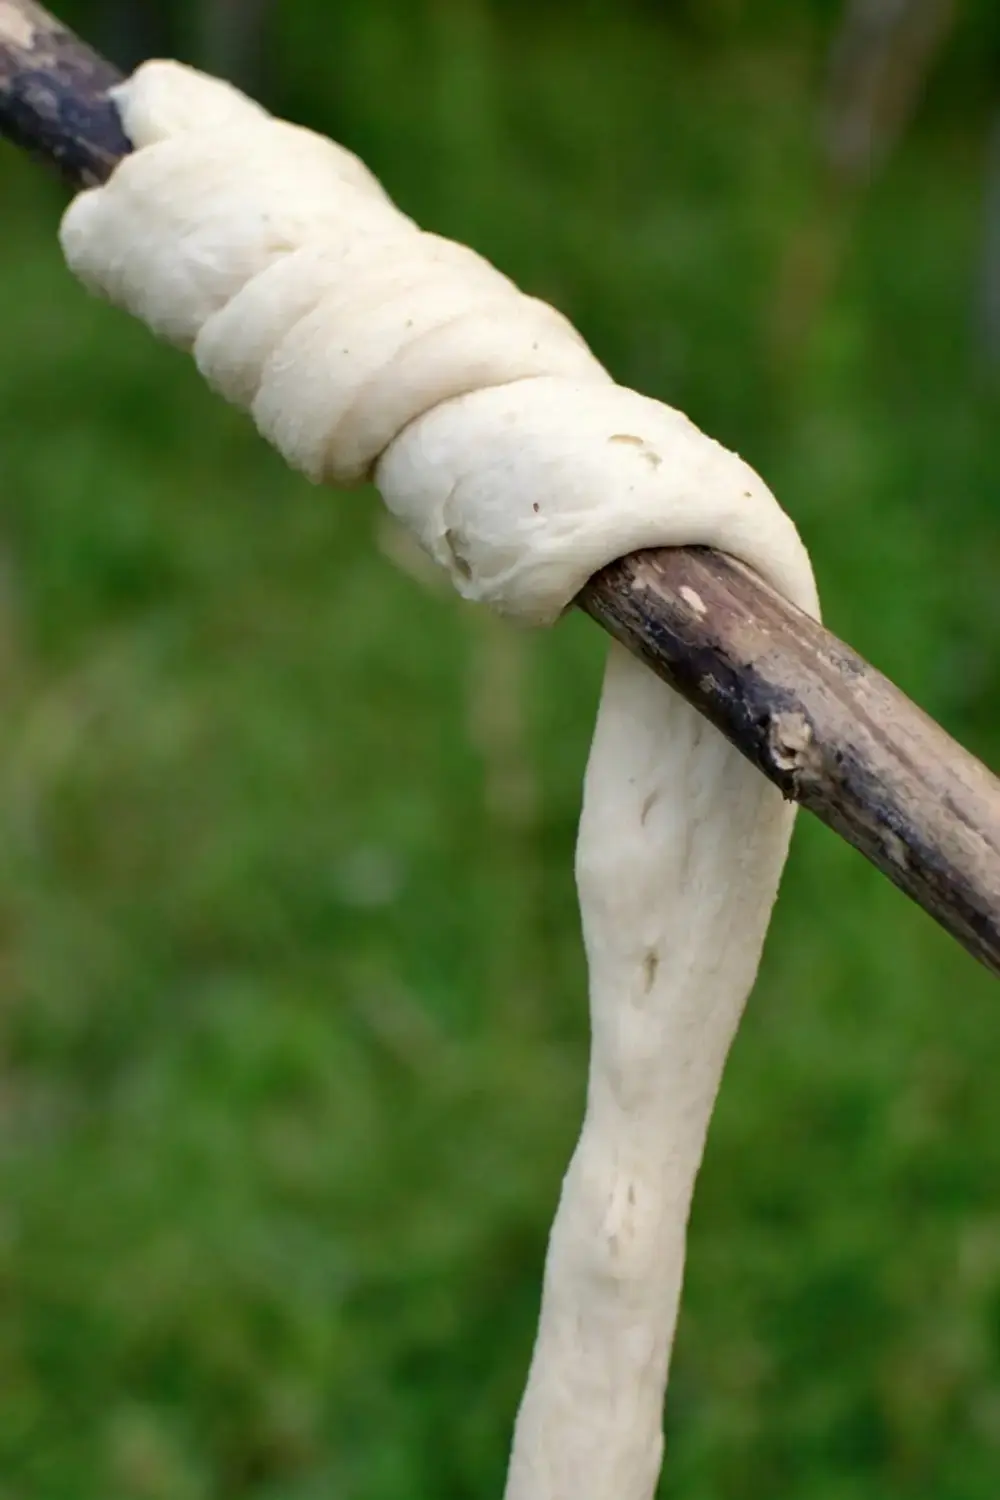
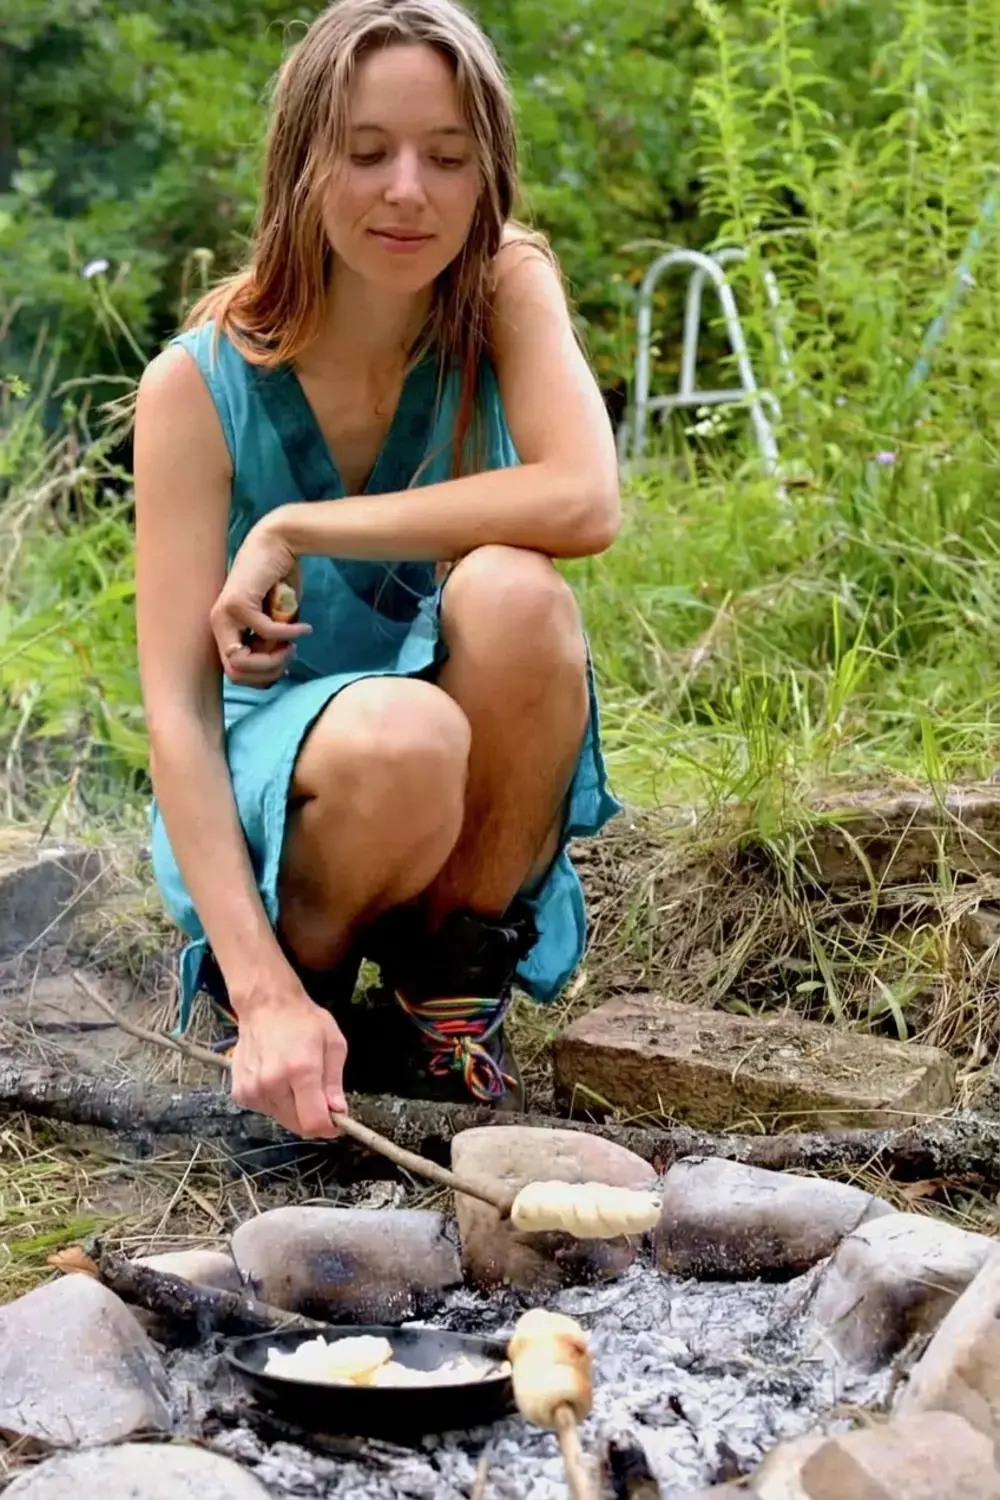
- Wrap the skewer. Twist the strip around the end of the stick or metal fork. Pinch the final end against the dough to keep it from unwinding.
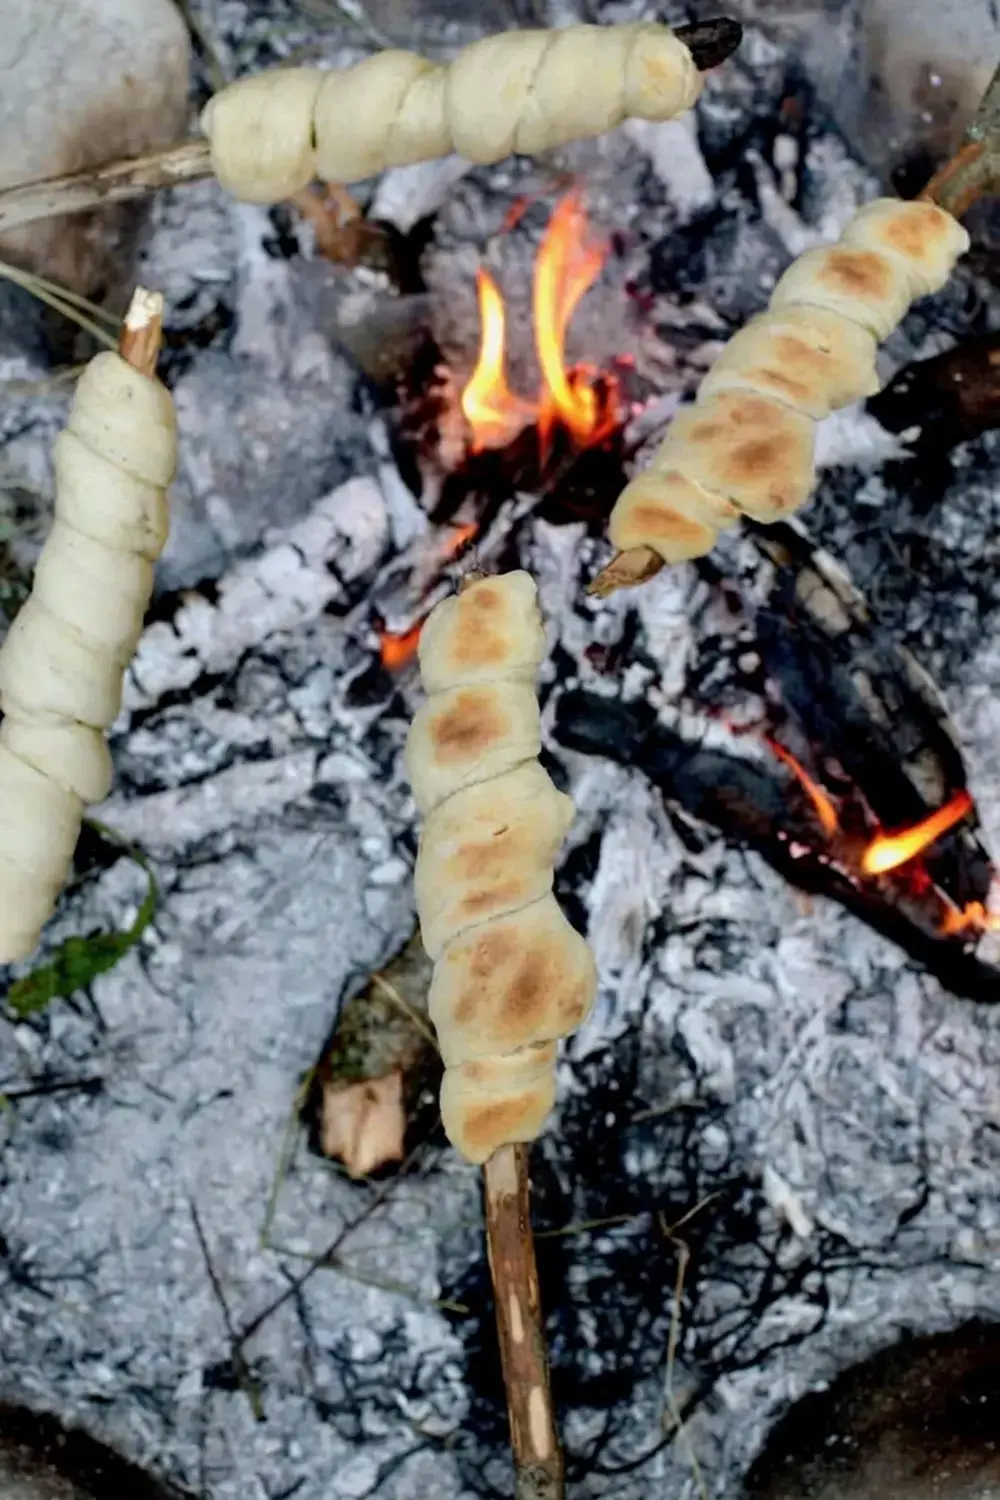
- Choose the cooking spot. Hold or securely prop the stick over hot embers. Avoid direct flames, which can blacken the surface before the inside bakes.
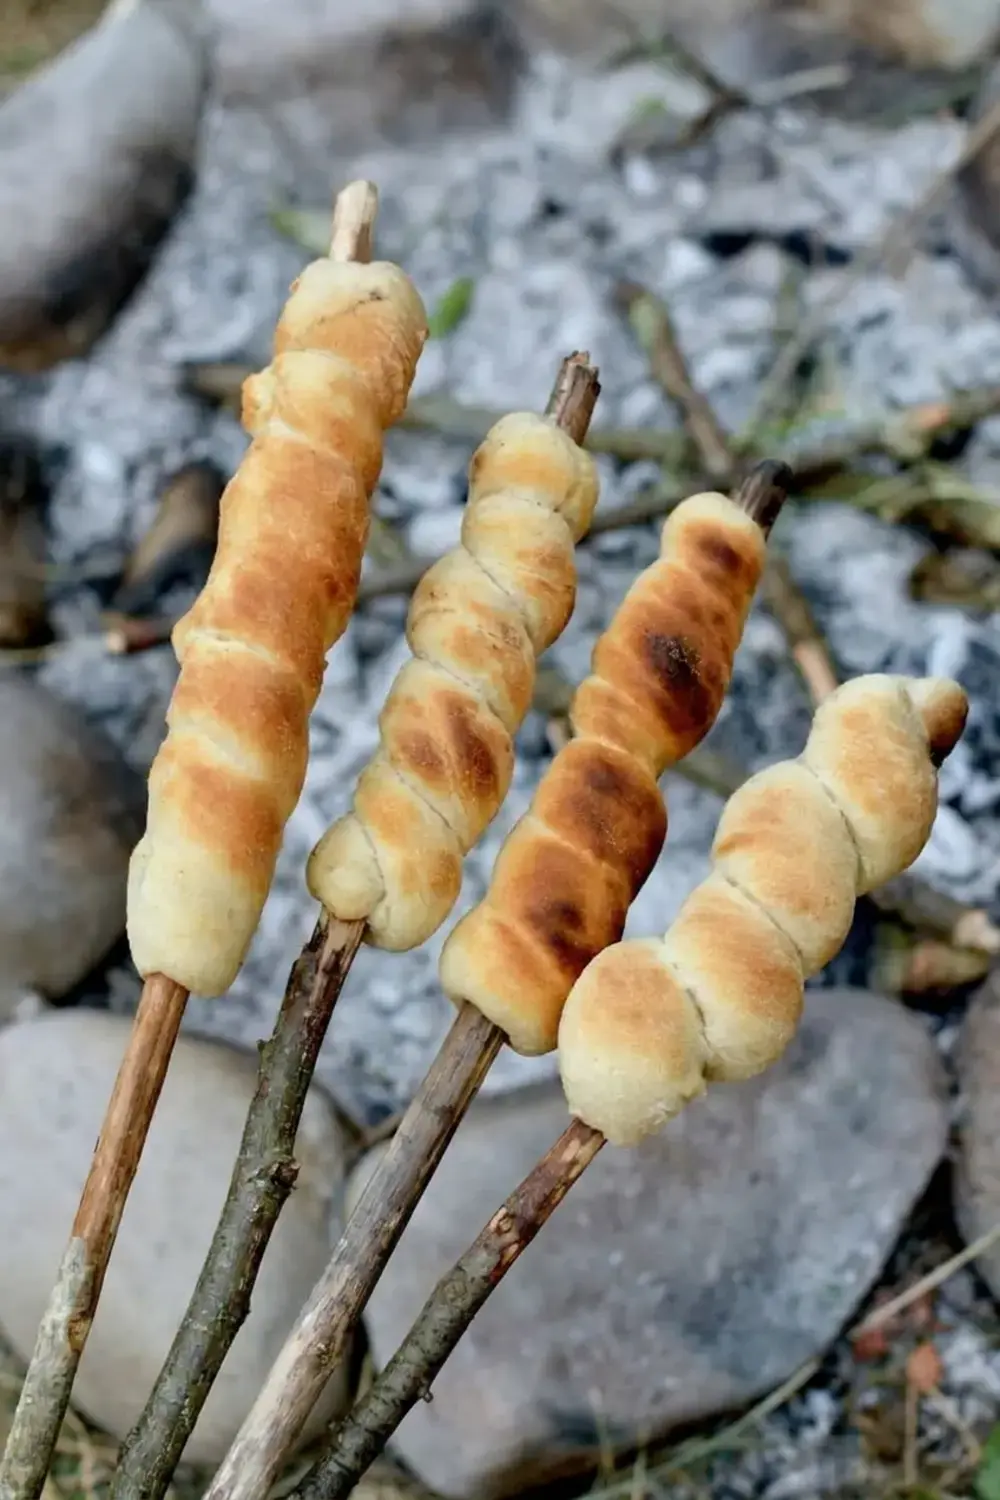
- Rotate continuously. Turn the stick often so every side receives steady heat.
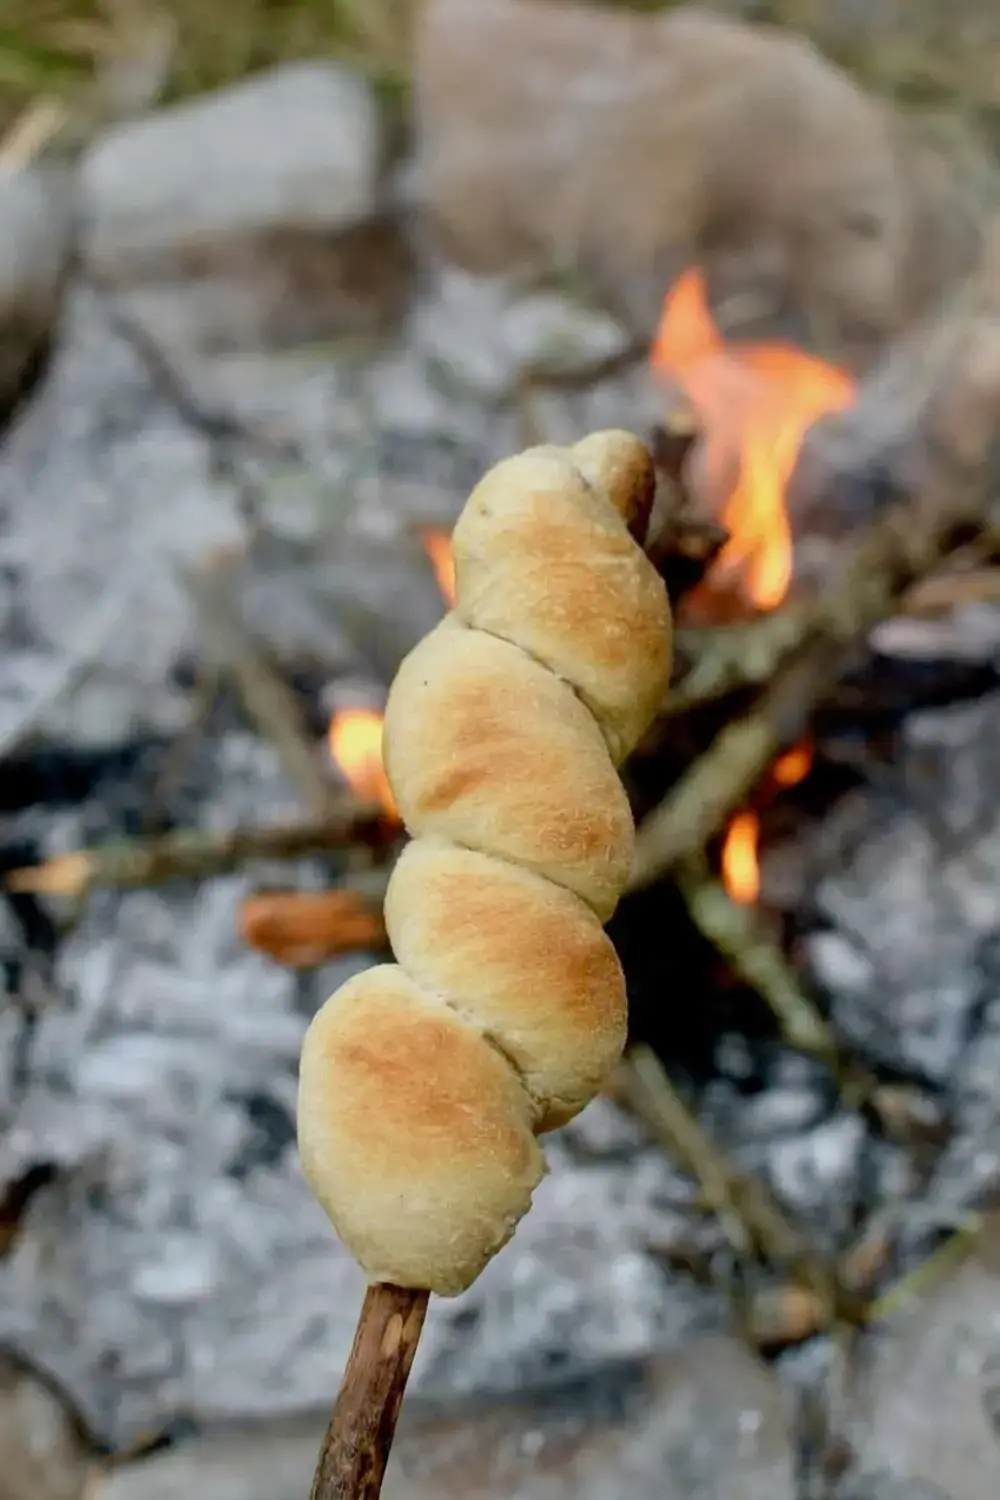
- Watch the color. Continue cooking until all sides are browned and the bread looks baked rather than doughy at the thickest point.
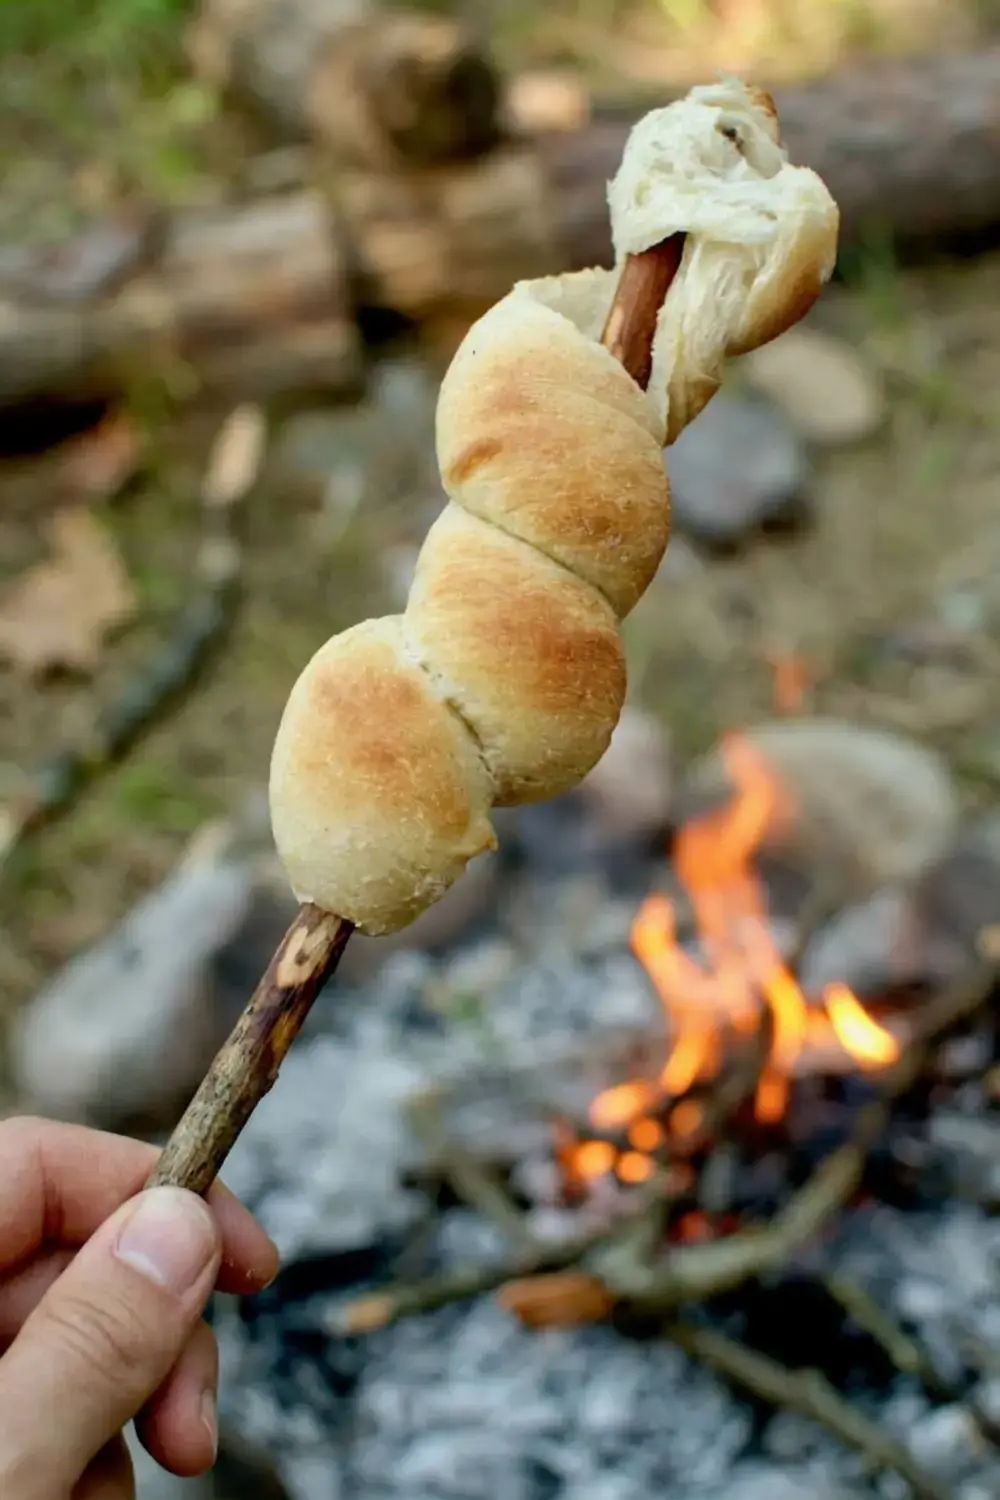
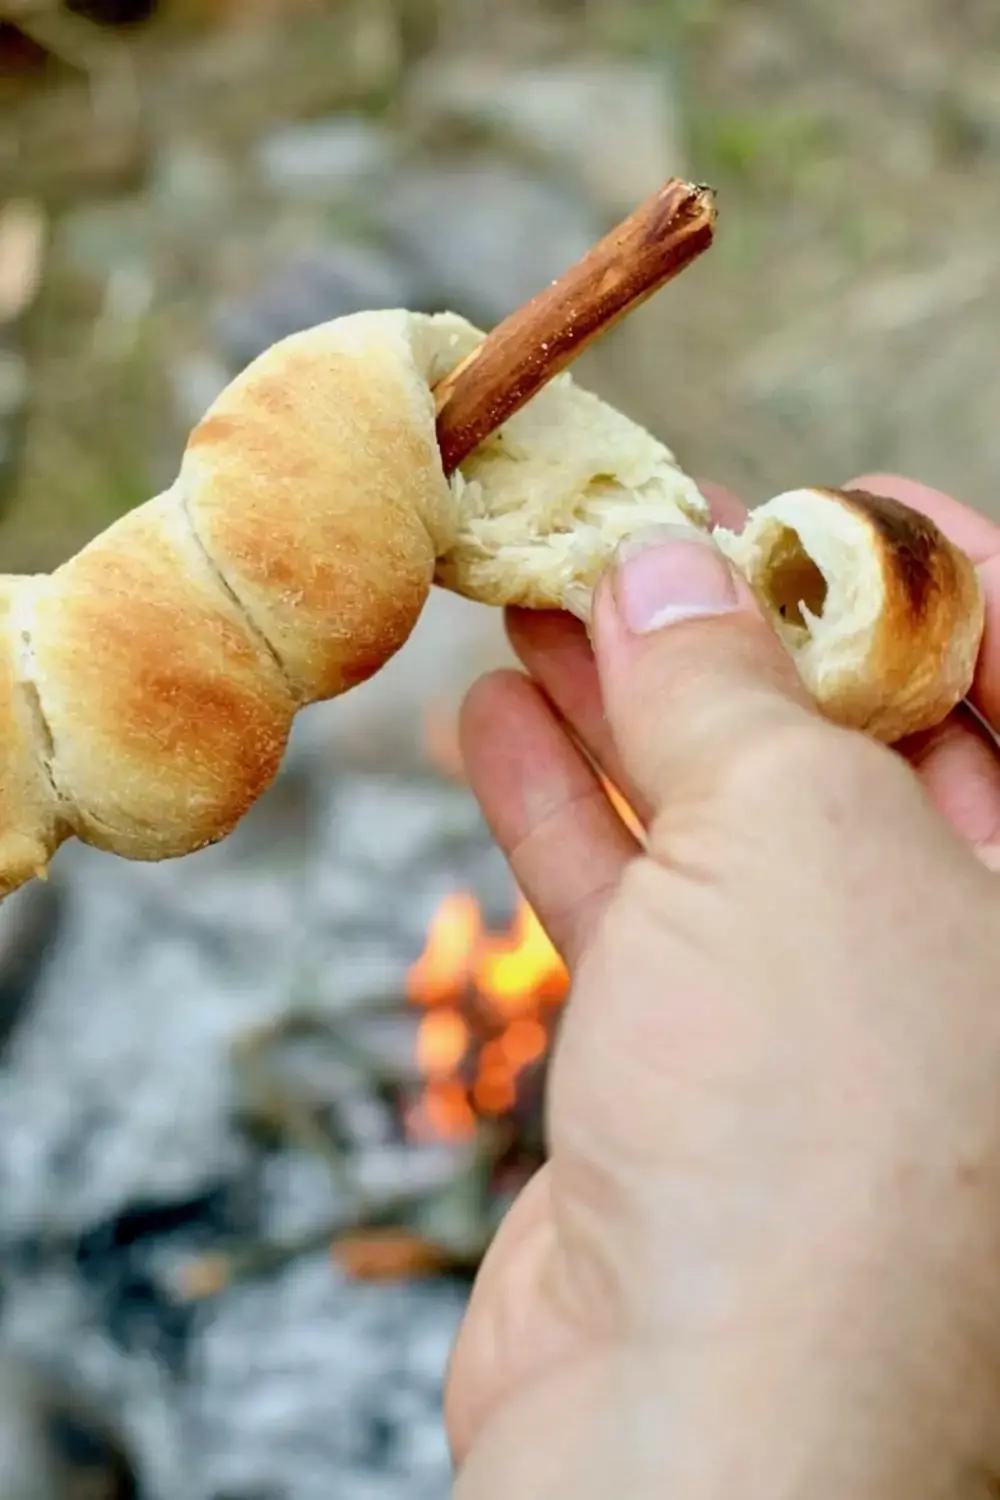
- Cool briefly and eat. Move the bread away from the fire and allow the hottest steam to escape before taking a bite.
Safe Sticks and Better Embers
Choose a safe support
The source recommends a long stick, around 1.5 meters, made from known nonpoisonous wood with the bark removed. Plant identification and collection rules vary, so never cut an unknown branch. A clean metal roasting fork with an insulated handle is a safer reusable choice when identification or collection is uncertain.
Cook with steady heat
Build the fire early enough to develop a bed of glowing embers. The National Park Service campfire guidance advises checking local rules and restrictions. Use an established fire ring where required, keep water nearby, and extinguish the fire completely.
Adults should manage knives, fire, and hot skewers. Children can help shape dough under supervision, but they should remain a safe distance from flames and other campers holding long sticks.
Tips, Serving, and Make-Ahead Prep
Flour your hands and work surface lightly rather than adding large amounts of extra flour. The dough is intended to remain moist. Roll each strip to an even thickness and avoid making the coil too bulky around the skewer.
For campsite efficiency, measure ingredients at home and pack them in labeled containers. Add the liquids at camp, then let the covered dough rise in a warm place. Cooler weather may slow the rise, so use the visual cue of doubled size rather than the clock alone.
When shaping, tapering the strip too thin can make one end finish before the rest. Aim for a consistent rope and leave a little space between the coils so heat can reach more of the surface. If the outside colors quickly, move the stick farther from the embers instead of stopping the rotation.
Prepare only as many skewers as can be watched safely at one time. Long sticks need room, and crowded campers can accidentally cross them over the fire. Establish a cooking side of the fire and keep the walking path clear before anyone starts baking.
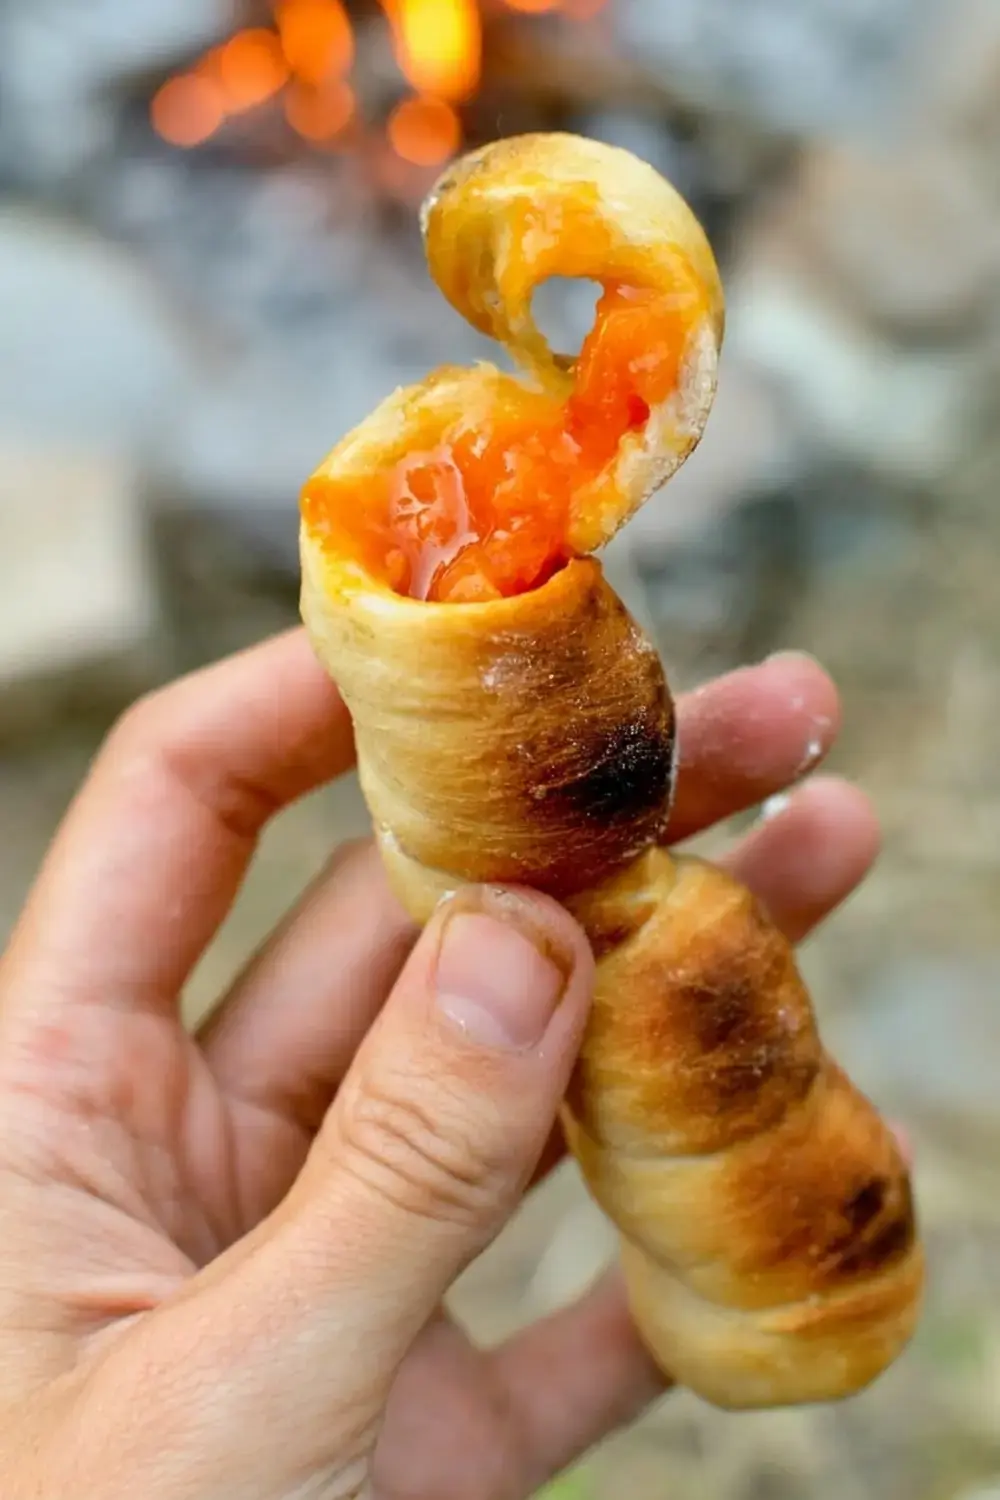
Serve the breads fresh after a brief cooling period. Their best feature is the contrast between the browned exterior and soft interior. The source does not provide a verified storage duration, so keep leftovers clean and covered and assess their quality before serving later.
Campfire Bread on Stick FAQs
Does Campfire Bread on Stick need kneading?
No. Mix the six ingredients into a moist dough, cover it, and let it rise until doubled, which takes about 1 hour.
What part of the fire is best for stickbread?
Cook over hot embers instead of direct flames. Rotate the stick continuously until every side is browned and the thickest part looks baked.
What kind of stick is safe for campfire bread?
Use a long stick from a known nonpoisonous species only where collection is permitted. A clean reusable metal roasting fork is safer when identification or local rules are uncertain.
Can the dry ingredients be mixed before camping?
Yes. Measure them at home for easier preparation. For longer storage, keep the yeast separate, then add the warm water and olive oil at camp.