What Is Homemade Rock Candy?
Hey there, sweet tooth! If you have ever wondered how to turn plain sugar water into sparkly, edible crystals, you are in for a real treat. Homemade rock candy is basically grown sugar.
You make a super sweet syrup, dip a stick in sugar, and let science do the rest. Over several days, the sugar leaves the water and piles up as crunchy crystals on your stick.

This little project is one of my favorite kitchen activities because it doubles as a candy and a science experiment. Kids love watching the crystals grow, and adults get a kick out of seeing real food chemistry in action.
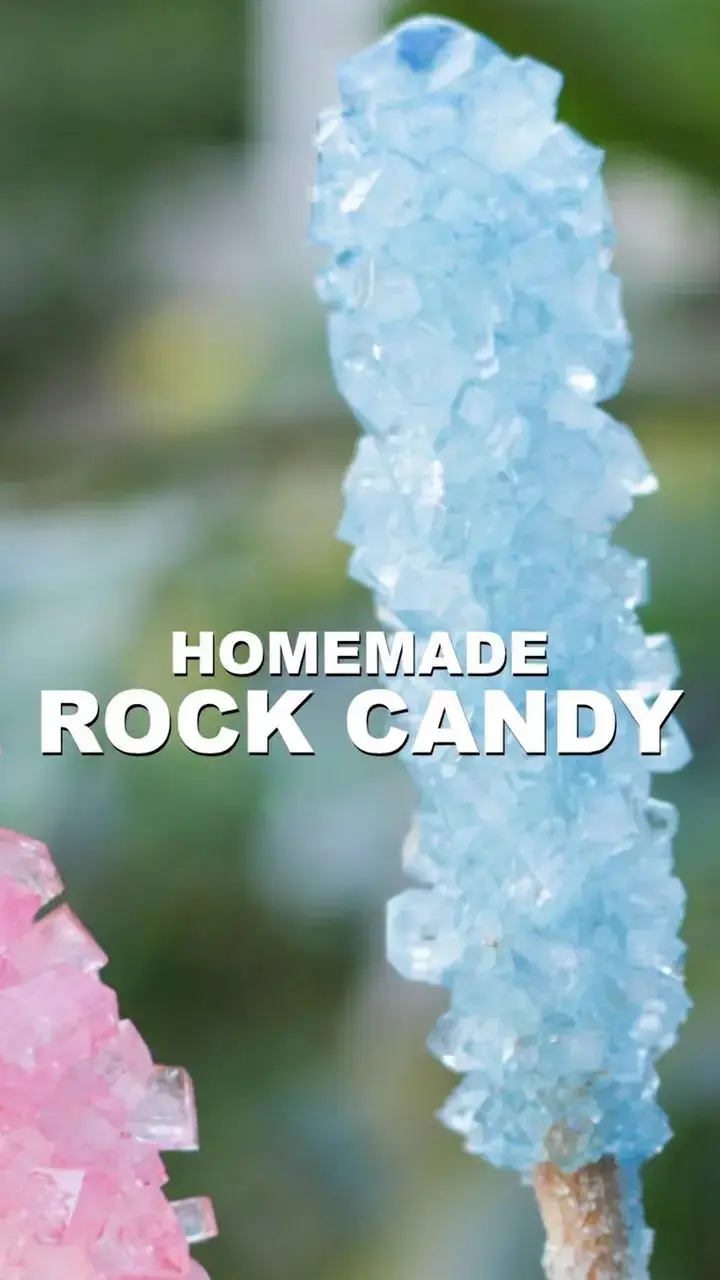
You only need a few pantry basics, a couple of jars, and a bit of patience. If I can do it, you can do it, I promise.
You can keep it classic with clear crystals and a hint of vanilla, or go wild with bright colors and fruity flavors. The results are not always identical, and that is part of the fun. Each batch looks a little different, which makes rock candy a wonderful project for curious cooks, classroom demos, and weekend kitchen adventures.
Jump to:
- What Is Homemade Rock Candy?
- Homemade Rock Candy Ingredients and Tools
- Ingredients
- Tools
- Prepare the Seed Crystals
- Create the Sugar Solution
- Choose the Containers and Position the Sticks
- Grow, Remove, and Dry the Rock Candy
- Rock Candy Troubleshooting Tips
- Stuck stick
- Crystals stuck to the glass
- Cloudy or uneven color
- Why Are the Rock Candy Crystals So Small?
- How to Store Rock Candy and Reuse the Syrup
- How to Clean the Jar and Which Sugars Work
- Frequently Asked Questions
- How do you make homemade rock candy?
- How long does homemade rock candy take to grow?
- Can you use brown sugar or other sugars for rock candy?
- How do you keep rock candy crystals from sticking to the jar?
- Enjoy Your Sparkly Kitchen Creation
- Homemade Rock Candy
- Ingredients
- Instructions
- Last Step:
- Nutrition
- Did you make this recipe?
Homemade Rock Candy Ingredients and Tools
Before we dive in, let’s round up everything you need.
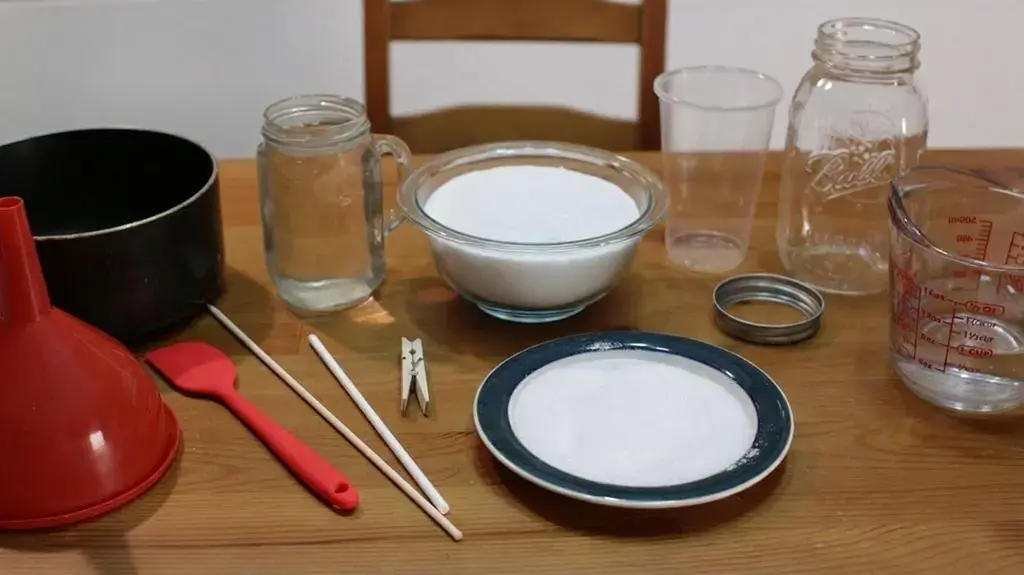
The list is short, which is honestly one of the best things about this project. No fancy equipment, no specialty store runs.
Ingredients
- 1 cup water (filtered is great if your tap water has a strong taste)
- 3 cups white granulated sugar
- 1 to 2 tsp hard candy flavoring oil (vanilla, cherry, lemon, peppermint, whatever you love)
- Optional: a few drops of clear food coloring for color
Tools
- Medium saucepan
- Wooden spoon or silicone spatula
- Lollipop sticks, bamboo skewers, string, or popsicle sticks
- Wide glass or 800 ml mason jars (smaller jars work too)
- Clothespins to suspend the sticks
- Fork for breaking the surface crust
Quick note: you do not need a candy thermometer for this method. A simple stovetop boil and a timer are all it takes.
Prepare the Seed Crystals
Seed crystals are the secret handshake that tells the rest of the sugar where to land. Without them, the syrup just sits there looking bored.
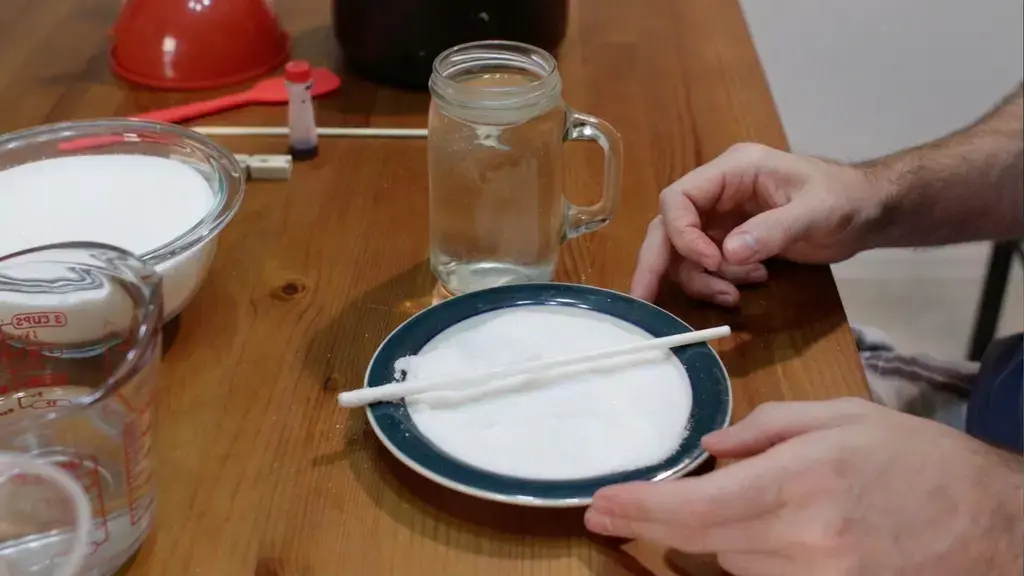
- Pick your support. Lollipop sticks and bamboo skewers are easiest for beginners.
- Dip the area where you want crystals to grow into a little water.
- Spread plain granulated sugar on a plate and roll the wet portion of the stick through it until it is well coated.
- Set the coated sticks on a piece of parchment and let them dry for 25 to 30 minutes. The dry sugar grains will act as the home base for your future crystals.
One small tip: only coat the section of the stick that will actually sit in the syrup. Any dry sugar above the liquid line is just going to dissolve later.
Create the Sugar Solution
Time to make the sweet magic happen. This part smells amazing, so do not be surprised if tiny helpers appear in your kitchen.
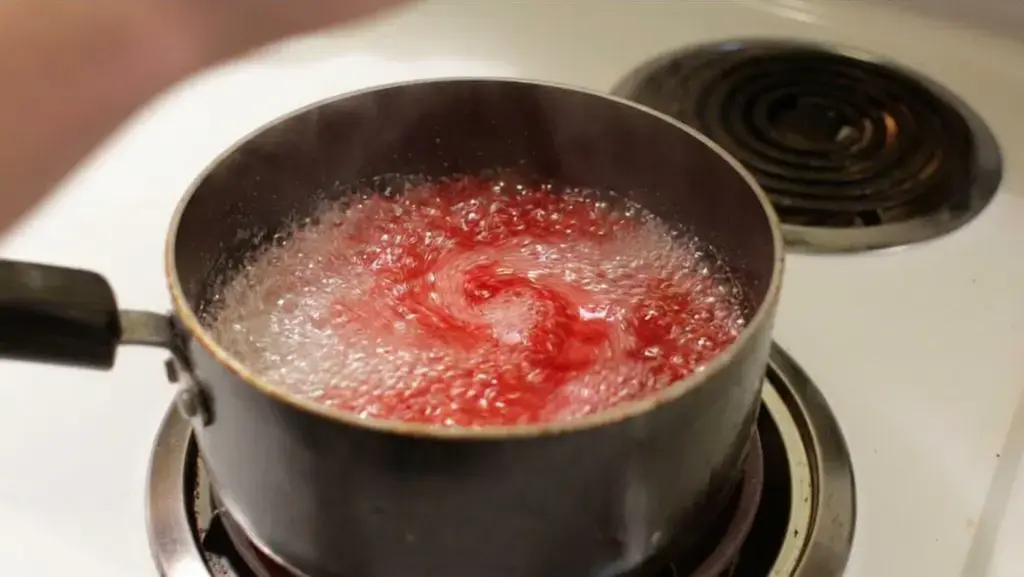
- Pour 1 cup of water into a medium saucepan and set the burner to medium to medium high heat.
- When the water starts to simmer, add the sugar 1 cup at a time. Stir after each addition until the sugar is fully dissolved before adding the next cup. You will add 3 cups total.
- Bring the mixture to a rolling boil, then pull the pan off the heat.
- If you are only making one color and flavor, stir in a few drops of food coloring and 1 to 2 tsp of flavoring now.
- Let the syrup cool for 20 minutes. The solution stays very hot, so keep little hands at a safe distance.
Pouring the syrup while it is still boiling will melt your seed crystals right off the stick. That 20 minute rest is doing real work, so set a timer and let it chill.
Choose the Containers and Position the Sticks
Container choice has a big say in how your rock candy turns out. Too narrow and the crystals hug the walls. Too short and your stick bumps the bottom.
- For one large candy, use a wide 800 ml mason jar, roughly 3.5 inches wide and 6.5 inches tall.
- For 2 to 3 smaller candies, split the syrup into smaller glasses or jars.
- If you want different colors or flavors, divide the syrup before adding any coloring or flavoring so each jar stays true to its style.
Run hot tap water over your glass jars for a minute or two to warm them up. A warm jar helps prevent small crystals from forming on the glass. Metal thermoses do not need this preheat step.
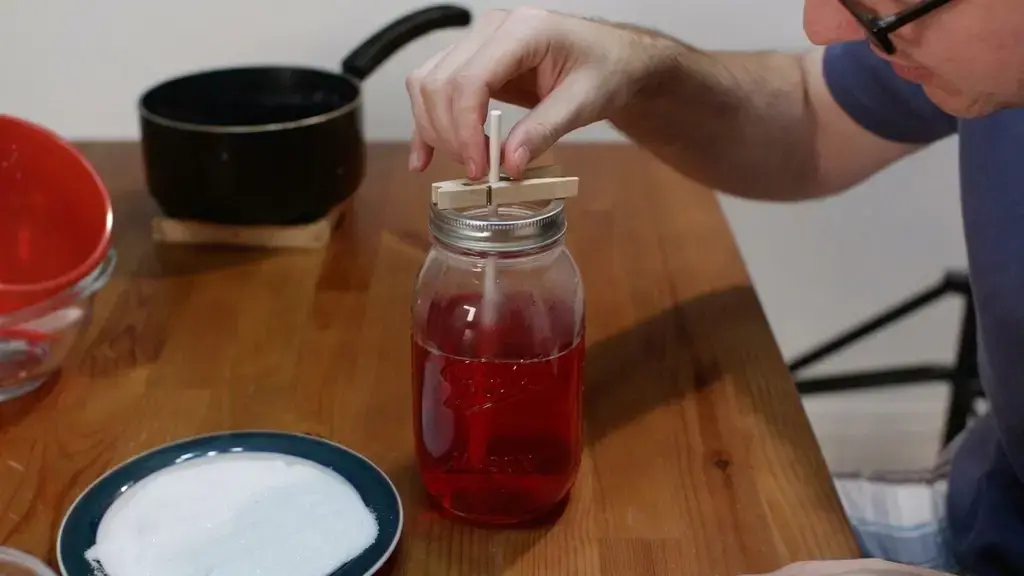
Pour the cooled syrup in, leaving 1 to 2 inches of space at the top. Clip a clothespin to your prepared stick and rest it across the jar mouth so the stick hangs centered and at least 1.5 inches above the bottom of the container.
Grow, Remove, and Dry the Rock Candy
Now comes the hardest part: waiting. Find a safe spot on the counter away from bumps, drafts, and curious pets, and leave the jars alone.
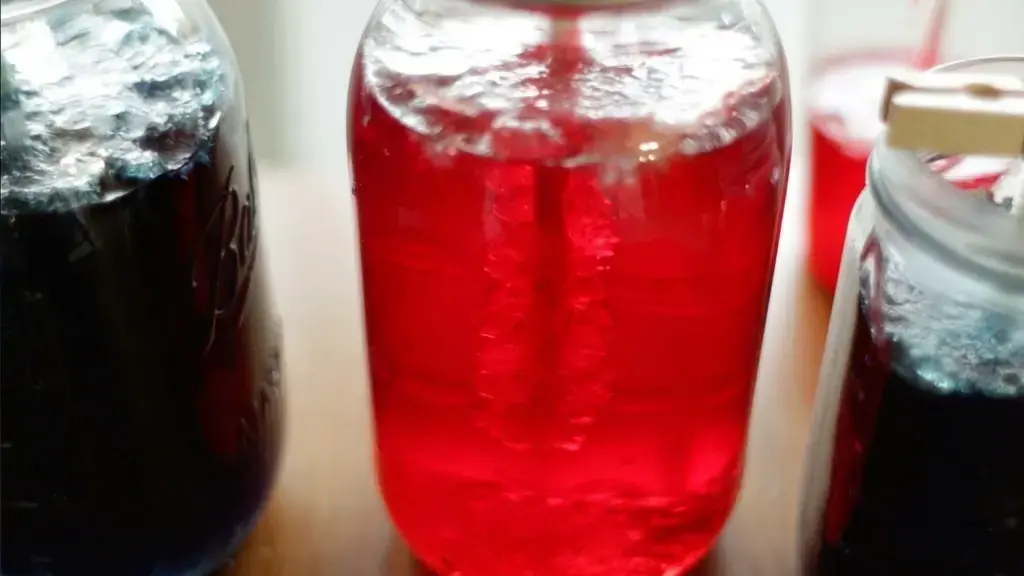
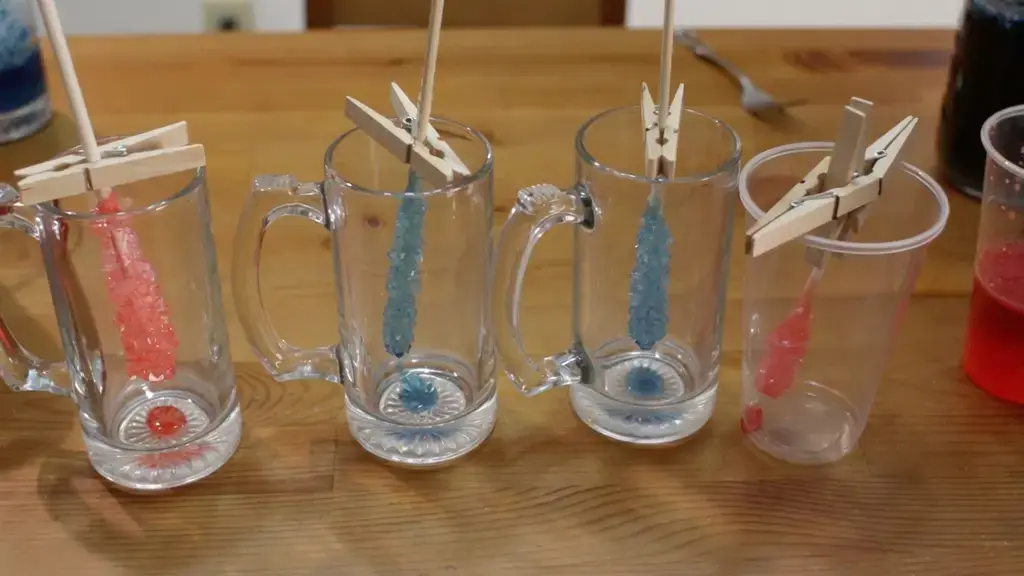
- Good crystal growth usually takes 3 to 5 days, with some batches going to 5 to 7 days for chunkier results.
- A thin crust of sugar may form across the top of the solution. That is totally normal.
- When you are ready to harvest, gently break the surface crust with a fork.
- Lift the stick out and rest it across an empty glass so the extra syrup can drip off.
- Let the rock candy dry on a plate or a piece of parchment for about 4 hours.
The longer you leave the stick in the syrup, the larger the crystals tend to be. So if you want a chunky, lollipop style rock candy, give it the full week.
Rock Candy Troubleshooting Tips
Every now and then the crystals just do not behave, and that is okay.
Here are a few fixes for the most common curveballs.
Stuck stick
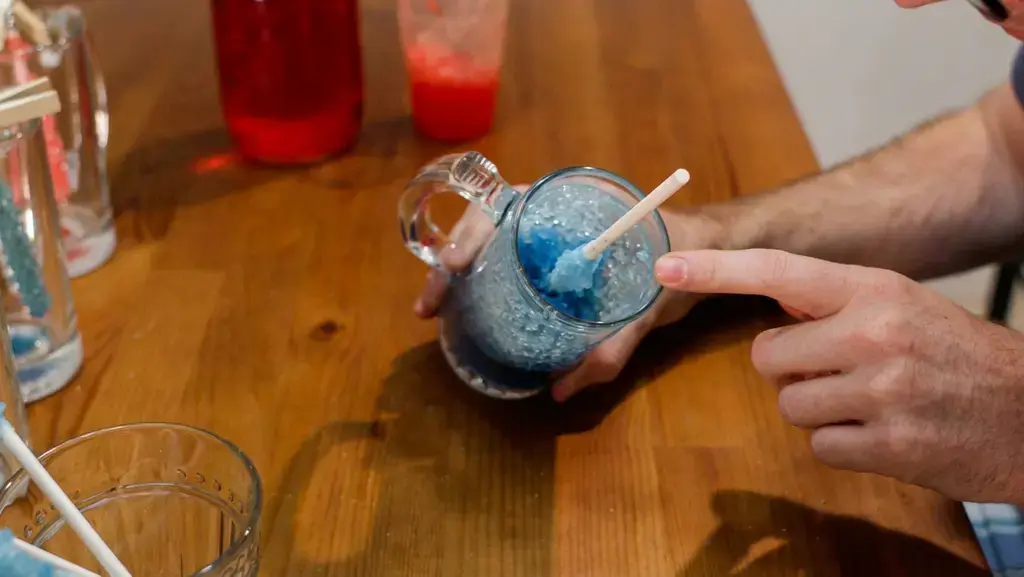
If crystals fill the bottom and trap the stick, run very hot tap water over the outside of the jar for a couple of minutes. The heat should soften the sugar enough to slide the candy out without snapping it.
Crystals stuck to the glass
A warm jar, a centered stick, and a still counter all help crystals grow on the stick instead of the jar. If they do attach to the glass, soak the jar in very hot water and the sugar will dissolve back into liquid.
Cloudy or uneven color
Make sure the food coloring is fully stirred in before you pour the syrup. Adding it earlier in the boil gives smoother color throughout.
Why Are the Rock Candy Crystals So Small?
Tiny crystals are usually a temperature problem. A cold glass chills the hot syrup too fast, and the sugar does not have time to build big, chunky structures.
- Always preheat glass jars with hot tap water before pouring in the syrup.
- Skip glass entirely and use a wide metal thermos, which holds heat well on its own.
- Try pouring the syrup while it is still on the warmer side rather than letting it sit for too long after the 20 minute cool.
Container size also matters. A wider jar with more syrup around the seed stick gives crystals more room to expand.
How to Store Rock Candy and Reuse the Syrup
Once your rock candy is completely dry, store it in a dry place at room temperature. Kept away from moisture, the crystals can last for up to a year, making them a fun homemade gift or party favor.
Do not toss the leftover syrup. Pour it back into a saucepan, add about 1 more cup of sugar to replace what crystallized, and bring it to a boil again.
You can start a second batch, or use the syrup to sweeten coffee, glaze fruit, or drizzle over pancakes. Want more sweet project ideas? Peek at these Halloween candy recipes for inspiration.
How to Clean the Jar and Which Sugars Work
After the candy is out, your jar is probably coated in crunchy sugar. The easiest way to clean it is to run very hot water into the jar for several minutes. The crystals will dissolve and you can rinse the rest away. If you used a disposable plastic cup, just toss it.
When it comes to sugar choice, white granulated sugar is the star of the show. It dissolves cleanly and grows the clearest, biggest crystals.
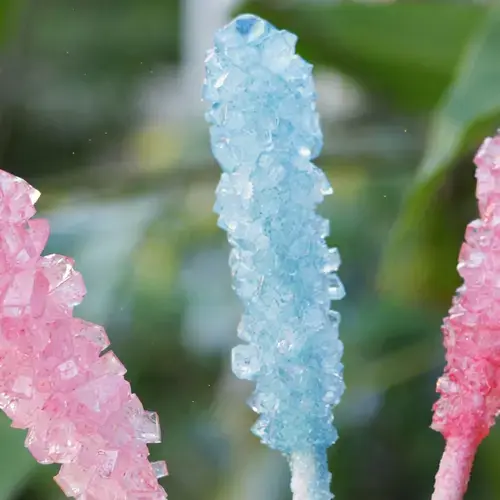
- Brown sugar can work, but it changes the flavor and color of the finished candy.
- Powdered sugar will not work. It clumps and does not behave the same way in a hot syrup.
- Stick with plain white granulated sugar for the most reliable, sparkly results.
Planning a backyard project? These campfire food on a stick ideas pair perfectly with a little homemade rock candy for dessert.
Frequently Asked Questions
How do you make homemade rock candy?
How long does homemade rock candy take to grow?
Can you use brown sugar or other sugars for rock candy?
How do you keep rock candy crystals from sticking to the jar?
Enjoy Your Sparkly Kitchen Creation
You just made your very own rock candy, and it looks amazing, so give yourself a pat on the back for a job well done.
Whether you stick with classic clear crystals or go bold with colors and flavors, every batch is a tiny edible science fair. Save a few sticks for snacking, wrap some up as gifts, and save the leftover syrup for round two.
If you want to compare techniques or get a second opinion, take a peek at this easy homemade rock candy recipe from The Spruce Eats, these DIY rock candy instructions from Allrecipes, this rock candy science experiment guide from Science Buddies, and this friendly how to make sugar crystals walkthrough from Taste of Home. Happy growing, and may your crystals be big, sparkly, and delicious.
Print
Homemade Rock Candy
What Is Homemade Rock Candy? Hey there, sweet tooth!
- Total Time: 7225 min
- Yield: 3 candies 1x
Ingredients
1 cup water
3 cups white granulated sugar
1–2 tsp flavoring
Instructions
1-Begin by dipping the sticks in water: Begin by dipping the sticks in water and then rolling them in sugar. A plate works well to hold the sugar. I only dip it where I want the sugar crystals to grow. Set the sticks aside and allow them to dry. These are the seed crystals that the other crystals will grow on.
2-Add a large pot to the stovetop: Add a large pot to the stovetop and set to medium heat. Pour in the water and bring it to a simmer. Then add in the sugar a cup at a time, stirring it to dissolve the sugar. Bring it to a boil. If you are only using one color and flavor you can add it in right when it boils.
3-Remove the pot from the heat and: Remove the pot from the heat and allow the sugar solution to cool for 20 minutes.
4-After 20 minutes run the tap water: After 20 minutes run the tap water until it gets really hot, let the water run over the glass or mason jar to heat it up until really warm. Make sure to use a wide glass or mason jar like the 800ml kind if you want larger candies, but you will get fewer of them, with this amount of liquid you will get 1 large one. Smaller mason jars or glasses for smaller candies, but you will get more of them. 2 to 3 of them.Pour the hot sugar solution into the containers. If you are using a metal thermos no need to heat it up. If you want different colors now would be the time to add those colors and flavors.
5-Attach a clothespin to a sugar stick: Attach a clothespin to a sugar stick and set it in the solution. If necessary use a metal ring on top of the mason jar so the clothespin can sit on it. Try and keep the stick in the very middle of the glass and at least 1.5 inches from the bottom. If it is too close to the bottom the crystals might fill up the bottom.
6-Let the crystals form for 3 to: Let the crystals form for 3 to 5 days. Use a fork and gently break away any thin layer of sugar that has formed on the surface of the solution. Then pull out the rock candy and place in another container to dry for 4 hours. That’s it! Enjoy!
Last Step:
Please leave a rating and comment letting us know how you liked this recipe! This helps our business to thrive and continue providing free, high-quality recipes for you.- Prep Time: 10 min
- Cook Time: 15 min
- Method: stovetop
Nutrition
- Calories: 194