Why you’ll love this recipe
If you have ever seen a Jellycat plushie and thought, “I wish I could eat that,” this is the cake for you! This Jellycat birthday cake is officially the most adorable cake you will ever bake, and the little feet make it impossible not to smile. I have designed this recipe to capture the whimsical charm of the original plush toy while keeping everything simple and approachable for home bakers.

- Looks just like the plushie. The cake mimics the rounded body, tiny legs, and sweet face of a Jellycat bunny. It is a showstopper that will delight kids and adults alike.
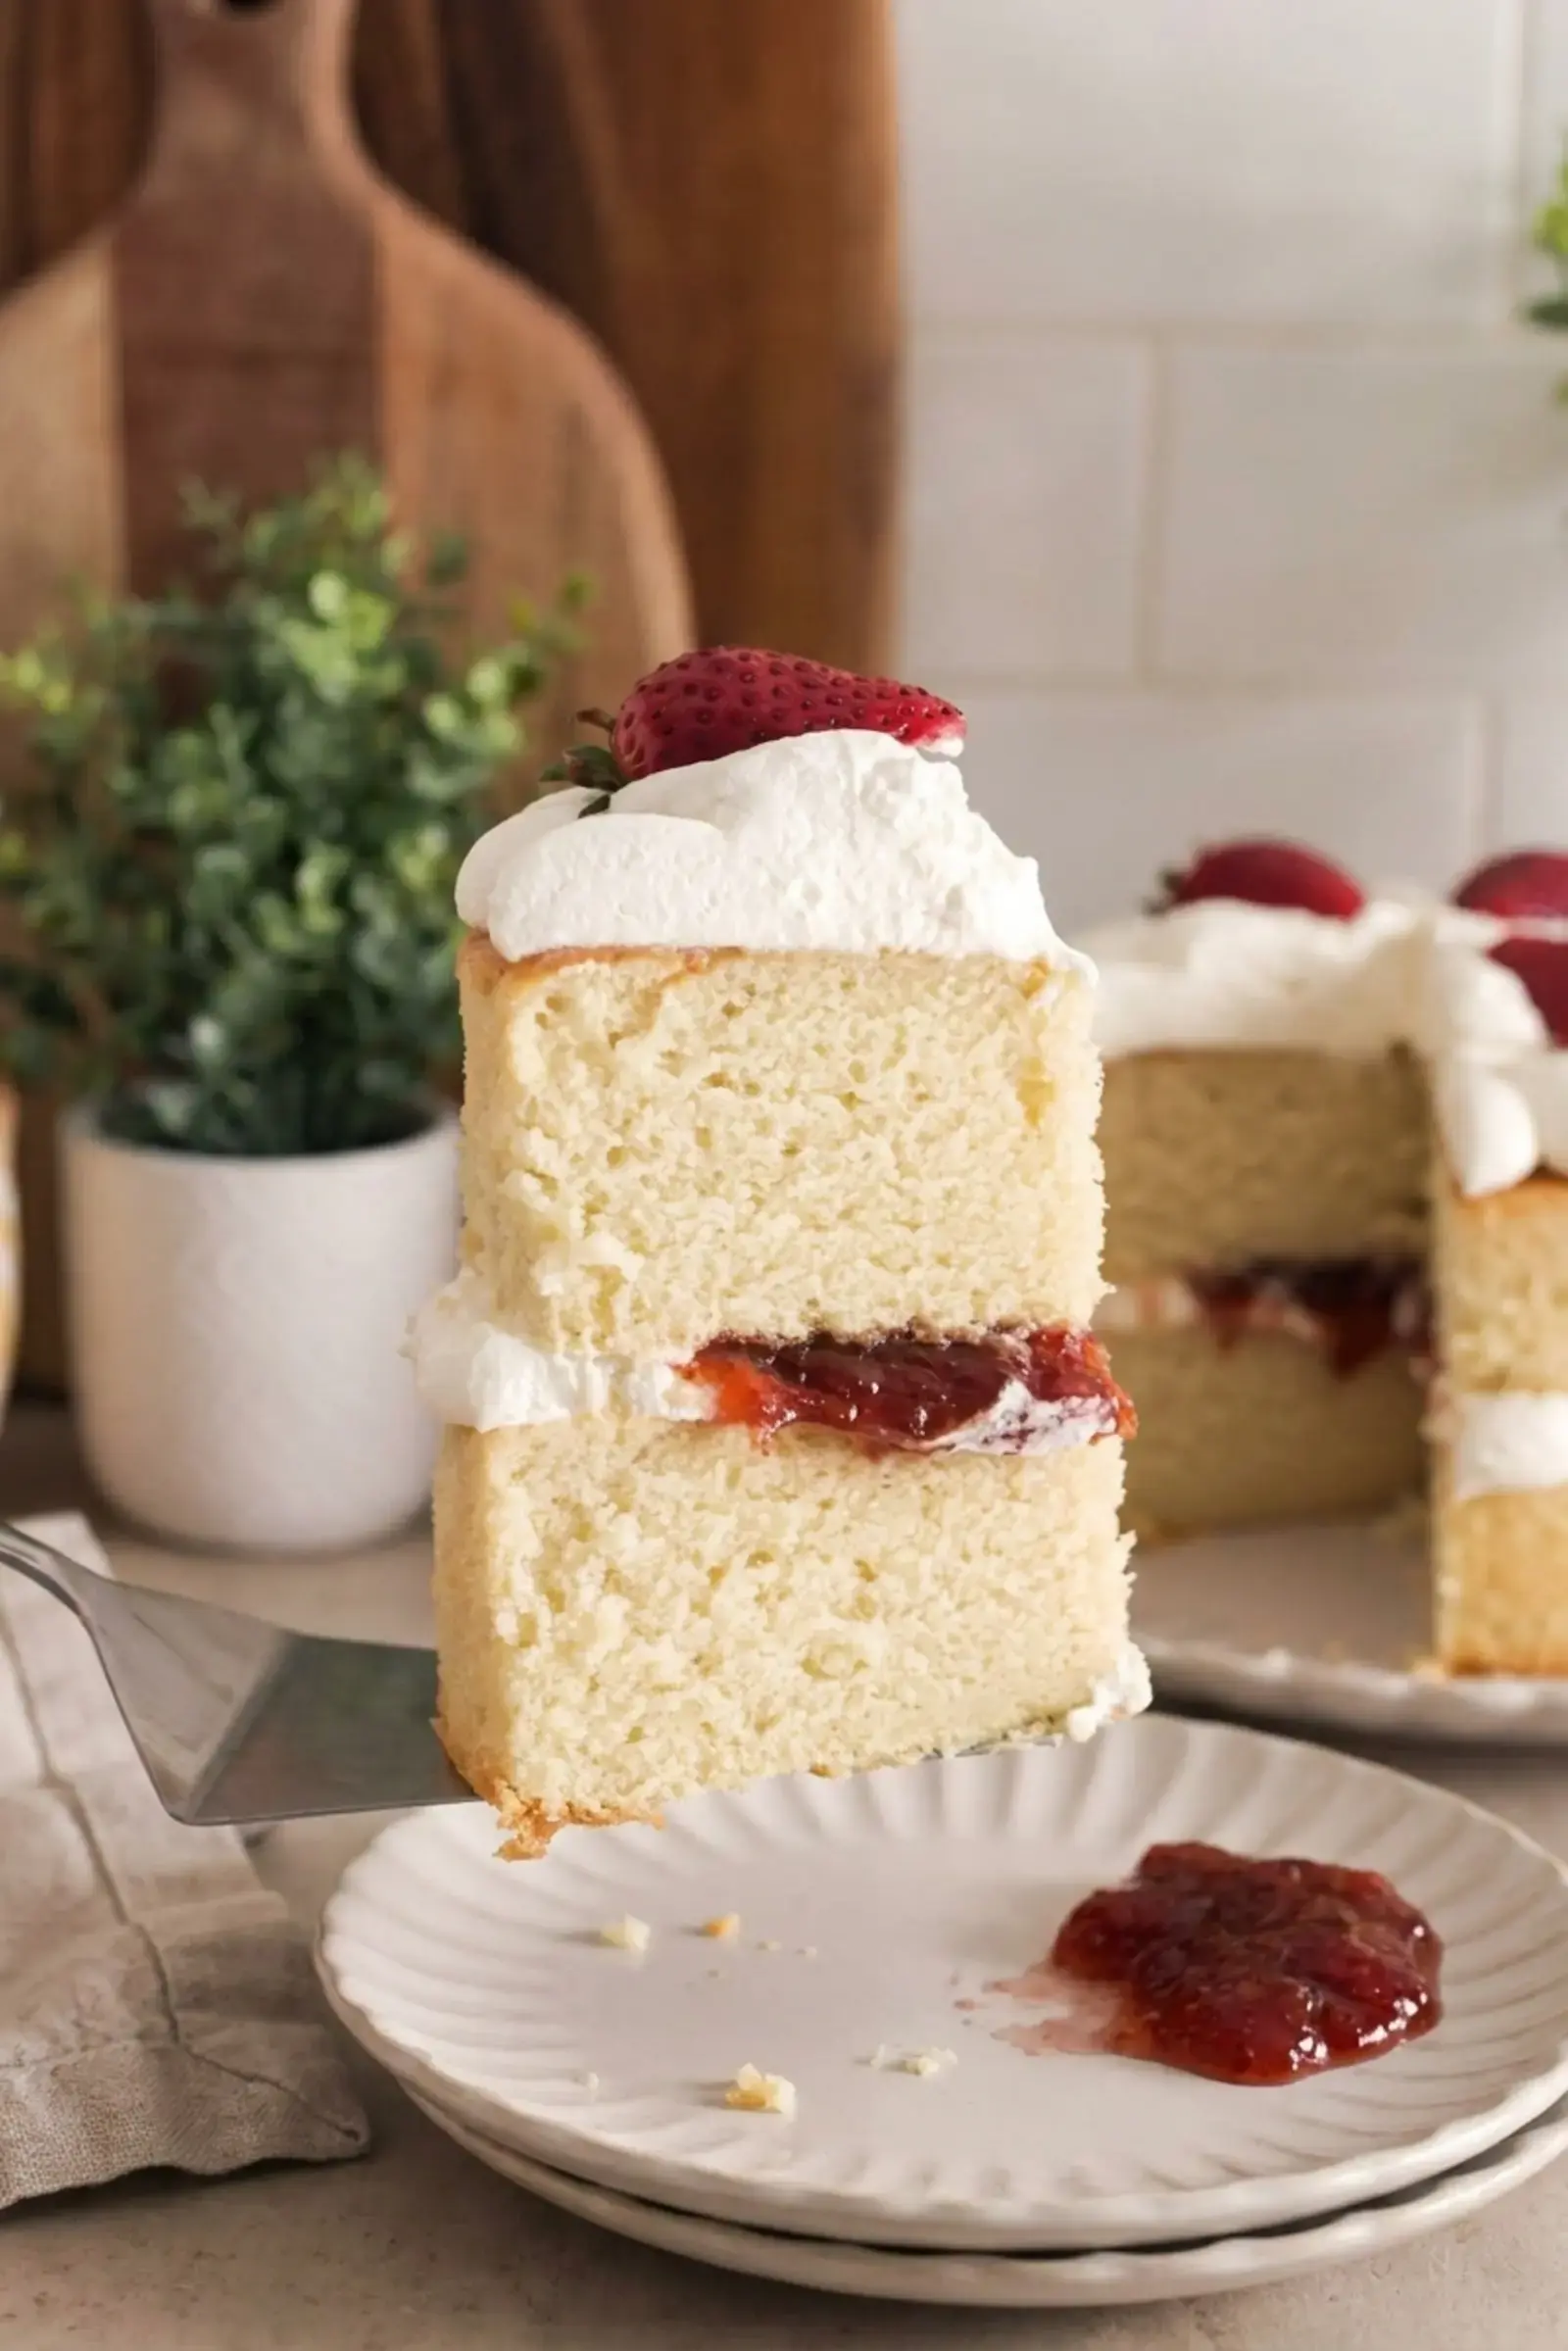
- Hot milk method for fluffy layers. This technique gives you a tender, moist crumb that stays fresh for days. No dry cake here!
- Easy filling with store bought jam. You can use your favorite strawberry jam or make your own if you have extra berries on hand. Either way, it adds a burst of fruity flavor.
- Light whipped cream instead of buttercream. The airy cream complements the cake perfectly and is much simpler to make. You do not need any fancy piping skills.
This cake is perfect for first birthdays, baby showers, or any celebration where you want to bring a little extra cuteness to the table!
Jump to:
- Why you’ll love this recipe
- Ingredient notes
- How to make a jellycat birthday cake
- Make the cake layers
- Make the filling
- Assemble and decorate the cake
- Storage
- Freezing
- Frequently asked questions
- What is a Jellycat birthday cake?
- How do you make a Jellycat birthday cake?
- What flavors go well with a Jellycat birthday cake?
- Can I make a Jellycat birthday cake gluten free?
- How do you decorate a Jellycat birthday cake?
- Is a Jellycat birthday cake easy to make for beginners?
- Jellycat Birthday Cake
- Ingredients
- Instructions
- Last Step:
- Notes
- Nutrition
- Did you make this recipe?
Ingredient notes
Using the right ingredients makes all the difference. Here is what you need and a few tips for success.
| Ingredient | Notes |
|---|---|
| All purpose flour | Provides structure. Sift with baking powder and salt. |
| Baking powder | Leavening agent for lift. |
| Salt | Balances sweetness. |
| Eggs | Room temperature eggs whip to a higher volume. Let them sit out for 30 minutes before starting. |
| Granulated sugar | Sweetens and helps stabilize the egg foam. |
| Unsalted butter | Can be cold since it will be melted with the milk. |
| Milk | Whole milk works best, but non dairy alternatives like oat milk also work. |
| Light tasting oil | Canola, avocado, or grapeseed oil add moisture without flavor. |
| Vanilla extract | Pure vanilla for the best flavor. |
| Heavy cream | Cold cream whips faster and yields a richer, more stable whipped cream. Heavy cream is preferred over whipping cream. |
| Powdered sugar | Sweetens and stabilizes the cream. |
| Cocoa powder | Used to tint part of the cream brown for the bunny’s legs. Brown gel food coloring is an alternative. |
| Strawberry jam | Store bought is fine. Homemade with less sugar and chunky berries is even better. If you love strawberries, try our Strawberry Shortcake Recipe for another fruity treat. |
| Fresh strawberries | Halved for the top. The original plushie design uses five strawberries. |
| Dark chocolate | Melted to pipe the eyes and smile. Semi sweet or milk chocolate also works. |
All measurements are given in grams for accuracy. Small amounts are listed in teaspoons since most kitchen scales are not accurate under about 10 grams.
How to make a jellycat birthday cake
This recipe comes together in three simple stages. Follow along, and you will have a gorgeous cake that looks like a real Jellycat plushie! For another detailed approach, check out this Jellycat birthday cake recipe from a trusted source.
Make the cake layers
Preheat your oven to 350°F. Line two 6 inch round cake pans with parchment paper and set aside.
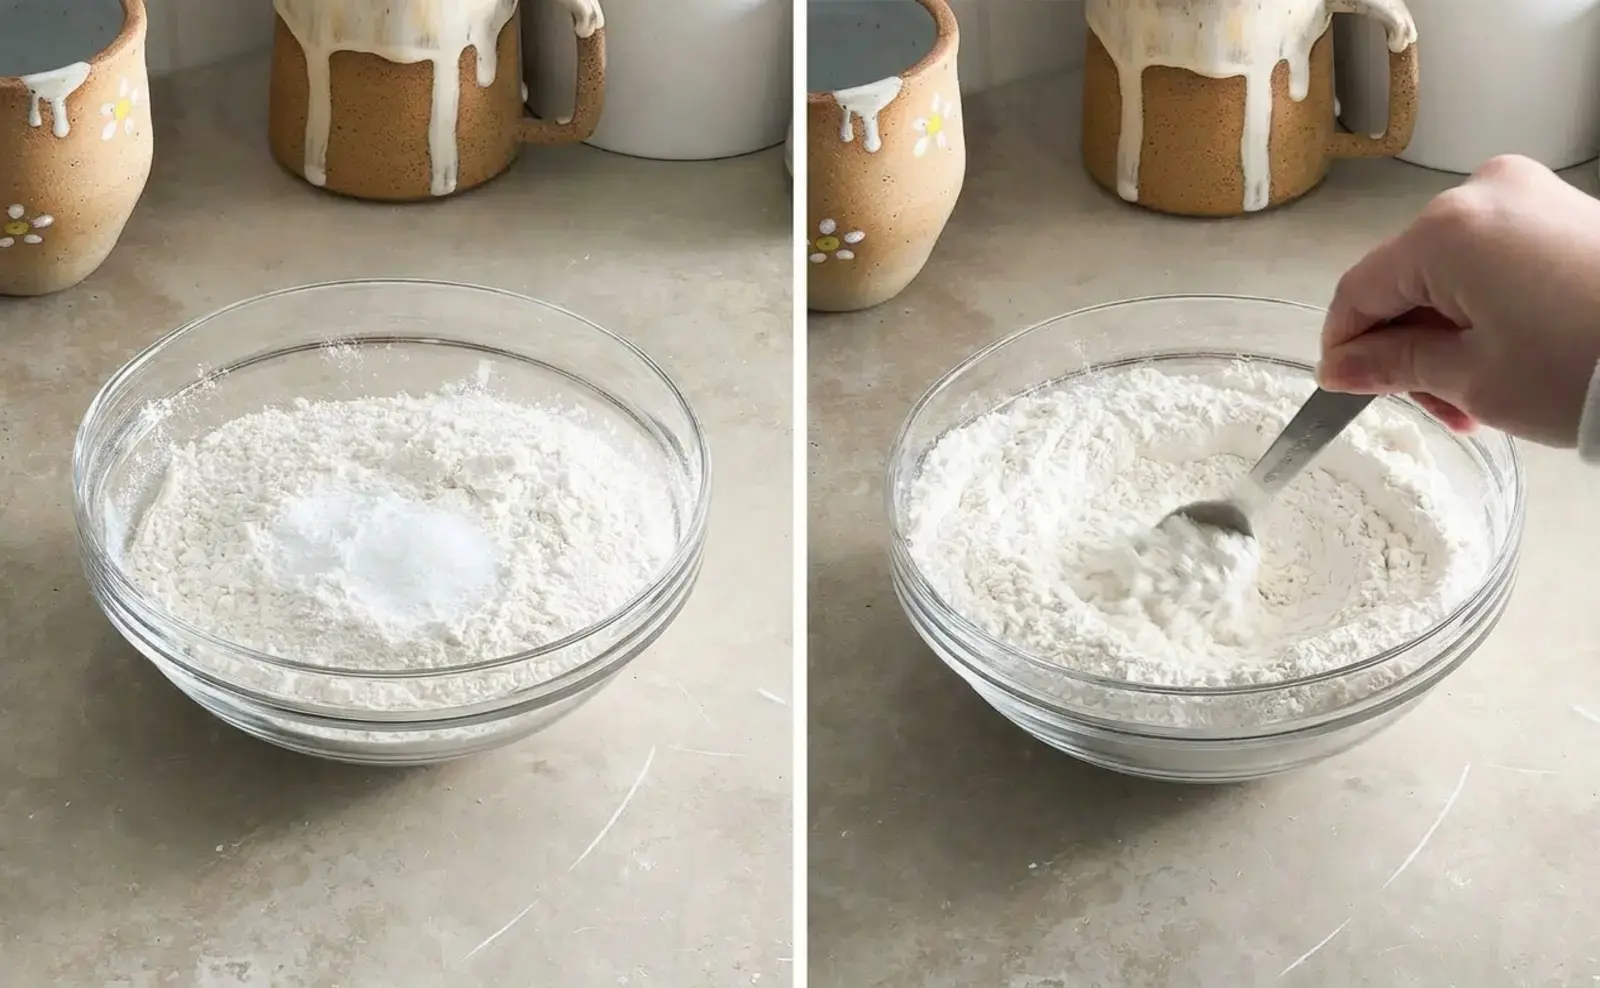
- In a small bowl, whisk together all purpose flour, baking powder, and salt.
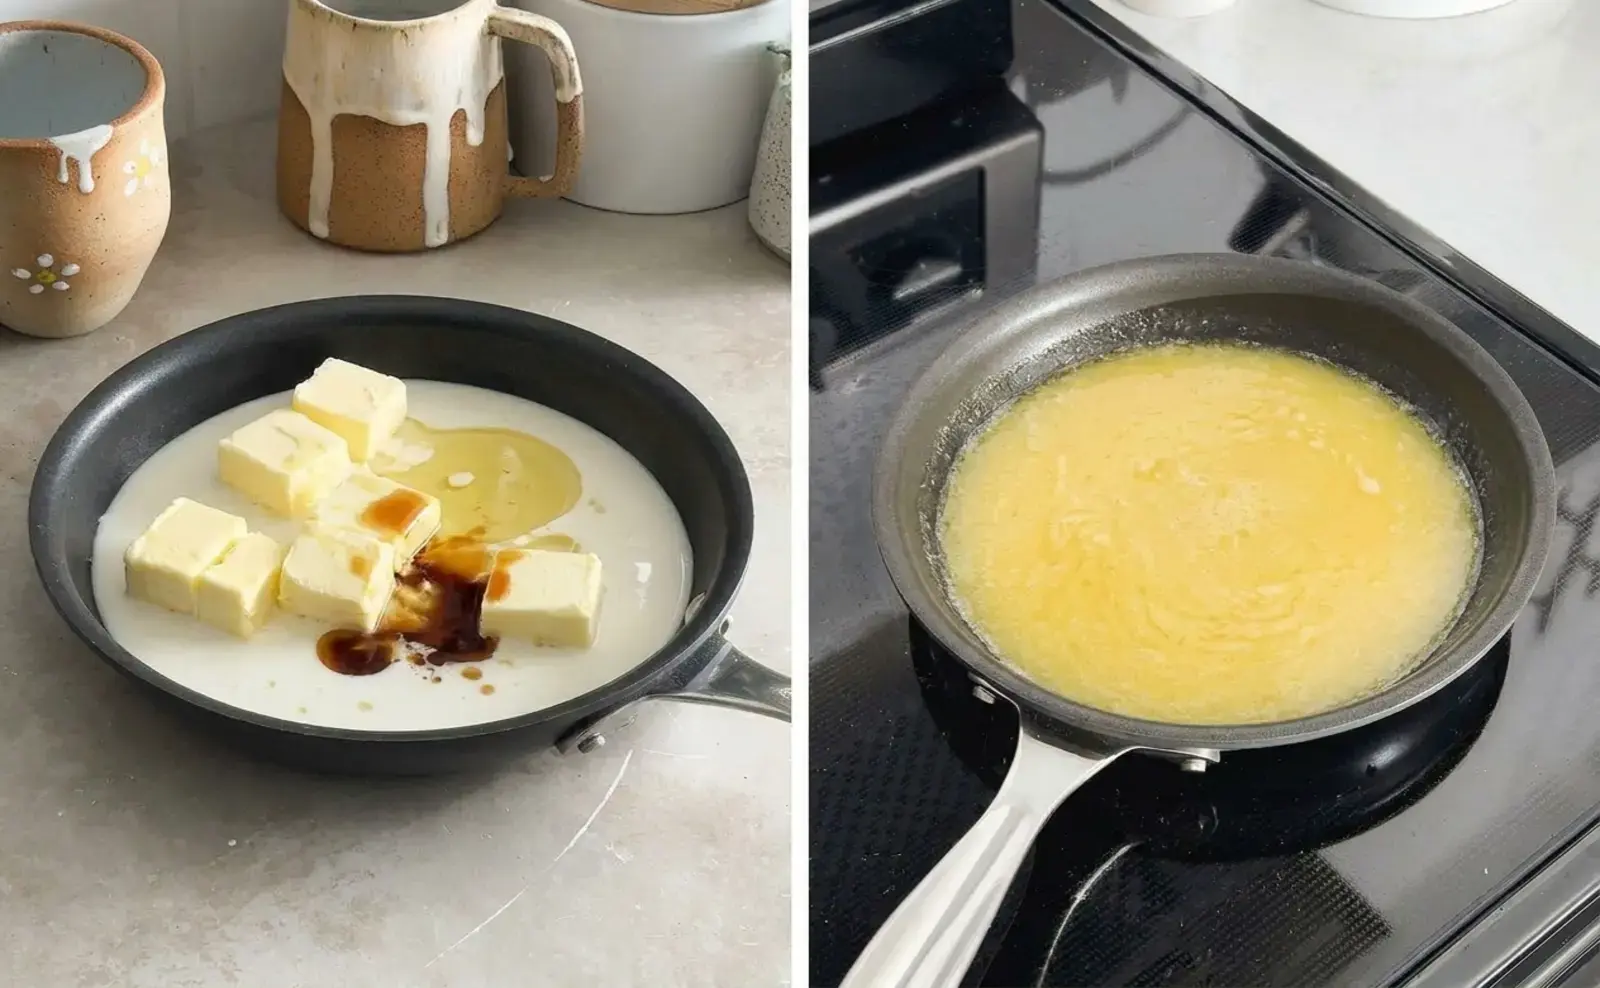
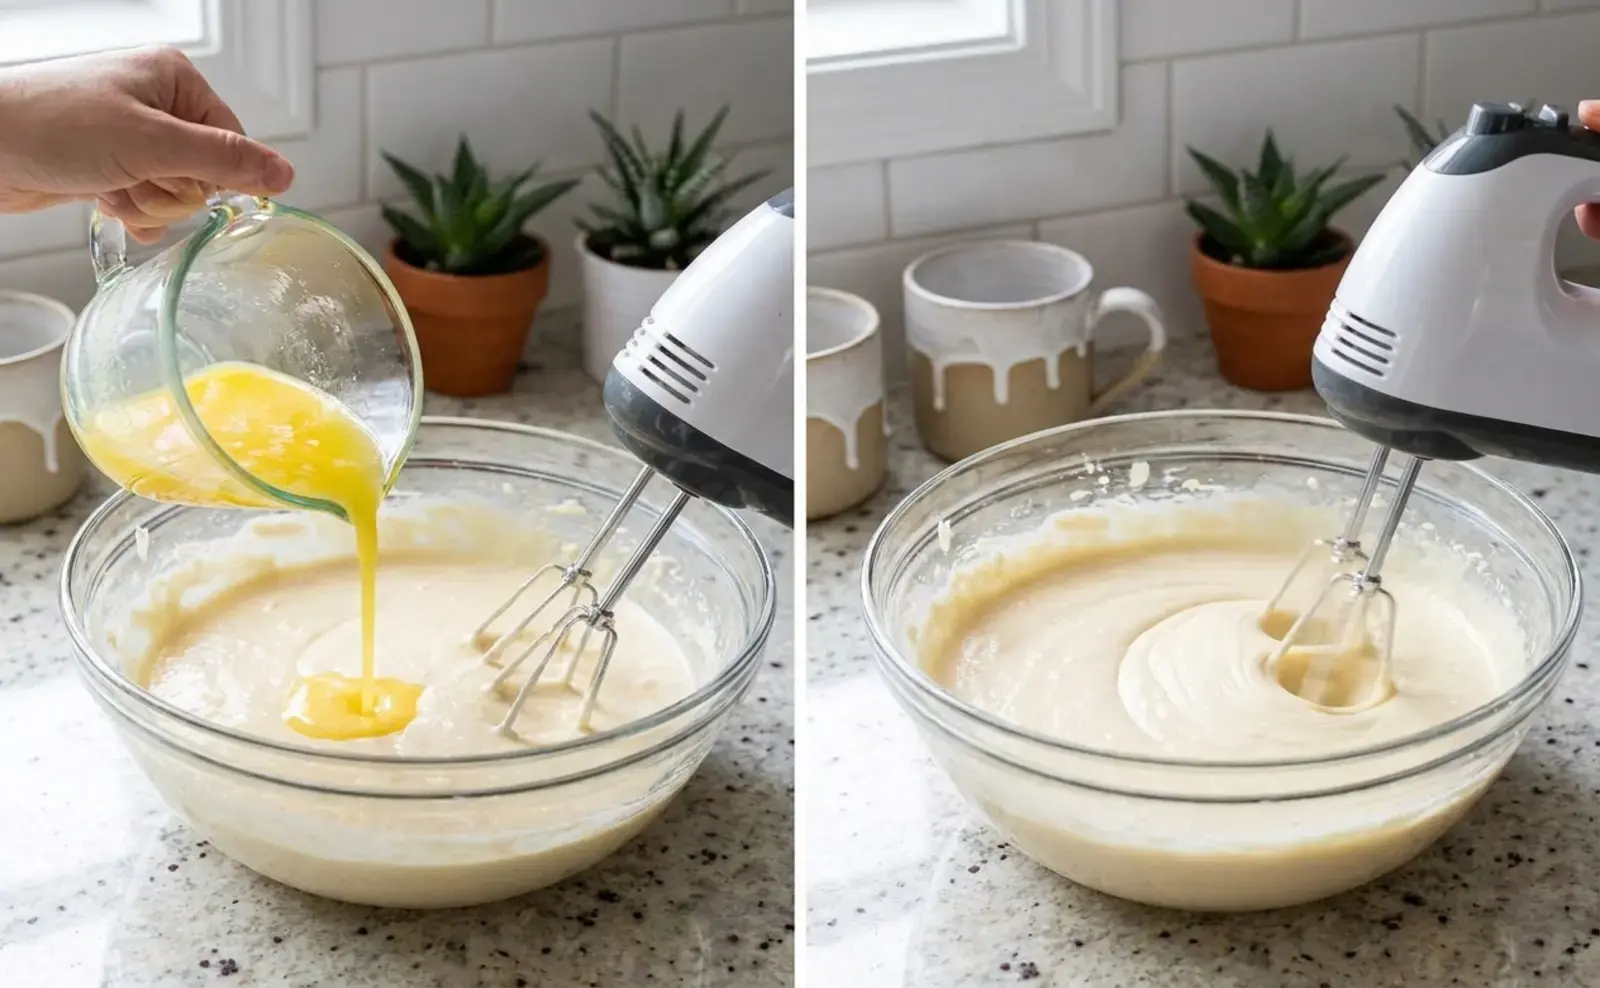
- In a small pot, combine butter, milk, oil, and vanilla. Heat over medium until the butter melts. Do not let it boil. Cover the pot to keep the mixture warm.
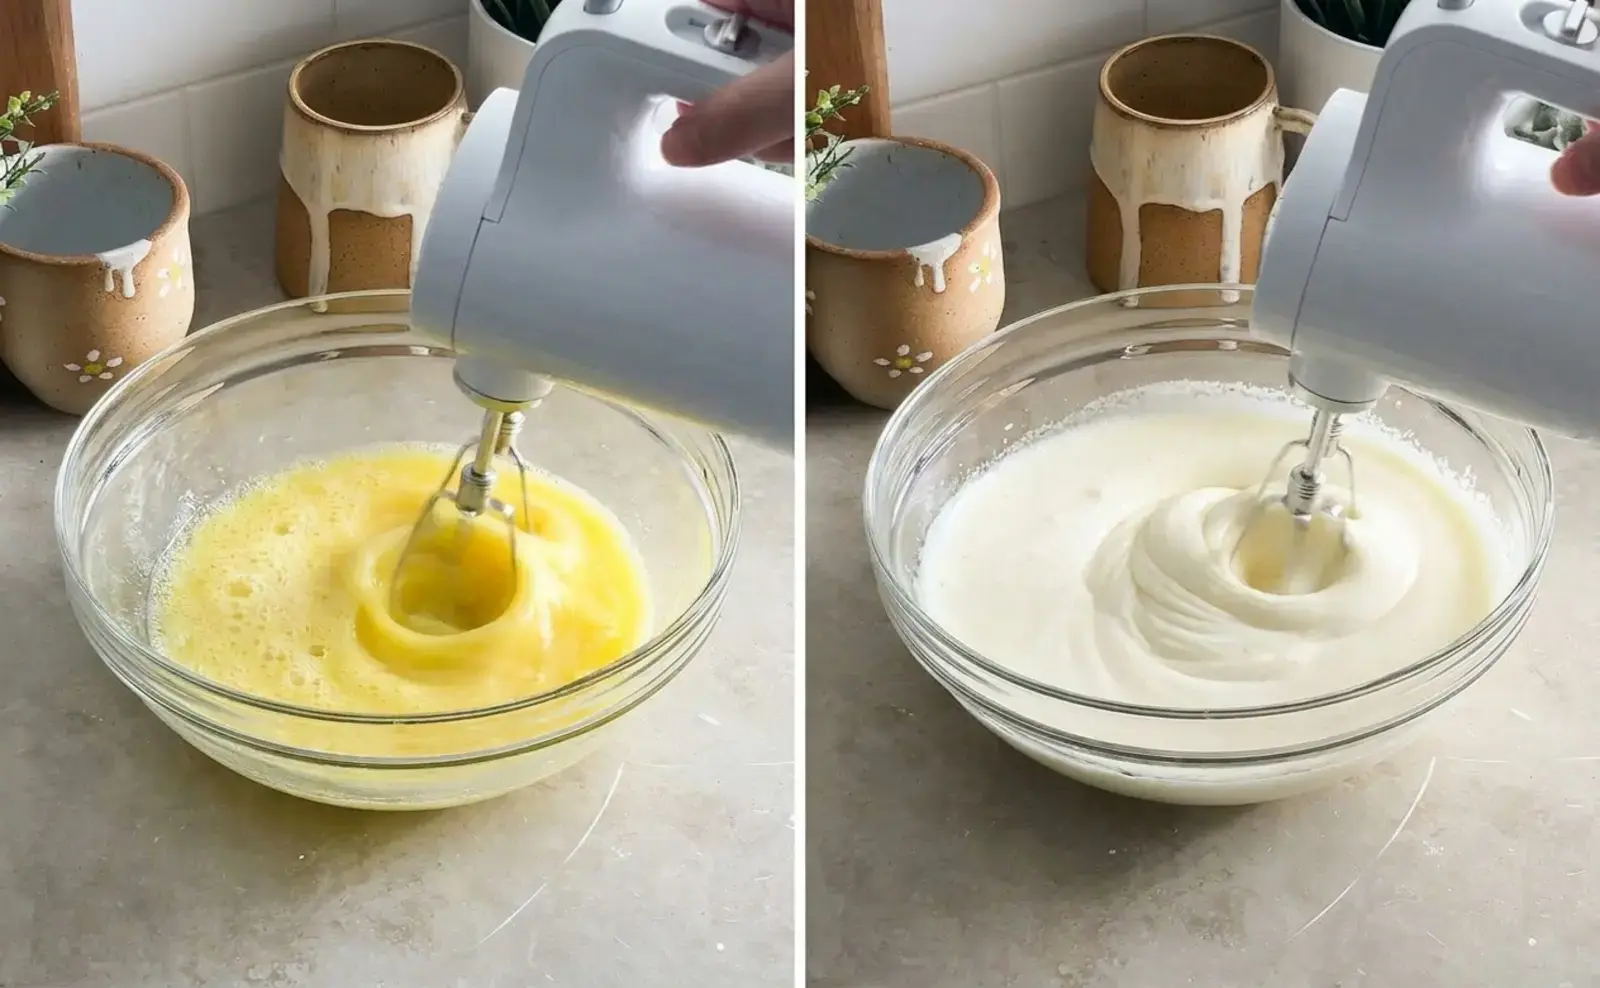
- In a large bowl, beat the eggs and granulated sugar with an electric hand mixer at medium speed for a full 6 minutes. The mixture should triple in volume and turn very pale, almost white.
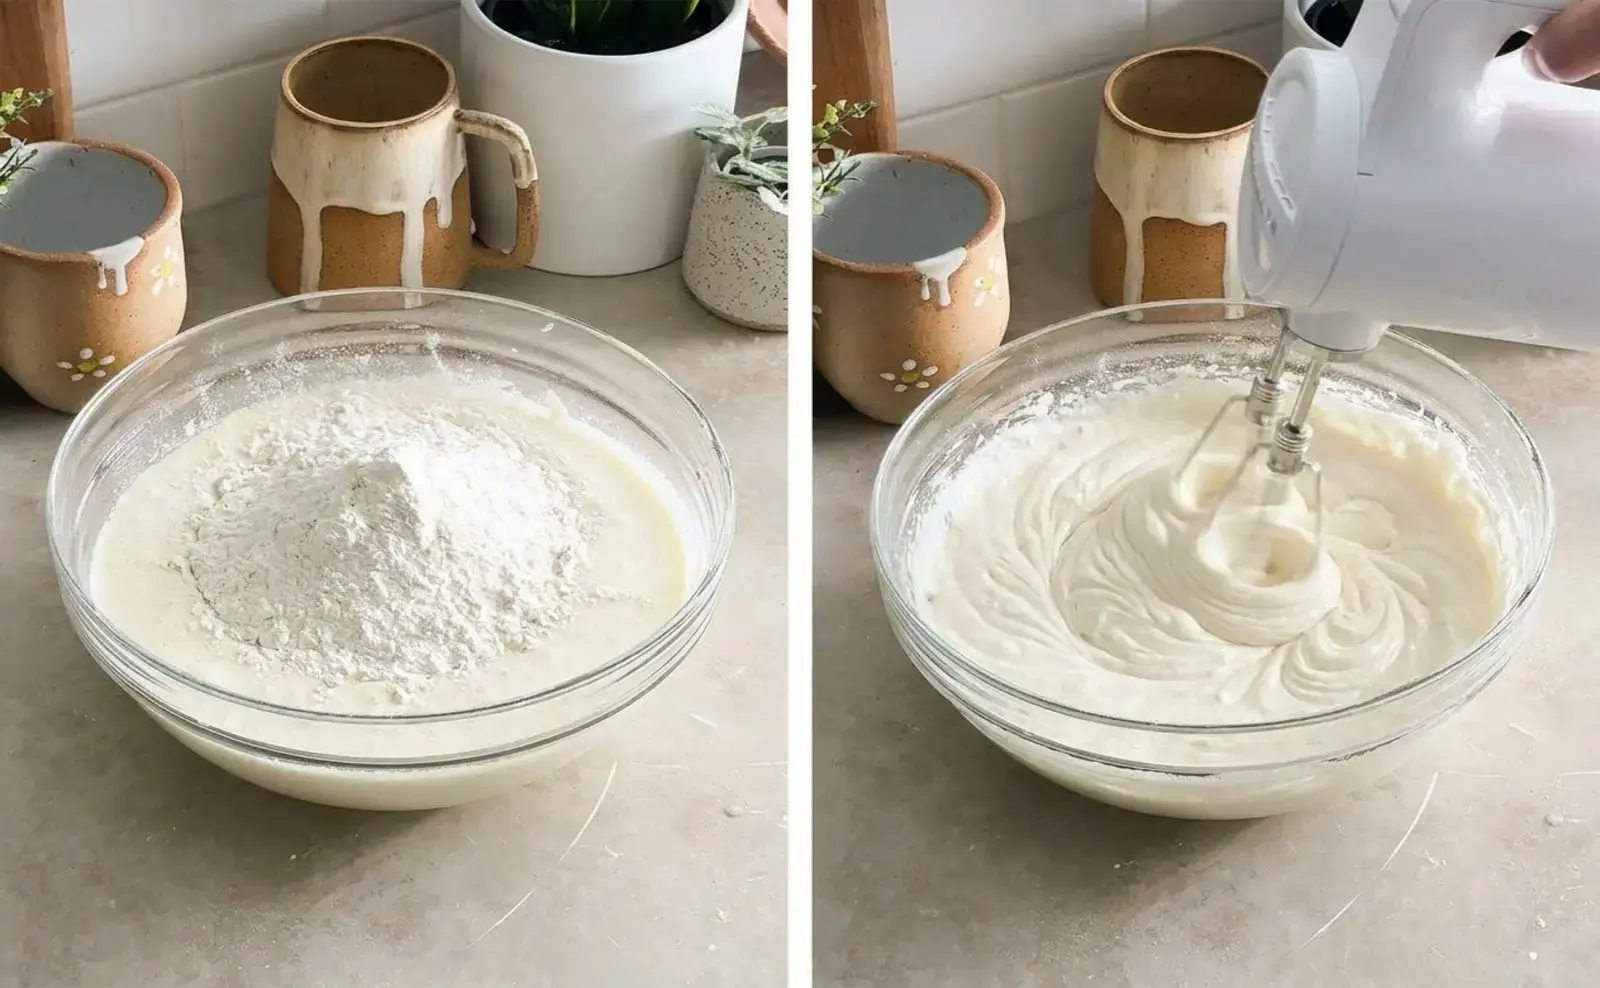
- Add about half the flour mixture to the egg foam and mix on low until just combined. Add the remaining flour and mix until mostly combined. A few streaks of flour are okay to avoid overmixing.
- With the mixer running on low, slowly stream in the warm milk mixture. Continue mixing until the batter is smooth and fluid.
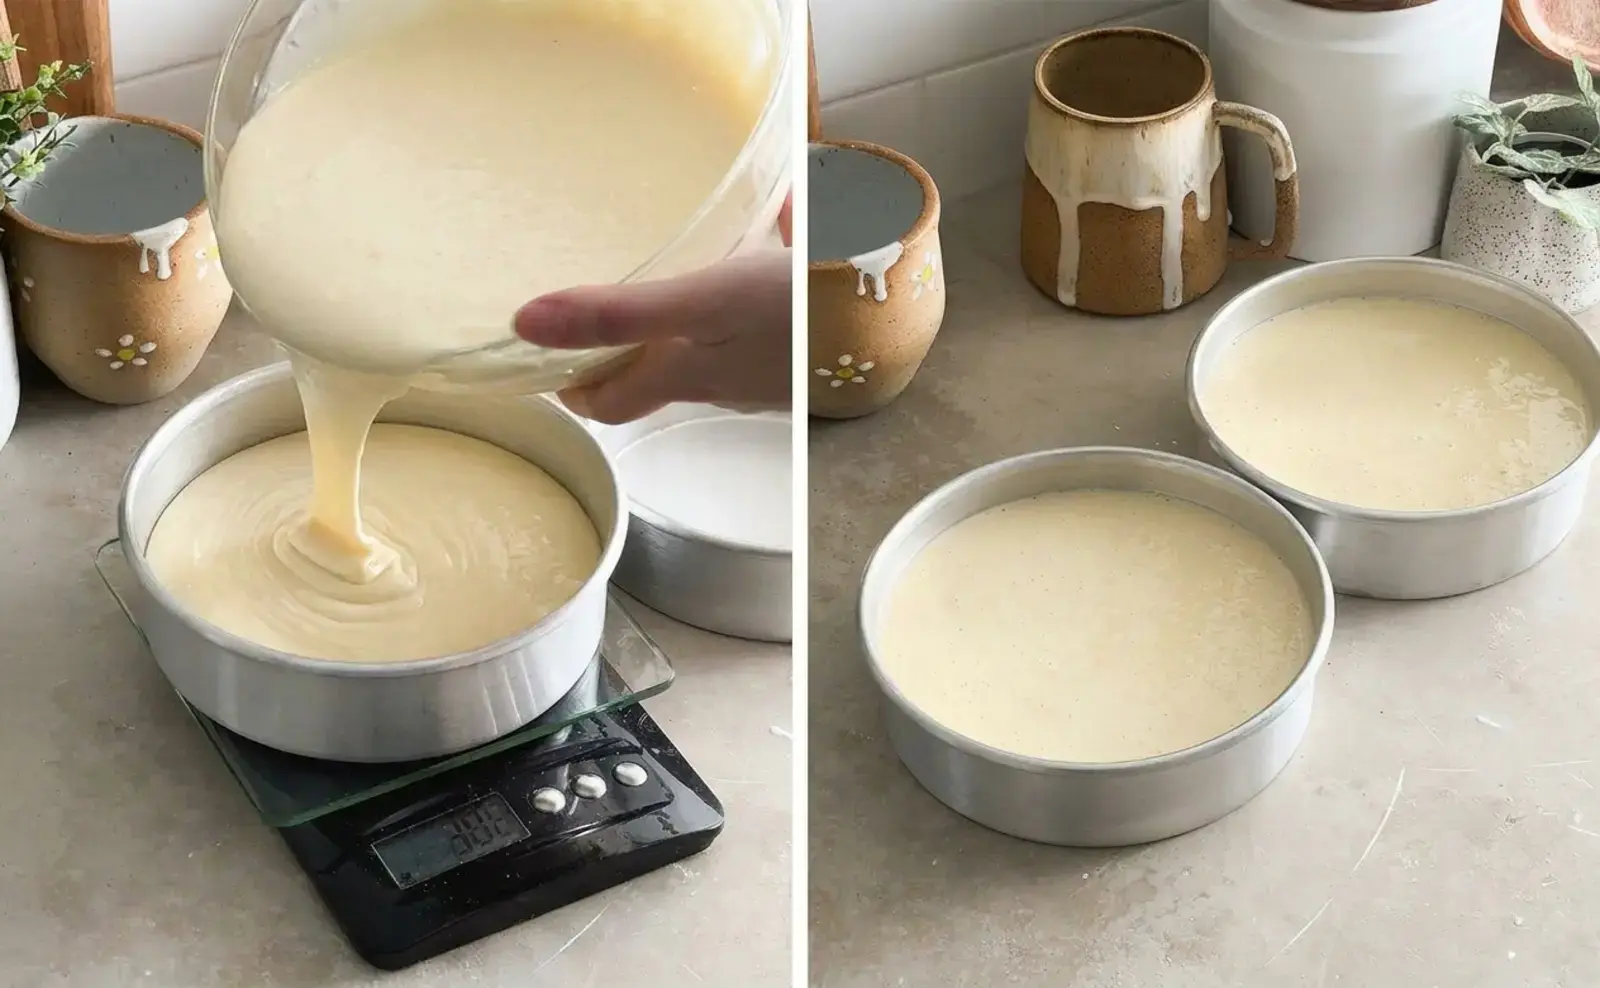
- Divide the batter evenly between the prepared pans. Each pan should be about half full.
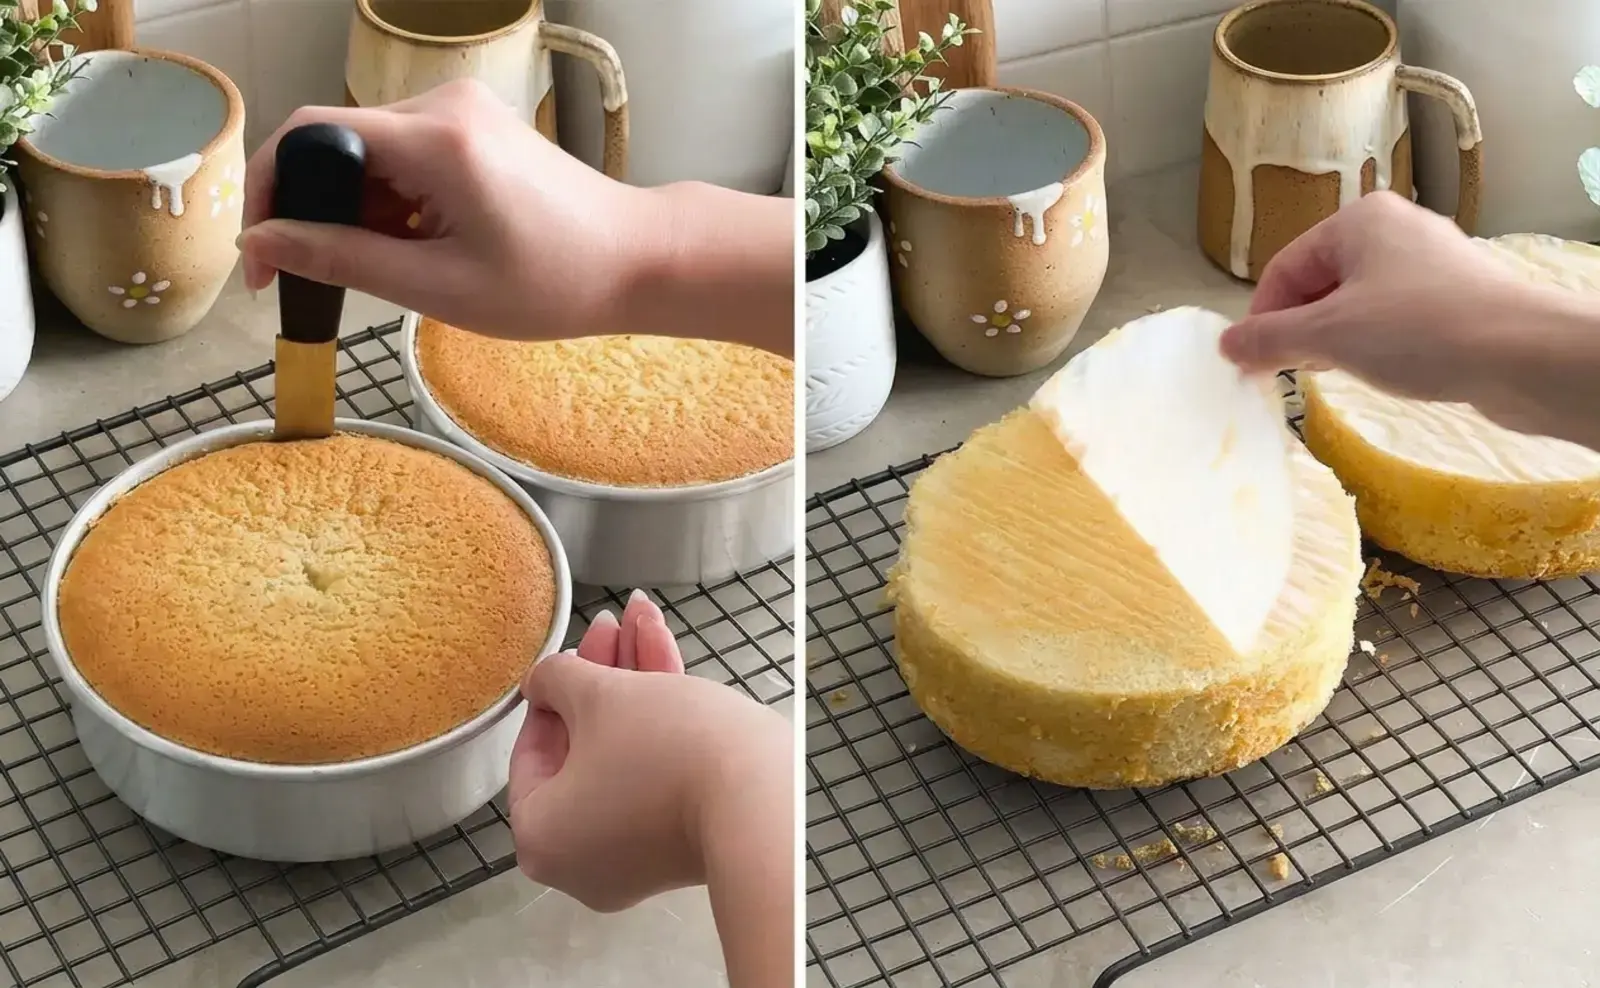
- Bake for 35 to 40 minutes, or until a toothpick inserted in the center comes out with a few moist crumbs. Cool the cakes in the pans for 15 minutes.
- Run an offset spatula around the edges, then turn the layers out onto a wire rack to cool completely.
Make the filling
While the cake layers cool, prepare the whipped cream filling.
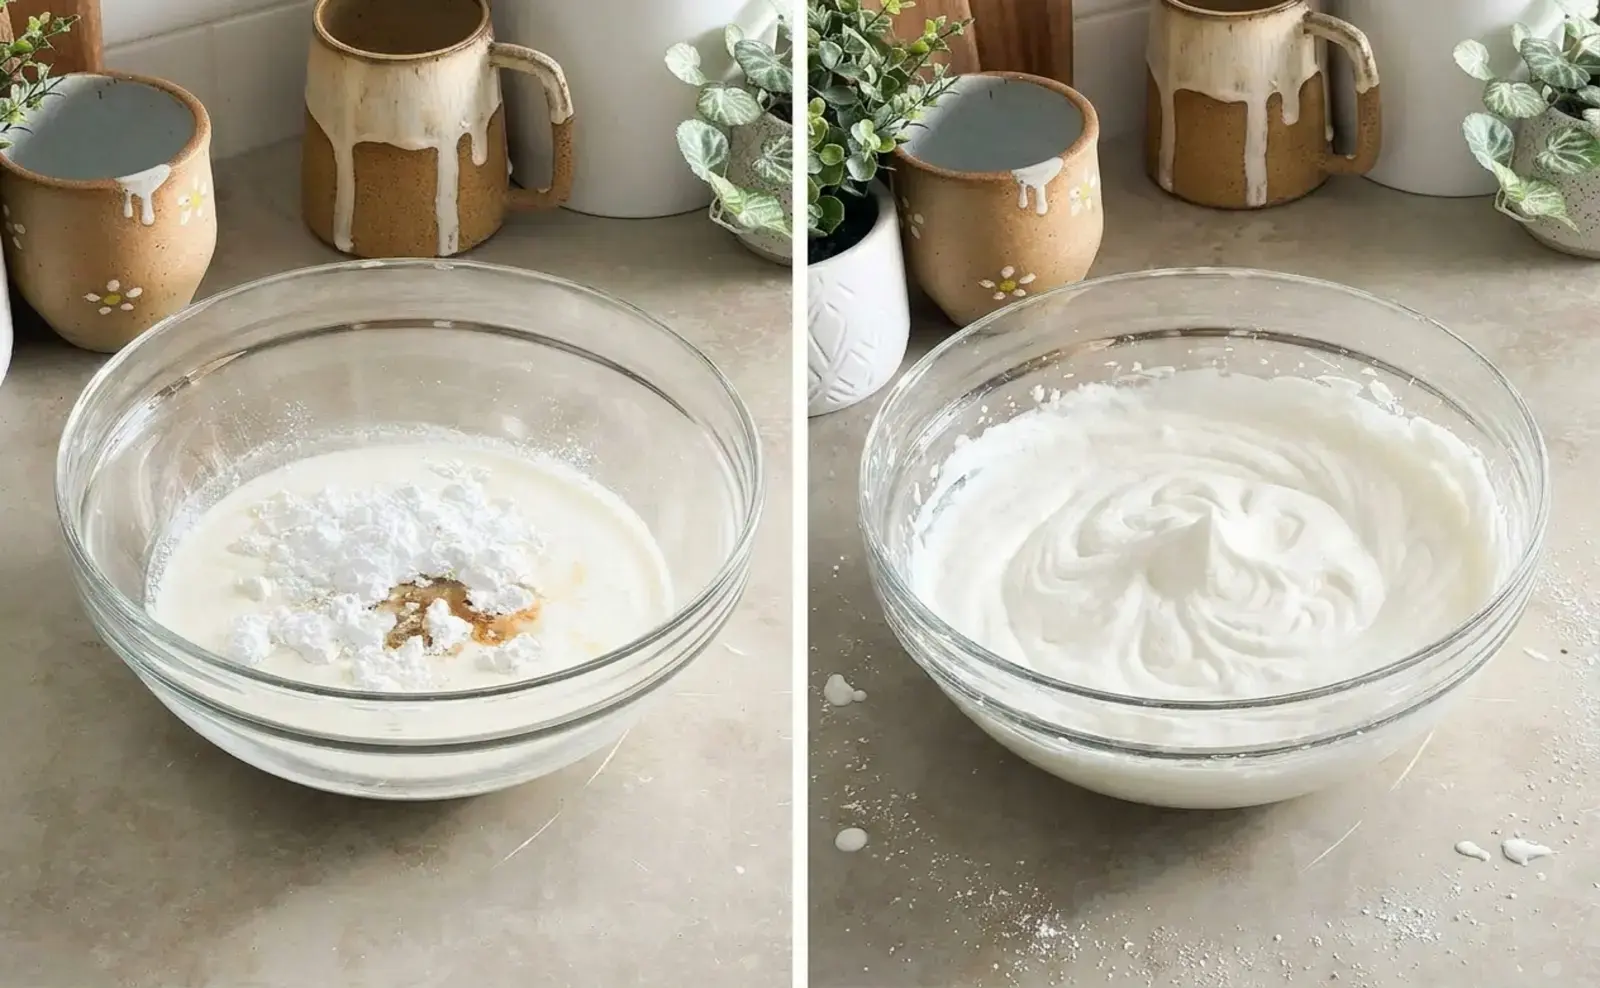
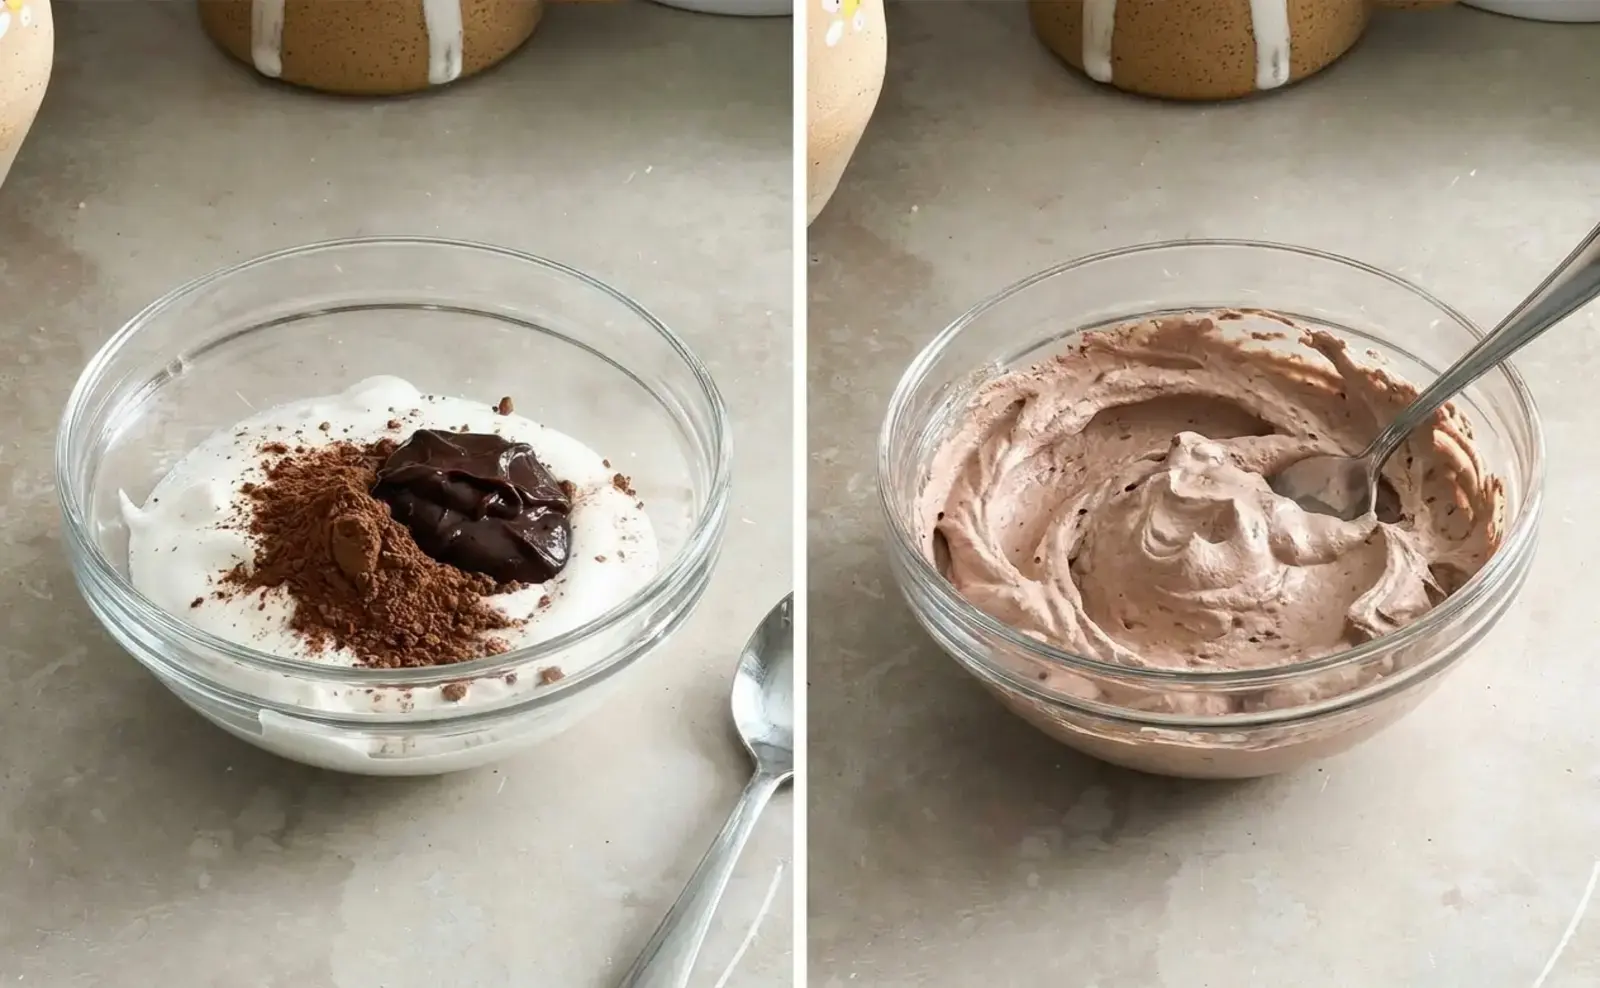
- Pour cold heavy cream into a large mixing bowl. Add powdered sugar and vanilla extract.
- Beat with an electric hand mixer fitted with the whisk attachment until soft peaks form. The cream should hold a gentle peak that flops over slightly.
- Scoop about 1/3 cup of the soft peak cream into a separate bowl and set aside. This will become the brown cream for the legs.
- Continue beating the remaining cream until firm peaks form. The cream should hold its shape when you lift the beaters.
- To the reserved cream, add cocoa powder and mix until fully incorporated and brown.
- Transfer both the white and brown whipped creams into separate piping bags. Snip off the tips.
Assemble and decorate the cake
Now comes the fun part: turning your cake into a Jellycat!
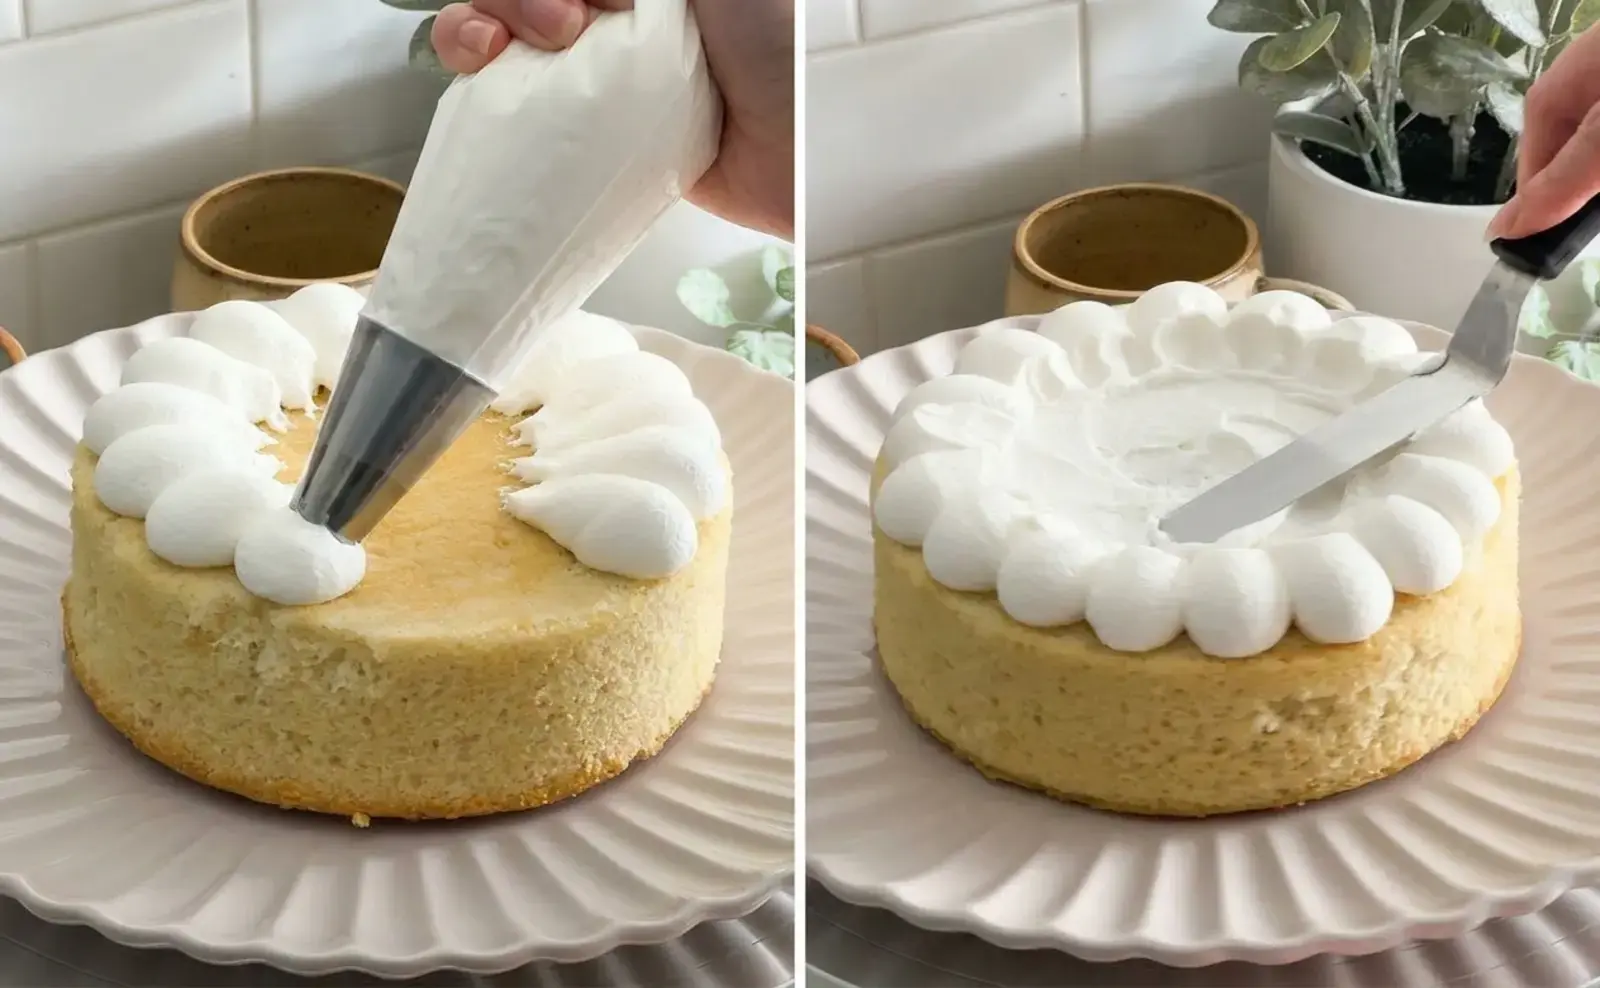
- Place one cake layer on a serving plate or cake board.
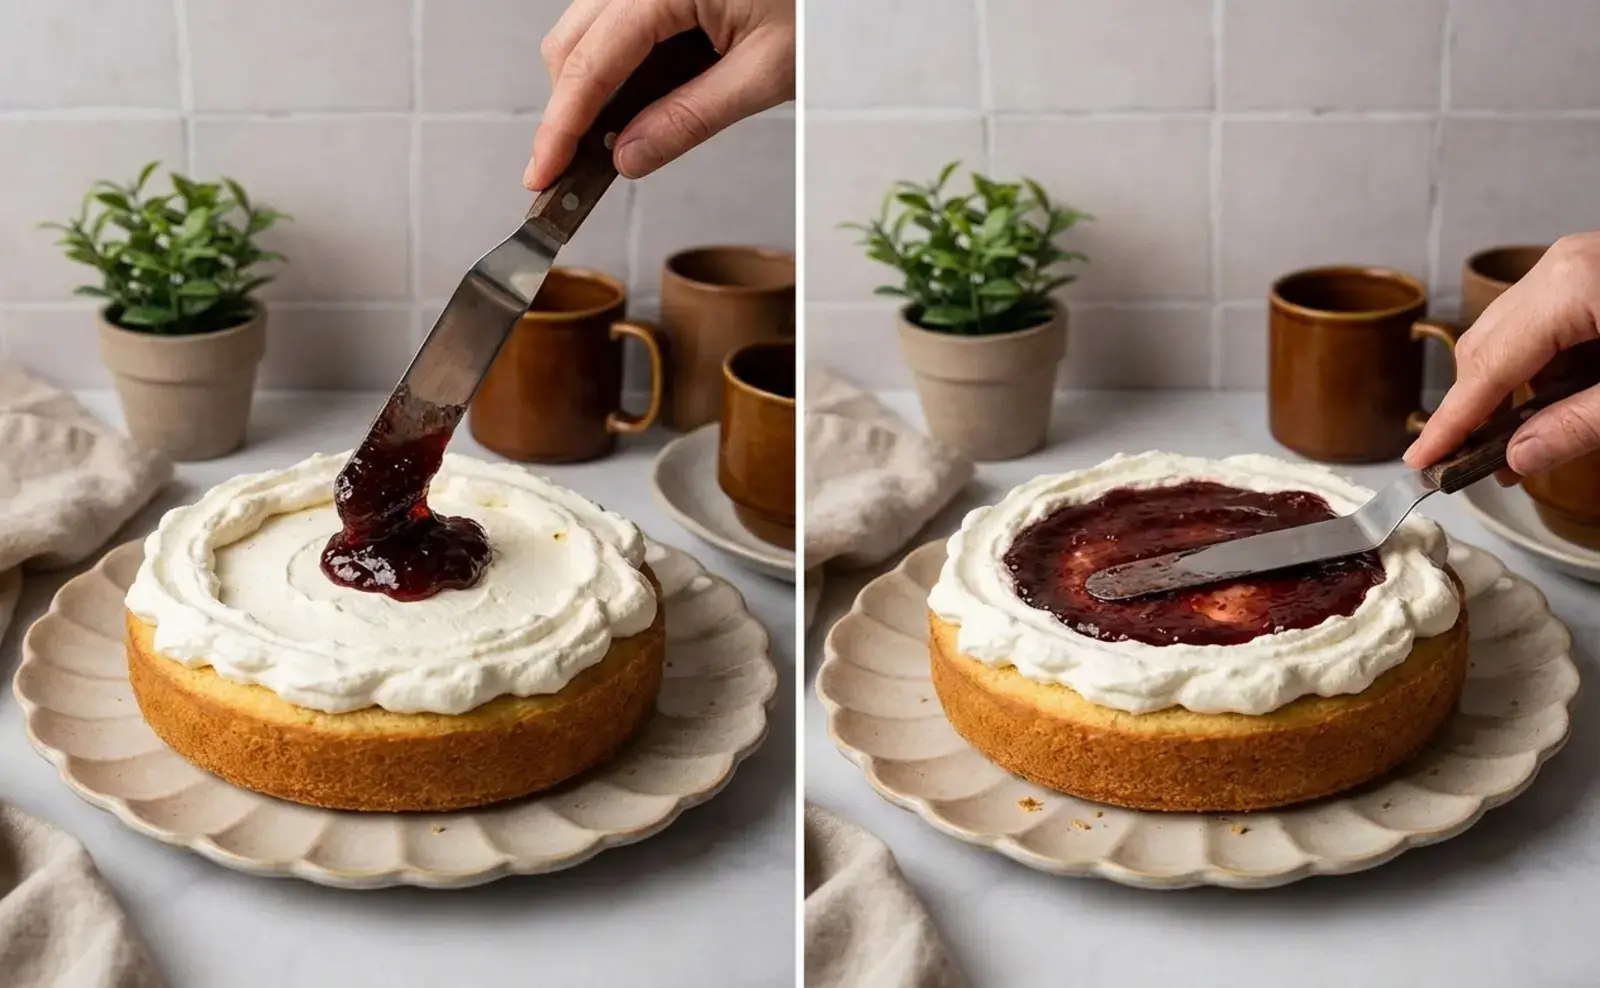
- Pipe dollops of white whipped cream around the edge of the cake, ending toward the middle. Use a small spatula to smear the tail ends of the dollops toward the center, creating a dam for the jam.
- Spoon strawberry jam into the center of the cream ring and spread it evenly. Be careful not to disturb the cream border.
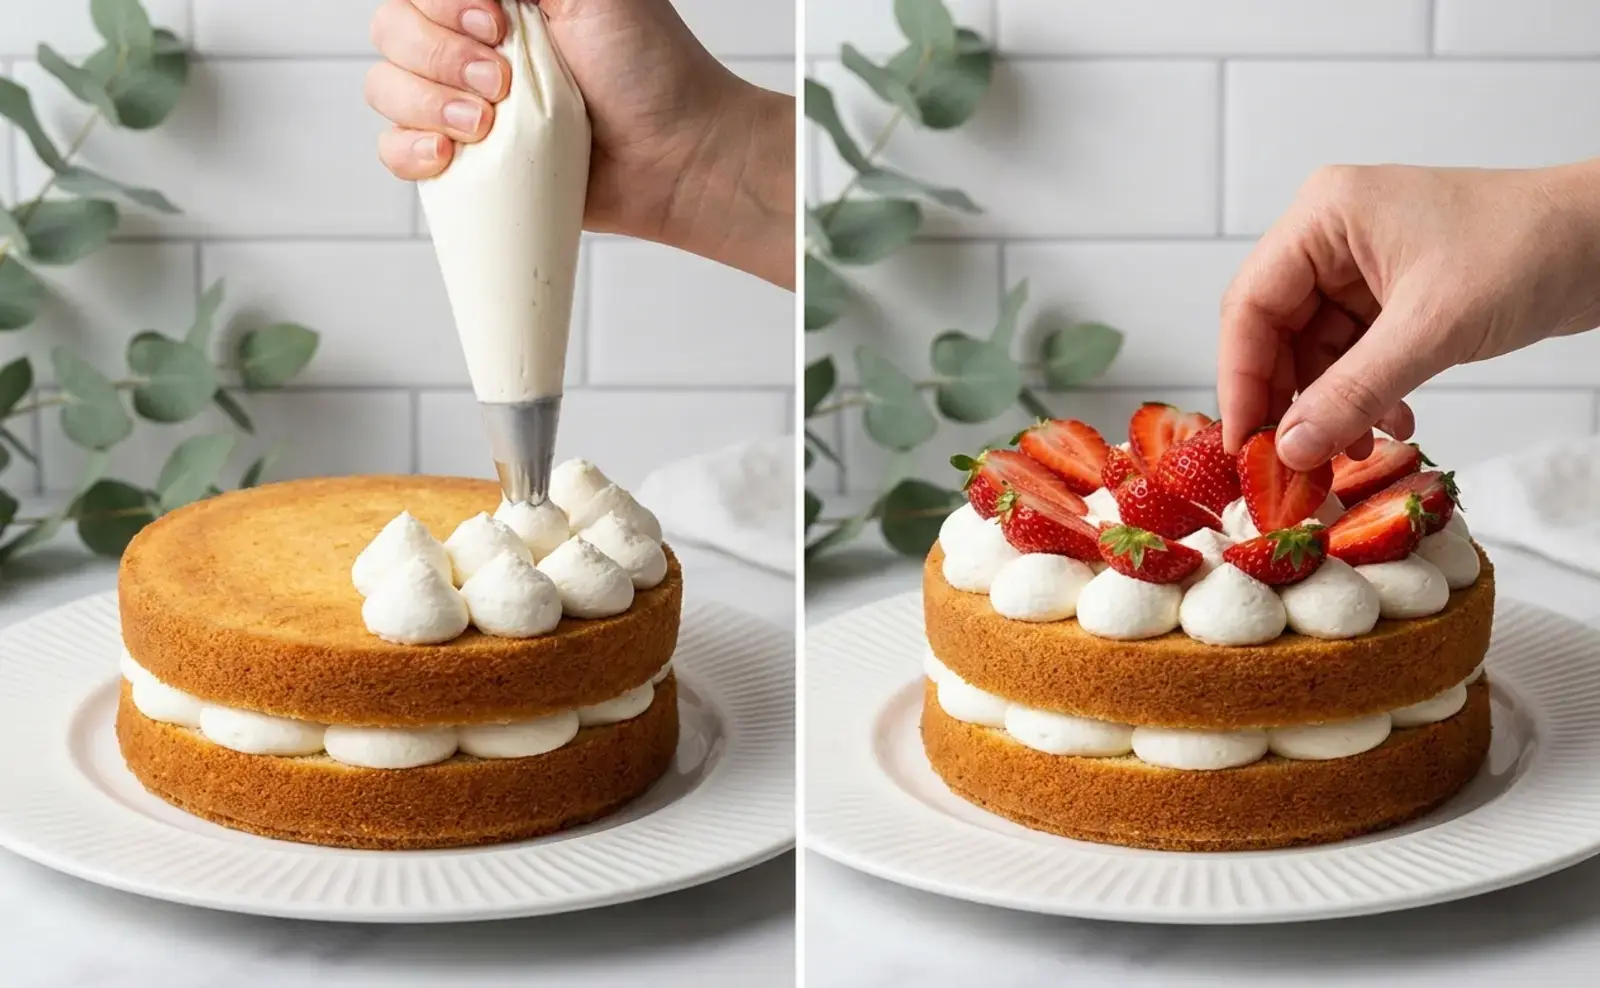
- Place the second cake layer on top.
- Pipe more white whipped cream dollops over the top of the cake. Arrange halved fresh strawberries on the cream, and insert a candle in the center.
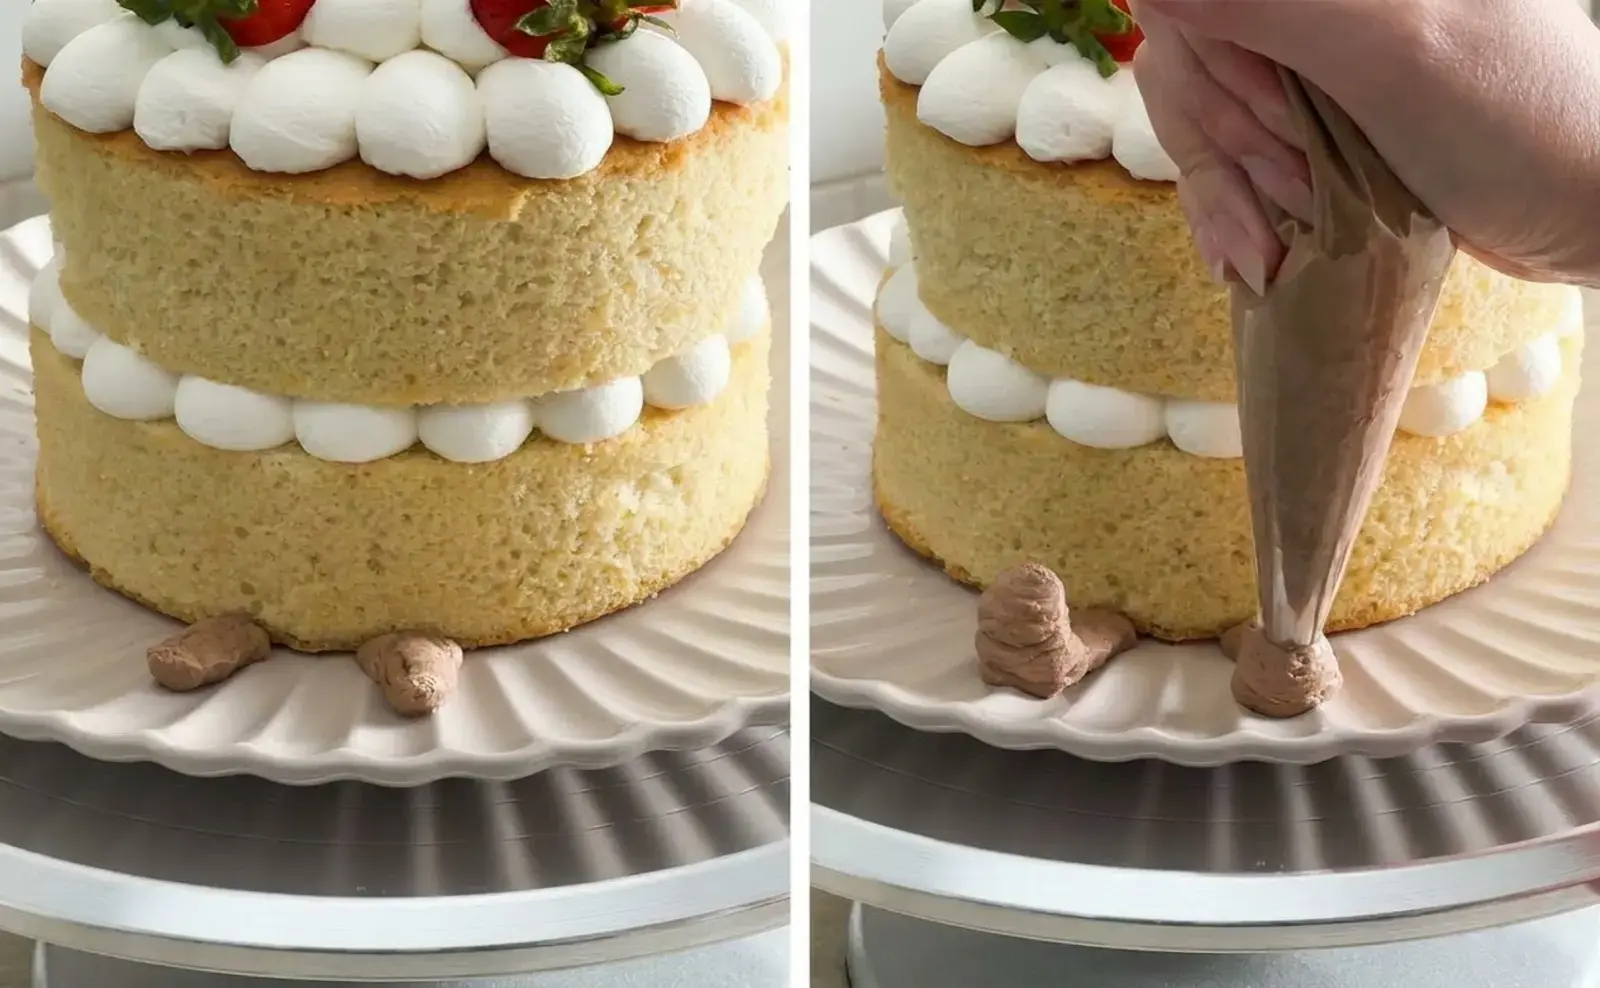
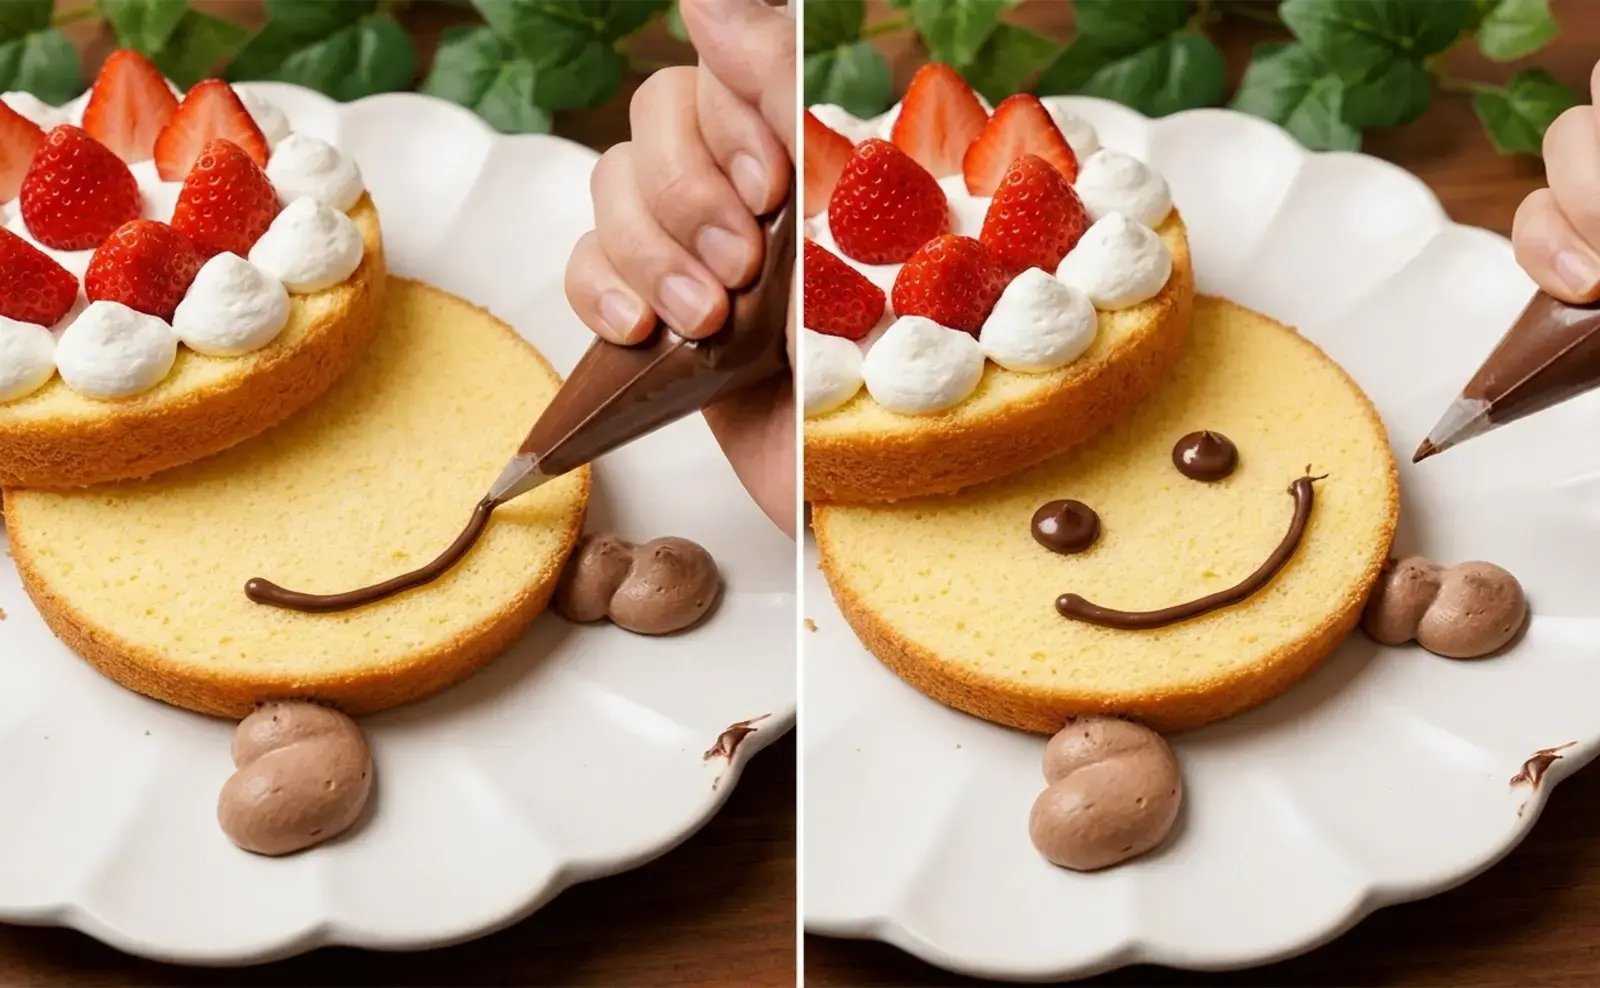
- Using the brown whipped cream, pipe two little legs on the plate, extending outward from the bottom cake layer. They should look like the plushie’s feet.
- Melt dark chocolate in the microwave (30 second bursts) or on the stovetop. Transfer to a small piping bag, snip the tip, and pipe two eyes and a curved smile on the bottom cake layer, between the legs.
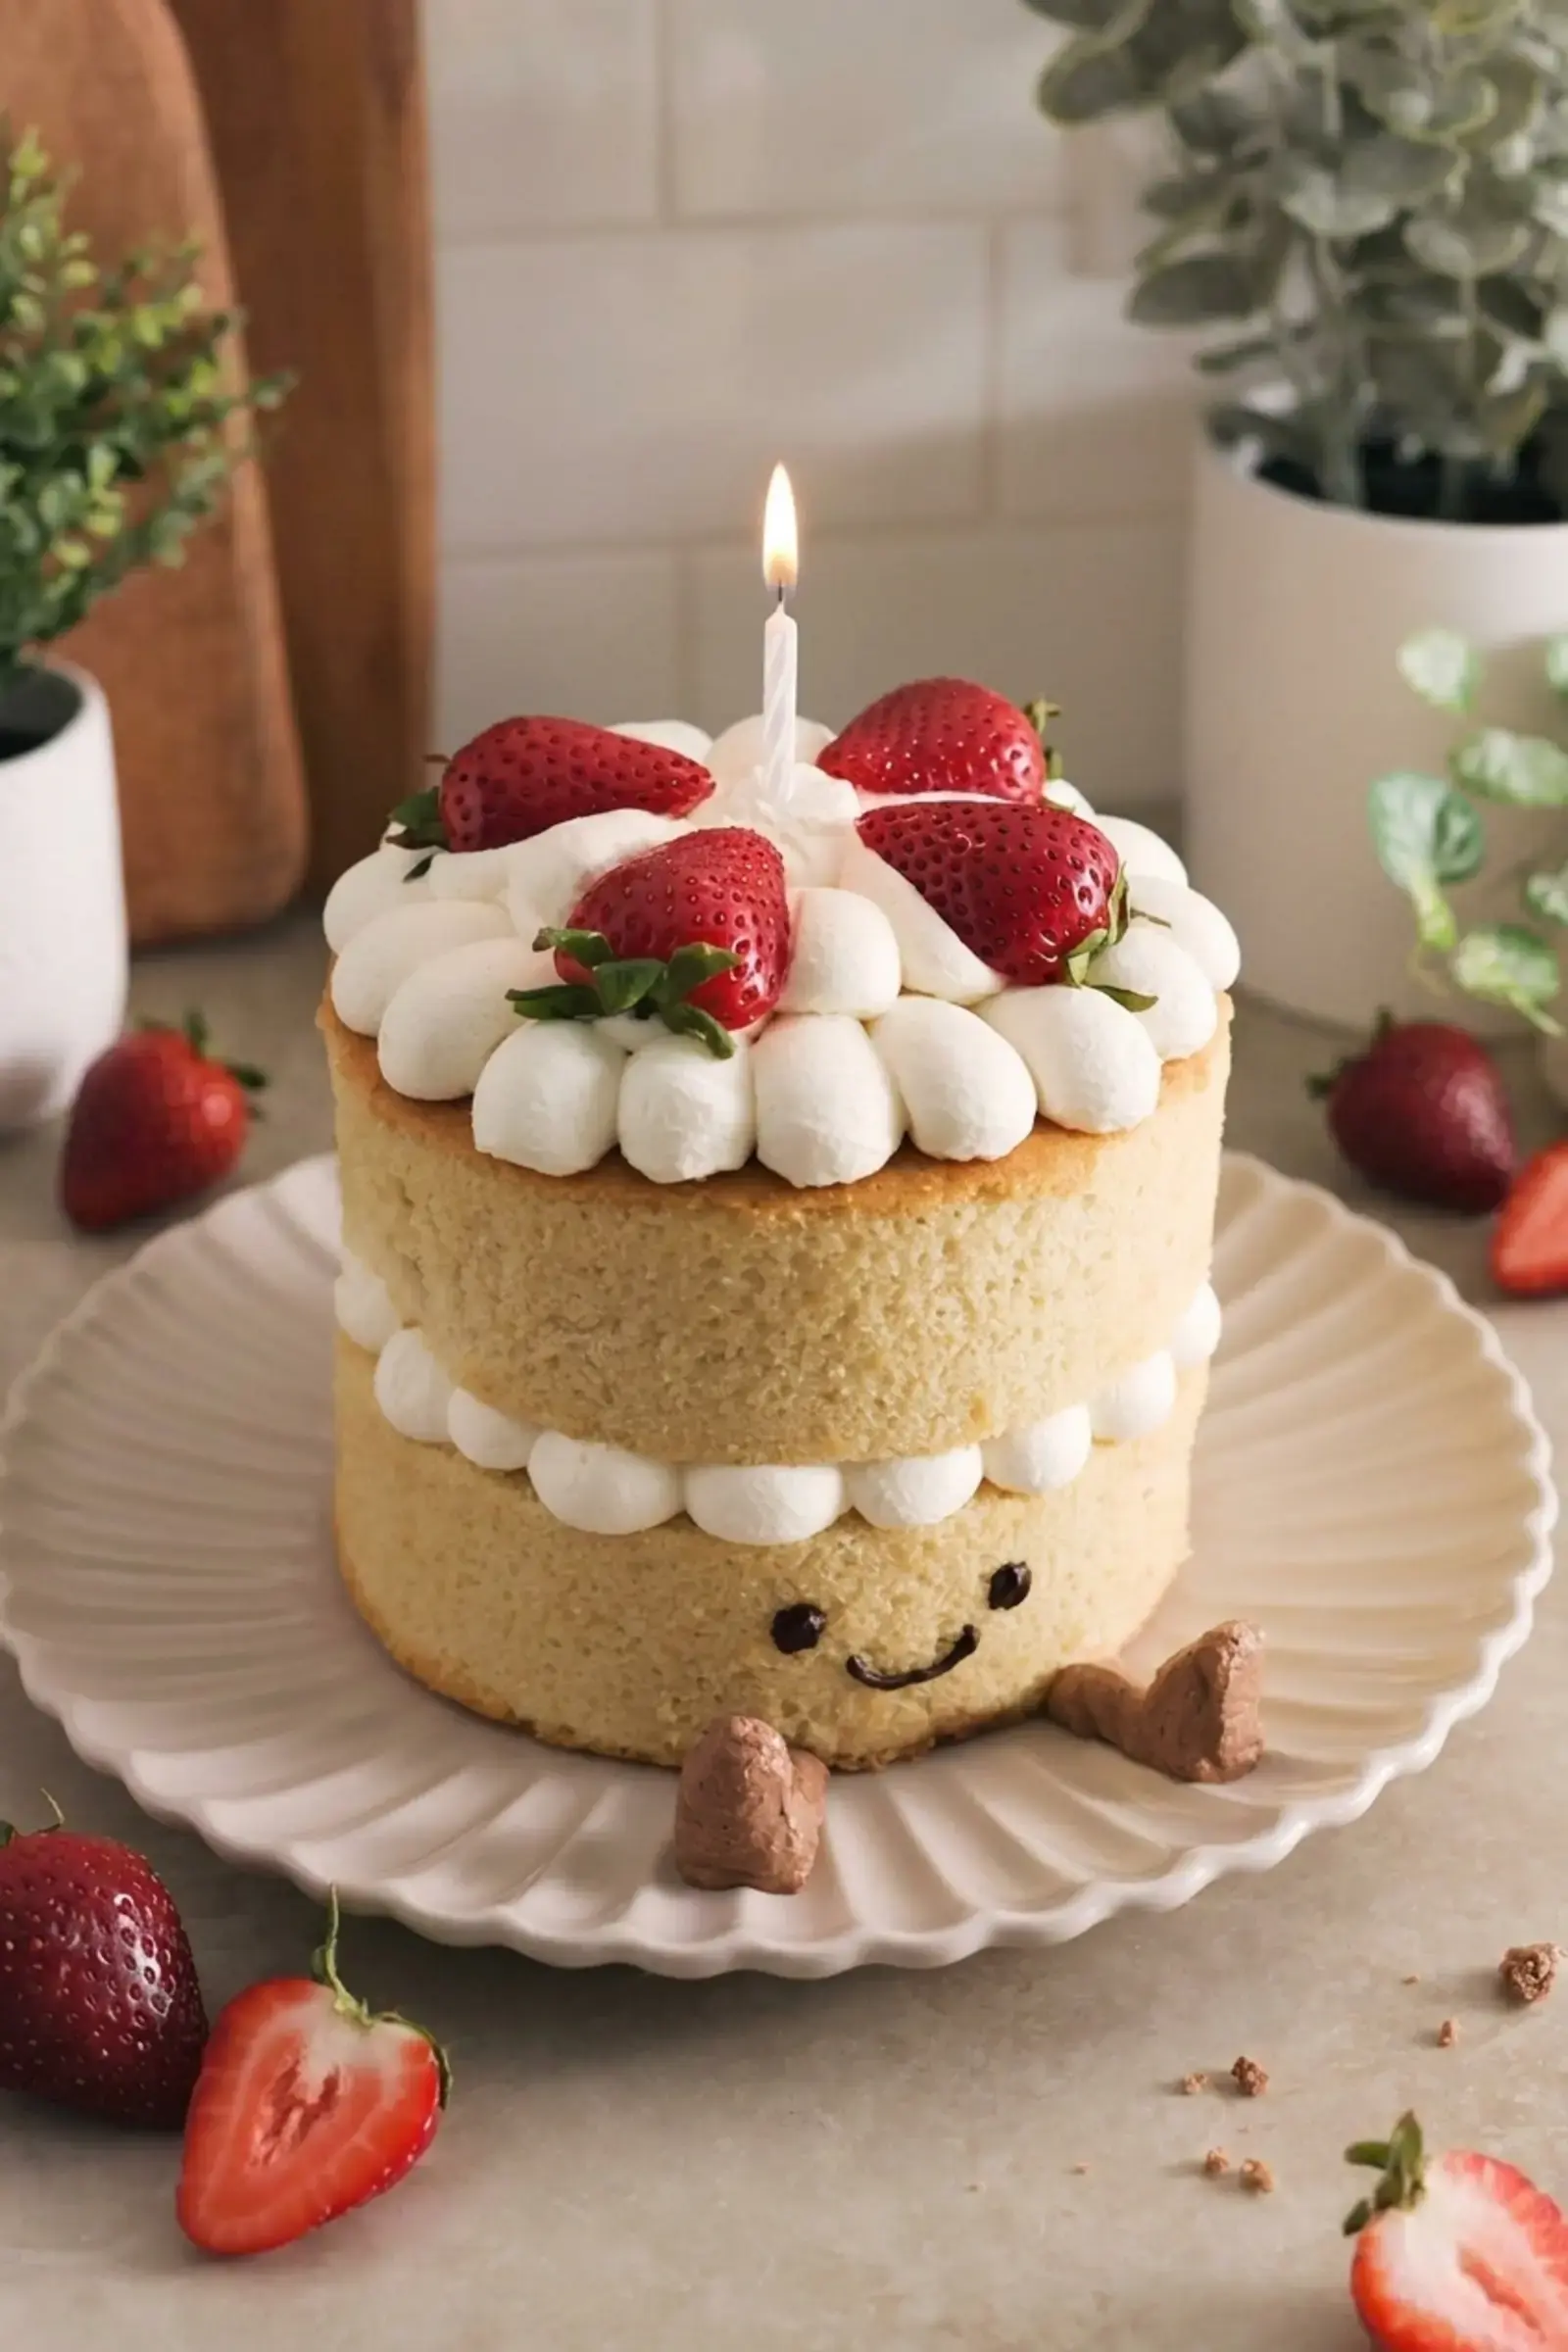
That is it! Your Jellycat birthday cake is ready to wow everyone.
Storage
Store any leftover cake in an airtight container in the refrigerator for up to 3 days.
Because the cake uses whipped cream and fresh fruit, it is best enjoyed within 24 hours for peak freshness. Before serving, let the cake sit at room temperature for about 30 minutes so the texture and flavor soften beautifully.
Freezing
You can freeze this cake for later. Wrap the assembled cake (without the fresh strawberries) tightly in plastic wrap, then place it in an airtight container or freezer bag. Freeze for up to 1 month. To thaw, transfer the cake to the refrigerator overnight, then bring to room temperature before serving. Add fresh strawberries just before serving for the best presentation.
Frequently asked questions
What is a Jellycat birthday cake?
How do you make a Jellycat birthday cake?
What flavors go well with a Jellycat birthday cake?
Can I make a Jellycat birthday cake gluten free?
How do you decorate a Jellycat birthday cake?
Is a Jellycat birthday cake easy to make for beginners?
Jellycat Birthday Cake
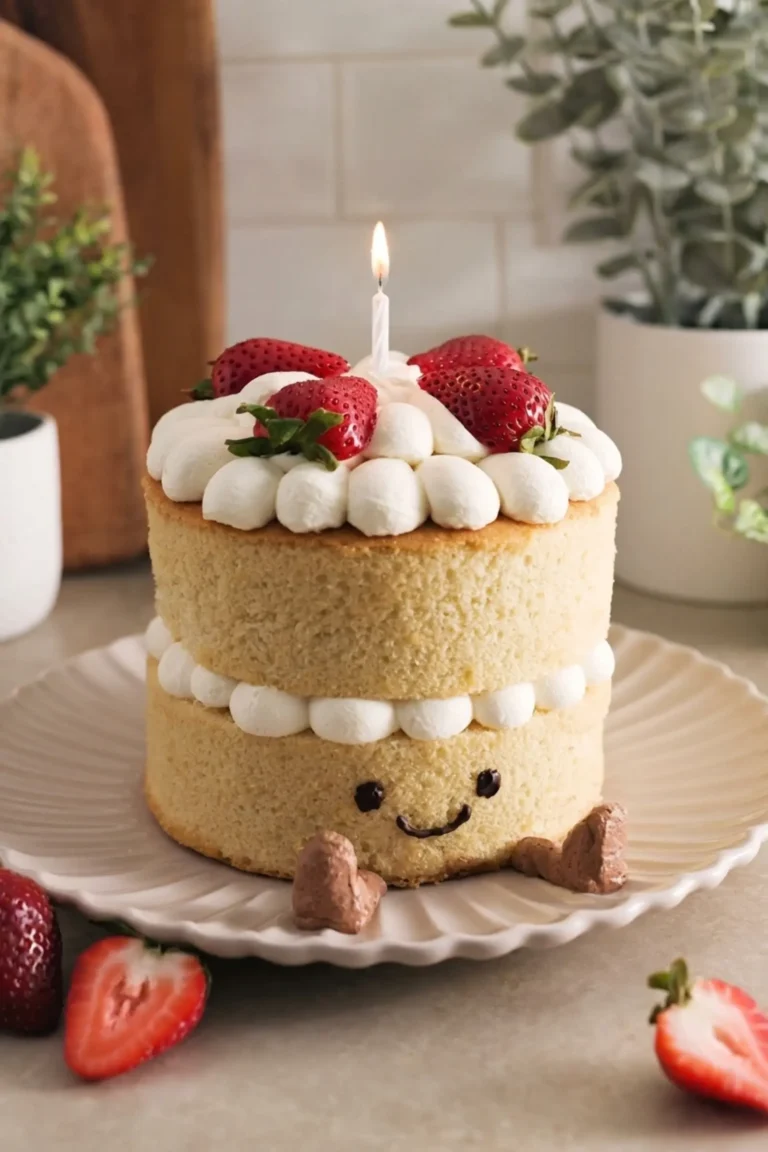
🐰 This adorable Jellycat-inspired birthday cake captures the whimsical charm of the beloved plushie with its rounded body, tiny chocolate legs, and sweet face – a showstopper for first birthdays and baby showers!
🍓 Hot milk sponge cake delivers a tender, moist crumb that stays fresh for days, layered with strawberry jam and fluffy whipped cream for a light, fruity finish anyone can master.
- Total Time: 2 hours 20 minutes
- Yield: 1 cake (8 slices) 1x
Ingredients
180g all purpose flour
1 1/2 teaspoons baking powder
1/4 teaspoon salt
2 large eggs, room temperature
150g granulated sugar
60g unsalted butter
120ml whole milk
30ml light tasting oil (canola, avocado, or grapeseed)
1 teaspoon vanilla extract
480ml heavy cream, cold
60g powdered sugar
1 tablespoon cocoa powder
120g strawberry jam
5 fresh strawberries, halved
30g dark chocolate
Instructions
1-Prepare dry ingredients: In a small bowl, whisk together all purpose flour, baking powder, and salt.
2-Heat butter mixture: In a small pot, combine butter, milk, oil, and vanilla and heat over medium until the butter melts (do not boil); cover to keep warm.
3-Beat eggs and sugar: In a large bowl, beat eggs and granulated sugar with an electric hand mixer at medium speed for a full 6 minutes until pale and tripled in volume.
4-Add flour in two parts: Add about half the flour mixture to the egg foam and mix on low until just combined, then add the remaining flour and mix until mostly combined (a few streaks are okay).
5-Stream in warm milk mixture: With the mixer on low, slowly stream in the warm milk mixture and continue mixing until the batter is smooth and fluid.
6-Divide batter into pans: Divide the batter evenly between two 6-inch round parchment-lined cake pans, filling each about half full.
7-Bake and cool: Bake at 350°F for 35–40 minutes, until a toothpick comes out with moist crumbs; cool in the pans for 15 minutes.
8-Unmold and cool completely: Run an offset spatula around the edges, then turn the layers out onto a wire rack to cool completely.
9-Combine cream ingredients: Pour cold heavy cream into a large mixing bowl and add powdered sugar and vanilla extract.
10-Beat to soft peaks: Beat with an electric hand mixer fitted with the whisk attachment until soft peaks form (the cream holds a gentle peak that flops over slightly).
11-Reserve some cream: Scoop about 1/3 cup of the soft peak cream into a separate bowl and set aside for the brown cream.
12-Beat remaining cream to firm peaks: Continue beating the remaining cream until firm peaks form, holding its shape when the beaters are lifted.
13-Make brown cream: To the reserved cream, add cocoa powder and mix until fully incorporated and brown.
14-Transfer to piping bags: Transfer both the white and brown whipped creams into separate piping bags and snip off the tips.
15-Place first cake layer: Place one cake layer on a serving plate or cake board.
16-Pipe cream dam: Pipe dollops of white whipped cream around the edge of the cake, then use a small spatula to smear the tail ends toward the center to create a dam for the jam.
17-Spread jam: Spoon strawberry jam into the center of the cream ring and spread evenly, being careful not to disturb the cream border.
18-Top with second cake layer: Place the second cake layer on top.
19-Decorate top: Pipe more white whipped cream dollops over the top, arrange halved fresh strawberries on the cream, and insert a candle in the center.
20-Pipe legs: Using the brown whipped cream, pipe two little legs on the plate extending outward from the bottom cake layer to resemble the plushie’s feet.
21-Pipe chocolate face: Melt dark chocolate (microwave in 30-second bursts or stovetop), transfer to a small piping bag, snip the tip, and pipe two eyes and a curved smile on the bottom cake layer between the legs.
Last Step:
Please leave a rating and comment letting us know how you liked this recipe! This helps our business to thrive and continue providing free, high-quality recipes for you.Notes
🥚 Use room temperature eggs for maximum volume when whipping with the sugar – let them sit out for 30 minutes before starting for the fluffiest cake.
🍓 For the best strawberry flavor, use a chunky homemade jam with less sugar, but a good quality store-bought jam works perfectly for convenience.
❄️ Chill your mixing bowl and beaters in the freezer for 10 minutes before whipping the cream – cold equipment helps the cream whip faster and hold its shape longer.
- Prep Time: 45 minutes
- Cooling Time: 1 hour
- Cook Time: 35 minutes
- Category: Desserts
- Method: Baking
- Cuisine: American
- Diet: Vegetarian
Nutrition
- Serving Size: 1 slice
- Calories: 410
- Sugar: 32g
- Sodium: 180mg
- Fat: 24g
- Saturated Fat: 13g
- Unsaturated Fat: 9g
- Trans Fat: 0g
- Carbohydrates: 43g
- Fiber: 1g
- Protein: 5g
- Cholesterol: 85mg