What Are Peruvian Grilled Chicken Skewers?
Peruvian Grilled Chicken Skewers pair juicy chicken thighs with a bold marinade of lime, ginger, garlic, cumin, smoked paprika, soy sauce, and brown sugar. The combination brings South American seasoning together with Asian ingredients, creating savory, smoky, bright, and lightly sweet flavors.
Boneless skinless thighs are the source’s preferred cut because they remain tender over high grill heat. Cutting them into similarly sized pieces, marinating for a controlled period, and turning the skewers in quarter rotations helps the chicken brown evenly without losing too much moisture.
The marinade is divided before it touches raw chicken. Half seasons the meat, while the untouched half is reserved for brushing during grilling. This separation is essential because it prevents raw-poultry marinade from being used as a finishing sauce.
Jump to:
- What Are Peruvian Grilled Chicken Skewers?
- Peruvian Chicken Skewer Ingredients
- How to Make Peruvian Grilled Chicken Skewers
- 1. Trim and Cut the Chicken
- 2. Mix and Divide the Marinade
- 3. Marinate Under Refrigeration
- 4. Heat the Grill and Thread
- 5. Grill and Turn
- 6. Brush, Finish, and Rest
- Tips, Variations, Serving, and Storage
- Choose Smoked Paprika
- Pick Practical Skewers
- Chicken Breast Variation
- Serving and Leftovers
- Frequently Asked Questions
- How long should I marinate Peruvian Grilled Chicken Skewers?
- Can I use chicken breasts instead of thighs?
- How do I keep wooden skewers from burning?
- What temperature should the chicken reach?
Peruvian Chicken Skewer Ingredients
- 3 medium garlic cloves, finely minced
- 1 teaspoon ground cumin
- 1 teaspoon chili powder
- 1/2 teaspoon crushed red pepper flakes
- 1 teaspoon smoked paprika
- 2 tablespoons brown sugar
- 2 tablespoons extra virgin olive oil
- 2 tablespoons soy sauce
- 2 tablespoons fresh lime juice
- 2 tablespoons finely minced fresh ginger
- 3 pounds boneless skinless chicken thighs
Measure the marinade ingredients into one bowl, mix them well, and then divide the mixture. Keep the reserved half in a clean container that never contacts raw poultry, hands, skewers, or utensils used for the chicken.
How to Make Peruvian Grilled Chicken Skewers
1. Trim and Cut the Chicken
Trim excess fat from the chicken thighs and cut the meat into pieces approximately 1 inch wide. Similar pieces cook at a more consistent rate and are easier to thread securely.

2. Mix and Divide the Marinade
Combine the garlic, cumin, chili powder, red pepper flakes, smoked paprika, brown sugar, olive oil, soy sauce, lime juice, and ginger in a medium bowl. Stir until evenly mixed, then set half aside for brushing later.
3. Marinate Under Refrigeration
Place the chicken in a large zip-top bag and add only half of the marinade. Seal the bag and massage it gently so every piece is coated. Refrigerate for at least 30 minutes and no longer than 4 hours.
Do not marinate on the counter. The USDA poultry marinating guidance recommends keeping poultry refrigerated and discarding marinade that has contacted raw meat unless it is boiled safely.
4. Heat the Grill and Thread
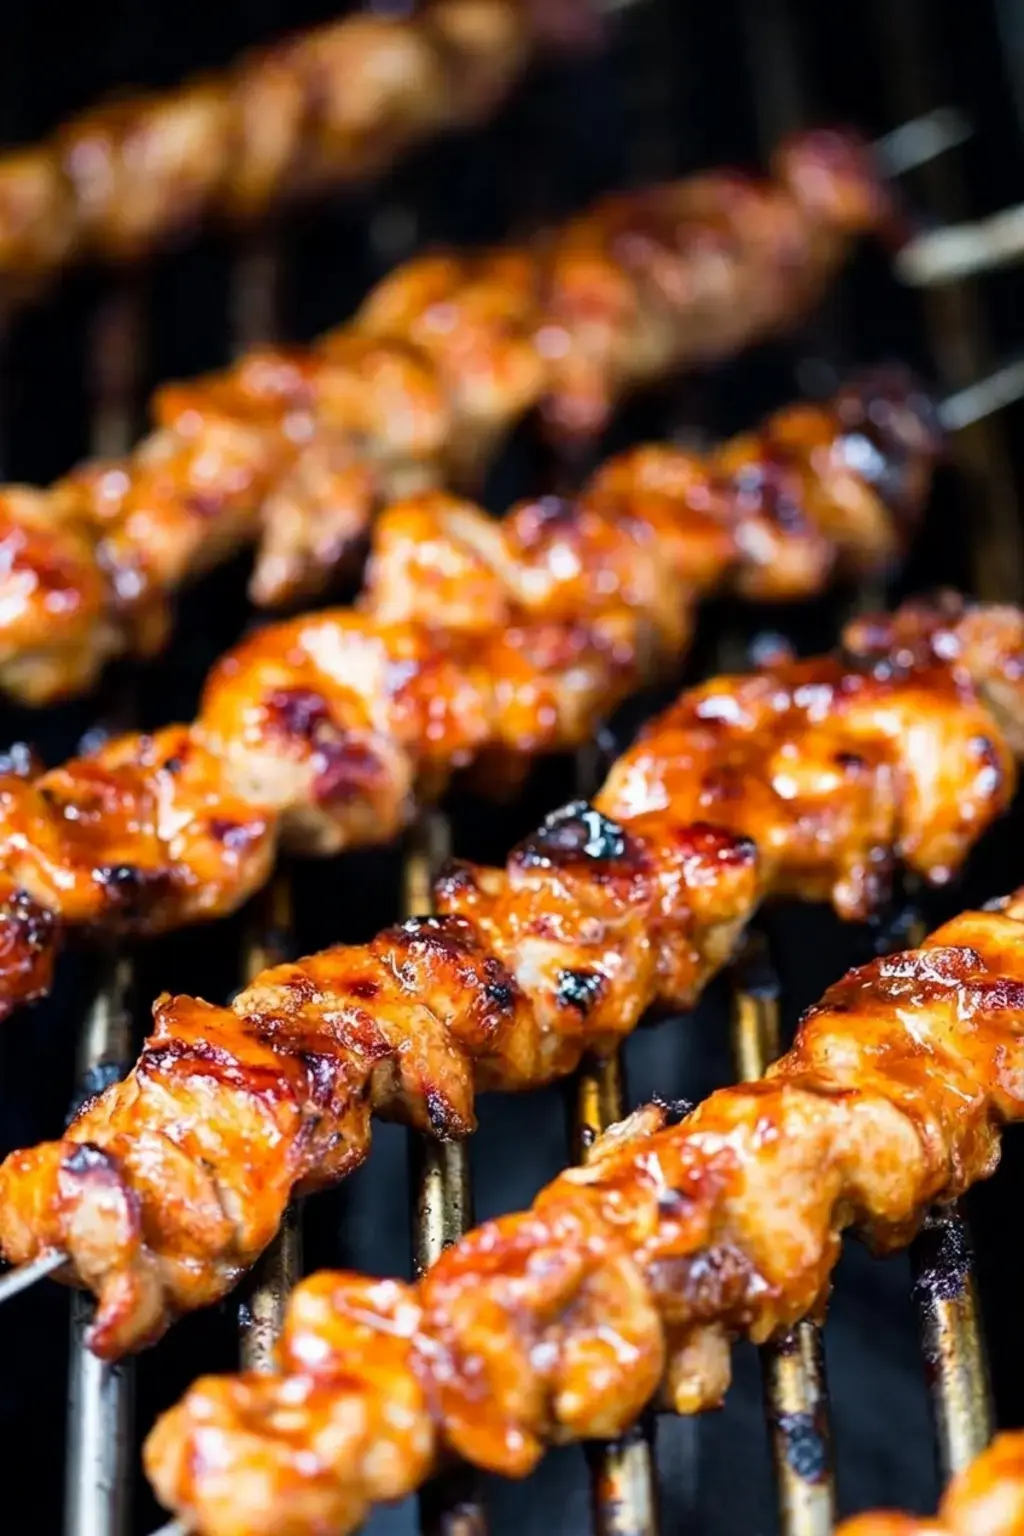
Heat a gas grill to medium-high or prepare a medium-hot charcoal grill. Thread the marinated pieces onto skewers without packing them into an extremely dense mass. If using wooden skewers, soak them in water for at least 30 minutes before threading.
5. Grill and Turn
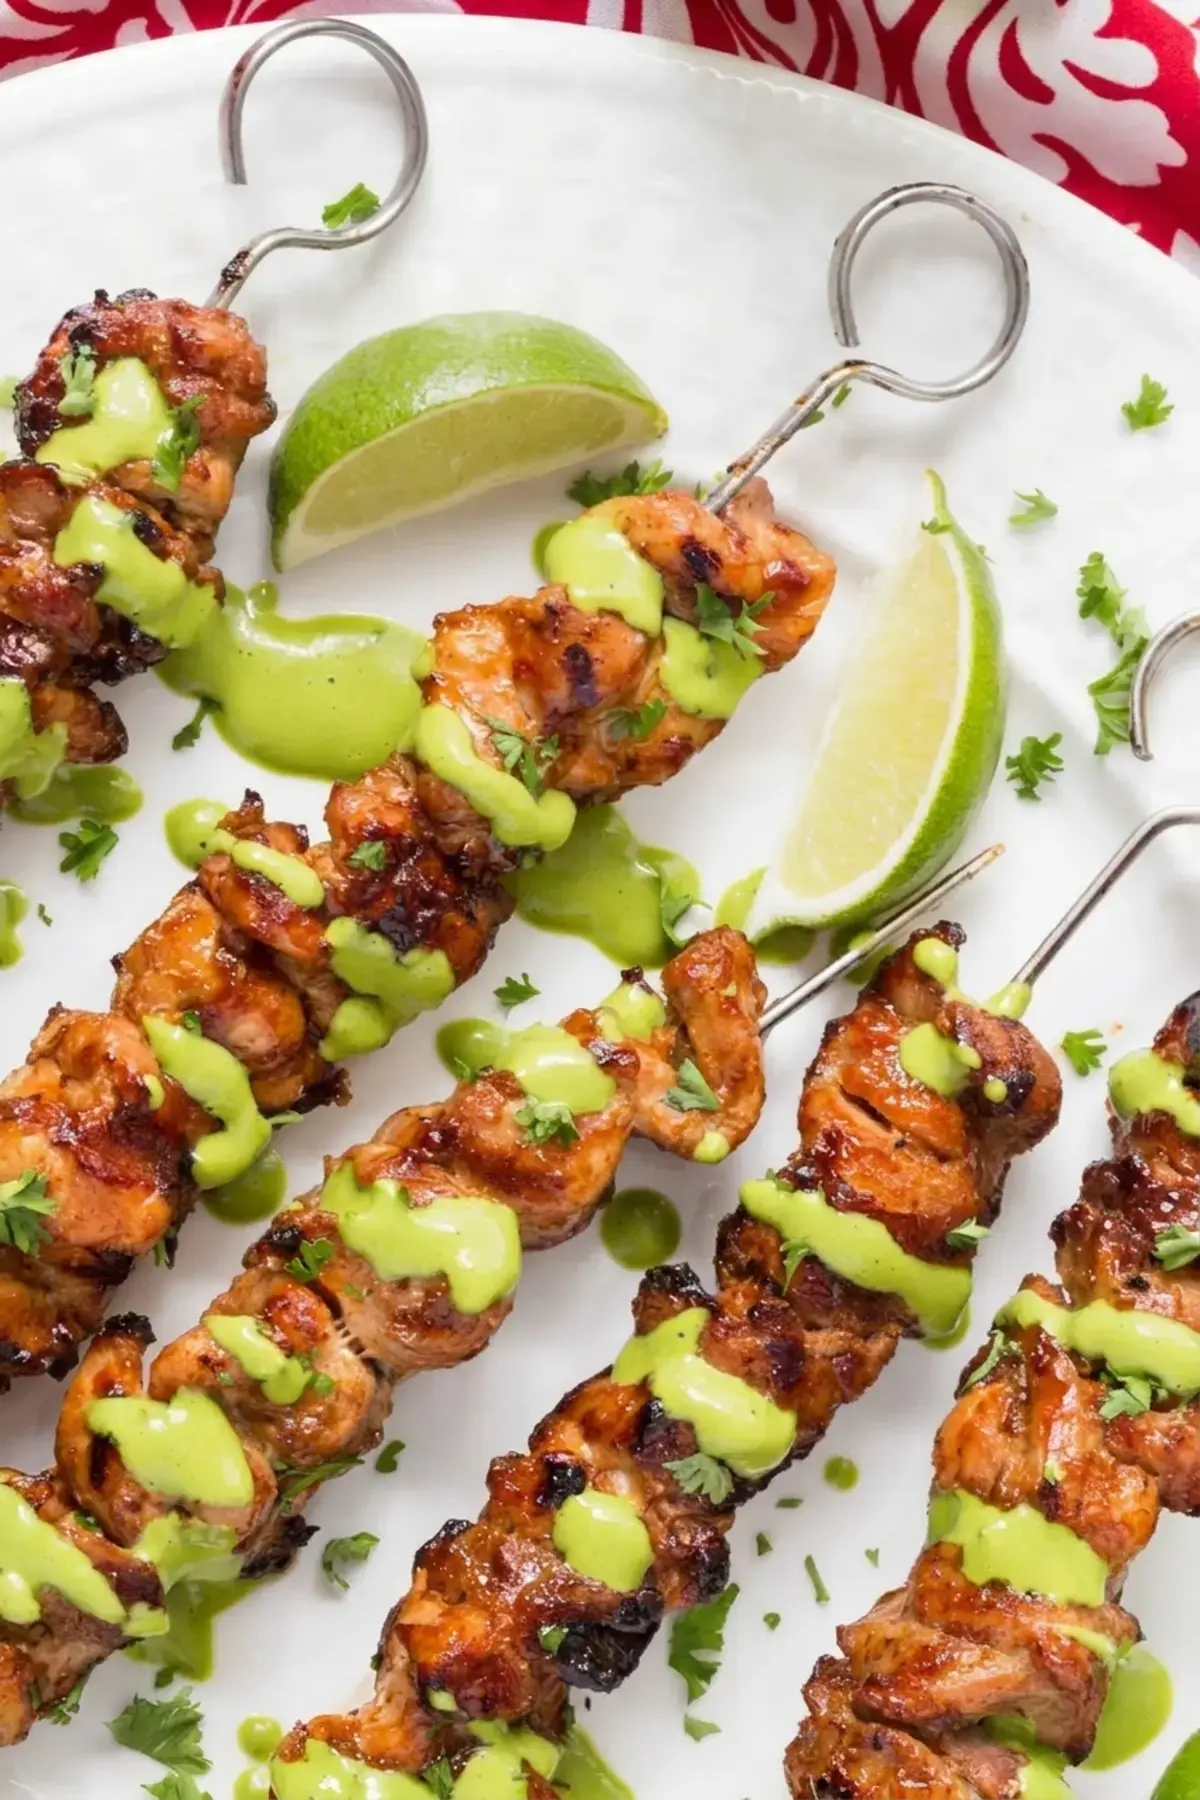
Clean the grill surface and oil it carefully with spray or with tongs holding an oil-dipped paper towel. Place the skewers on the grill and cook, making a quarter turn every 3 to 4 minutes. The source gives about 10 to 12 minutes before finishing, but grill heat varies.
6. Brush, Finish, and Rest
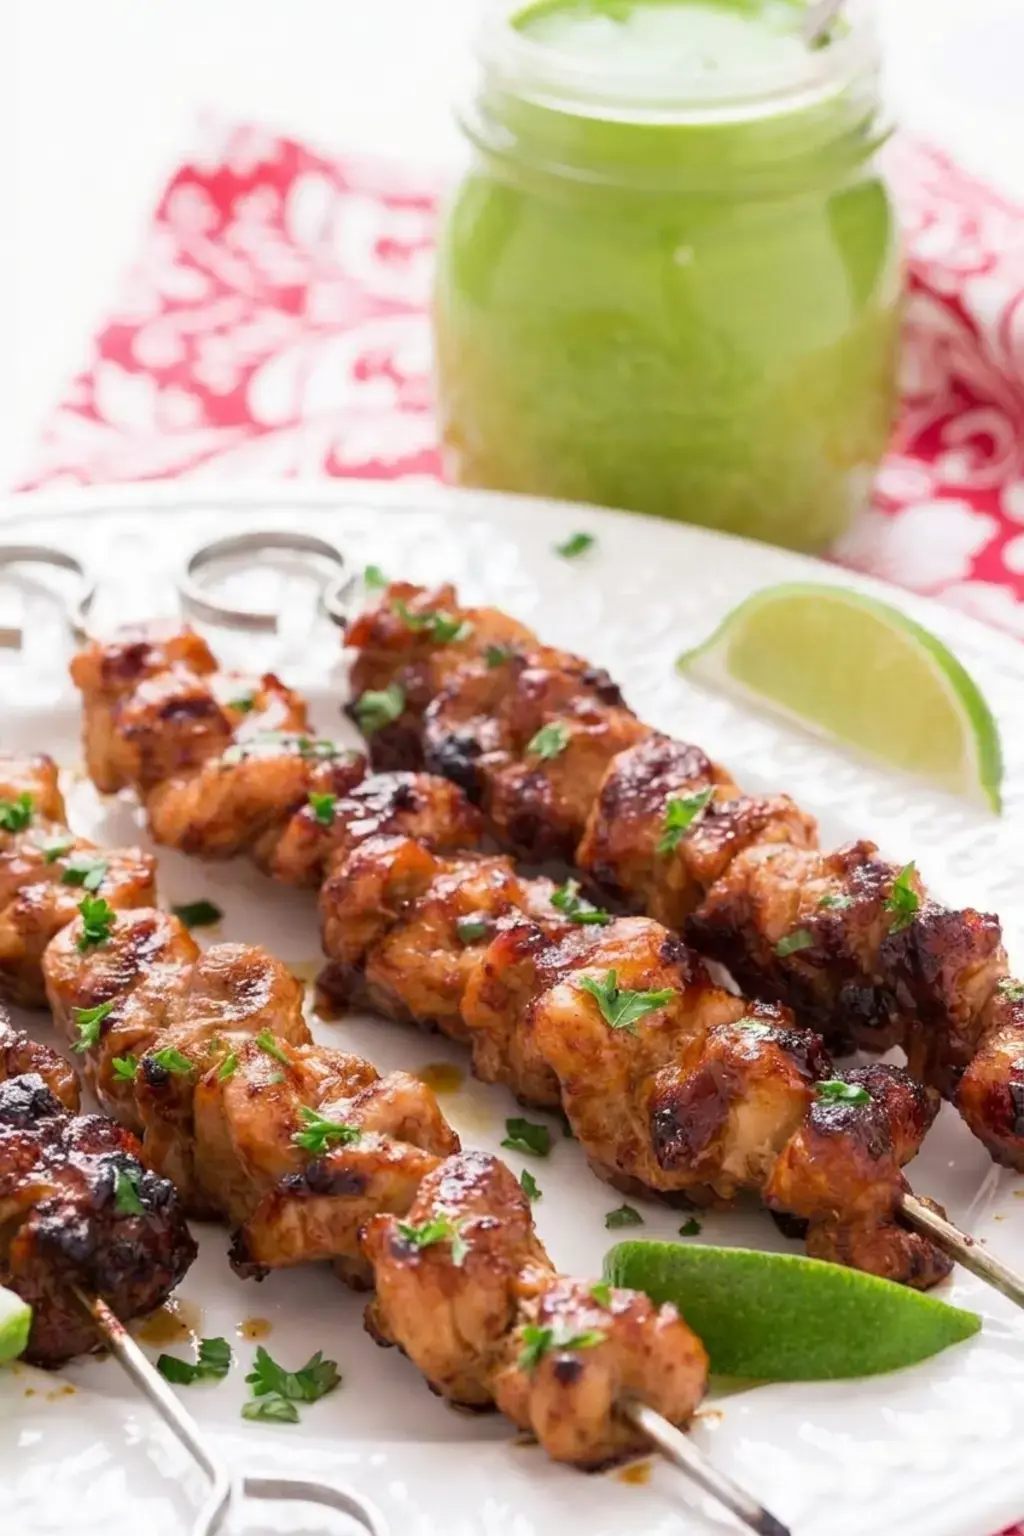
Brush the chicken with the clean reserved sauce and turn frequently until it is charred in spots. Check the center of the thickest pieces with a food thermometer. Poultry must reach 165°F, regardless of the color or stated timing.
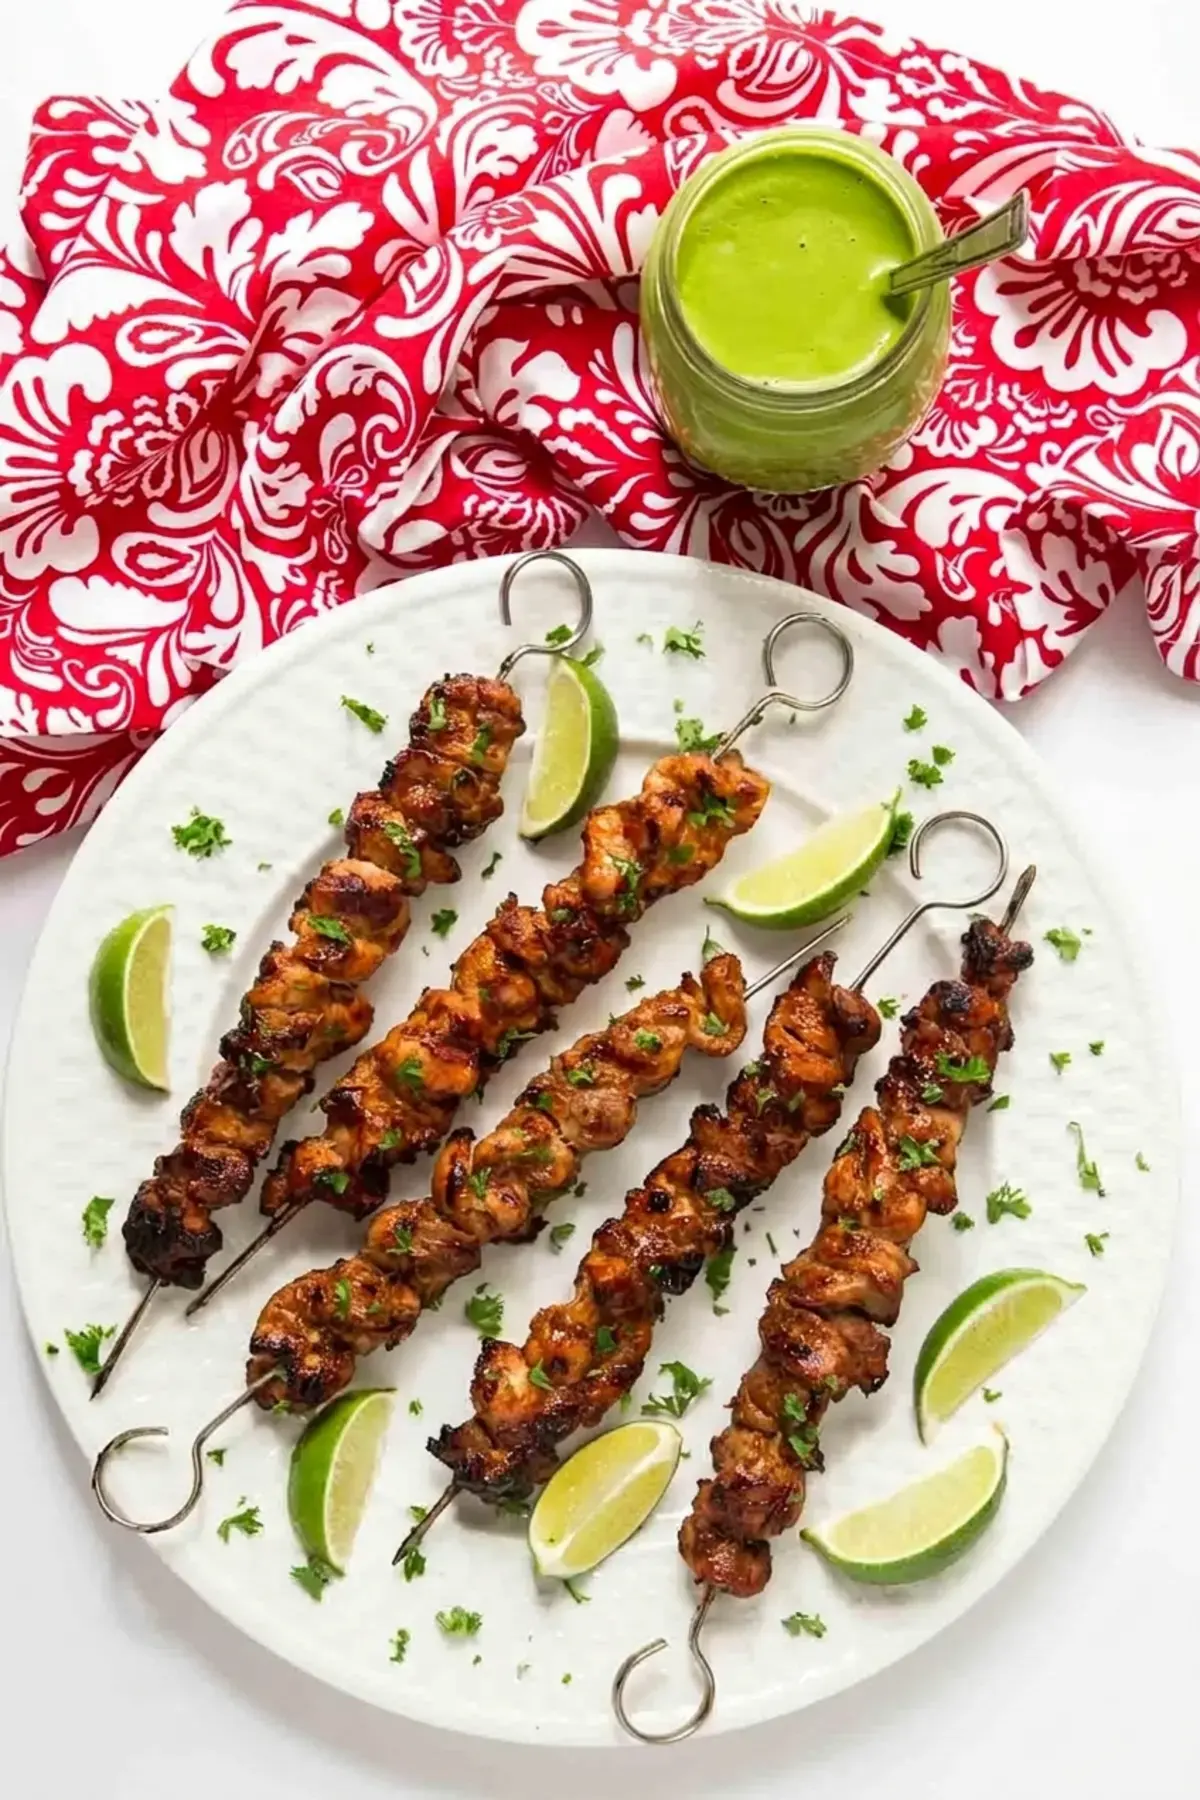
Transfer the skewers to a clean platter, tent loosely with foil, and rest for 5 minutes. Do not return cooked chicken to the plate that held it raw.
Tips, Variations, Serving, and Storage
Choose Smoked Paprika
Smoked paprika is made from peppers dried with smoke before grinding, so it adds more than color. It is sold in sweet and hot forms; when the label does not specify, it is commonly the sweet variety. The recipe already contains chili powder and red pepper flakes, so consider their combined heat.
Pick Practical Skewers
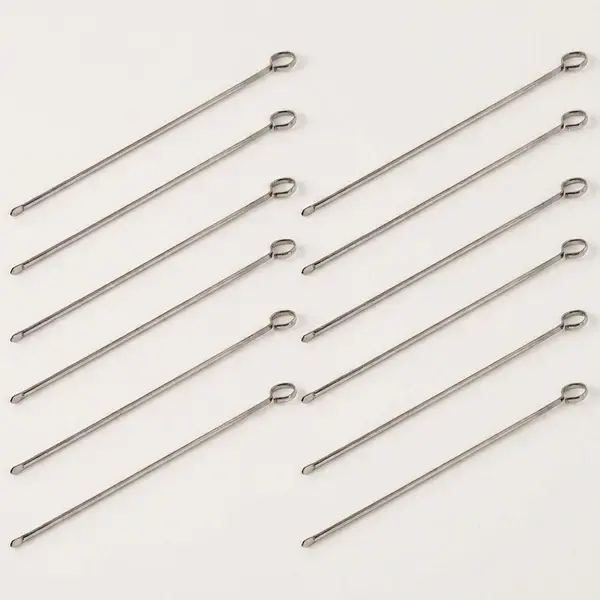
The source prefers flat metal skewers because they do not burn and their shape makes the meat easier to turn. Wooden or bamboo skewers can still be used after soaking, but their exposed ends may char. Handle every skewer with grill-safe tools because metal becomes extremely hot.
Chicken Breast Variation
Chicken breasts can replace thighs, although they may dry out sooner. Cut evenly, keep them refrigerated during marinating, begin checking earlier, and still require 165°F. Never shorten cooking based only on appearance.

Serving and Leftovers
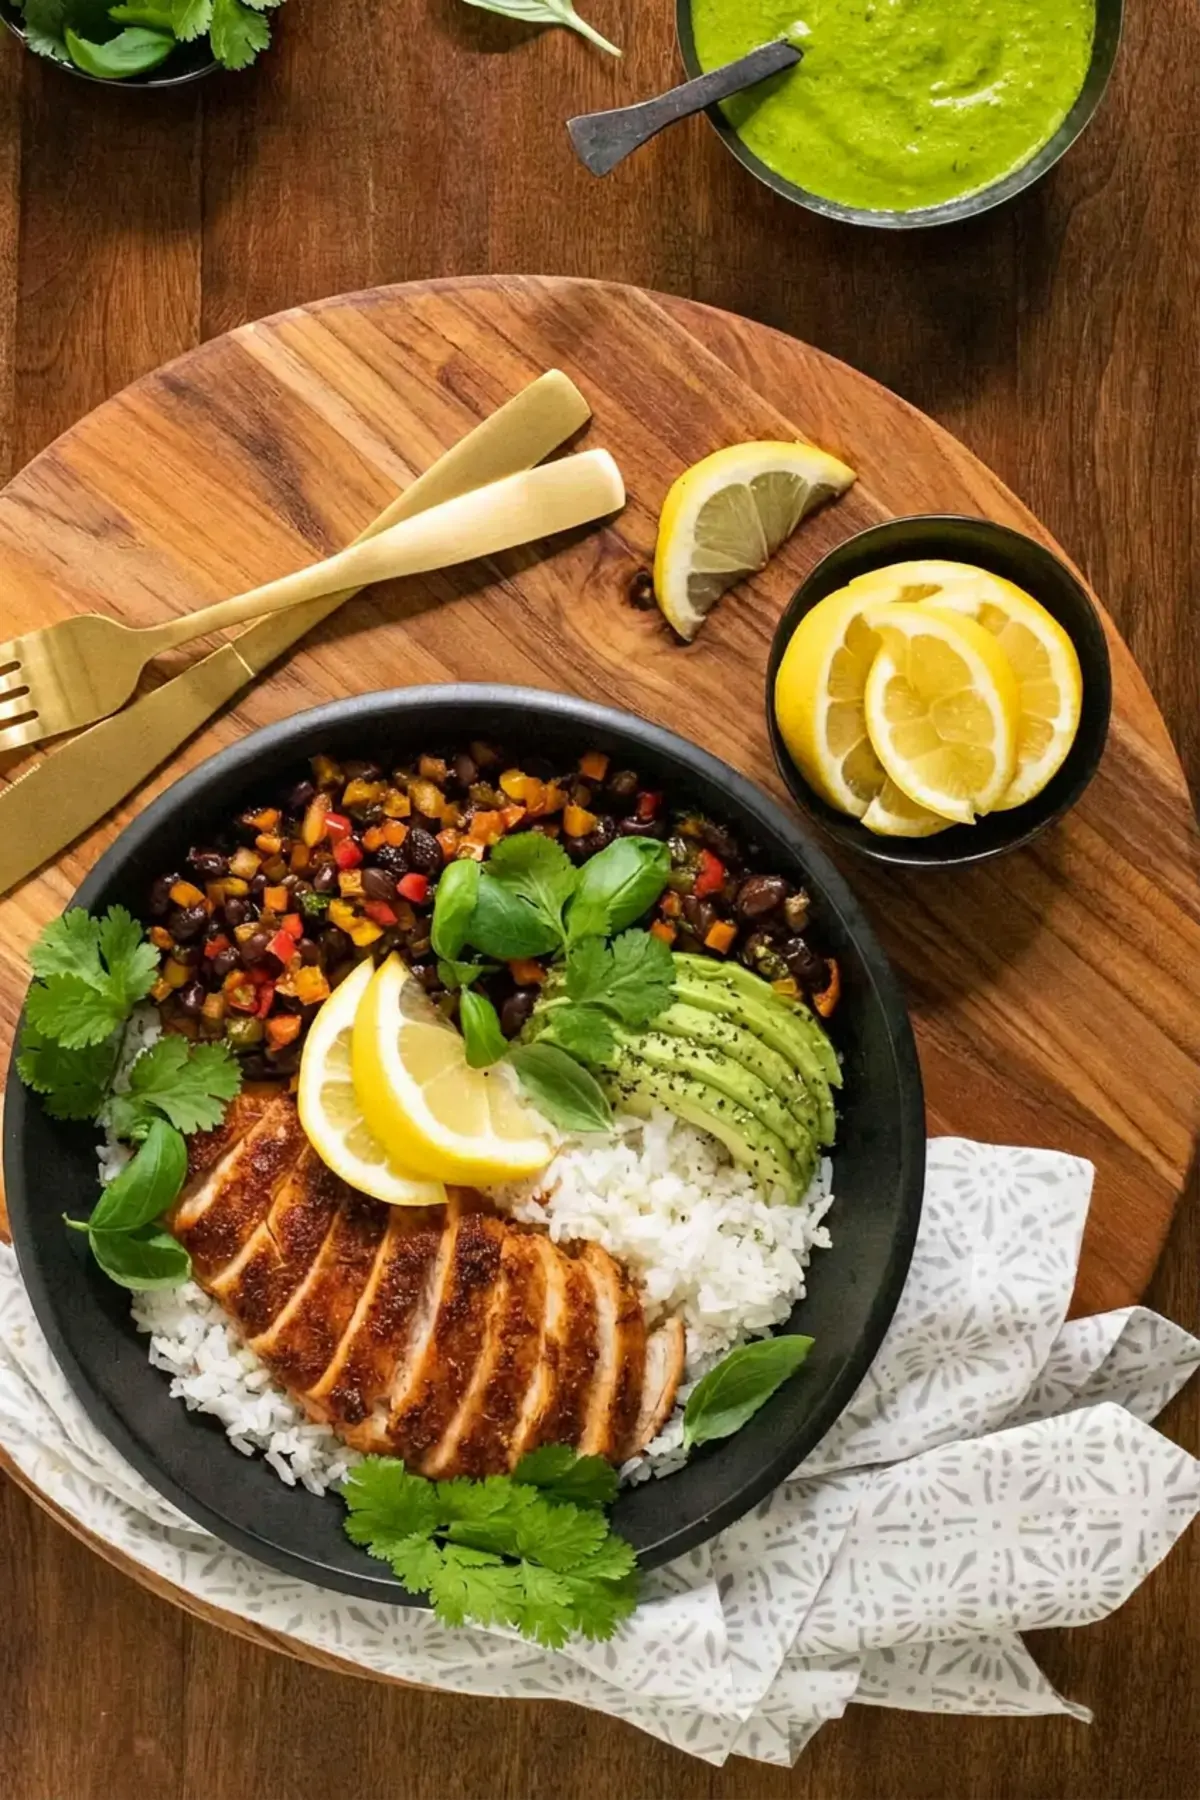
Serve the skewers with rice, grilled vegetables, or a fresh salad. For another bright grilled dinner, try a chimichurri grilled chicken bowl. Refrigerate leftovers promptly in a shallow covered container and reheat poultry to 165°F.
When serving directly from the skewers, warn guests that metal handles may remain hot after the chicken rests. Alternatively, slide the cooked pieces onto a clean platter with clean utensils. Keep raw-chicken tools away from the serving area and replace any brush that touched uncooked meat.