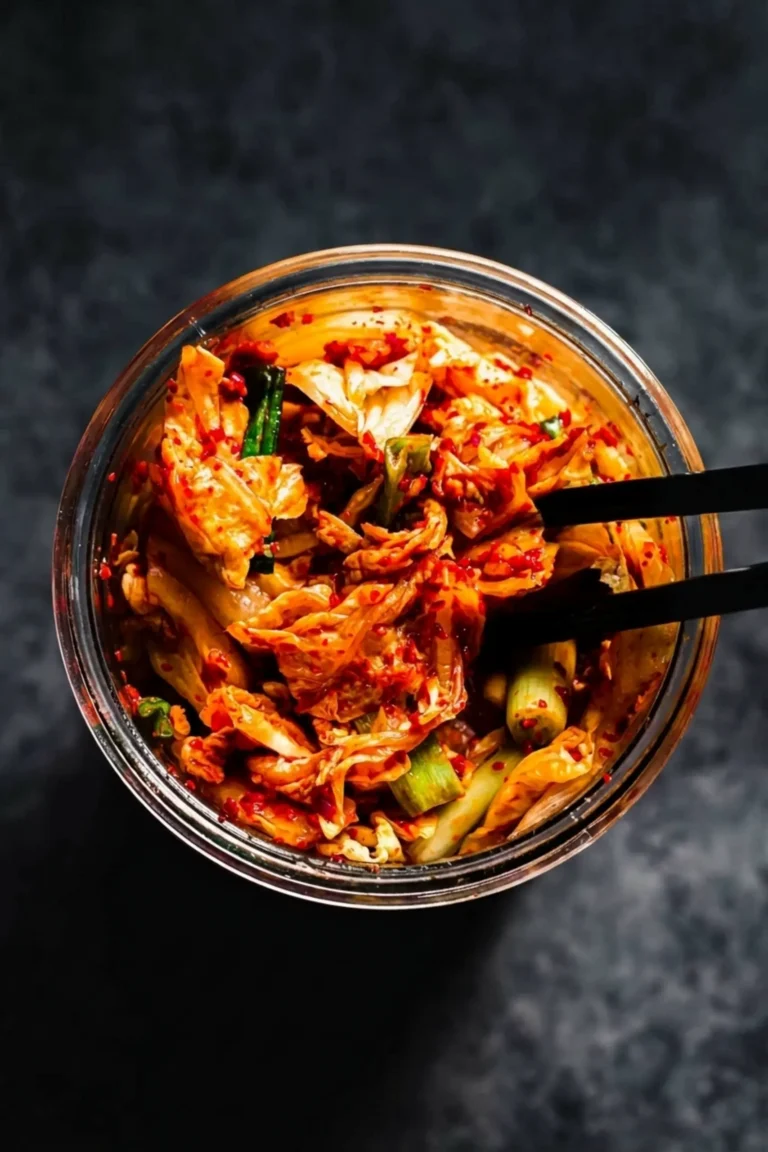
You have probably seen both spellings in grocery stores and wondered if they are different. They are not. Kimchee is an older romanization from Japanese influence, while kimchi is the standard spelling used today in the United States and most English sources. Both refer to the same traditional Korean side dish of fermented vegetables, typically napa cabbage and Korean radish, seasoned with gochugaru (Korean chili flakes), garlic, ginger, and fish sauce. In Korea, it is called kimchi (written as kimchee in some older texts). This banchan, or side dish, appears at almost every Korean meal and has become popular around the world. If you have not tried What Does Kimchi Taste Like, you are in for a tangy, spicy, and umami treat.
Aspect
Kimchee
Kimchi
Origin of Term
Korean romanization from Japanese influence
Standard romanization used internationally
Common Usage
Found in older English cookbooks
Modern standard spelling (US, UK, Korea)
Same Dish?
Yes
Yes
The dish itself remains unchanged: a probiotic rich, flavorful fermented vegetable side dish. When you search for “Kimchi Kimchee” recipes, you are looking at the same beloved dish. So choose whichever spelling you like, and let us make some.
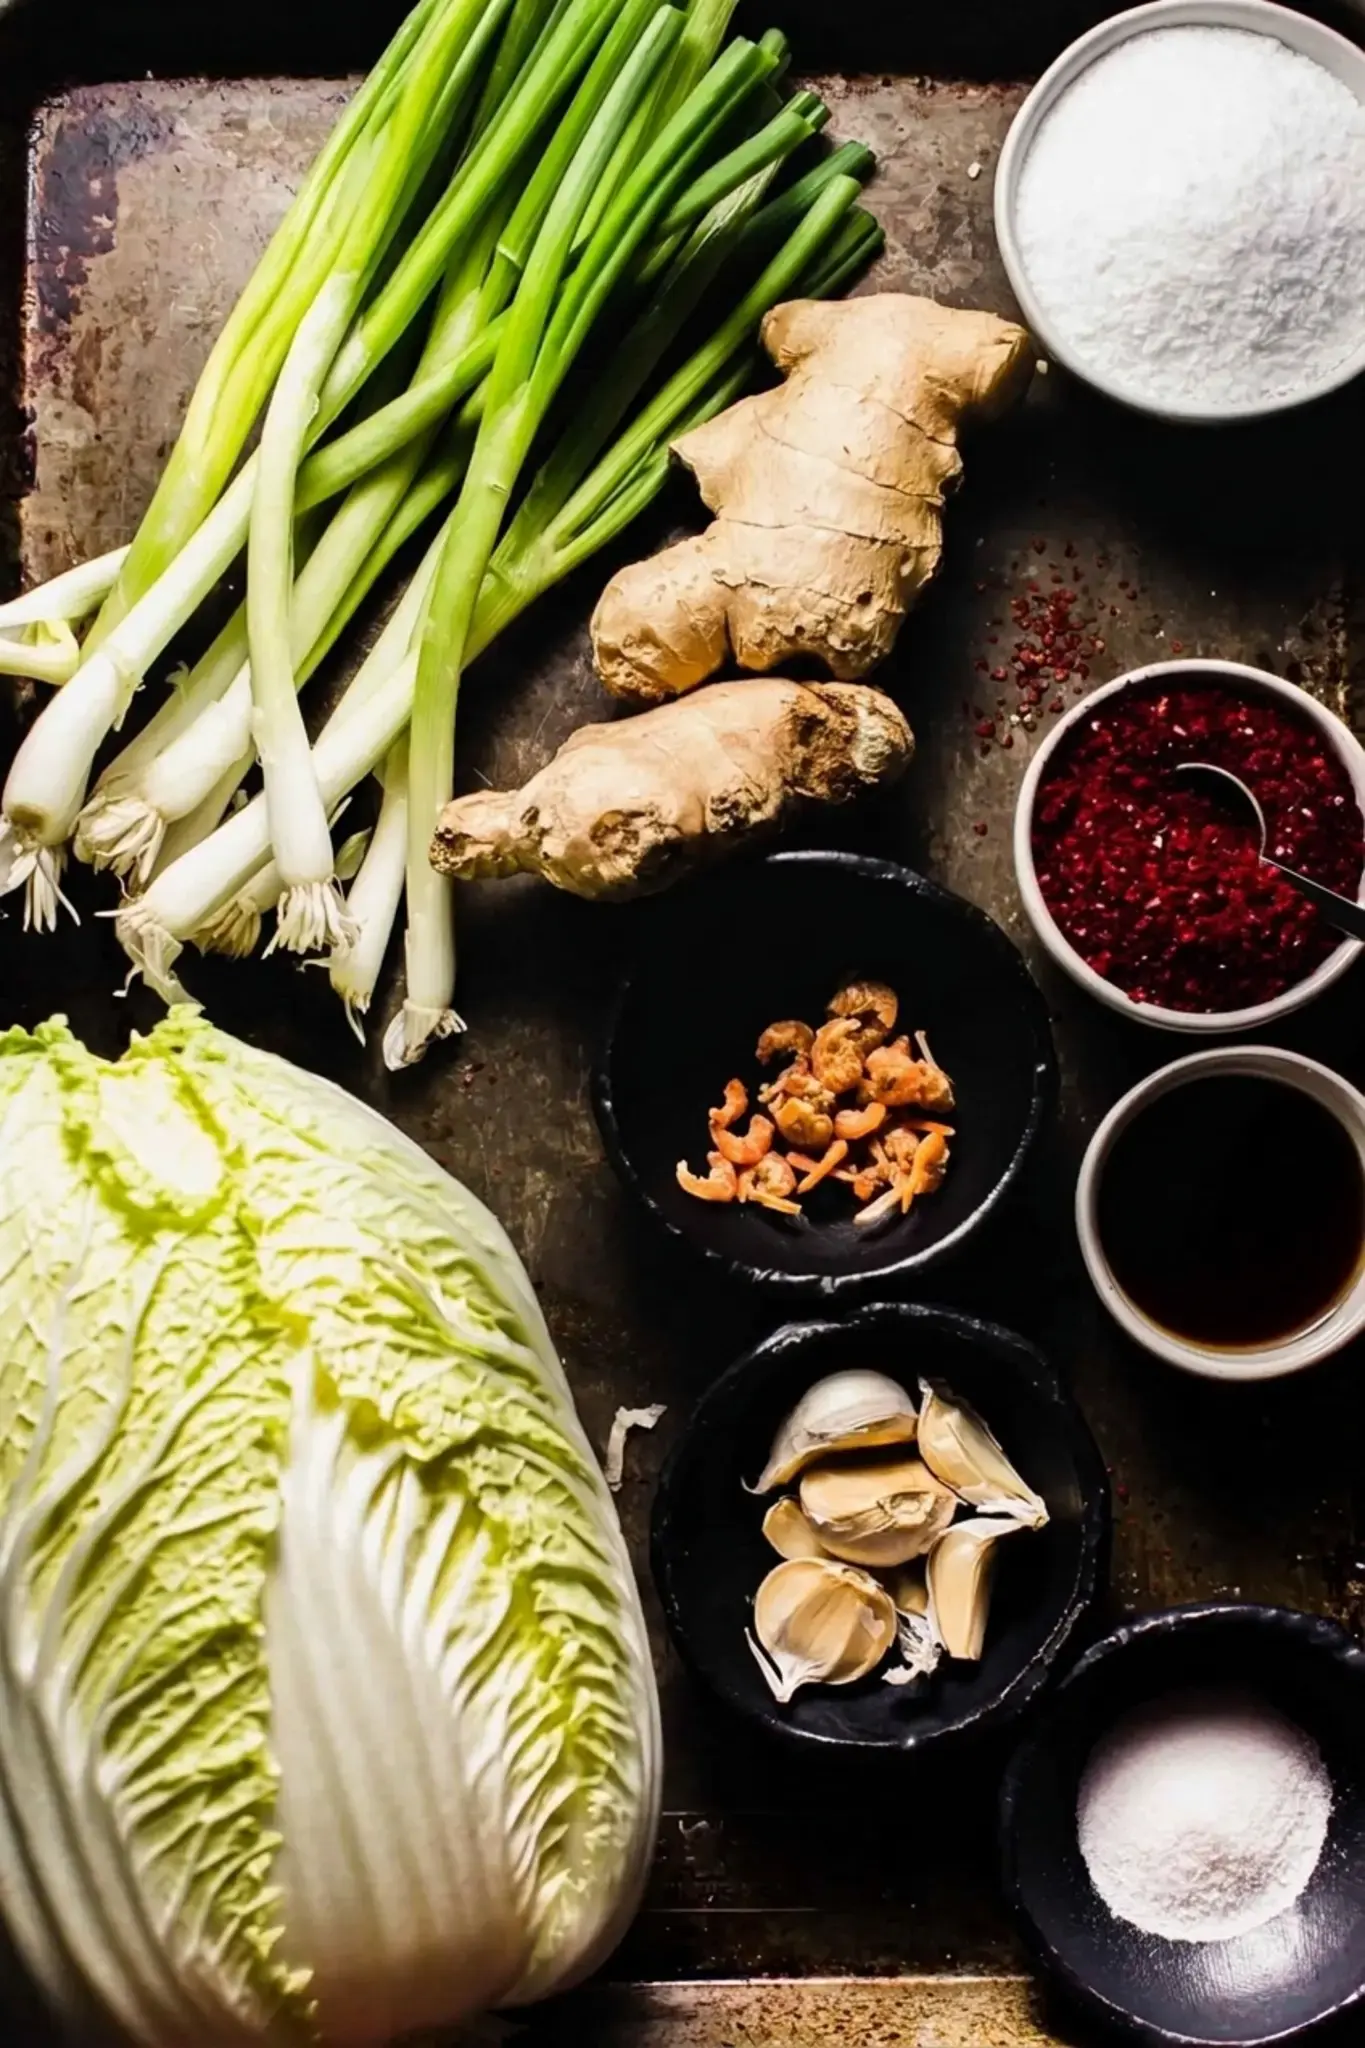
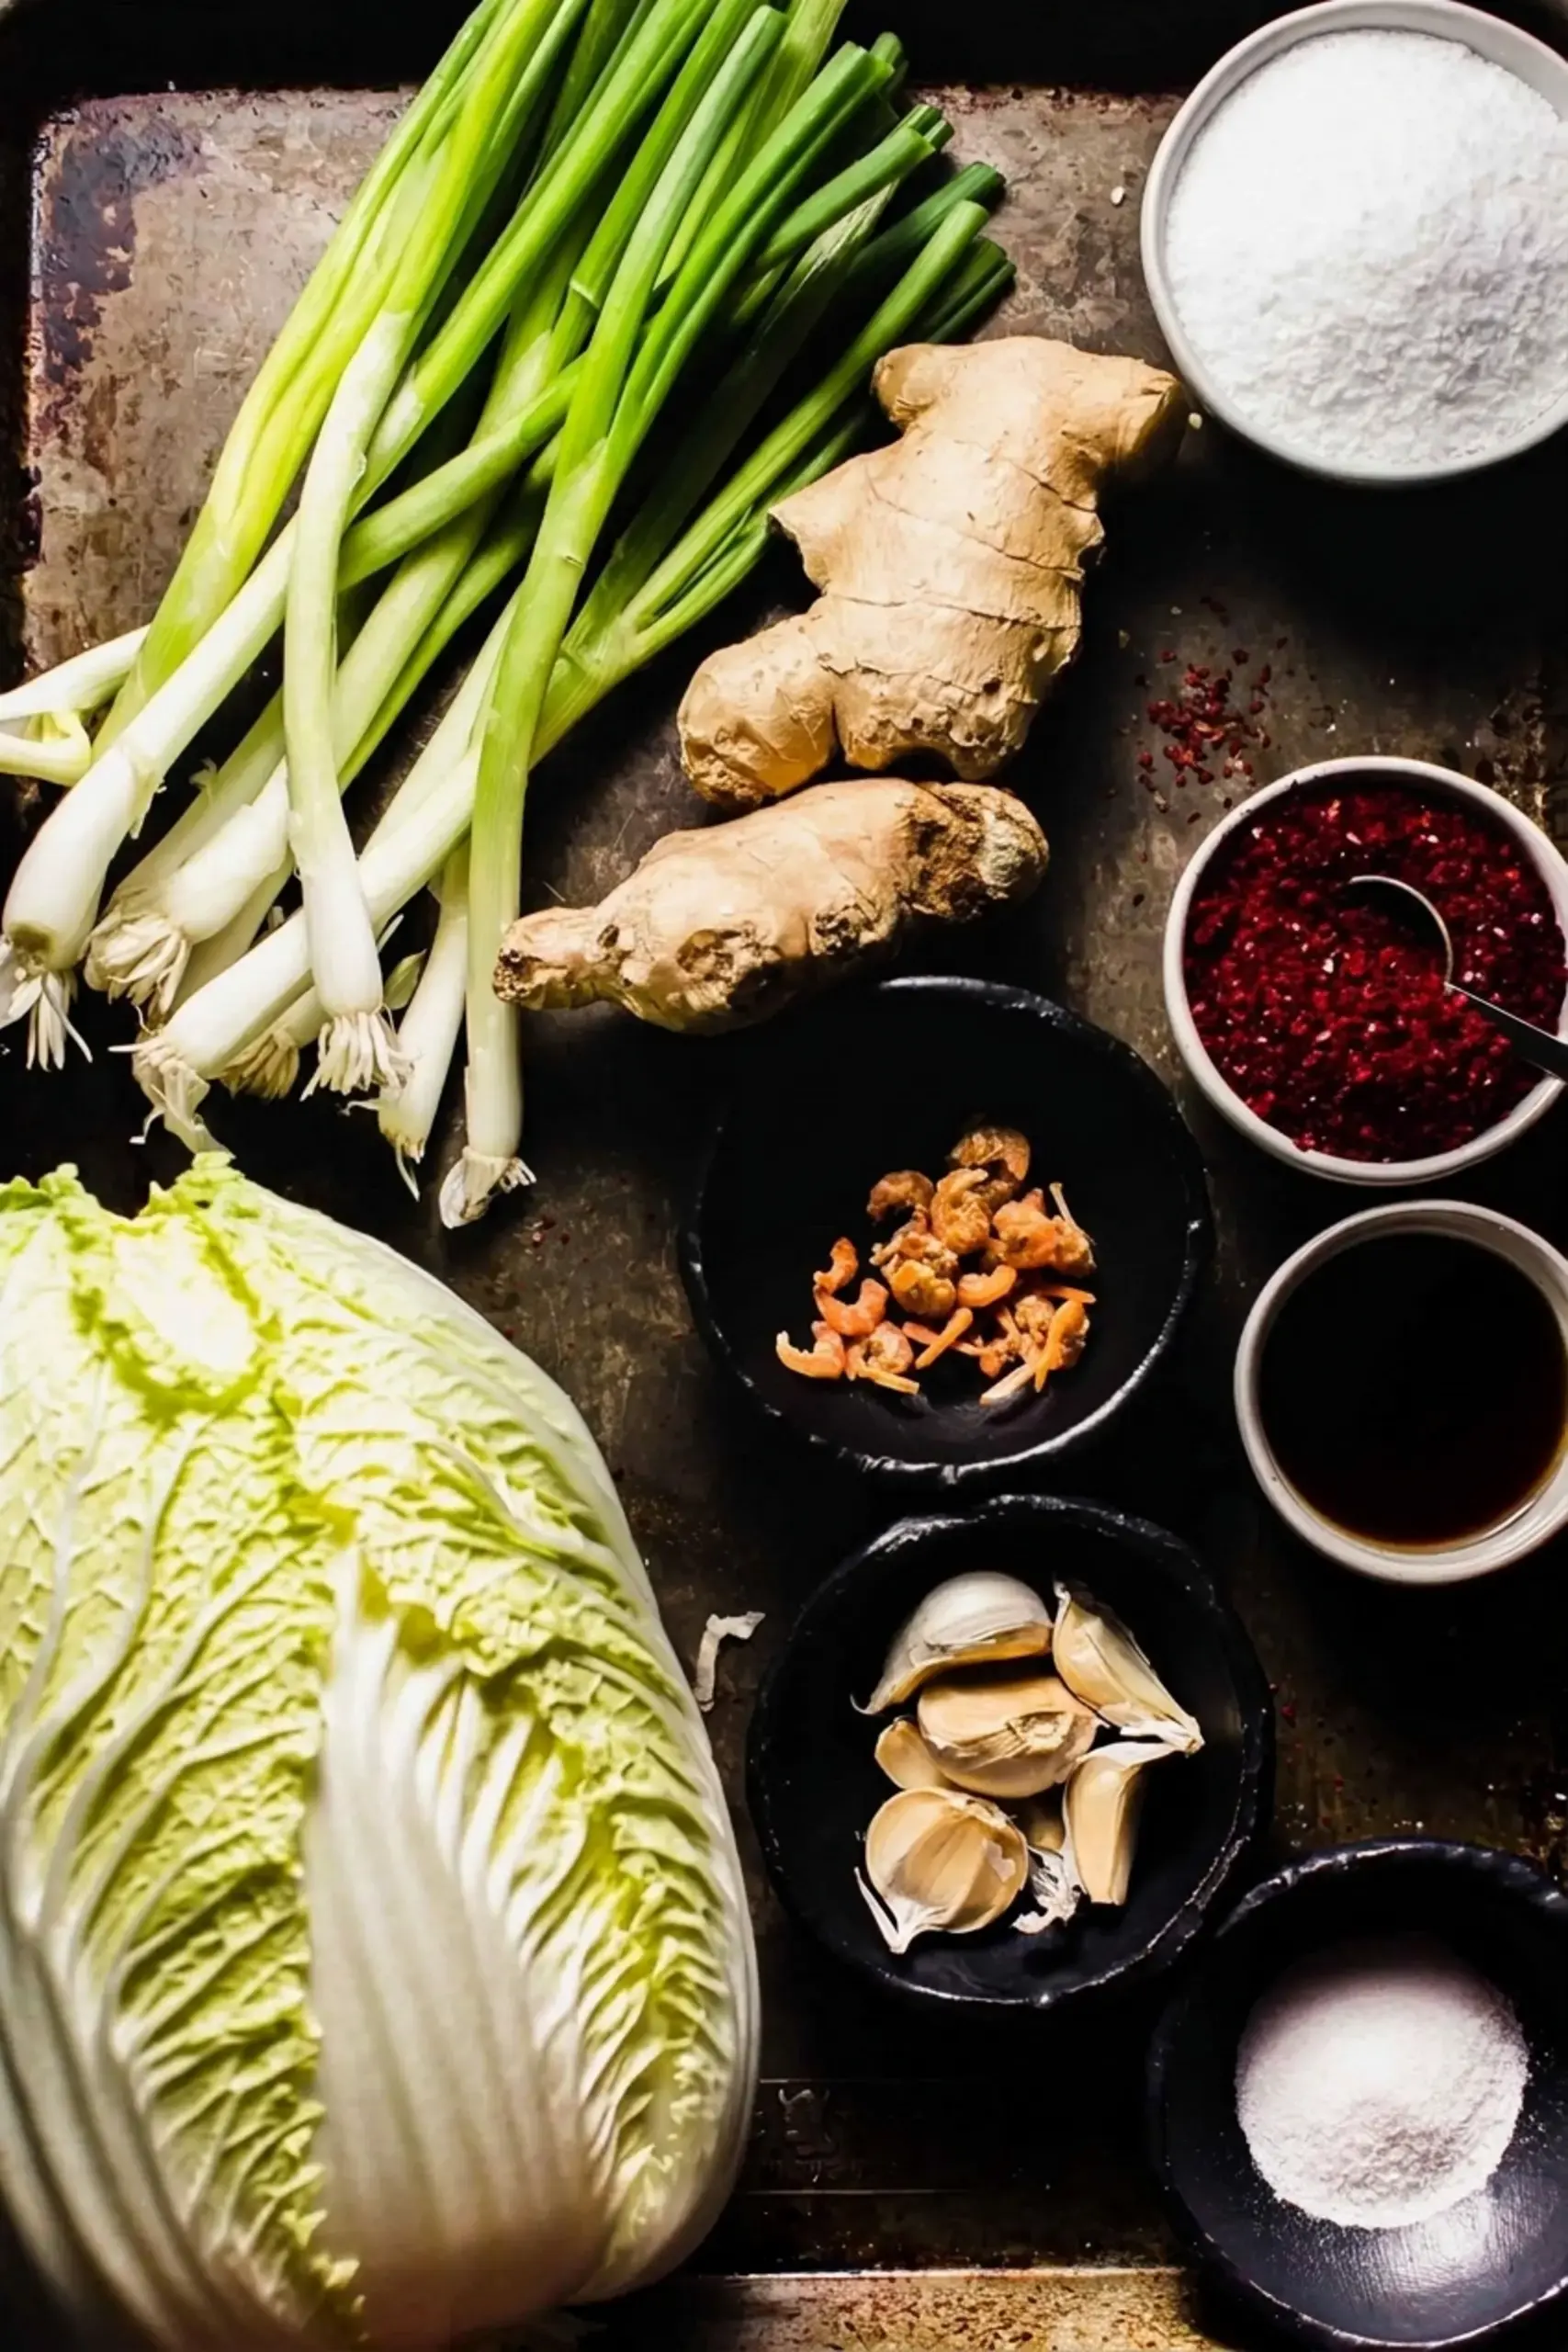
Korean red pepper powder (kochukaru) (1/2 cup, adjust for spice), this gives kimchi its signature red color and heat
Fish sauce (3 tablespoons), adds savory depth; for a vegan version, use soy sauce or miso paste
Dried shrimp (saeujeot) (optional, 2 tablespoons), traditional but can be omitted or replaced with a splash of soy sauce
You will also need a large glass jar with a tight fitting lid. Avoid plastic because odors can linger and affect your kimchi. Specialty items like gochugaru are worth seeking out; they make a big difference in flavor.
How to make it
Making kimchi at home is easier than you might think.
Plan ahead because the cabbage needs to soak overnight.
The whole process takes a few days, but the hands on time is short. Here is how I do it.
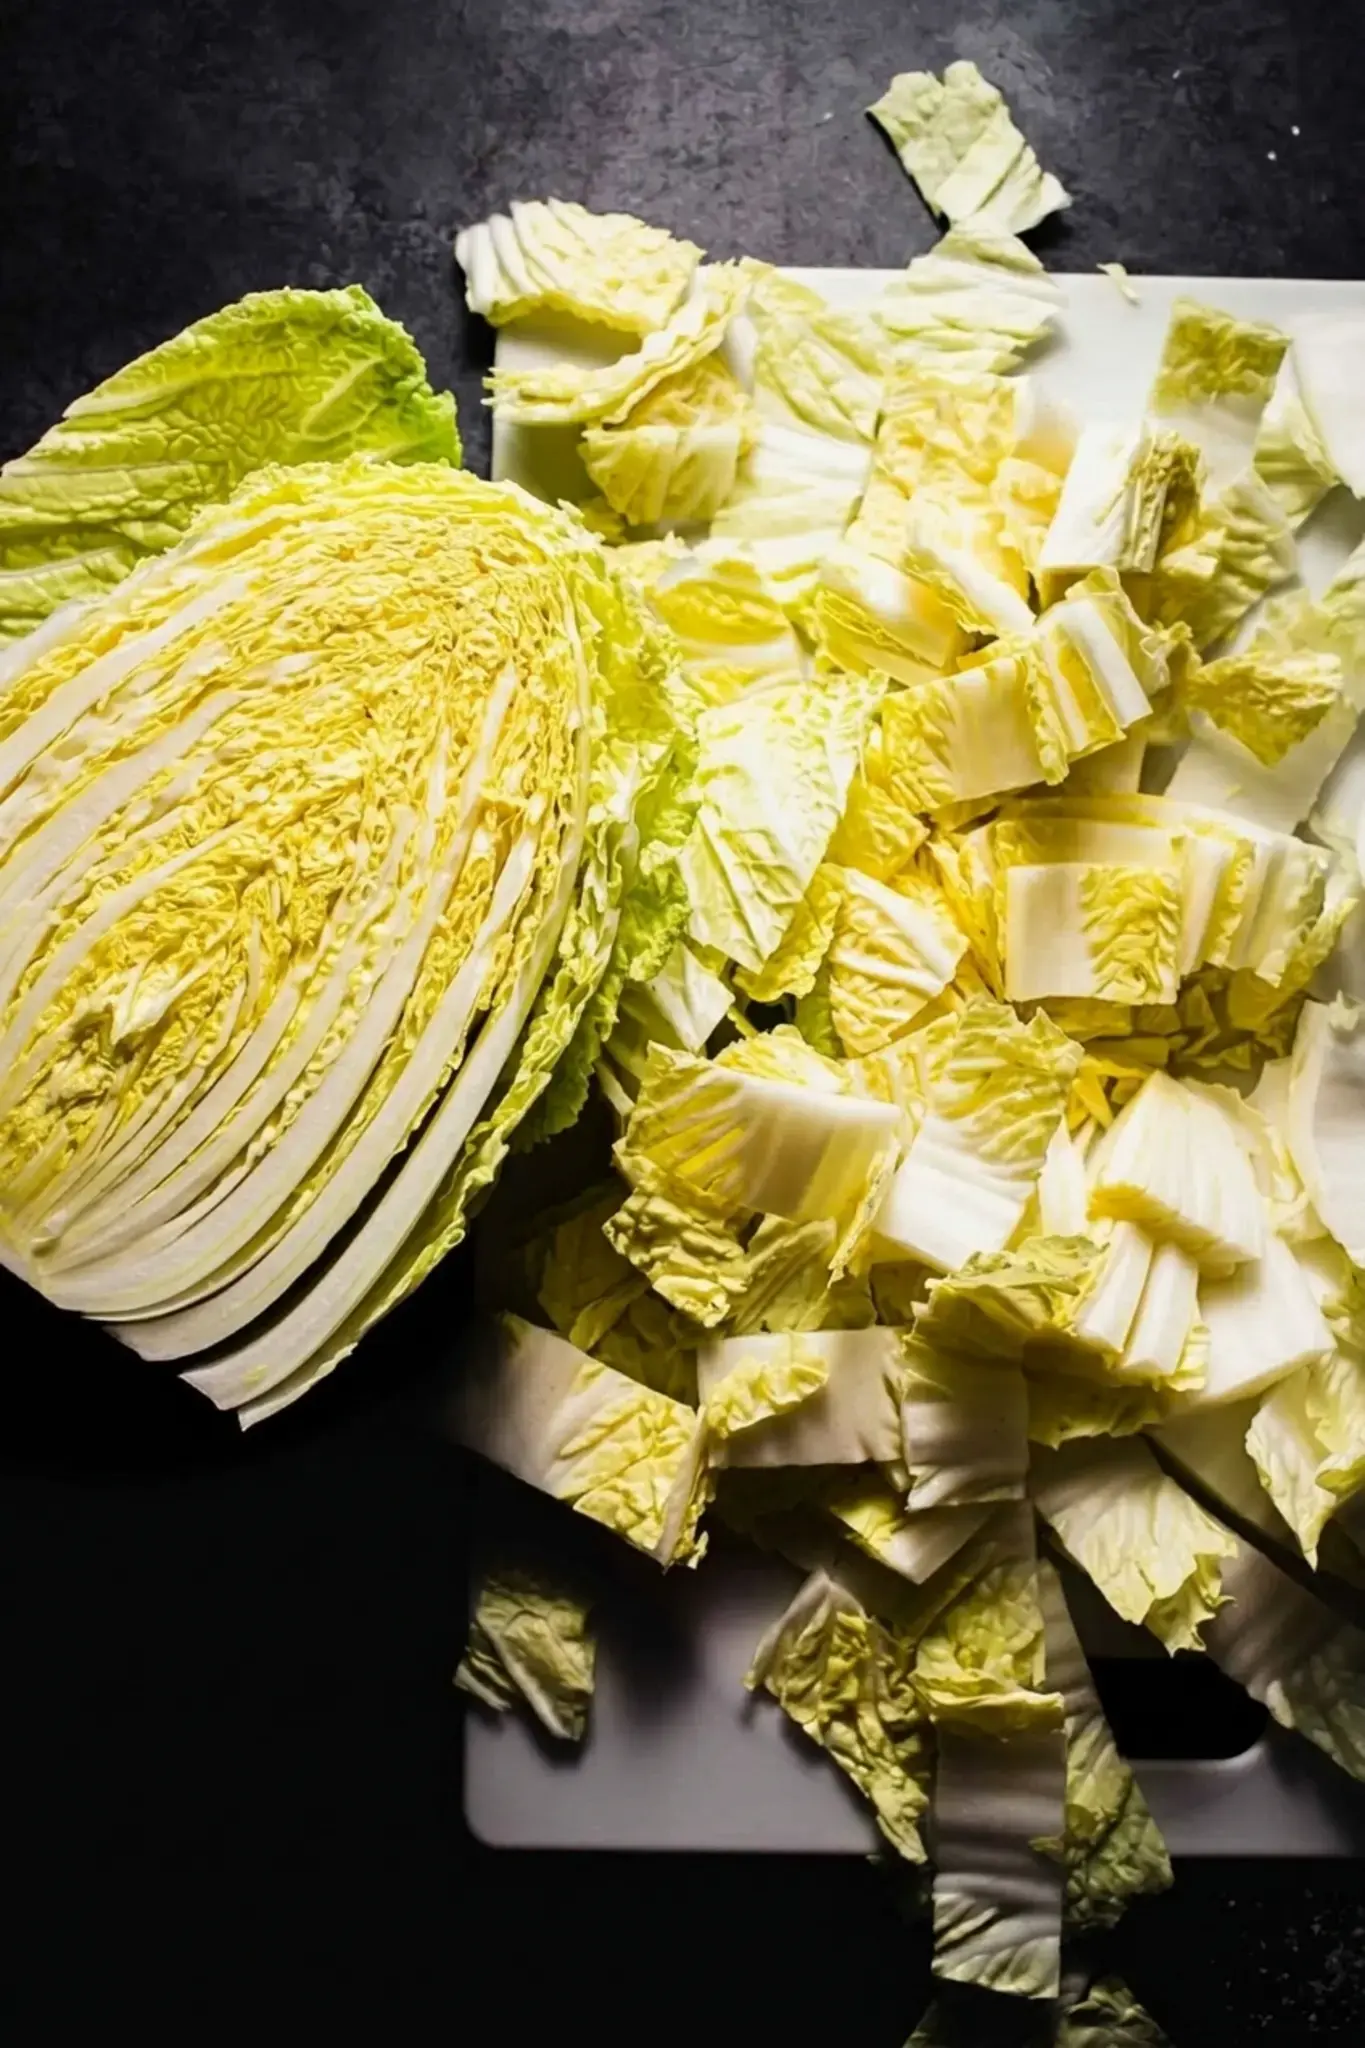
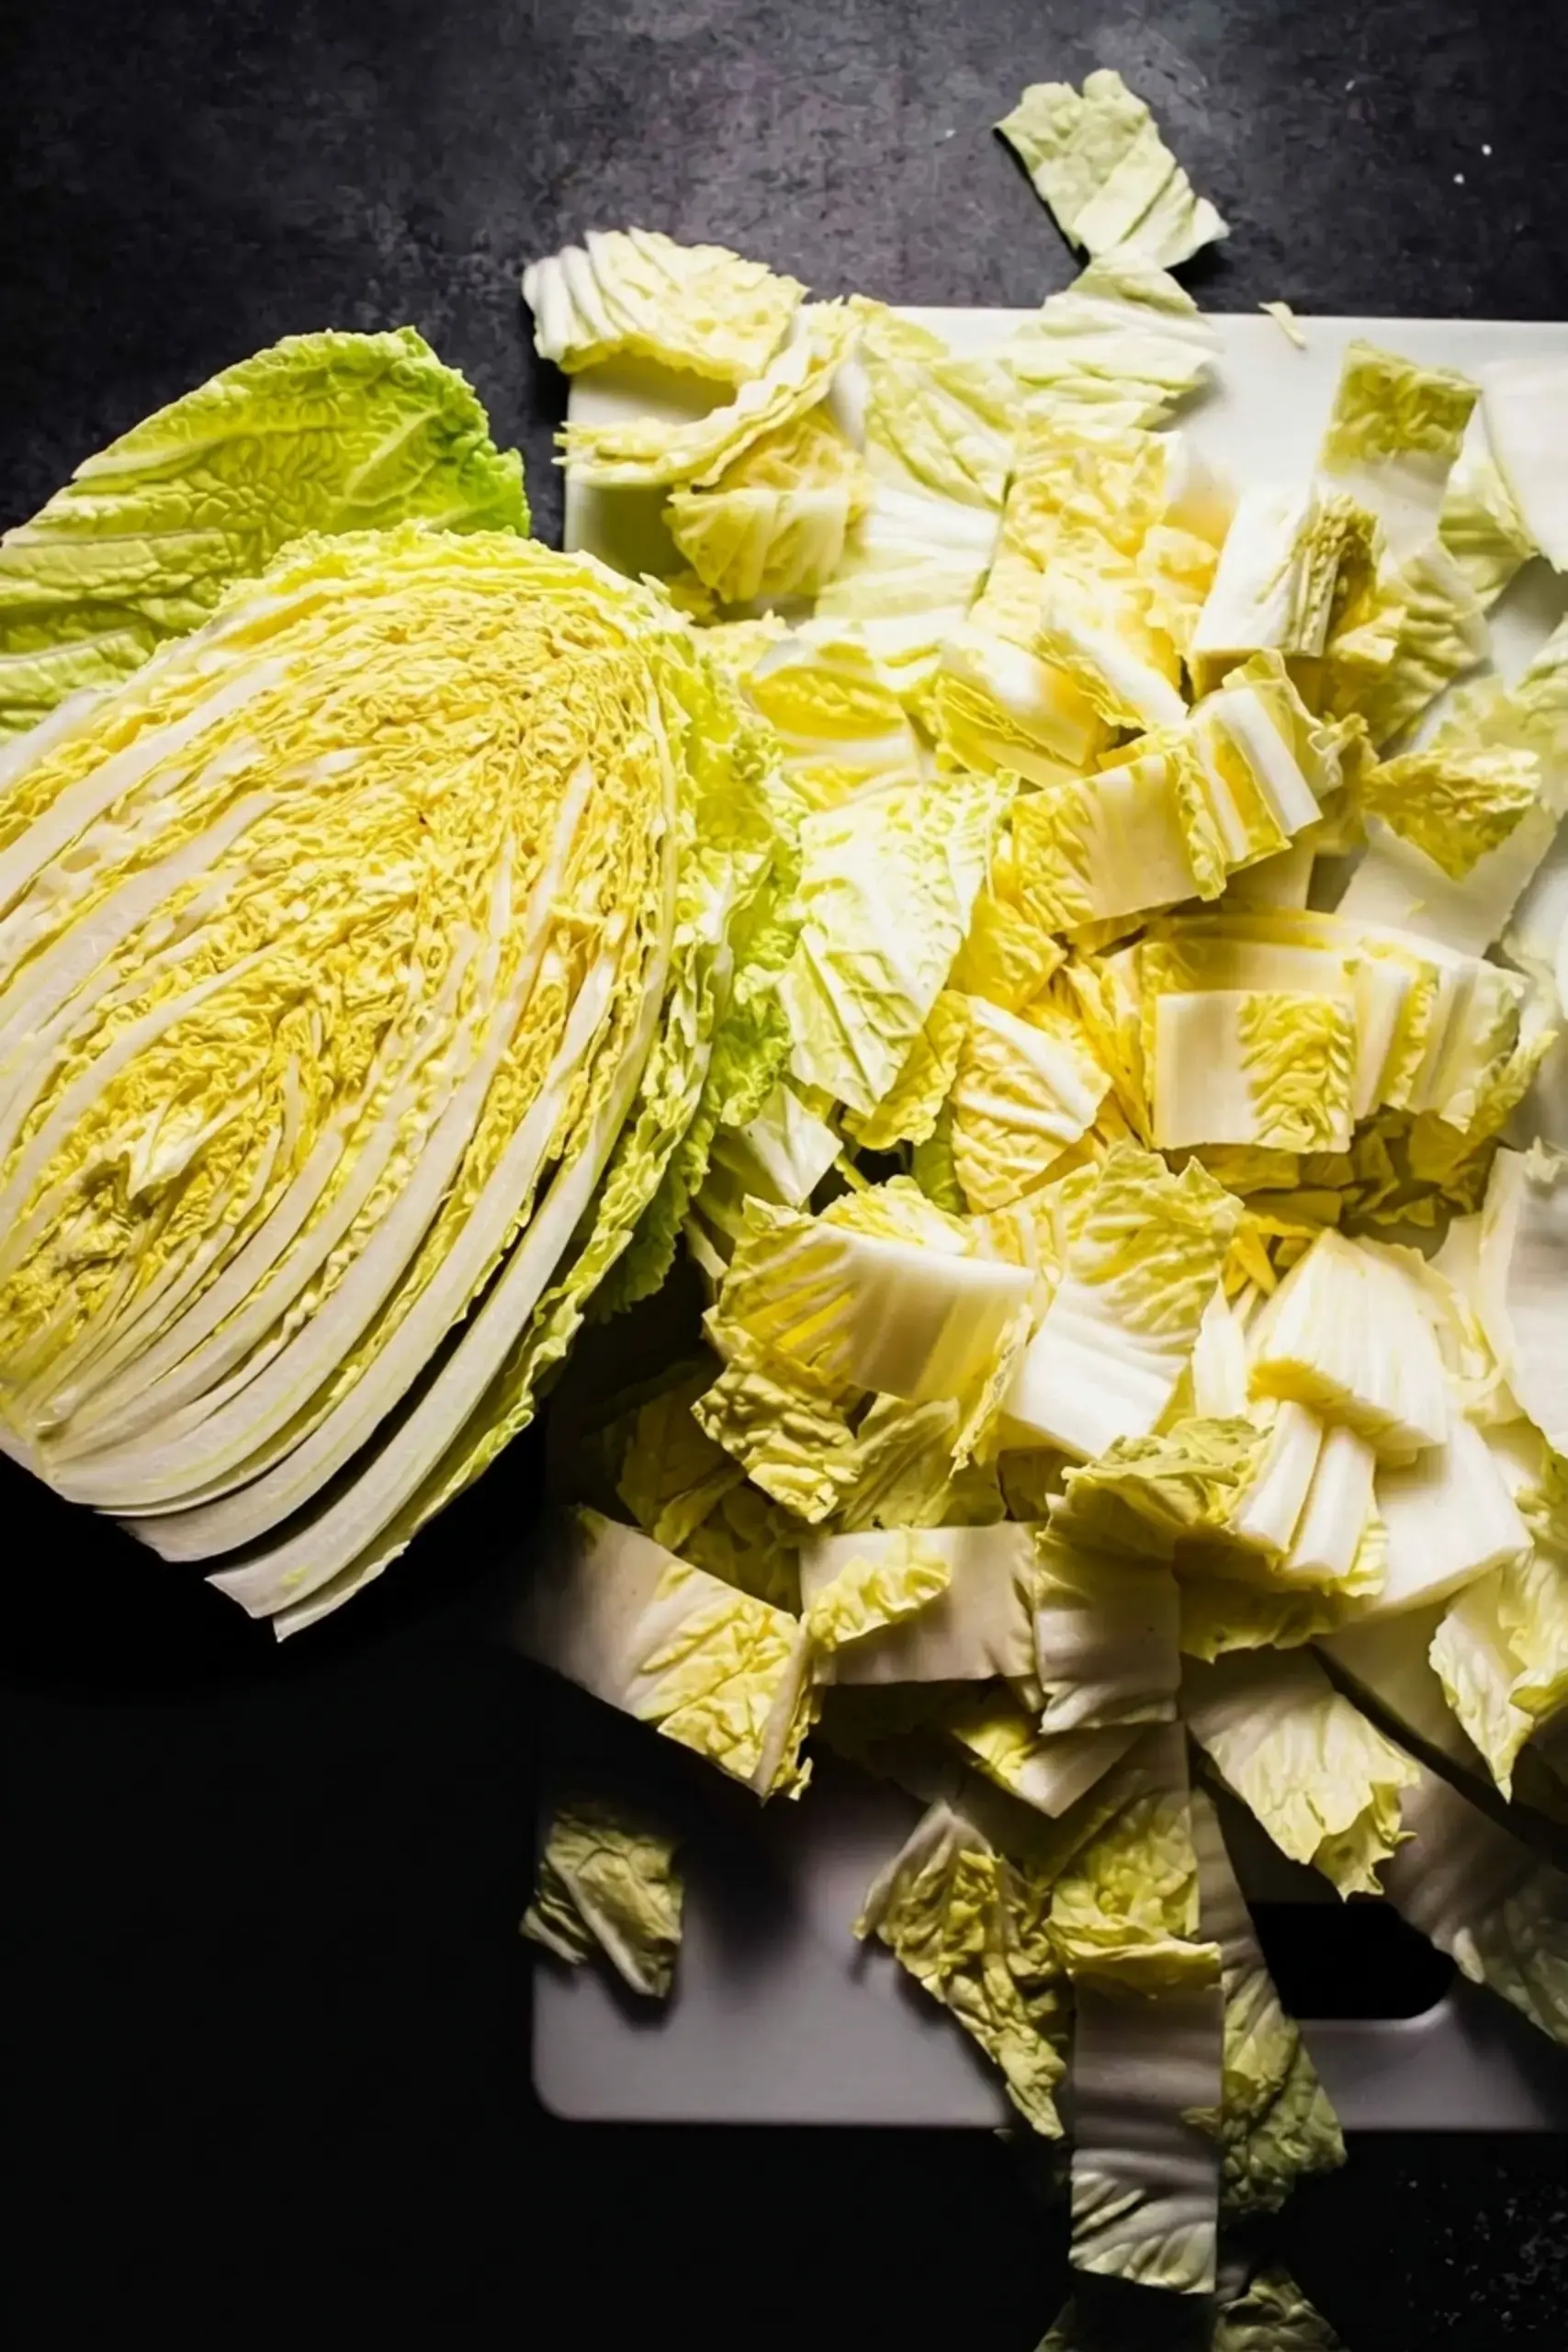
Cut the cabbage
Start by cutting the napa cabbage in half lengthwise.
Then cut each half crosswise into 2 inch pieces.
Discard the root end.
You want bite size pieces that will fit easily into your jar.
I like to keep the pieces chunky for a satisfying crunch.
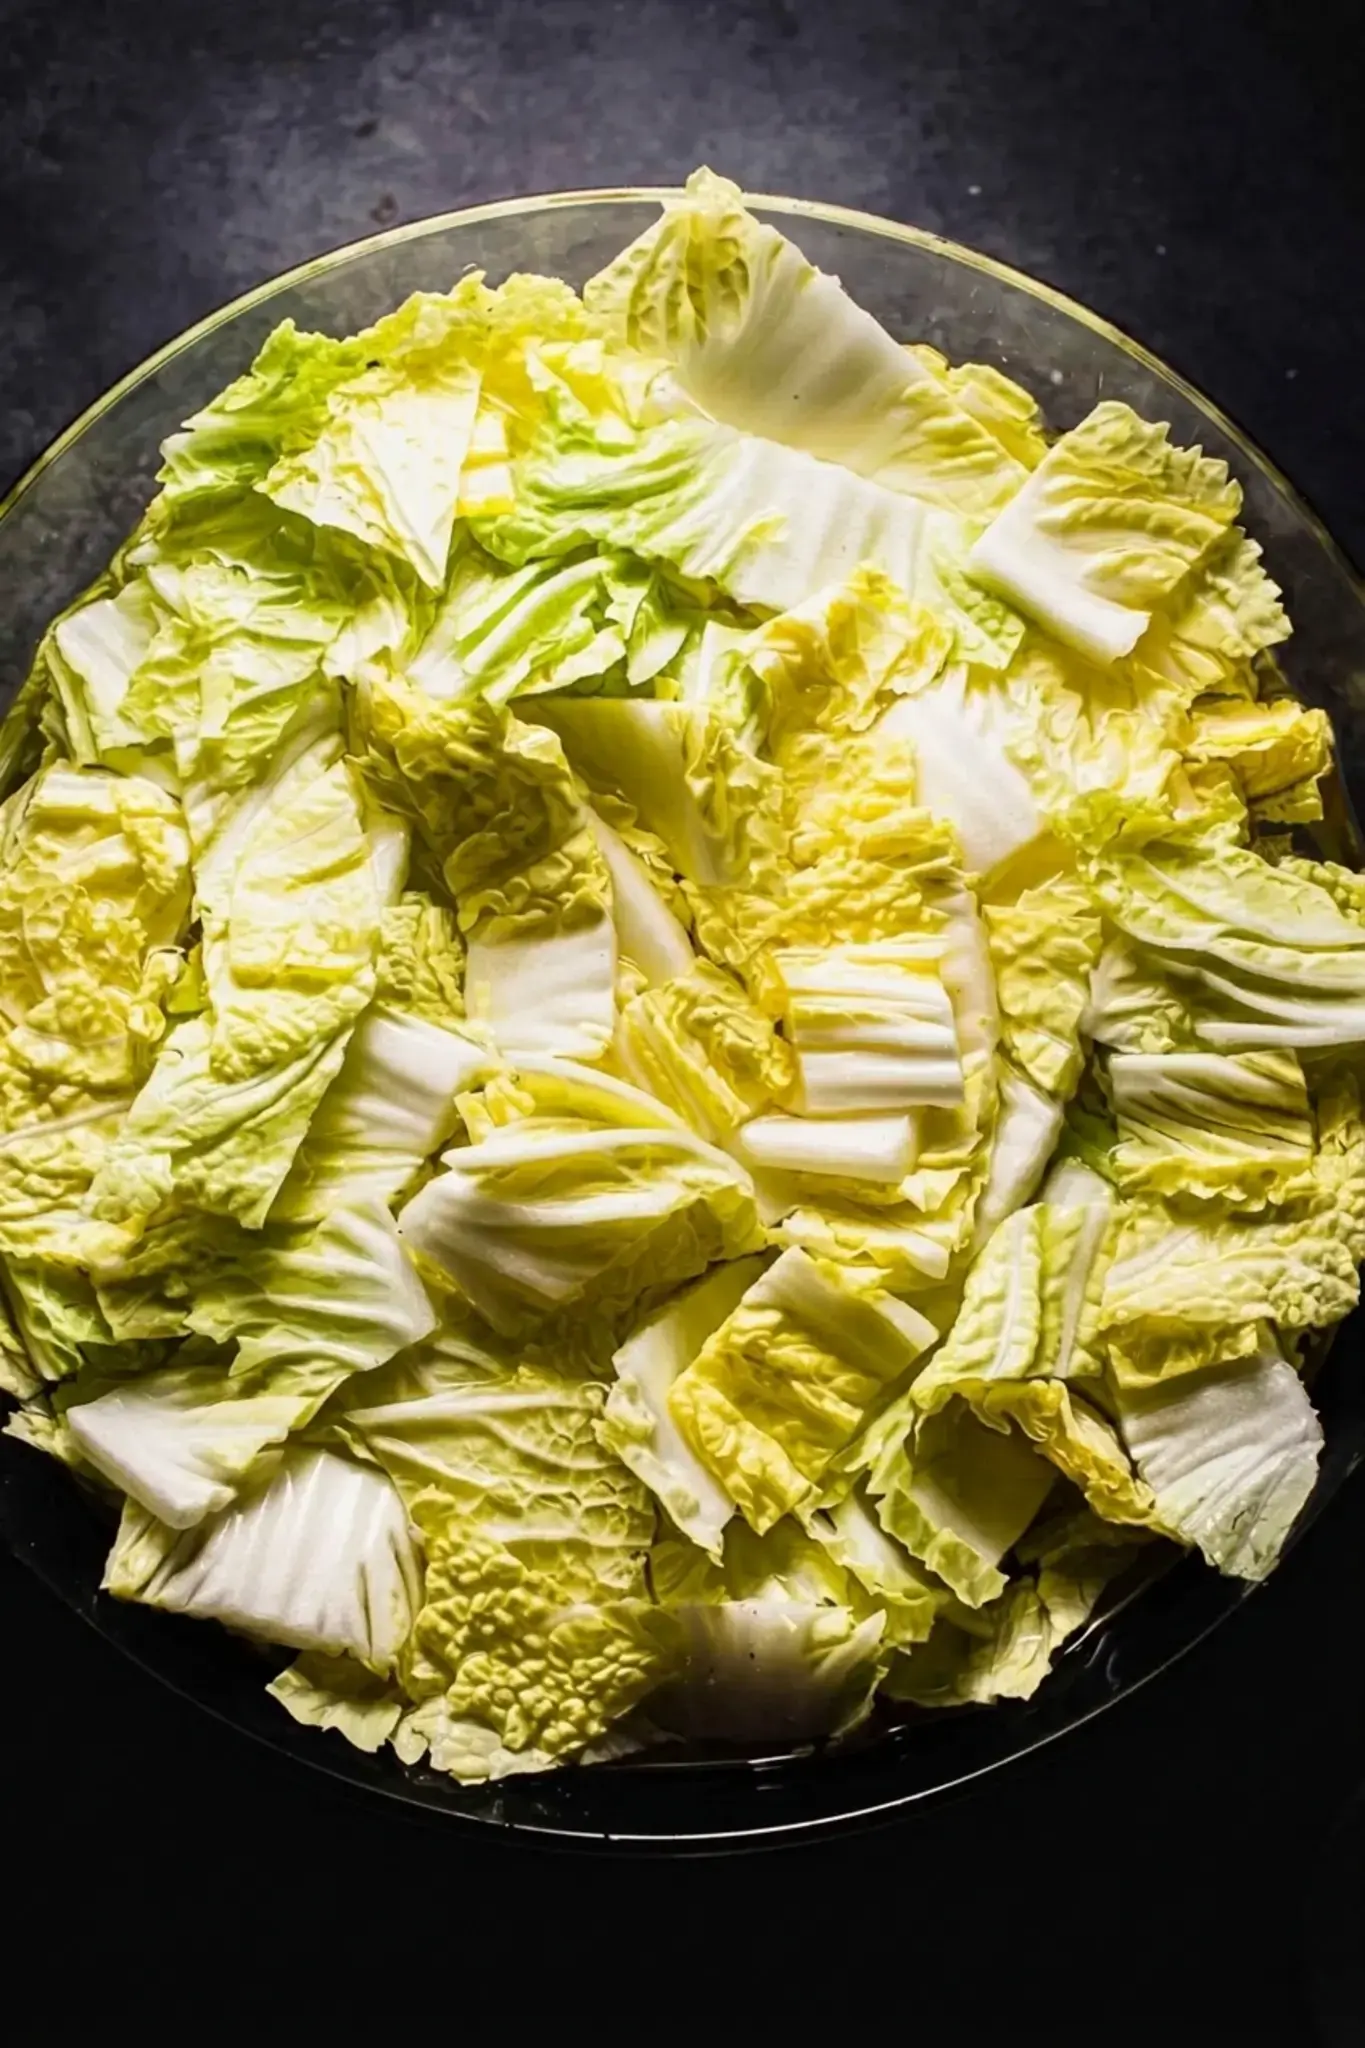
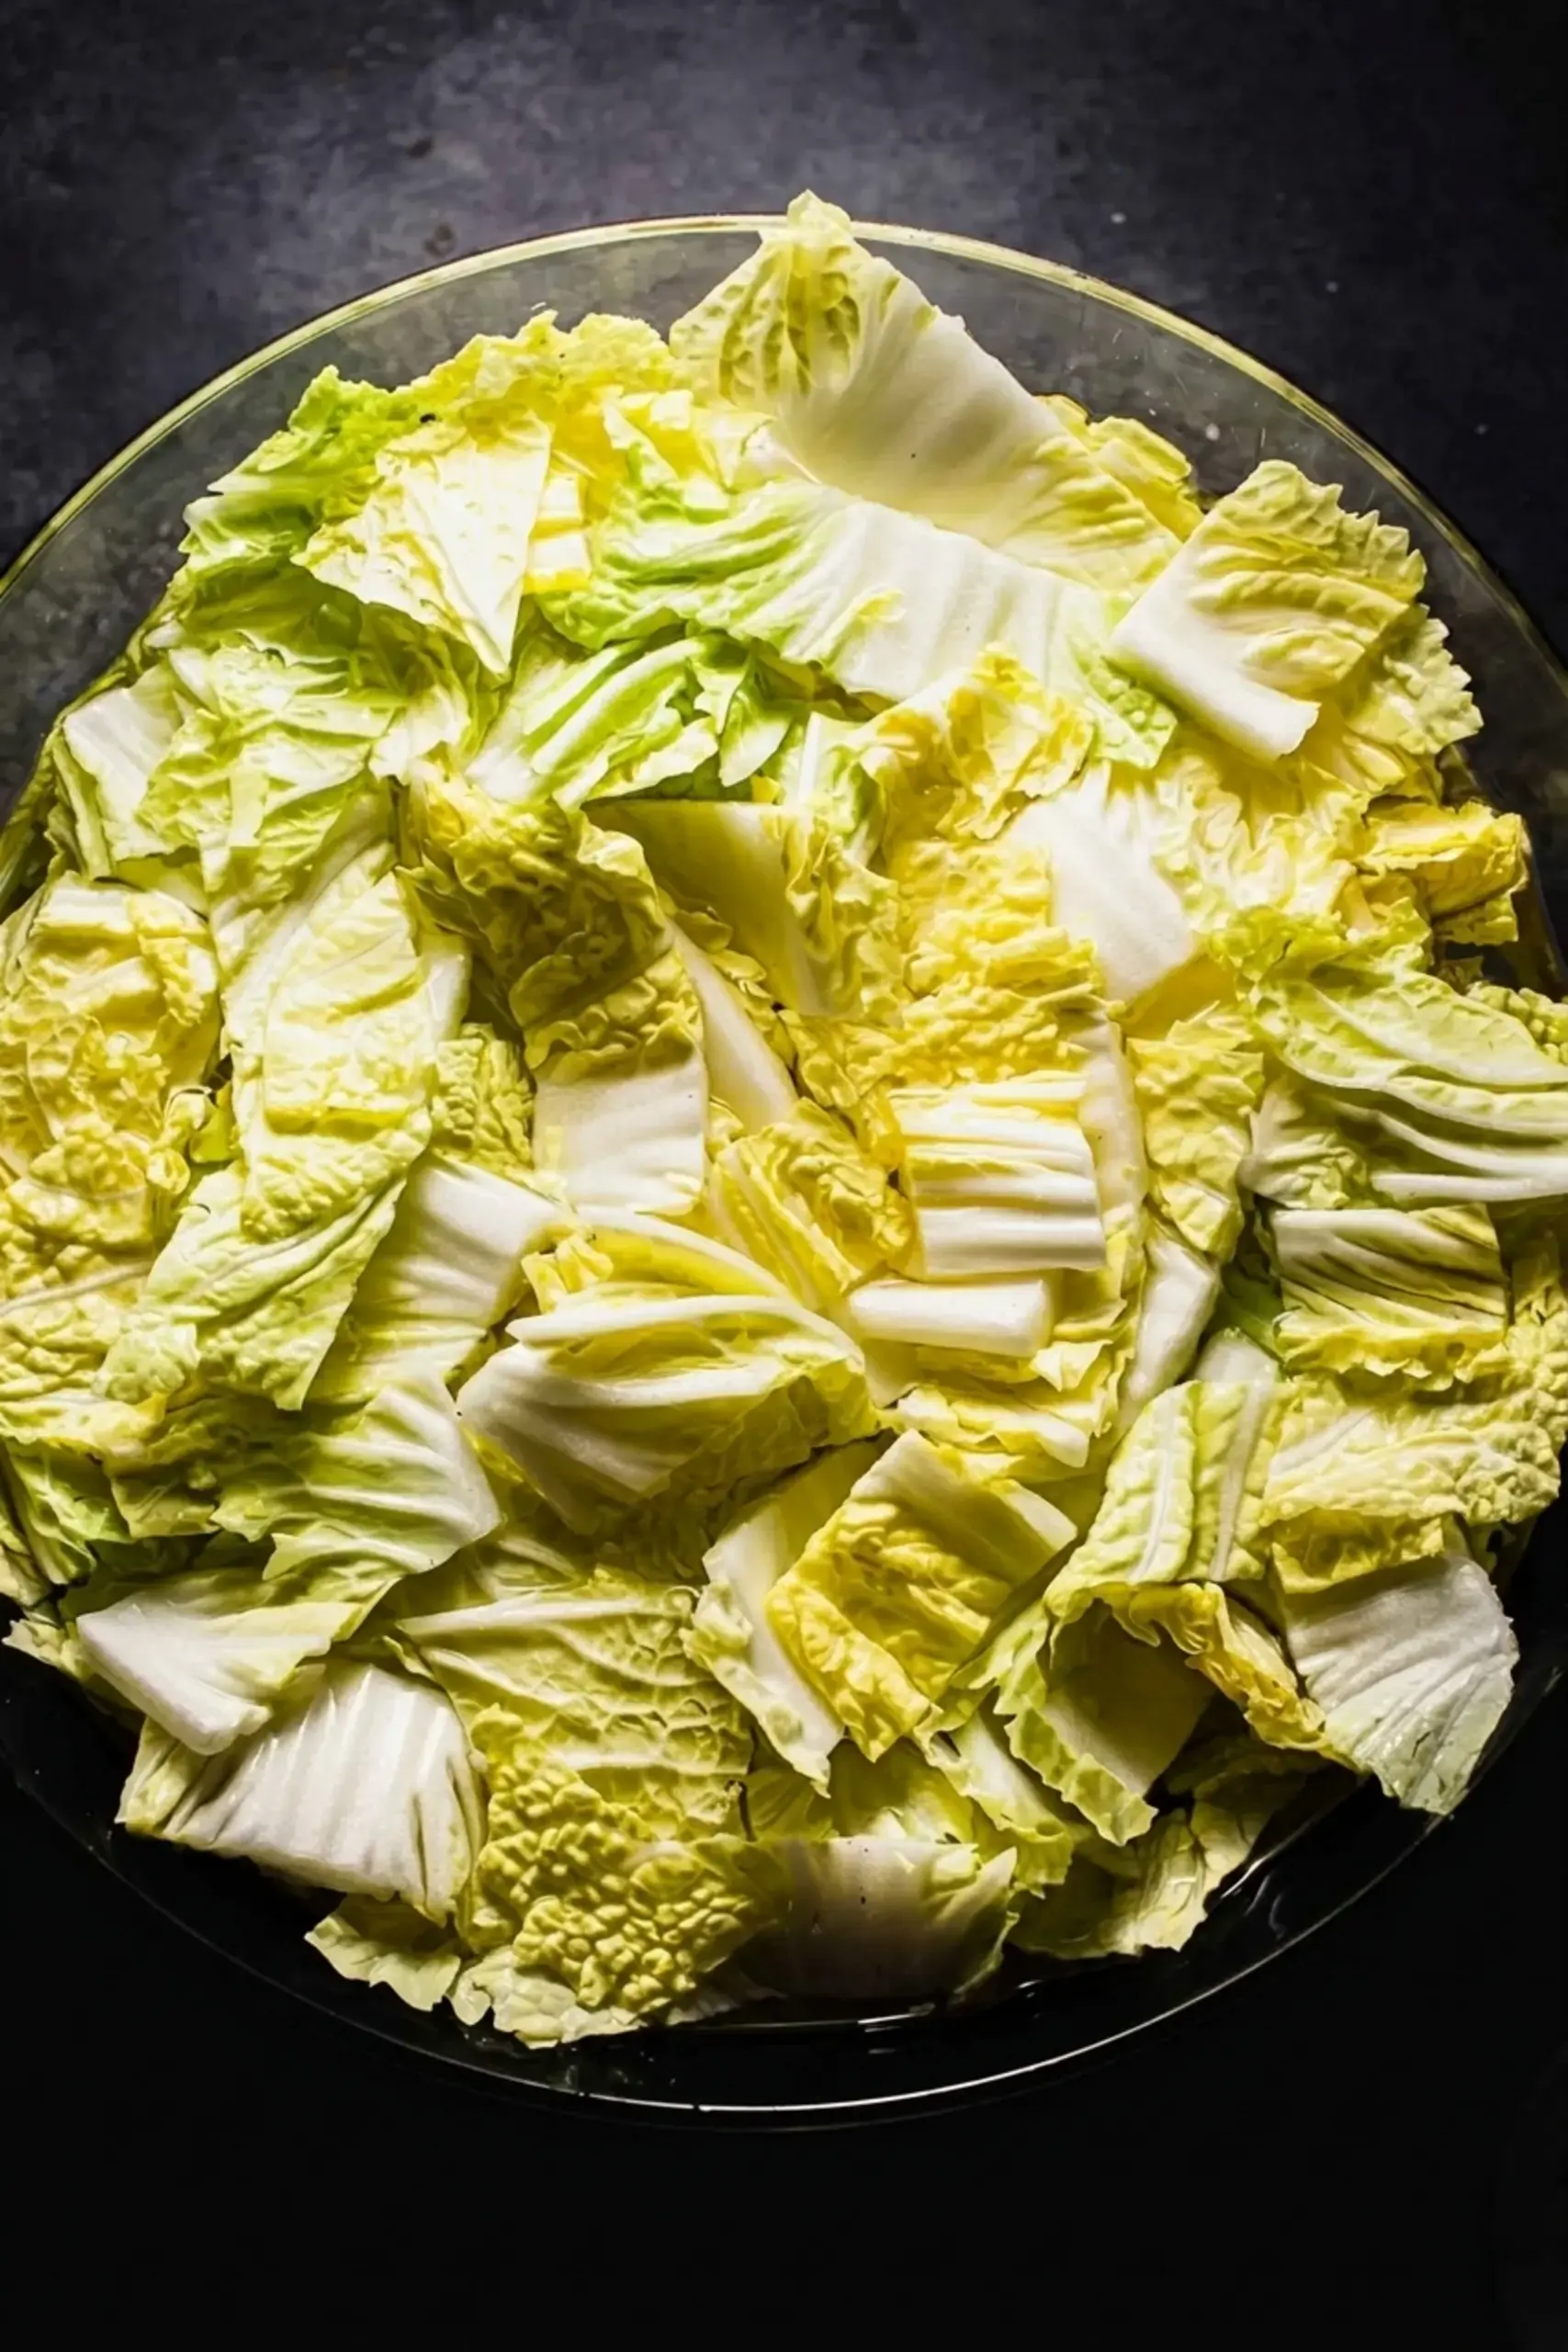
Salt and soak the cabbage
In a large bowl, coat the cabbage pieces with coarse sea salt. Cover with cold water and let it sit for 12 to 24 hours. This step draws out excess water and softens the cabbage, allowing the seasonings to penetrate later. After the soak, drain and rinse the cabbage thoroughly in cold water, then squeeze out as much water as you can. Do not skip the rinse; leftover salt can ruin the balance.
Tip: Use coarse sea salt, not iodized salt. Iodized salt can make your kimchi taste metallic and over salty. Kosher salt works well too.
Add remaining ingredients
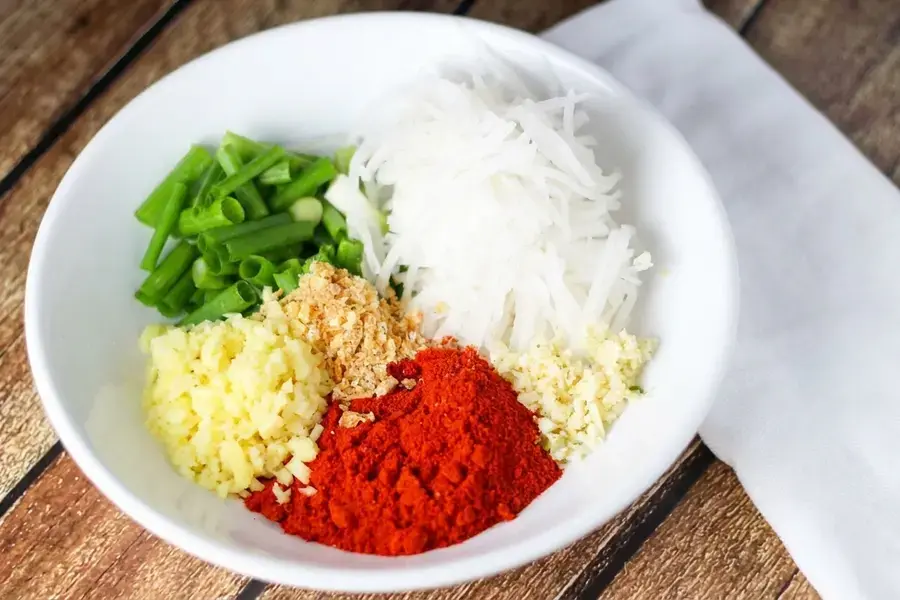
In a separate bowl, mix the scallions, ginger, garlic, gochugaru, fish sauce, dried shrimp (if using), and sugar.
Stir until you have a thick paste.
Add the prepared cabbage and mix well with your hands (wear gloves to avoid chili burn).
Make sure every piece is coated evenly.
This is the fun part; the kitchen starts to smell amazing.
Ferment
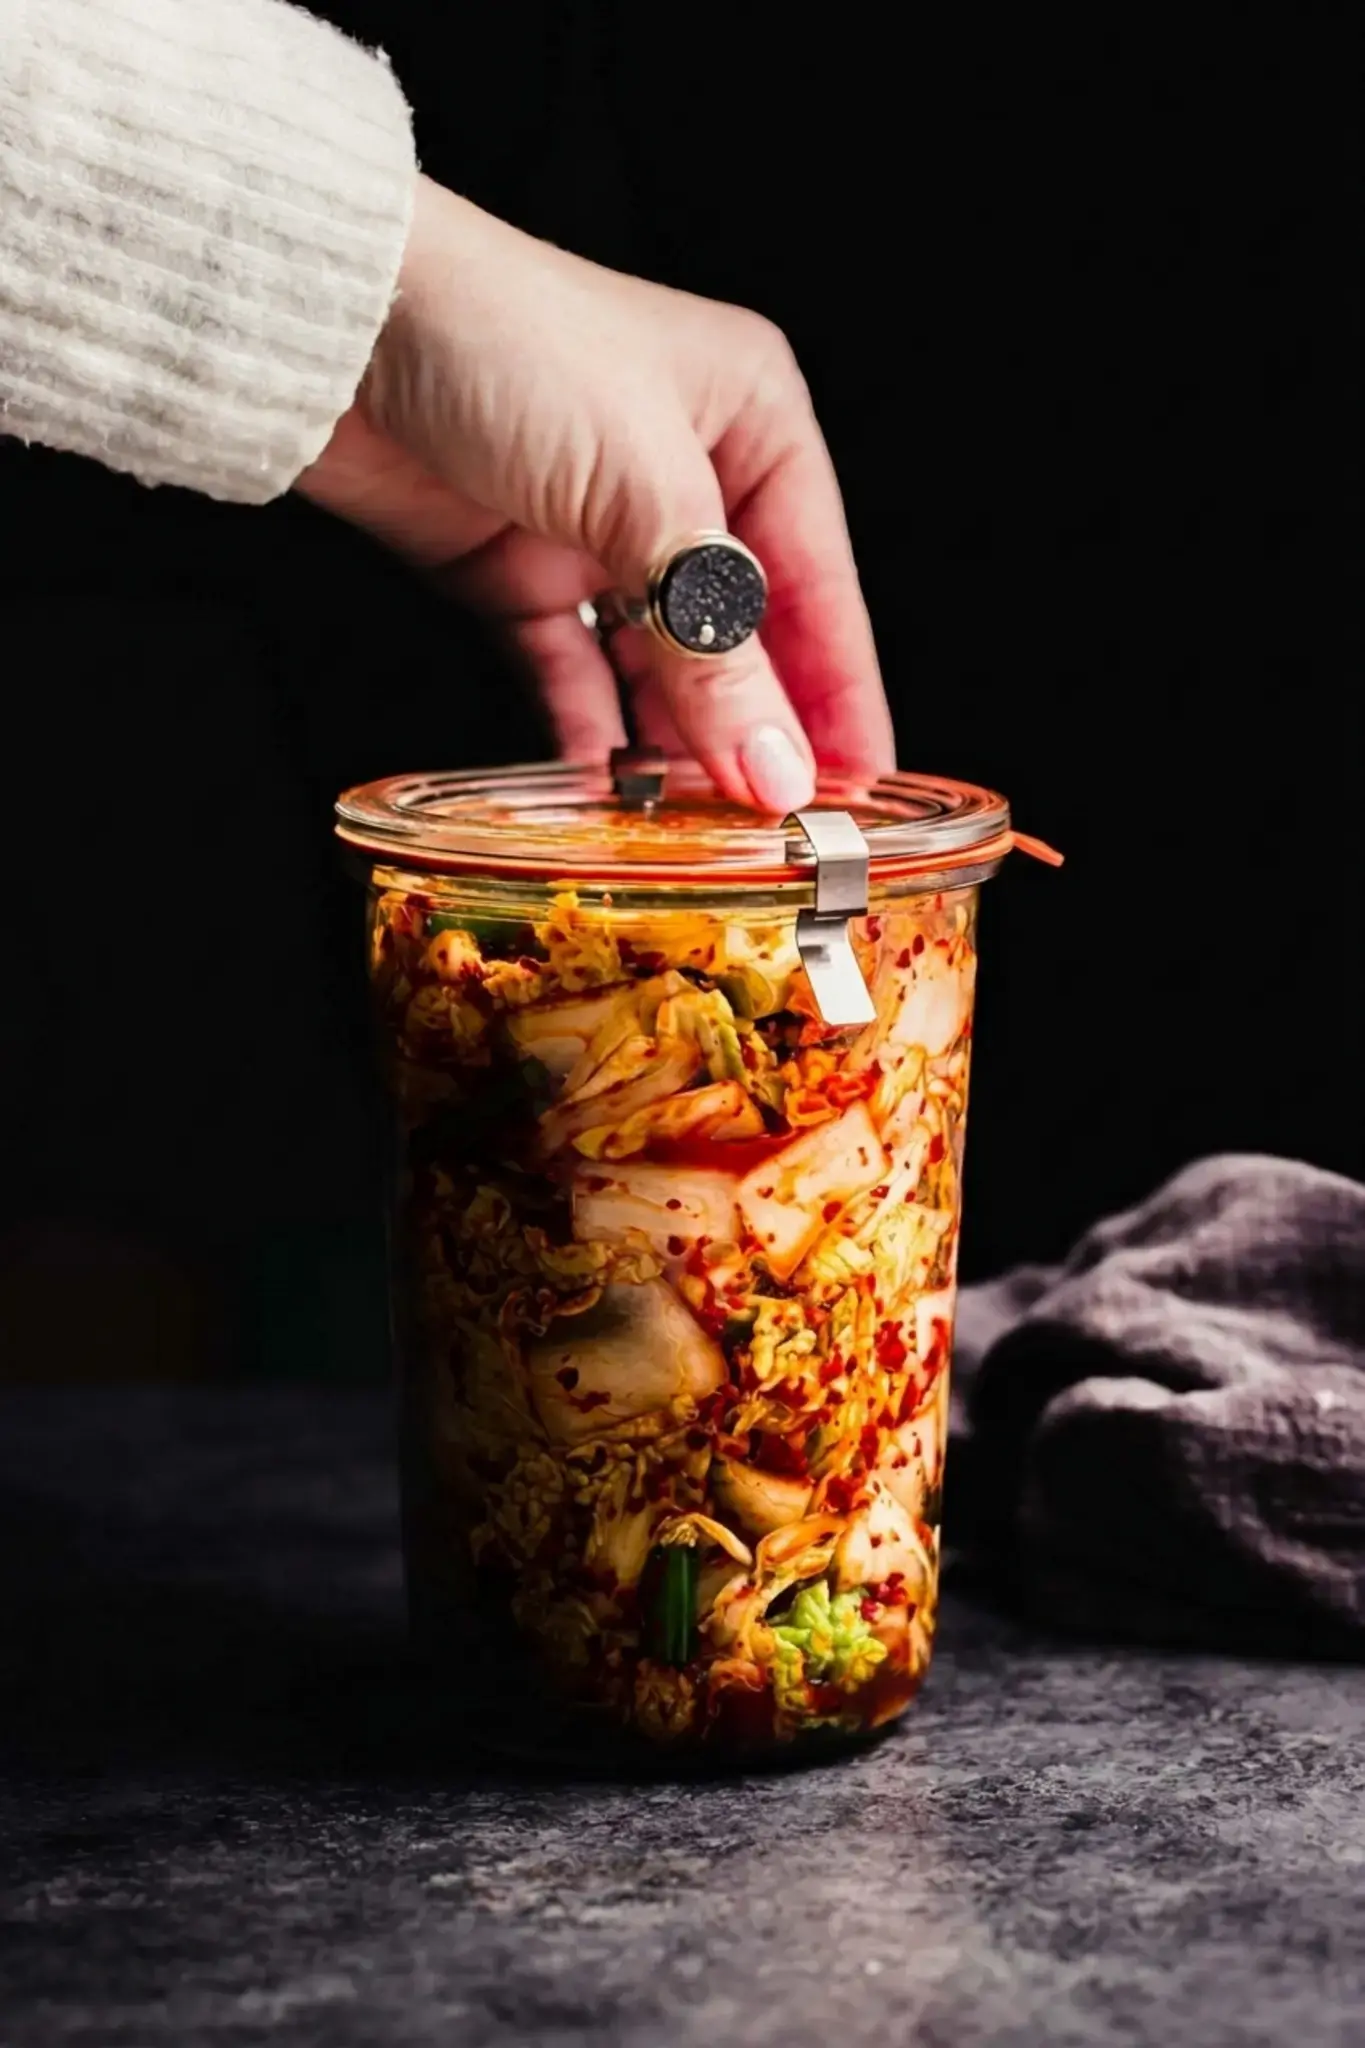
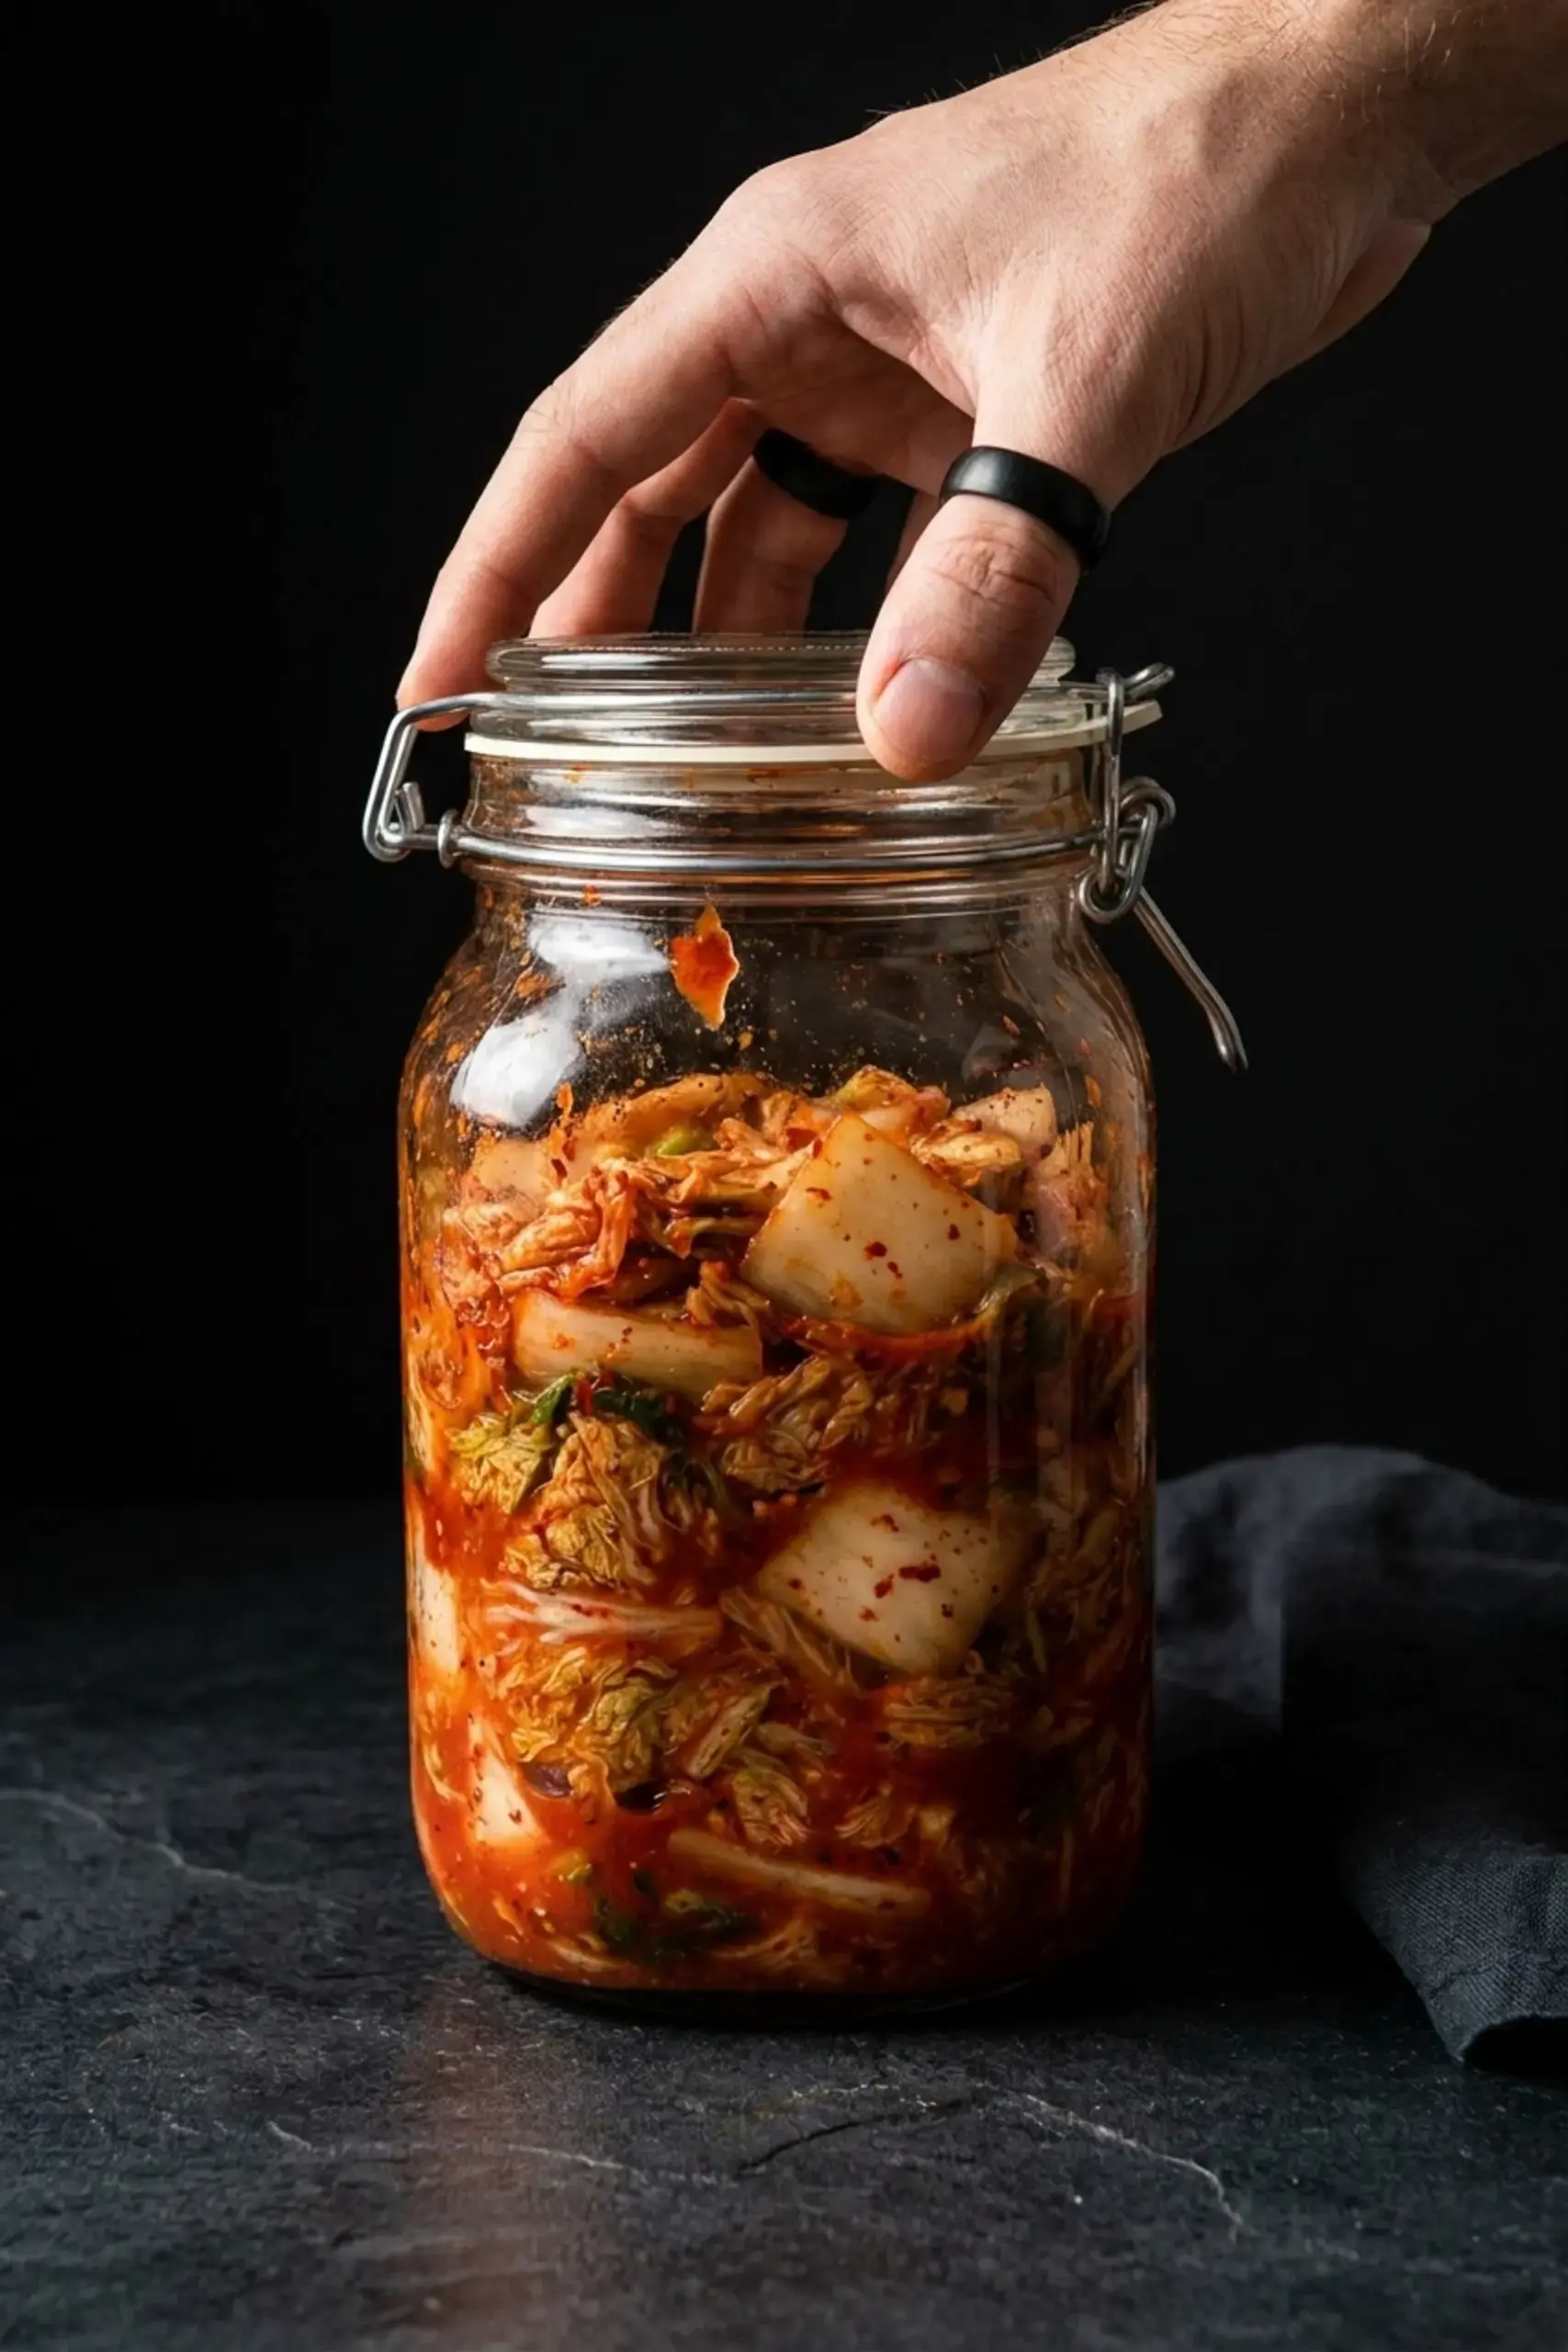
Pack the seasoned cabbage tightly into your glass jar, pressing down to remove air pockets. Leave about an inch of headspace because the kimchi will expand as it ferments. Screw on the lid and let it sit at room temperature for 24 hours.
“Burp” the jar once a day by opening it slightly to release carbon dioxide. After 24 hours, taste it. If you prefer a stronger tang, let it ferment another day or two.
Then transfer to the refrigerator. The kimchi is best after about one week of refrigeration, but you can eat it sooner. It will keep for up to one month in the fridge. You will know it is past its prime when it becomes overly sour and the cabbage turns mushy.
Optional add ins
One of the best parts of homemade kimchi is that you can customize it. Here are some common additions:
Daikon radish, cut into matchsticks for added crunch
Carrots, shredded or thinly sliced for color and sweetness
Extra garlic, if you love garlic, add a few more cloves
Asian pear or apple, grated, for a mild fruit sweetness that balances the heat
Mix these in with the cabbage before packing into the jar. Each batch becomes your own creation.
FAQs
What is the difference between kimchi and kimchee?
They are the same food. Kimchee is an older romanization from Japanese influence, but both refer to the traditional Korean fermented vegetable dish. In the United States, kimchi is the standard spelling.
How long does kimchi take to ferment?
At room temperature, it can be ready in 1 to 3 days depending on taste. Refrigerator fermentation slows the process; it is often eaten after 1 week but continues developing flavor for months.
Can I eat kimchi immediately after making it?
Yes, fresh kimchi (geotjeori) is eaten right after preparation. It is crunchy and less sour. For a more fermented flavor, let it sit at room temperature for 24 48 hours before refrigerating.
Is kimchi good for you?
Yes. It is low in calories, rich in vitamins (A, B, C), fiber, and probiotics from fermentation. It supports gut health and immune function. However, it can be high in sodium, so moderation is advised.
What does kimchi taste like?
It is tangy, spicy, and savory with a slight umami depth from fermentation. The heat comes from gochugaru (Korean red pepper flakes), and the saltiness from fish sauce or jeotgal (salted seafood). The exact flavor depends on ingredients and fermentation time.
How to store kimchi properly?
Store in an airtight container in the refrigerator. The ideal temperature is around 34 40°F. Keep it submerged in its brine to prevent spoilage. For long term storage, use a dedicated kimchi fridge or a cool, dark spot. It can last 3 6 months refrigerated.
What to eat with kimchi
Kimchi is incredibly versatile. Beyond being a side dish, it stars in many recipes. Here are some of my favorite ways to eat it:
Kimchi fried rice, stir fry leftover rice with kimchi, gochujang, and any protein
Kimchi jjigae (stew), a comforting stew with pork, tofu, and kimchi
Korean beef bowls (Bibimbap), add a heap of kimchi on top
Udon noodles, toss with kimchi and a savory broth
Tan tan ramen, spicy ramen with a spoonful of kimchi
Korean tacos, use kimchi as a spicy topping with grilled meat
Burgers, pile kimchi on a burger for a tangy kick
You can also enjoy it straight from the jar. If you want to explore more, check out our Traditional Napa Cabbage Kimchi recipe for another variation.
🥬 A tangy, spicy, and umami-rich Korean staple that adds bold flavor to any meal.
🌶️ Easy homemade fermented cabbage packed with probiotics for gut health and customizable heat.
Total Time:2 days 30 minutes
Yield:1 quart
Ingredients
Napa cabbage (1 large head)
Coarse sea salt (about 1/2 cup)
Sugar (1 tablespoon)
Scallions (1 bunch, sliced)
Fresh ginger (1 thumb, minced)
Garlic (6 8 cloves, minced)
Korean red pepper powder (kochukaru) (1/2 cup, adjust for spice)
Fish sauce (3 tablespoons)
Dried shrimp (saeujeot) (optional, 2 tablespoons)
Instructions
1-Cut the cabbage: Halve napa cabbage lengthwise, then cut crosswise into 2-inch pieces, discarding the root end; keep pieces chunky.
2-Salt and soak the cabbage: Coat cabbage pieces with coarse sea salt (not iodized), cover with cold water, and soak 12–24 hours. Drain, rinse thoroughly, and squeeze out excess water.
3-Add remaining ingredients: Mix scallions, ginger, garlic, gochugaru, fish sauce, optional dried shrimp, and sugar into a thick paste. Add the cabbage and mix well, wearing gloves, to coat evenly.
4-Ferment: Pack kimchi tightly into a glass jar, leaving 1-inch headspace; screw on lid. Let sit at room temperature 24 hours, burping daily; ferment longer for more tang if desired. Refrigerate; best after 1 week, keeps up to 1 month.
Last Step:
Please leave a rating and comment letting us know how you liked this recipe! This helps our business to thrive and continue providing free, high-quality recipes for you.
Notes
💡 Use coarse sea salt or kosher salt instead of iodized table salt to avoid a metallic, bitter taste.
🧤 Wear disposable gloves when mixing the chili paste with cabbage to protect your hands from the gochugaru heat.
⏳ For the best flavor, let the kimchi rest in the refrigerator for about one week before serving.