

Raspberry Jam (Without Pectin)
There’s something deeply satisfying about stirring a pot of bubbling fruit and watching it transform into glossy, spoonable jam. I’ve made this raspberry jam on lazy weekend mornings when the counter held a pint of berries that were just past their prime.
Instead of tossing them, I turned them into a small jar of brightness that lasted us through a week of toast and yogurt bowls. This recipe skips the pectin entirely.
It relies on the natural gelling power of the fruit and the right amount of patience to get that perfect set.

You can use fresh berries from the market, a bag of frozen raspberries from the back of the freezer, or even slightly soft fruit hiding in the fridge.
The technique is forgiving, and once you have it down, you can swap in strawberries, blueberries, or cherries with the same method.
Jump to:
- Raspberry Jam (Without Pectin)
- What You’ll Learn In This Recipe
- Ingredients You Need
- How To Make This Recipe
- Expert Tips
- More Breakfast
- FAQs
- Can I use frozen raspberries instead of fresh for this jam?
- How do I know when my raspberry jam is thick enough?
- How long does homemade raspberry jam without pectin last in the refrigerator?
- Why is my homemade raspberry jam runny and how can I fix it?
- Raspberry Jam (Without Pectin)
- Ingredients
- Instructions
- Last Step:
- Nutrition
- Did you make this recipe?
What You’ll Learn In This Recipe
I’ll walk you through how to make jam using fresh, frozen, or slightly past their prime raspberries. You will pick up simple tricks for checking when the jam is thick enough, so you never end up with a runny mess.
Finally, I’ll share the best ways to store your finished jam, whether you plan to keep it in the fridge for immediate use or tuck it into the freezer for later.
Ingredients You Need
The beauty of this jam is its short ingredient list. You only need four staples that are likely already in your kitchen.
Raspberries: Fresh or frozen work equally well. If your fresh berries look a little soft or have been sitting a day too long, they are perfect here. Just pick through the carton and discard any with mold.
Granulated sugar: Do not be alarmed by the amount. It sweetens the fruit but also helps the jam set properly and acts as a natural preservative. It’s what gives homemade jam its luscious texture.
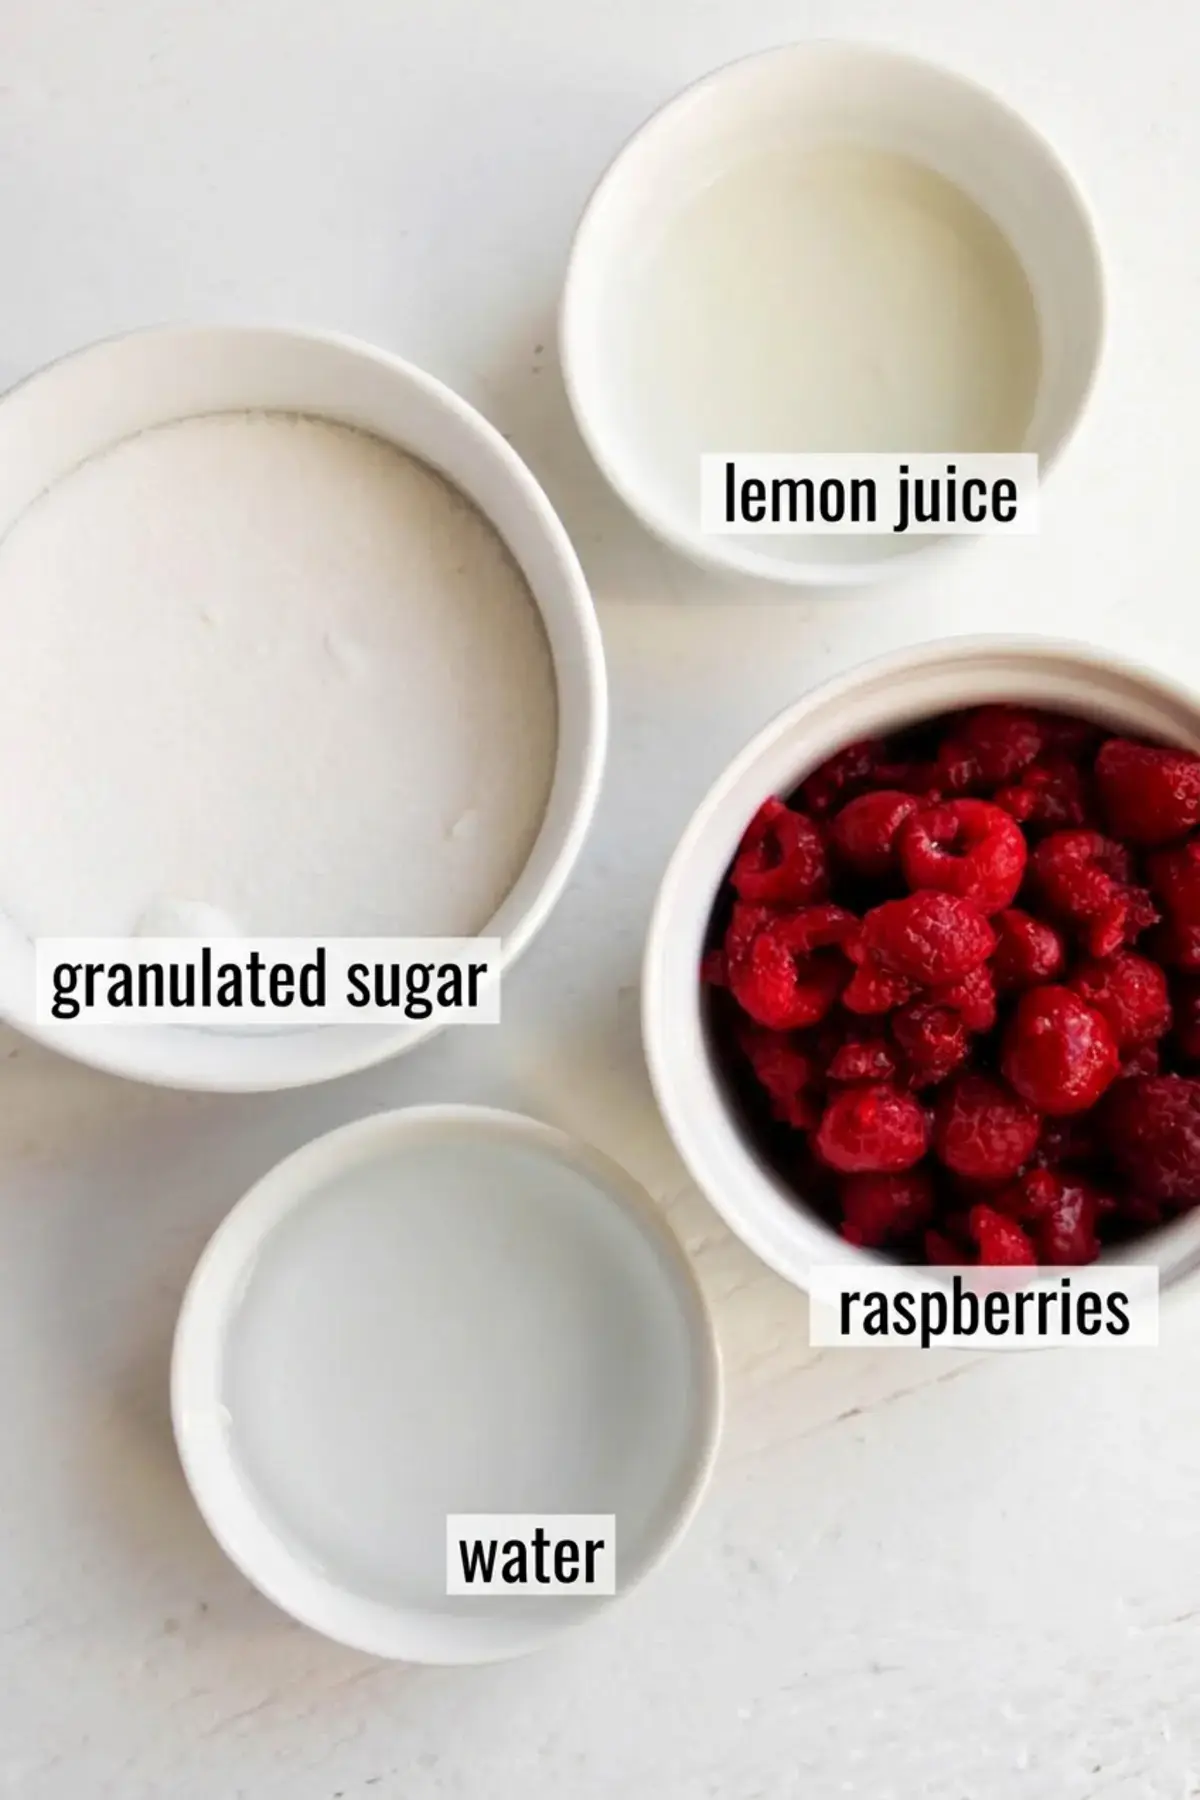
Water: A small splash keeps the raspberries from scorching against the dry pan before they release their own juices. Think of it as a tiny insurance policy.
Lemon juice: Bright, tart lemon juice lifts the heavy sweetness and helps balance the deep berry flavor. Without it, the jam would taste flat.
The exact measurements for each ingredient are waiting in the recipe card below so you can measure with confidence.
How To Make This Recipe
This process moves quickly once the fruit hits the heat. I like to have my jar or bowl ready and a small plate chilling in the refrigerator before I start stirring.
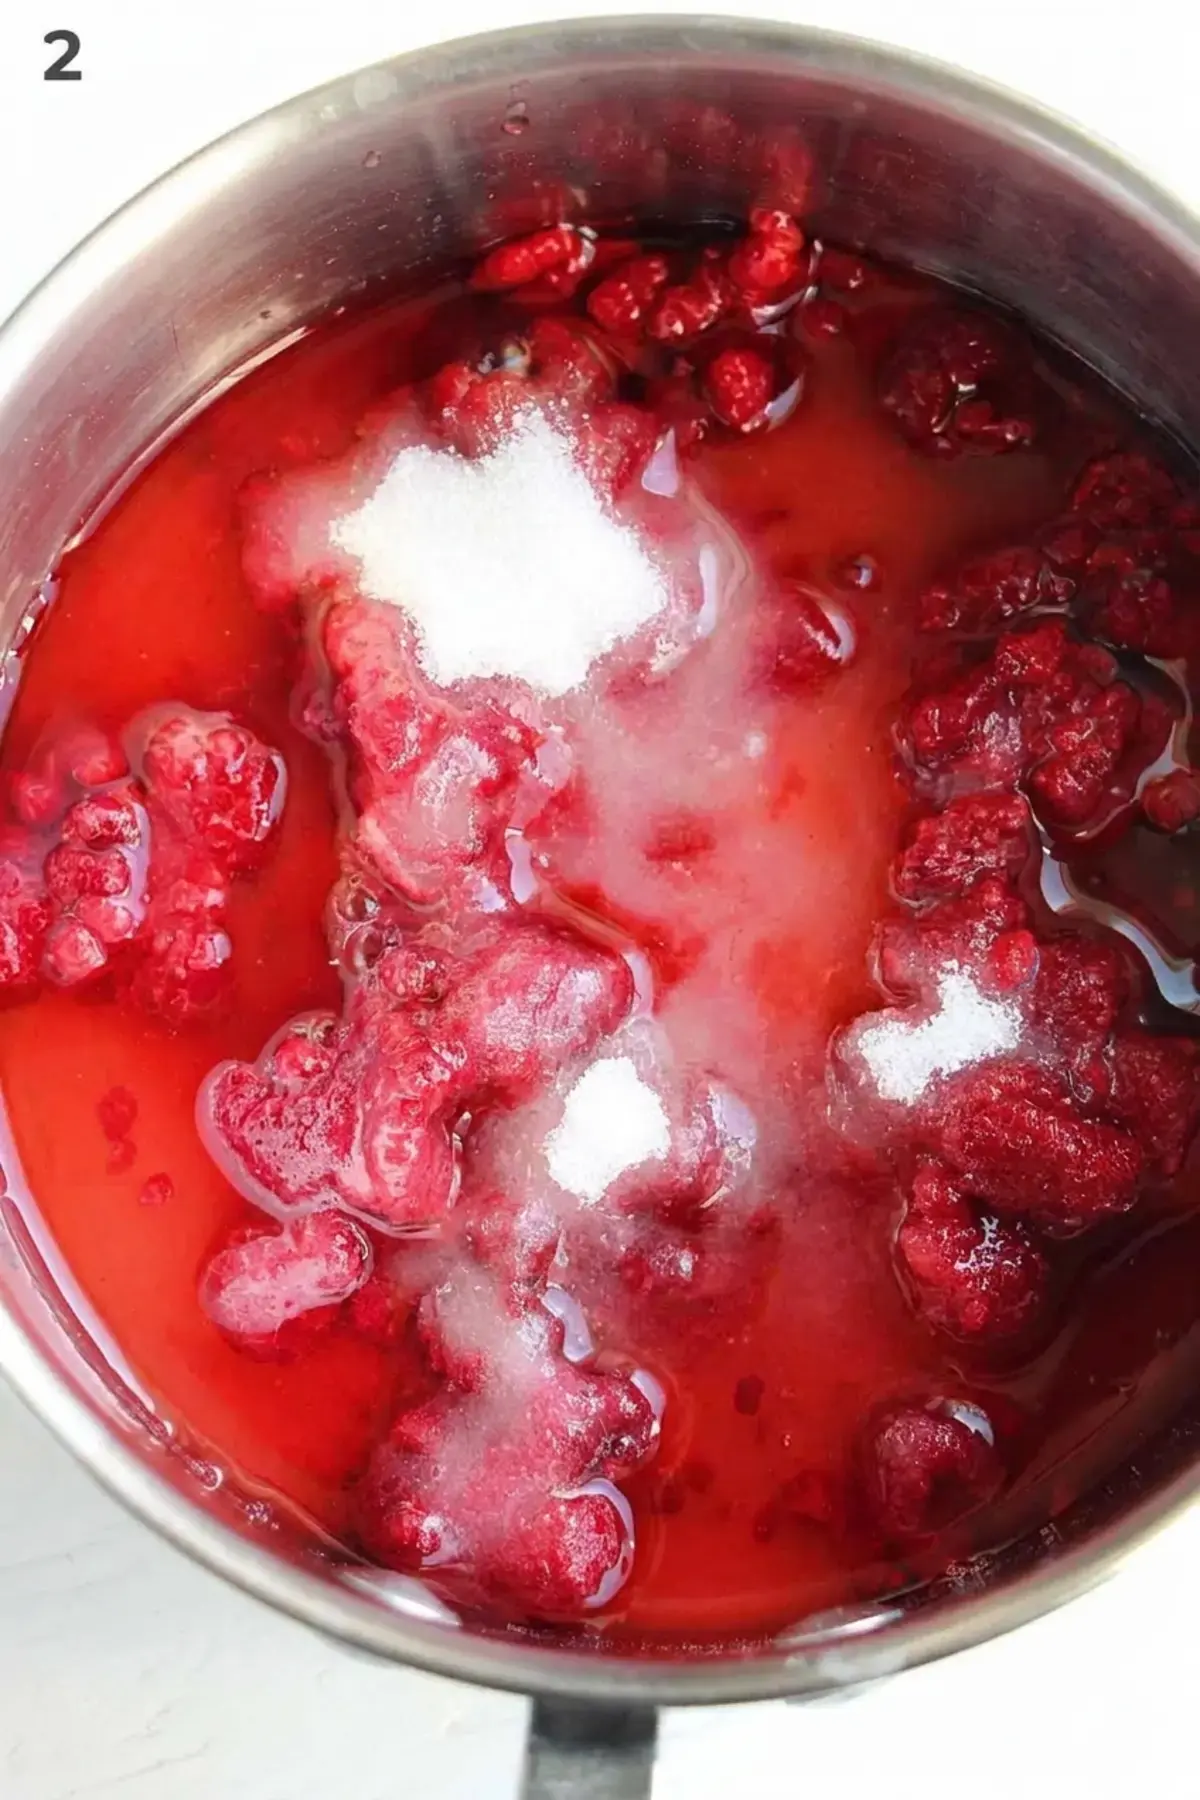
Begin by dumping the raspberries, granulated sugar, water, and lemon juice into a medium saucepan. Set the pan over medium high heat and stir everything together. Let the mixture come to a rolling boil. The fruit will break down and the kitchen will fill with a warm, jammy scent.
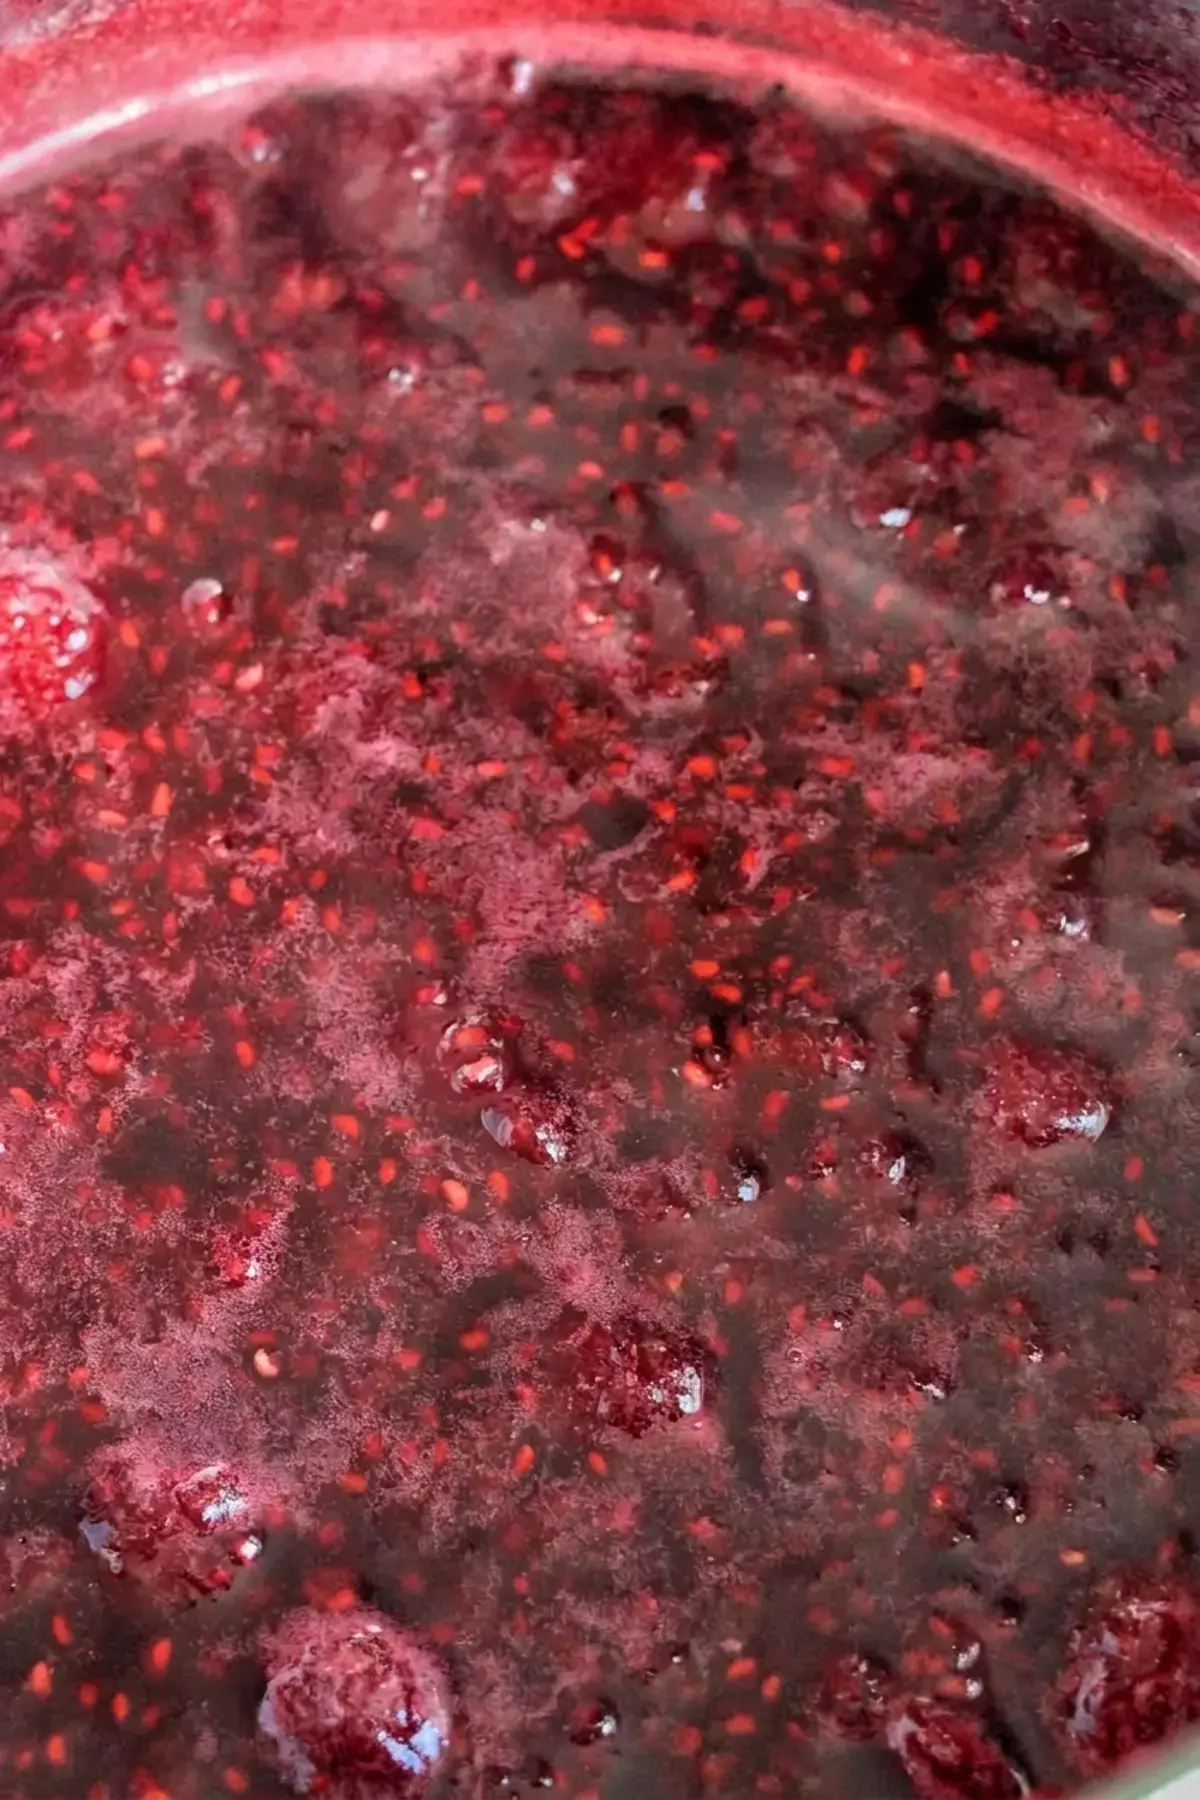
Once it hits a boil, reduce the heat to medium. Keep the mixture at a steady bubble but not an explosive one. From here, your main job is to stir often, scraping the bottom and sides of the pan so nothing sticks. As the bubbles grow thicker and slower, the fruit is concentrating and turning into jam.
This is the moment for the cold plate test. Pull that chilled plate from the fridge and spoon a small dollop of the hot jam onto it. Wait about 30 seconds, then nudge the dollop with your fingertip.
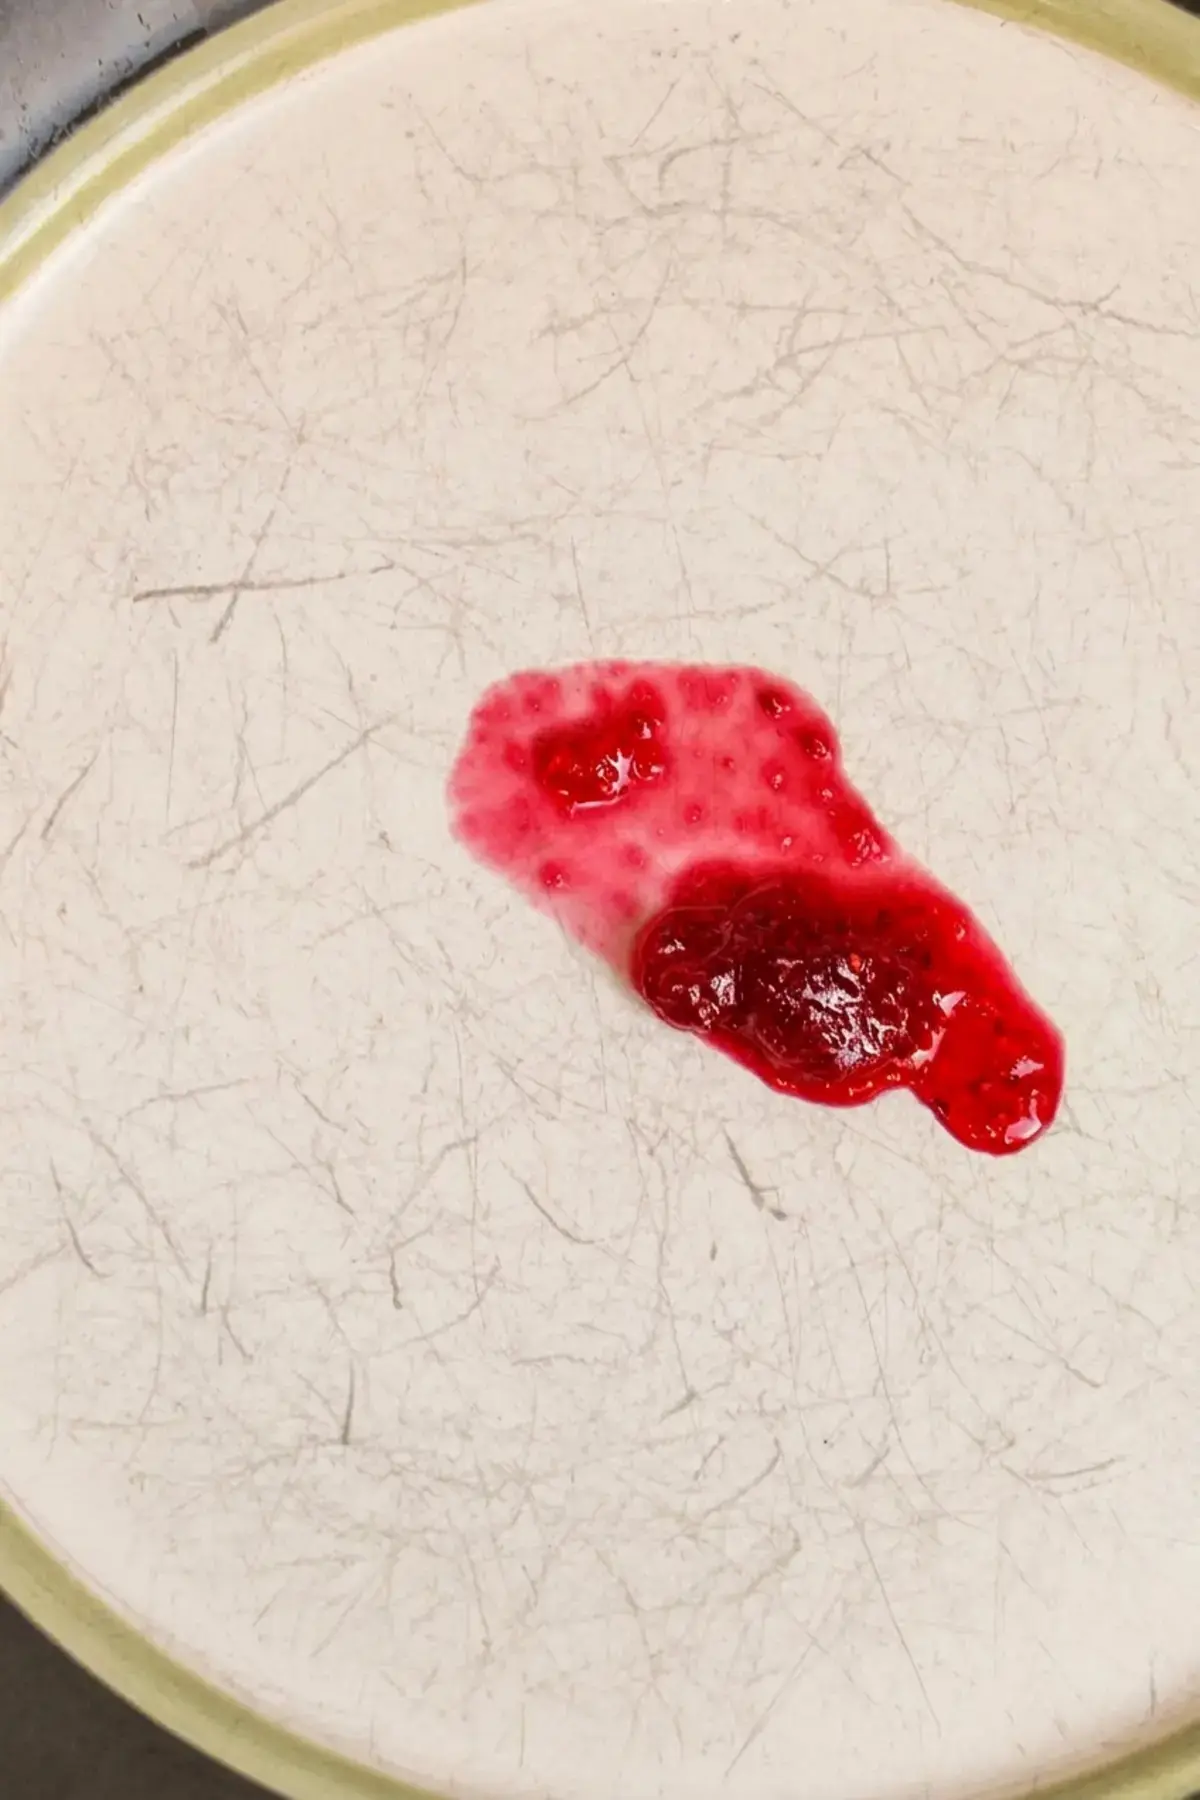
If it firms up and wrinkles slightly when you push it, the jam is fully cooked. If liquid seeps out around the edges and the puddle runs, let the pot keep cooking for another minute or two and test again.
Remember, the jam will continue to thicken as it cools, so stop cooking once it passes the test rather than pushing it further.
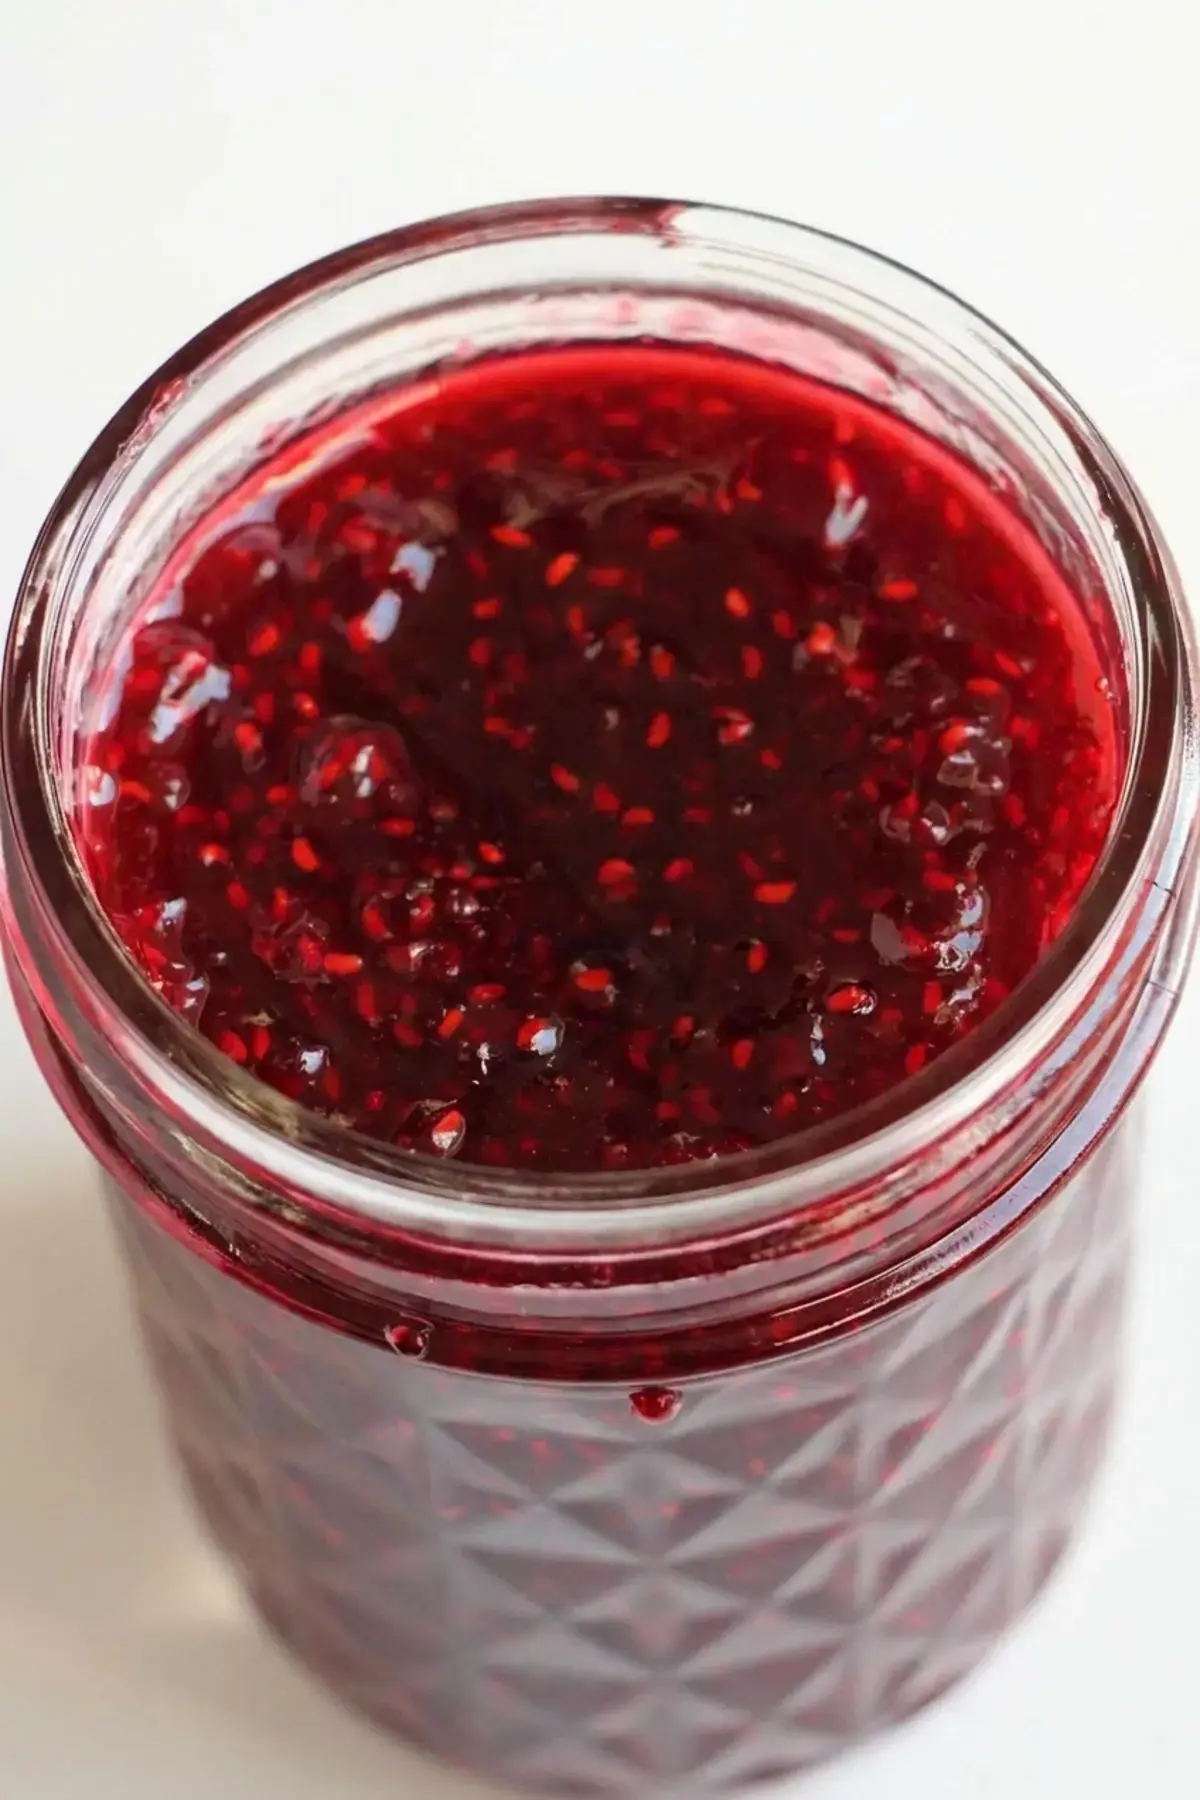
Turn off the heat and carefully spoon the hot jam into a clean bowl or a heatproof jar. Pop it in the refrigerator and let it cool completely, which takes about an hour. After that, you are rewarded with a vibrant homemade spread ready for anything from scones to simple buttered toast.
Expert Tips
Over time I have picked up a few extra moves that make the process even smoother. These small habits deliver a cleaner, better set jam every time.
- Store the cooled jam in an airtight container in the refrigerator. It stays fresh for up to 1 to 2 weeks. For longer storage, spoon it into a freezer safe container and freeze it for up to 2 months. The texture will still be wonderful after thawing.
- If you struggle with sugar crystals forming around the rim of the pan, keep a small bowl of cold water and a pastry brush nearby. Dip the brush in the water and run it along the sides of the saucepan as the jam cooks. This washes stray sugar back down into the fruit so it dissolves instead of crystallizing.
- A pale or slightly foamy layer often rises to the top of the bubbling jam. Spoon that foam off before you transfer the jam to a jar. It is not harmful, but removing it gives you a clearer, more jewel toned final product that looks as good as it tastes.
More Breakfast
This raspberry jam slides right into a lineup of easy morning favorites. Spread it on sourdough toast, dollop it onto fluffy pancakes, or swirl it into a bowl of warm oatmeal.
It also makes a lovely filling for thumbprint cookies or a quick stir in for plain yogurt. However you use it, a little jar of homemade jam makes an ordinary breakfast feel a little more special.
FAQs
Can I use frozen raspberries instead of fresh for this jam?
How do I know when my raspberry jam is thick enough?
How long does homemade raspberry jam without pectin last in the refrigerator?
Why is my homemade raspberry jam runny and how can I fix it?
Raspberry Jam (Without Pectin)
Raspberry Jam (Without Pectin) There’s something deeply satisfying about stirring a pot of bubbling fruit and watching it transform into glossy, spoonable jam. I’ve made this raspberry jam on lazy weekend mornings when the counter held a pint of berries that were just past their prime.
- Total Time: 90 min
- Yield: 225 grams 1x
Ingredients
1 ½ cups raspberries
¾ cup granulated sugar
¼ cup water
1 tablespoon lemon juice
Instructions
1-Heat raspberries, granulated sugar, water, and lemon: Heat raspberries, granulated sugar, water, and lemon juice over medium high heat in a medium sized saucepan until boiling.
2-Reduce the heat to medium: Reduce the heat to medium. Cook, stirring often, until the fruit has thickened. To test that the jam is thick enough, place a plate in the refrigerator until chilled. Place a small dollop of jam on the chilled plate. If the jam stiffens, it’s fully cooked. If liquid runs from the jam, it needs to continue cooking.
3-Transfer jam to a small bowl, and: Transfer jam to a small bowl, and refrigerate for 1 hour until fully cooled.
Last Step:
Please leave a rating and comment letting us know how you liked this recipe! This helps our business to thrive and continue providing free, high-quality recipes for you.- Prep Time: 0 min
- Cook Time: 30 min
- Method: stovetop
Nutrition
- Calories: 56
- Sugar: 13
- Sodium: 1
- Fat: 0.1
- Saturated Fat: 0.003
- Carbohydrates: 14
- Fiber: 1
- Protein: 0.2