
Easy Homemade Cherry Sweet Rolls Recipe with Icing
Every family has one recipe that shows up at every holiday breakfast, and in our house it is these easy homemade cherry sweet rolls with icing.
I found the card in my mom’s old recipe box one rainy afternoon while I was hunting for a completely different recipe. There it was, typed out on a little card, with a note in the corner that simply said, so good.

Here is the best part. This is a no knead dough. You stir it together, let it rise, roll it out, and bake it. No kneading, no flour clouds across the counter, no arm workout before breakfast. That means less time getting ready and a whole lot less cleanup, which is exactly what I want on a busy morning.
What you get in return is a pan of soft rolls swirled with bright cherry filling and finished with a simple powdered sugar icing. Warm from the oven, they are the kind of treat that makes everyone wander into the kitchen to see what smells so good. YAY!
Jump to:
- Easy Homemade Cherry Sweet Rolls Recipe with Icing
- What you’ll love about this recipe:
- Homemade Cherry Roll Recipe
- Ingredients for Cherry Roll Dough:
- Ingredients for Icing:
- Directions:
- What Temperature should the water be to proof yeast?
- Icing Instructions:
- Old Fashioned Dessert Recipes
- How to Freeze Sweet Rolls
- Breakfast Recipes
- FAQs
- How long do you bake cherry sweet rolls at 375 degrees?
- Can you use canned cherry pie filling for sweet rolls?
- Can you freeze unbaked cherry sweet rolls to make ahead of time?
- What is the best way to proof yeast for this recipe?
- Easy Homemade Cherry Sweet Rolls Recipe with Icing
- Ingredients
- Instructions
- Last Step:
- Did you make this recipe?
What you’ll love about this recipe:
There are so many reasons this one has stayed in my regular rotation for years.
- It is budget friendly. Everything comes from simple pantry staples you probably already have, plus one can of cherry pie filling.
- It looks like a bakery treat. Bright red cherries and a white icing make a pan that is pretty enough for company, and it costs a fraction of what a bakery charges.
- The dough needs no kneading. If you have ever felt nervous about working with yeast, this is a gentle place to start.
- It is versatile. Swap in a different filling, add a little cinnamon to make cherry cinnamon rolls, or use apple pie filling or blueberry filling for a whole new dessert.
I have brought these to potlucks, to Christmas morning, and to a plain Tuesday night when nothing else sounded good. Every single time, the pan comes home empty.
Homemade Cherry Roll Recipe
Think of these as cherry cinnamon rolls with icing, just without the cinnamon. If you are a cinnamon fan, sprinkle some in with the filling and you have cherry cinnamon rolls instead. Both versions disappear fast.
You do not need any fancy equipment here. The only special tool for the dough is a rolling pin, and a basic one from the grocery store works perfectly. It is inexpensive and genuinely handy to keep around. You will also want a small 8×8 or 9×9 square or round baking dish.
Use fresh ingredients when you can, especially the flour and the yeast, and check that both are still within their freshness dates. Old yeast is the number one reason dough refuses to rise, and it is such an easy thing to check before you start.
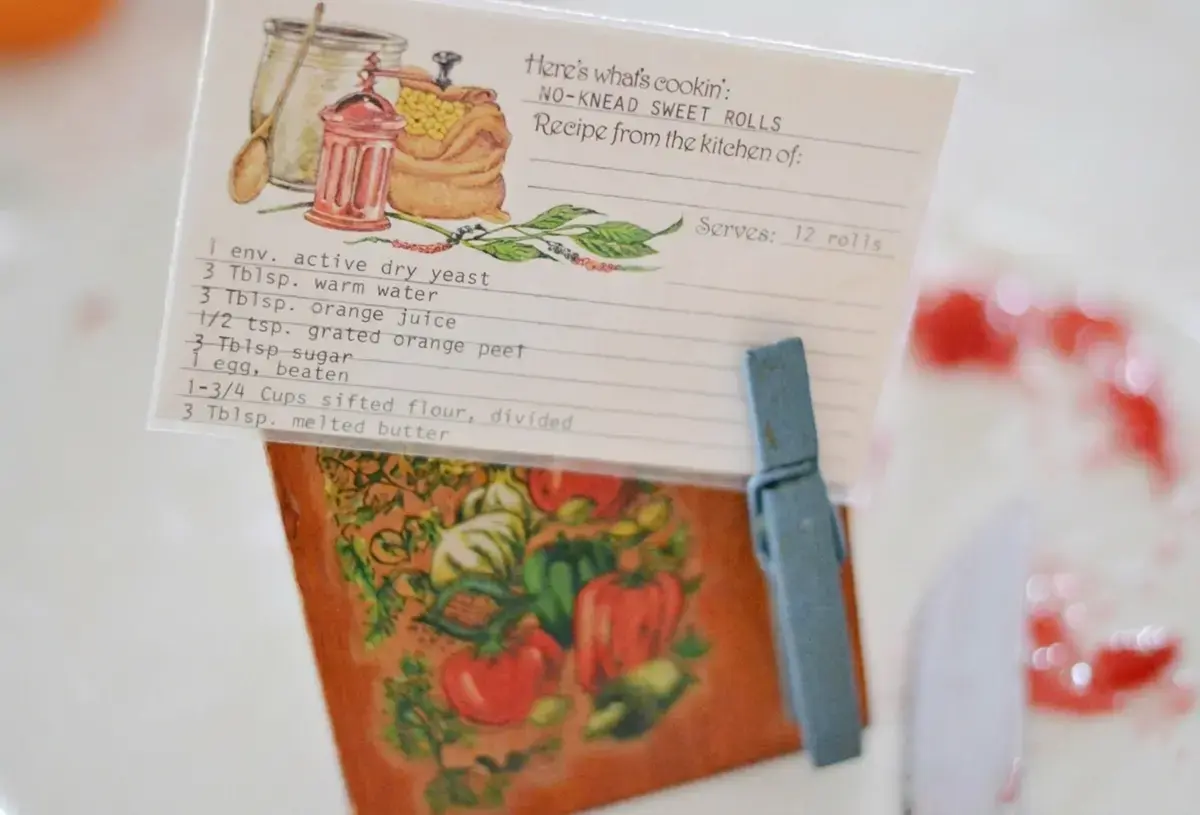
I use canned cherry pie filling because that is what the card calls for, and because the first time I made these was during the Christmas holidays when fresh cherries were nowhere in sight. These rolls are welcome at breakfast, at brunch, at a potluck, or any time of year you feel like baking.
My mom used to type her handwritten recipes onto index cards on an old typewriter and slide them into little plastic holders. Flipping through that box feels like flipping through her kitchen, and this card is one of my favorites.
| Recipe at a glance | Details |
|---|---|
| Servings | 12 |
| Prep time | 1 hour |
| Cook time | 40 minutes |
| Total time | 1 hour 40 minutes |
| Oven temperature | 375 F |
| Pan | 8×8 or 9×9 square or round baking dish |
Ingredients for Cherry Roll Dough:
Here is everything that goes into the dough.
- 1 envelope active dry yeast, which equals 2 1/4 teaspoons if you use bulk yeast
- 3 tablespoons warm water
- 3 tablespoons orange juice
- 1/2 teaspoon grated orange peel
- 3 tablespoons sugar
- 1 large egg, beaten
- 1 3/4 cups all purpose flour, sifted if you want, but you do not have to
- 3 tablespoons melted butter
- 1/2 teaspoon salt
- 1 can cherry pie filling, any kind you like
The orange juice and the orange peel are what make people stop and ask what is in these rolls. Please do not skip them.
Ingredients for Icing:
The icing could not be simpler.

You need 2/3 cup powdered sugar and 2 1/2 teaspoons milk. That is it.
Directions:
Add the warm water to a large bowl, then sprinkle your yeast on top. You can mix it up a little if you like. Then let it rest for about 5 minutes.
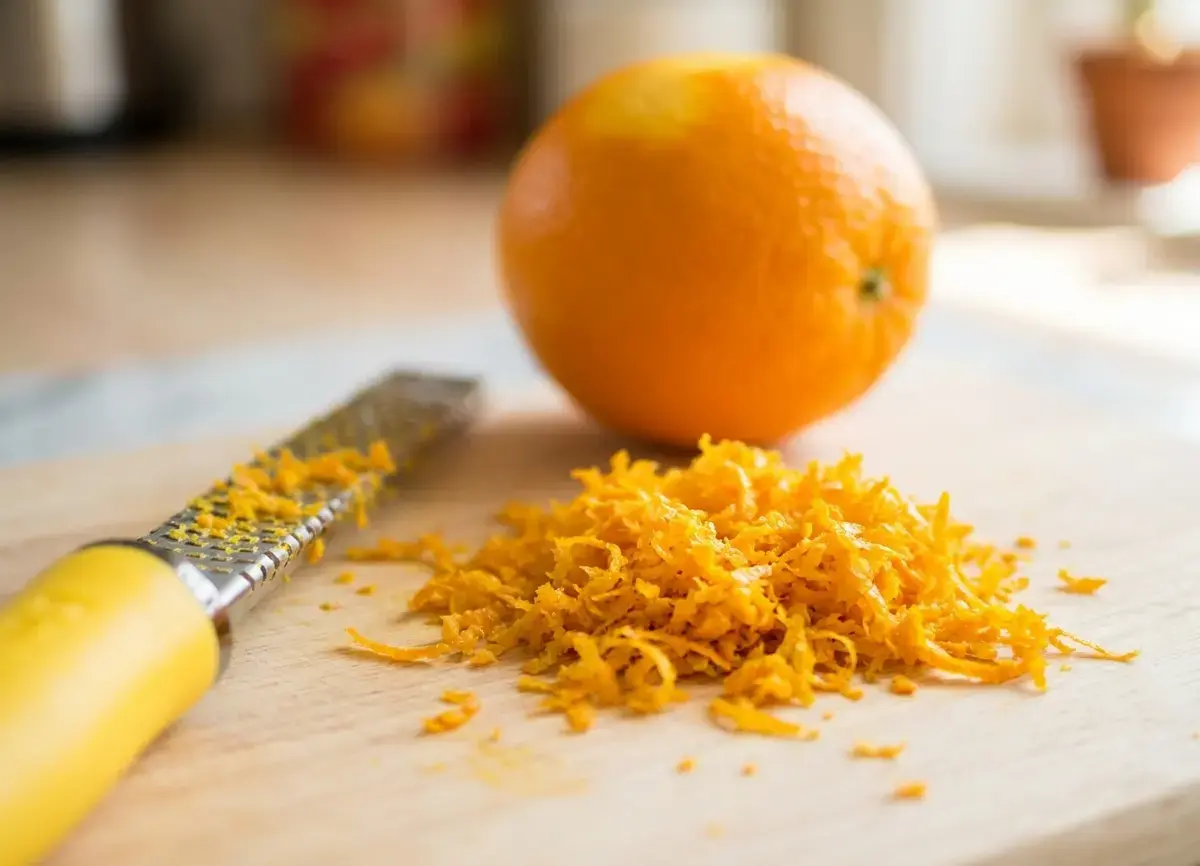
While the yeast proofs, zest your orange. After you zest it, cut the orange in half and squeeze the juice into a small bowl so it is ready for the recipe.
What Temperature should the water be to proof yeast?
The water should be lukewarm, and just a little warmer than that. I used to stress about hitting an exact number, and honestly, that only made me frustrated before I even started. If you want a number to aim for, think about 95 F.
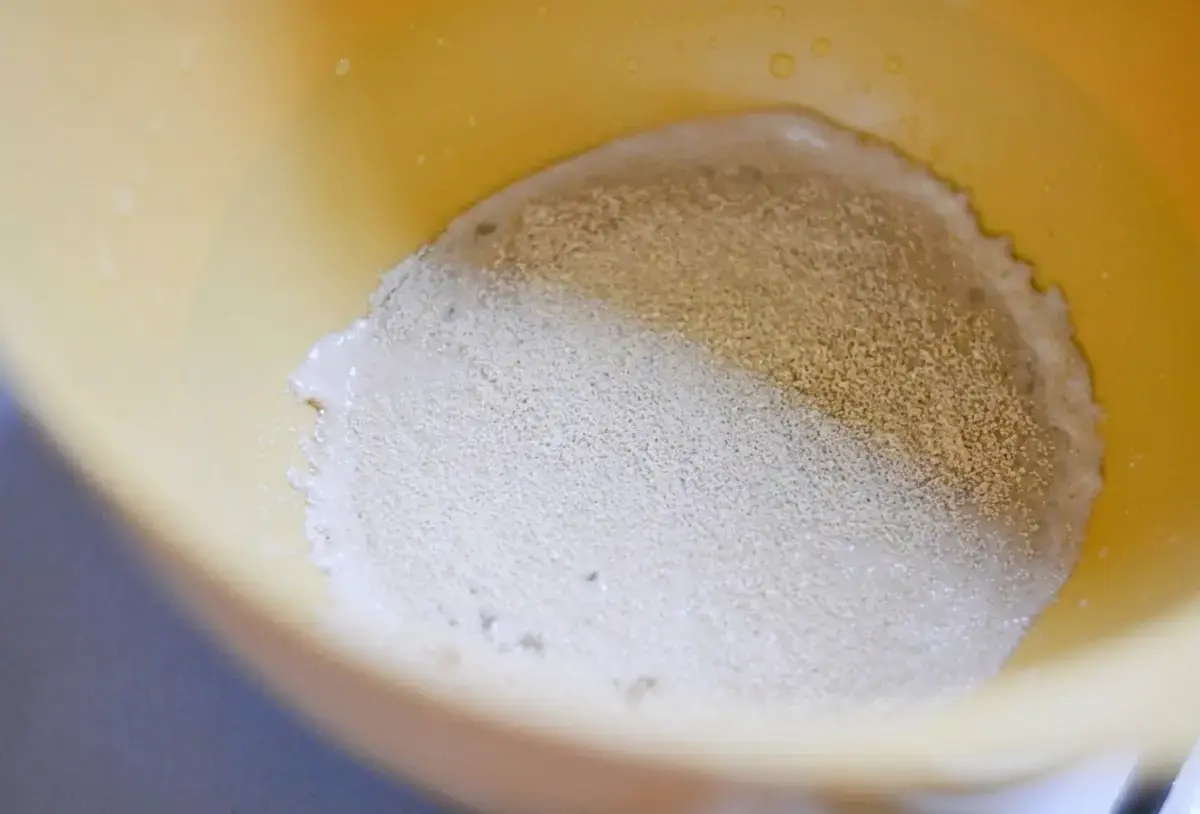
If you dip a finger in and it feels pleasantly warm rather than hot, you are in great shape.
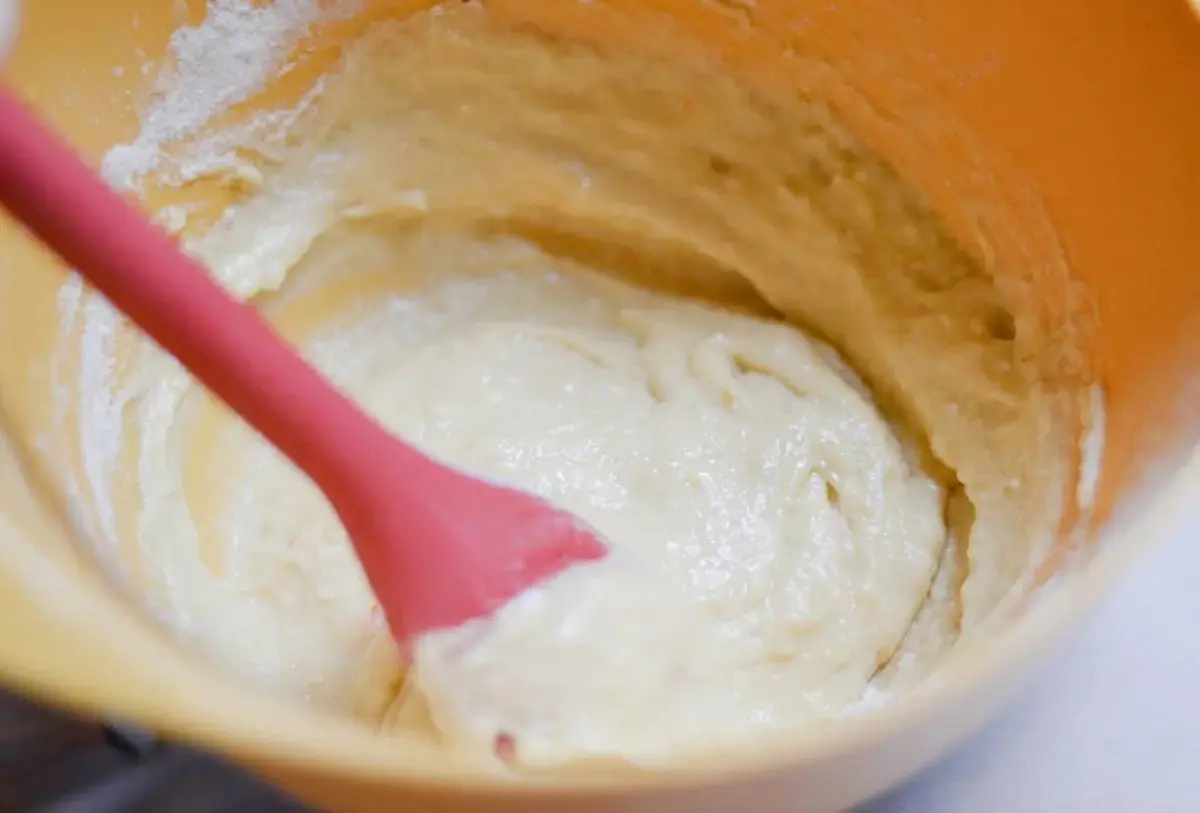
Now add the orange juice, orange peel, sugar, salt, melted butter and egg to the bowl with your proofed yeast. Stir in 1 cup of the flour and mix until smooth. Then gradually stir in the remaining 3/4 cup of flour to make a soft dough.
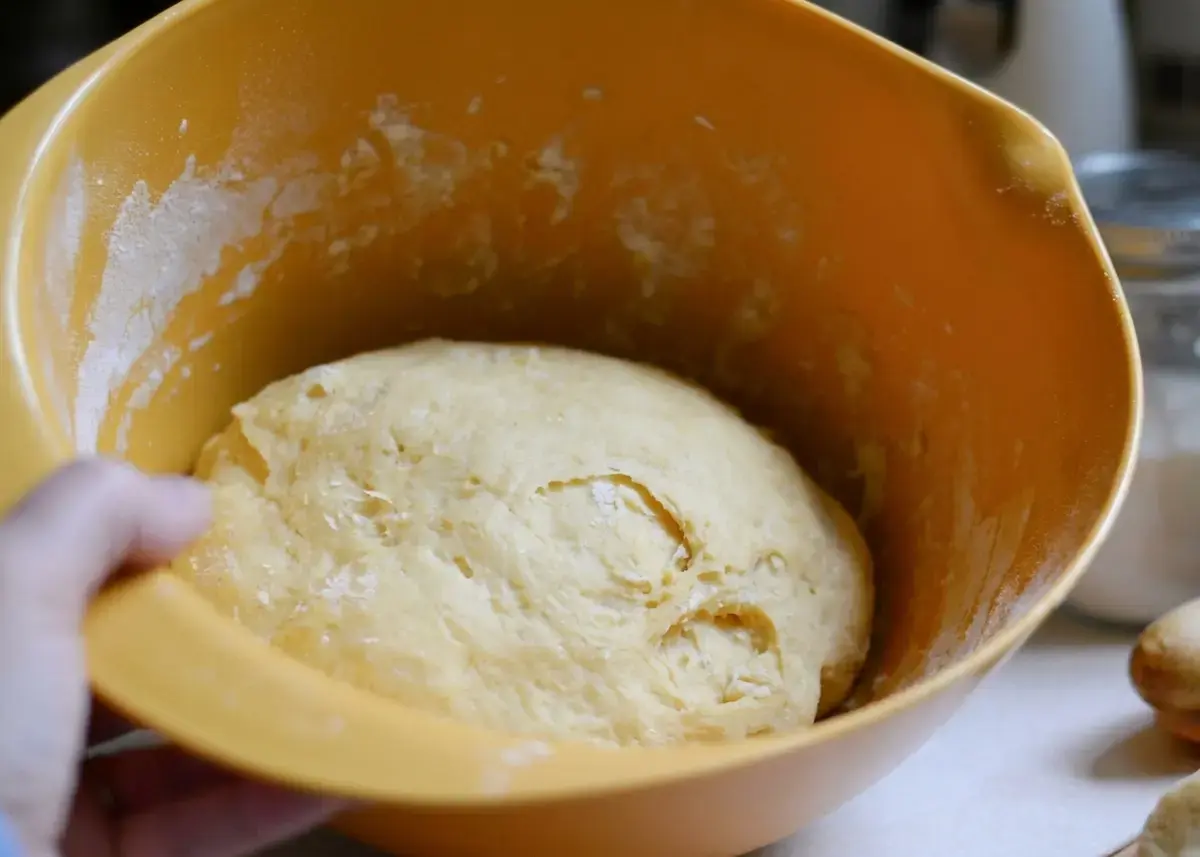
This is a no knead recipe, so do not knead it. Cover the bowl with plastic wrap or a dry kitchen towel and let the dough rise in a warm, draft free place until it has doubled in size, about 1 hour.
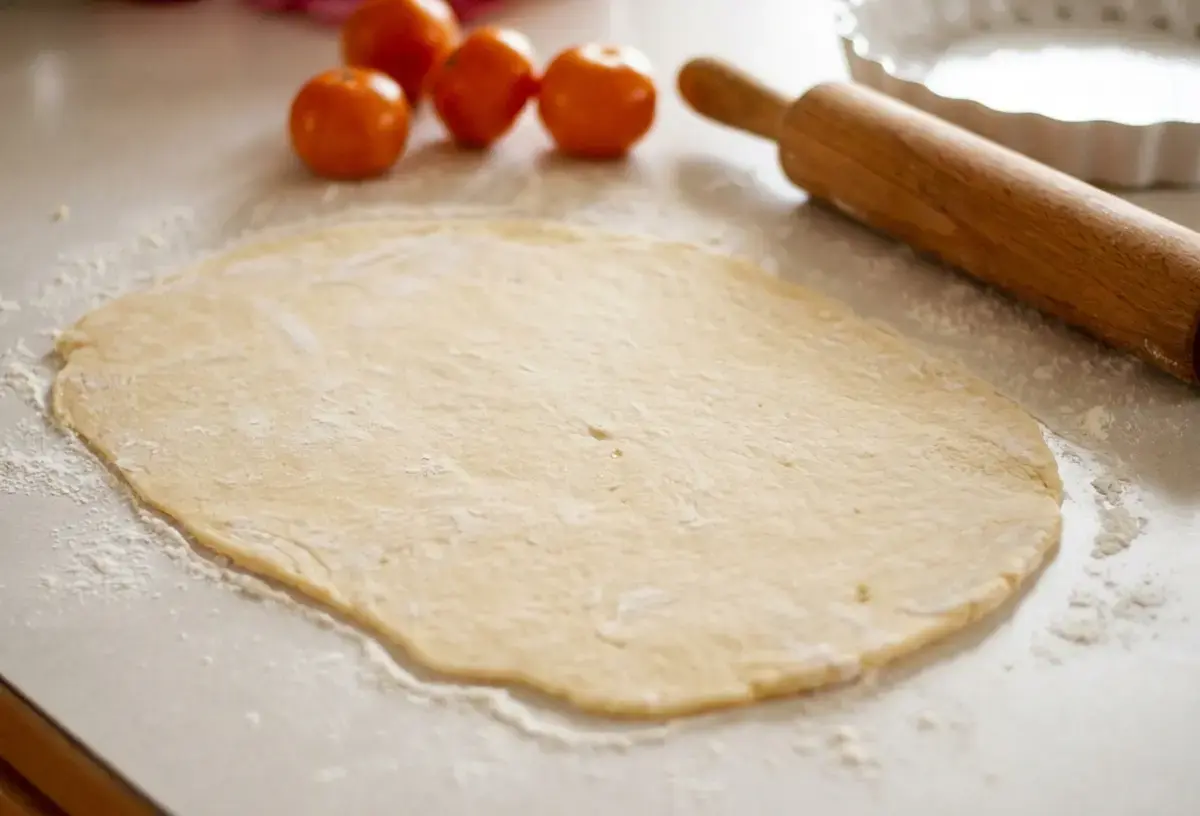
Once it has risen, turn the dough out onto a lightly floured surface and roll it into a large rectangle. No perfectionism here. Just do the best you can.
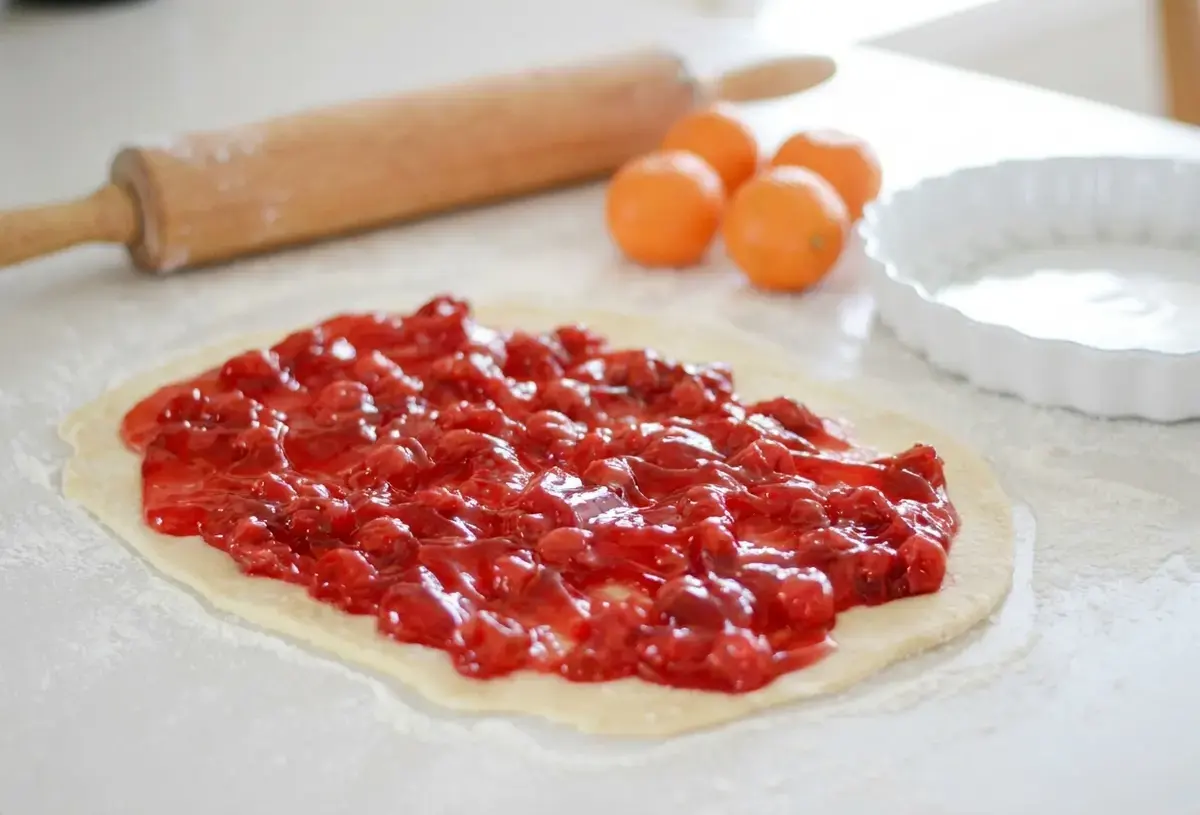
Spread the cherry filling over the dough, leaving about 1/2 inch to 1 inch around the edges. This part is a little messy, and that is completely normal.
Fresh pitted cherries work here too if that is what you have on hand. Just know that fresh cherries will not give you the sauce that canned cherry pie filling has. If you go the fresh route, sweet cherries are the best choice.
Roll the dough up from the long side, going slowly. Then cut the roll into slices about 1 inch thick and place them in a lightly greased 8 or 9 inch round or square baking dish.
I have used a quiche dish and it worked beautifully. You can line the bottom with parchment paper instead of cooking spray, and any 8×8 or 9×9 pan is just fine.
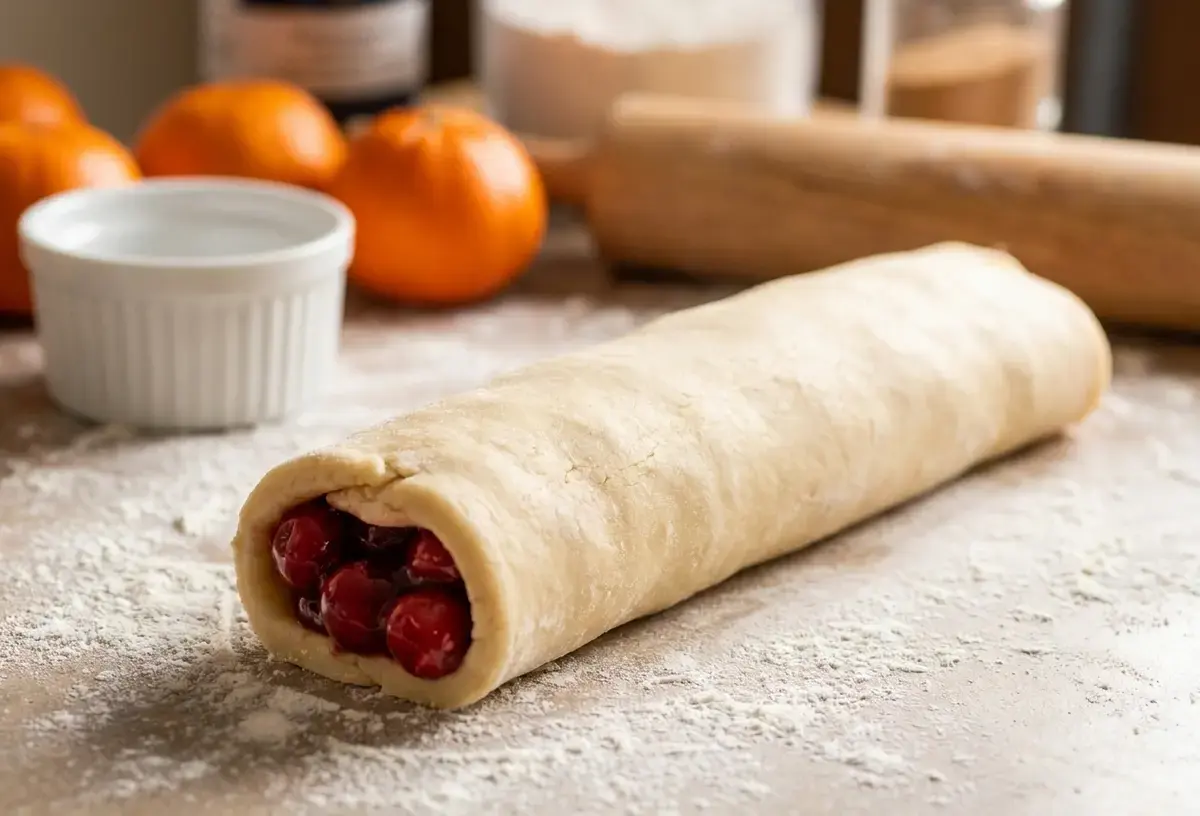
A second rise is completely optional. Let the rolls rise again until doubled if you have the time. I have skipped that second rise when I was in a hurry, and they still turned out perfect and rose nicely in the oven.
Bake at 375 F for 35 to 40 minutes, until the tops are golden brown.
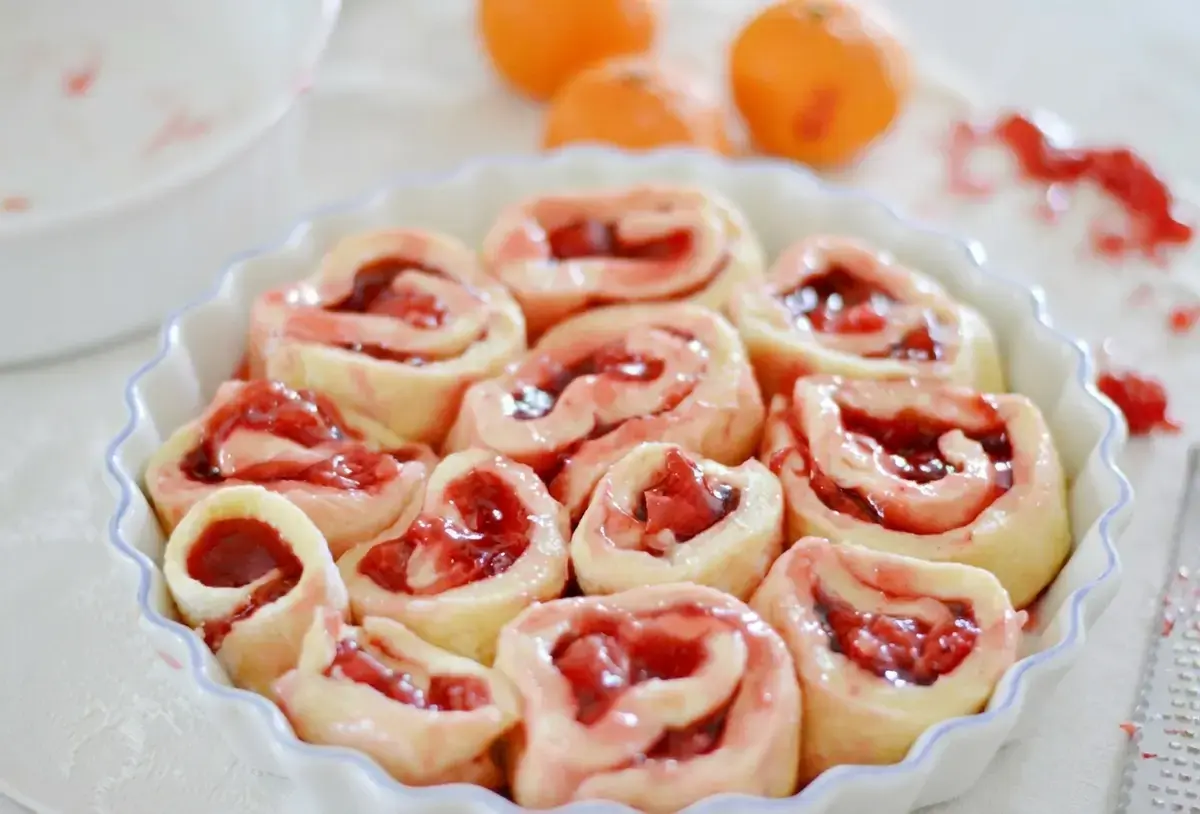
One small tip from my kitchen to yours. Set a timer for 35 minutes and then peek through the oven door. Every oven runs a little different, and you want golden brown tops, not dark ones. If yours is browning quickly, a loose piece of foil laid over the top will slow that down.
Icing Instructions:
Mix your powdered sugar and milk for the icing. Start with 1 teaspoon of milk at a time until the icing reaches the consistency you want. If it turns out too runny, add a little more powdered sugar to thicken it back up.
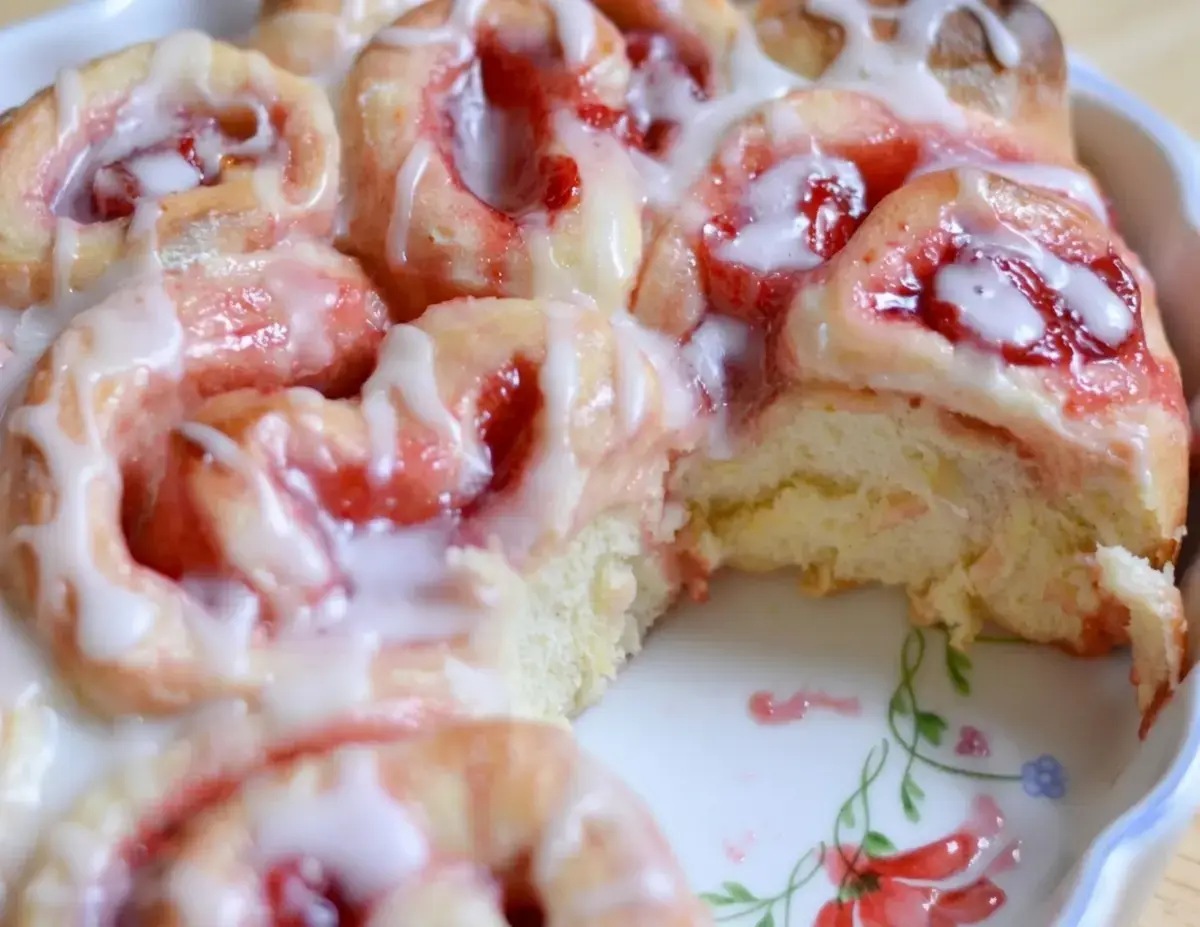
Now pour the icing over your rolls. Do it while they are still warm if you like a slightly melty finish, or wait until they cool if you prefer a cleaner look. Serve warm or cold.
Old Fashioned Dessert Recipes
If you enjoy this style of baking, these other old fashioned desserts are worth a look. Lazy Day Cake is easy and versatile, Chocolate Chip Blondie Brownies are always a hit, and Easy Apple Sweet Rolls use canned apple pie filling for another shortcut treat.
There is also a quick 2 ingredient cinnamon roll recipe for days when you want something sweet with almost no effort.
How to Freeze Sweet Rolls
These rolls are a wonderful make ahead breakfast, and freezing them is simple. Prepare the recipe up to the point just before baking. Then cover the pan with plastic wrap and follow it with foil, and freeze for up to 2 months.
When you are ready to bake, take the pan out of the freezer and let the rolls thaw completely. I like to move mine to the refrigerator overnight so they are ready to bake in the morning, but you can also just set them on the counter until they are thawed. Then bake as directed and finish with the icing.
This is my favorite trick for holiday mornings. I do the work on a quiet afternoon, and the next morning all I have to do is slide the pan into the oven and start the coffee.
Breakfast Recipes
If you are putting together a big breakfast spread, these are a few of our other favorites. Easy Cheesy Hash Brown and Egg Breakfast is hearty and simple, and Ham and Tater Tot Casserole is the kind of dish that feeds a crowd without any fuss.
Pair either one with a pan of these cherry sweet rolls and you have a breakfast people will talk about.
This recipe was updated on 3/20/24, and it is still one of the most requested cards in my box. I hope it becomes a favorite in your kitchen too.
FAQs
How long do you bake cherry sweet rolls at 375 degrees?
Can you use canned cherry pie filling for sweet rolls?
Can you freeze unbaked cherry sweet rolls to make ahead of time?
What is the best way to proof yeast for this recipe?

Easy Homemade Cherry Sweet Rolls Recipe with Icing
Easy Homemade Cherry Sweet Rolls Recipe with Icing Every family has one recipe that shows up at every holiday breakfast, and in our house it is these easy homemade cherry sweet rolls with icing . I found the card in my mom’s old recipe box one rainy afternoon while I was hunting for a completely different recipe.
- Total Time: 100 min
- Yield: 12 1x
Ingredients
Cherry Roll Dough
1 Envelope Active Dry Yeast
3 Tbsp Warm Water
3 Tbsp Orange Juice
1/2 tsp grated orange peel
3 tbsp sugar
1 Large egg, beaten
1 3/4 Cups all purpose flour, sifted if you want, but don’t have to
3 Tbsp melted butter
1/2 tsp salt
1 can Cherry Pie Filling
Icing
2/3 cup powdered sugar
2 1/2 tsp milk
Instructions
1-Add warm water to a large bowl,: Add warm water to a large bowl, then sprinkle your yeast on top. You can mix it up a little. Then let it rest for about 5 minutes.
2-Zest your Orange while you wait for: Zest your Orange while you wait for your yeast to proof. Then after you zest, cut your orange in half and squeeze the juice out of it into a small bowl for the recipe.
3-Add the Orange Juice, Orange Peel, Sugar,: Add the Orange Juice, Orange Peel, Sugar, Salt, Melted Butter and Egg to the bowl with your proofed yeast in it. Stir in 1 Cup of the flour and mix until smooth.
4-Then gradually stir in the remaining 3/4: Then gradually stir in the remaining 3/4 cup of flour to make a soft dough. Cover and let rise in warm place until doubled in size. About 1 hour
5-After dough has risen, turn out onto: After dough has risen, turn out onto a lightly floured surface and roll into a large rectangle. No perfectionism here! Just do the best you can!
6-After you’ve rolled your dough out, spread: After you’ve rolled your dough out, spread with your cherry filling. Leave about 1/2 inch to 1 inch around the edges.
7-Roll up long side length wise: Roll up long side length wise
8-Cut into one-inch slices and place in: Cut into one-inch slices and place in a lightly greased 8-inch round pan or 8×8 or 9×9 baking dish. I used a quiche pan. Let rise again until doubled if you want. I did not let rise and they still turned out perfect and rose nicely in the oven.
9-Bake for 35 to 40 minutes in: Bake for 35 to 40 minutes in 375 degree oven.
10-Mix your powdered sugar and milk for: Mix your powdered sugar and milk for icing. Start with 1 tsp. at a time for milk.
11-Now pour your Icing over your rolls: Now pour your Icing over your rolls!
12-Serve warm or cold: Serve warm or cold
Last Step:
Please leave a rating and comment letting us know how you liked this recipe! This helps our business to thrive and continue providing free, high-quality recipes for you.- Prep Time: 60 min
- Cook Time: 40 min
- Method: bake